This post may contain affiliate links, please see the privacy policy for details.
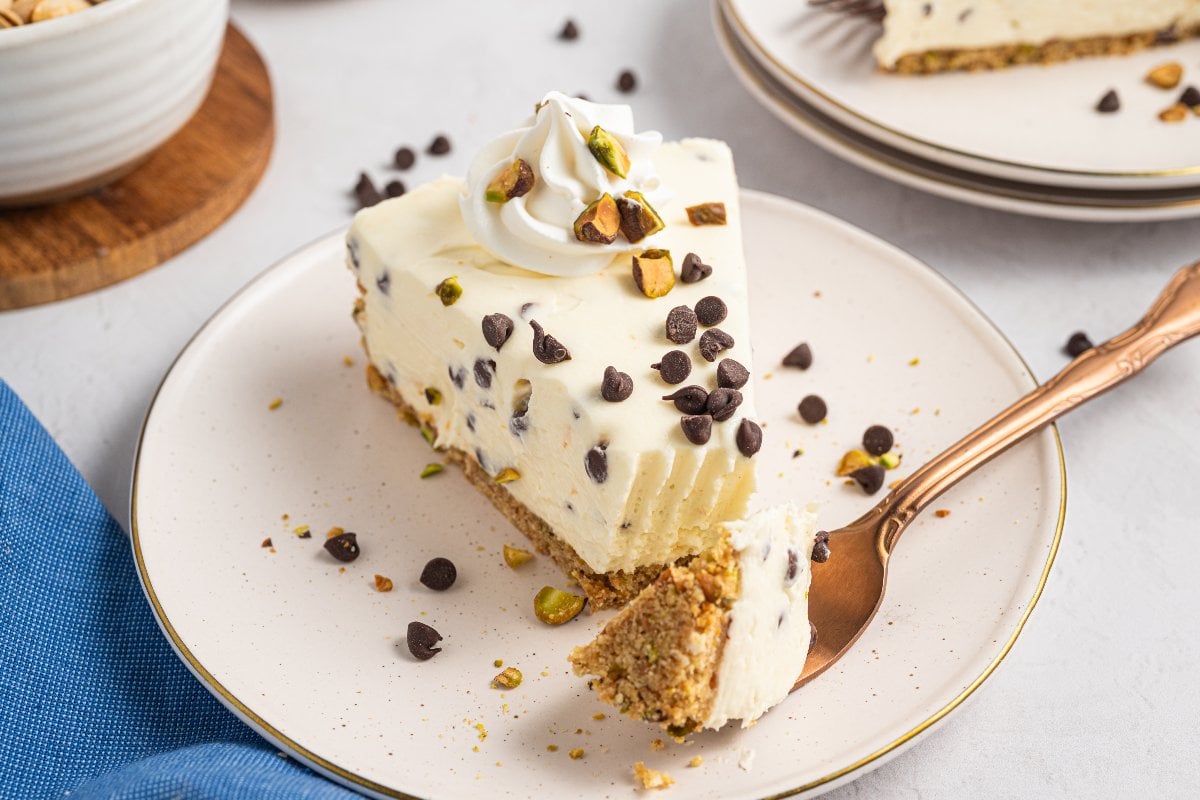
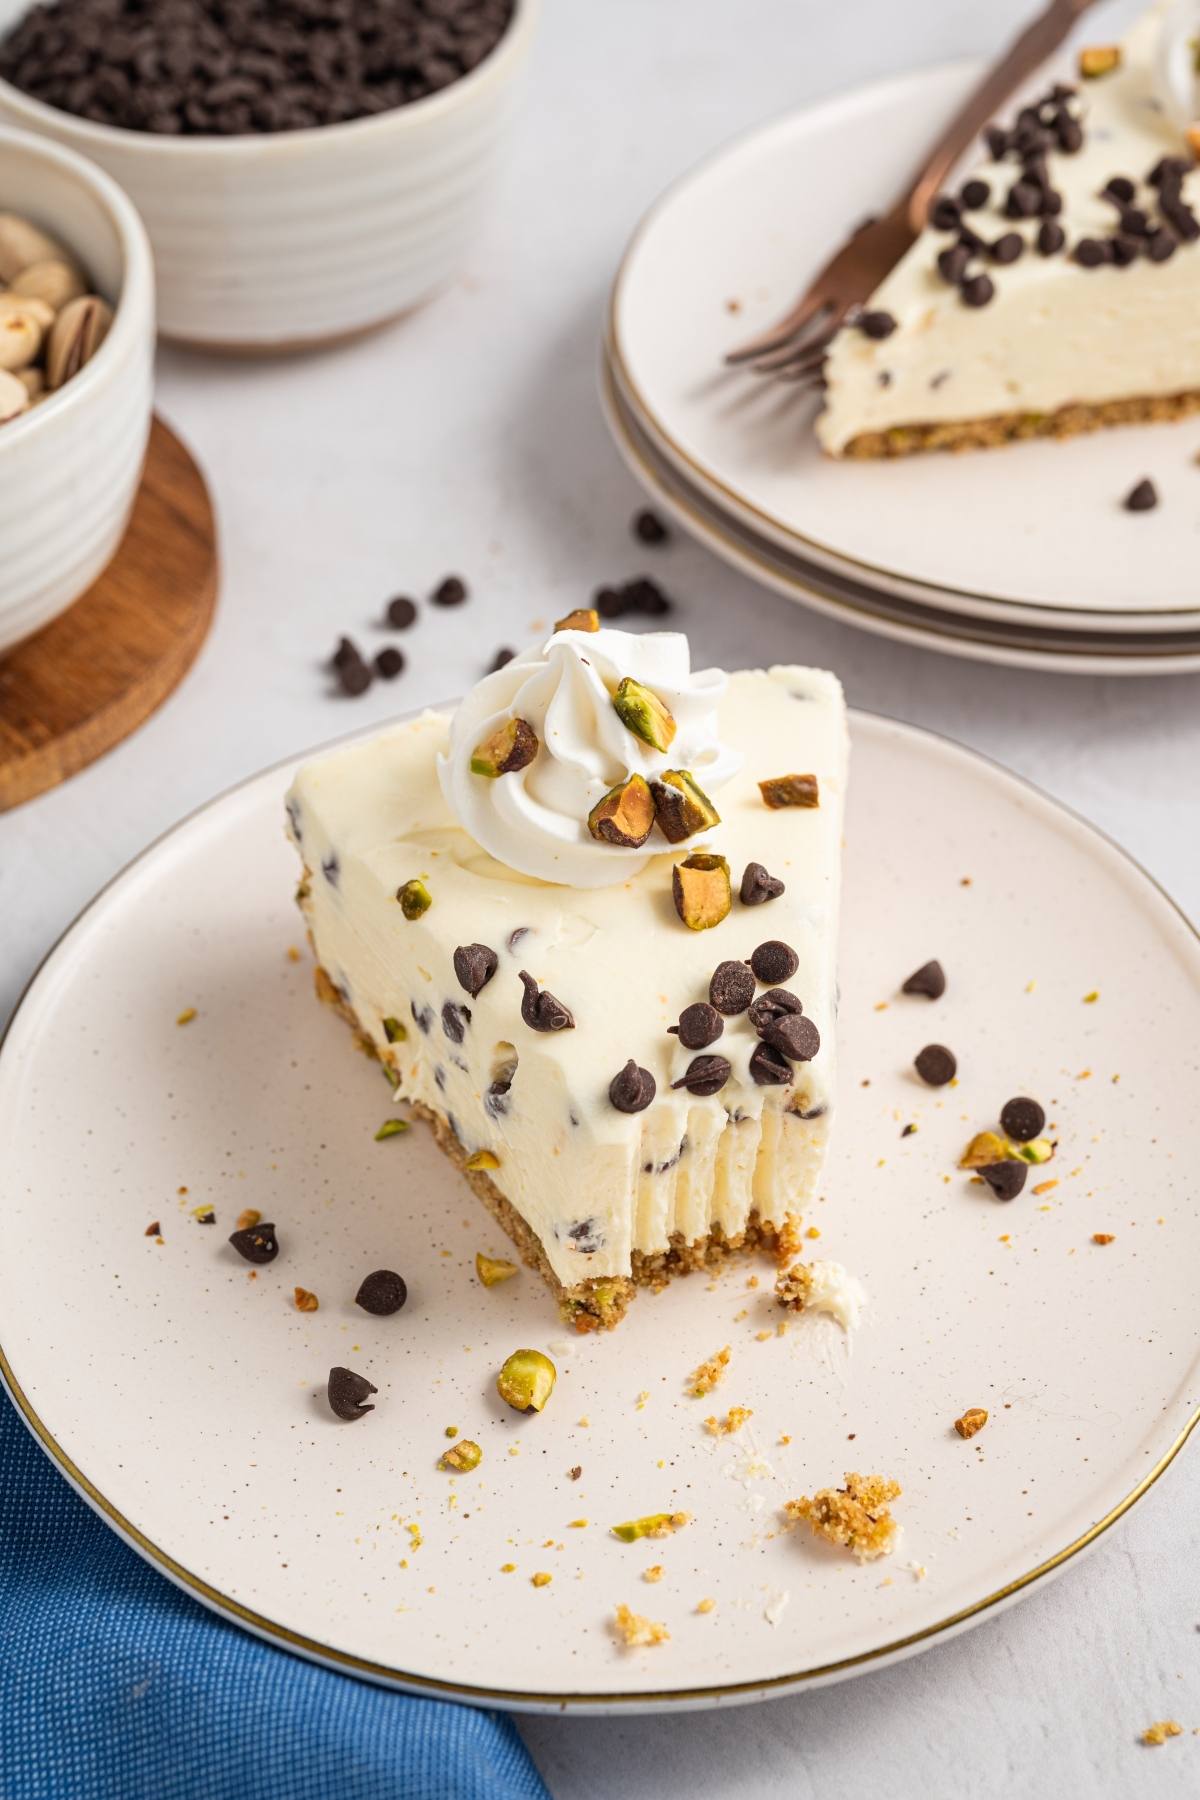
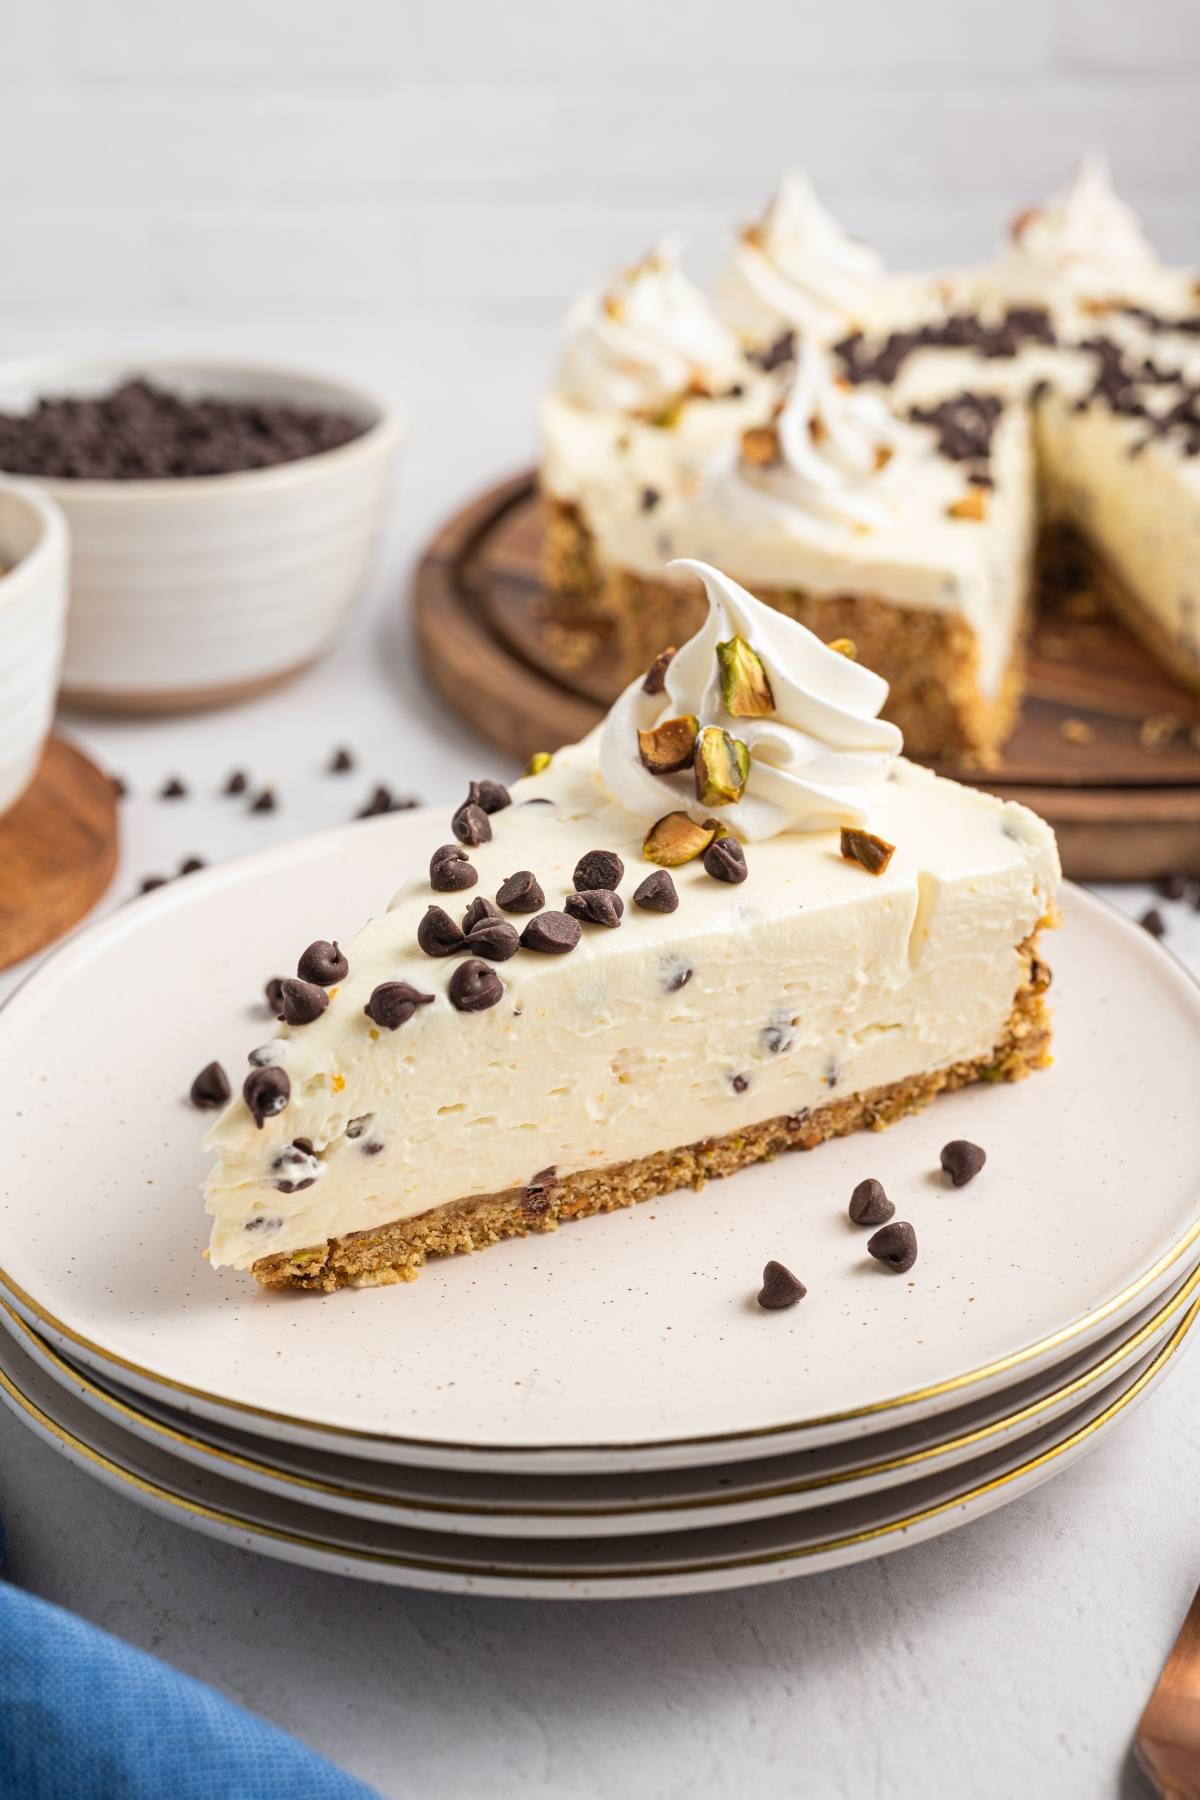
If a trip to your favorite Italian bakery sounds tempting but staying home sounds even better, this cannoli cheesecake hits the sweet spot! A crunchy vanilla wafer pistachio crust holds a light ricotta and cream cheese filling that brings all the flavor of a classic cannoli in chilled cheesecake form. Mini chocolate chips are scattered through every slice and a little orange zest keeps it bright. This cannoli cheesecake is the kind of dessert that turns a simple dinner into a celebration.
Why You’ll Love It

This no bake cannoli cheesecake has a sweet vanilla wafer pistachio crust plus a light ricotta and cream cheese filling and mini chocolate chips in every bite.
Two desserts in one: Classic cannoli flavors meet creamy cheesecake so you get a rich Italian style dessert in a single easy pan.
It’s a no bake dessert: The crust firms up in the freezer and the filling sets in the fridge, so you skip water baths, cracked tops and worrying about oven temperature and baking time.
Make ahead friendly: This cheesecake needs chill time, which makes it perfect when you want dessert ready before guests arrive or dinner starts.
Also try cannoli cake, cannoli cones, cannoli pie, lemon cheesecake bars, chocolate cheesecake, easy cannoli, and no bake s’mores cheesecake.
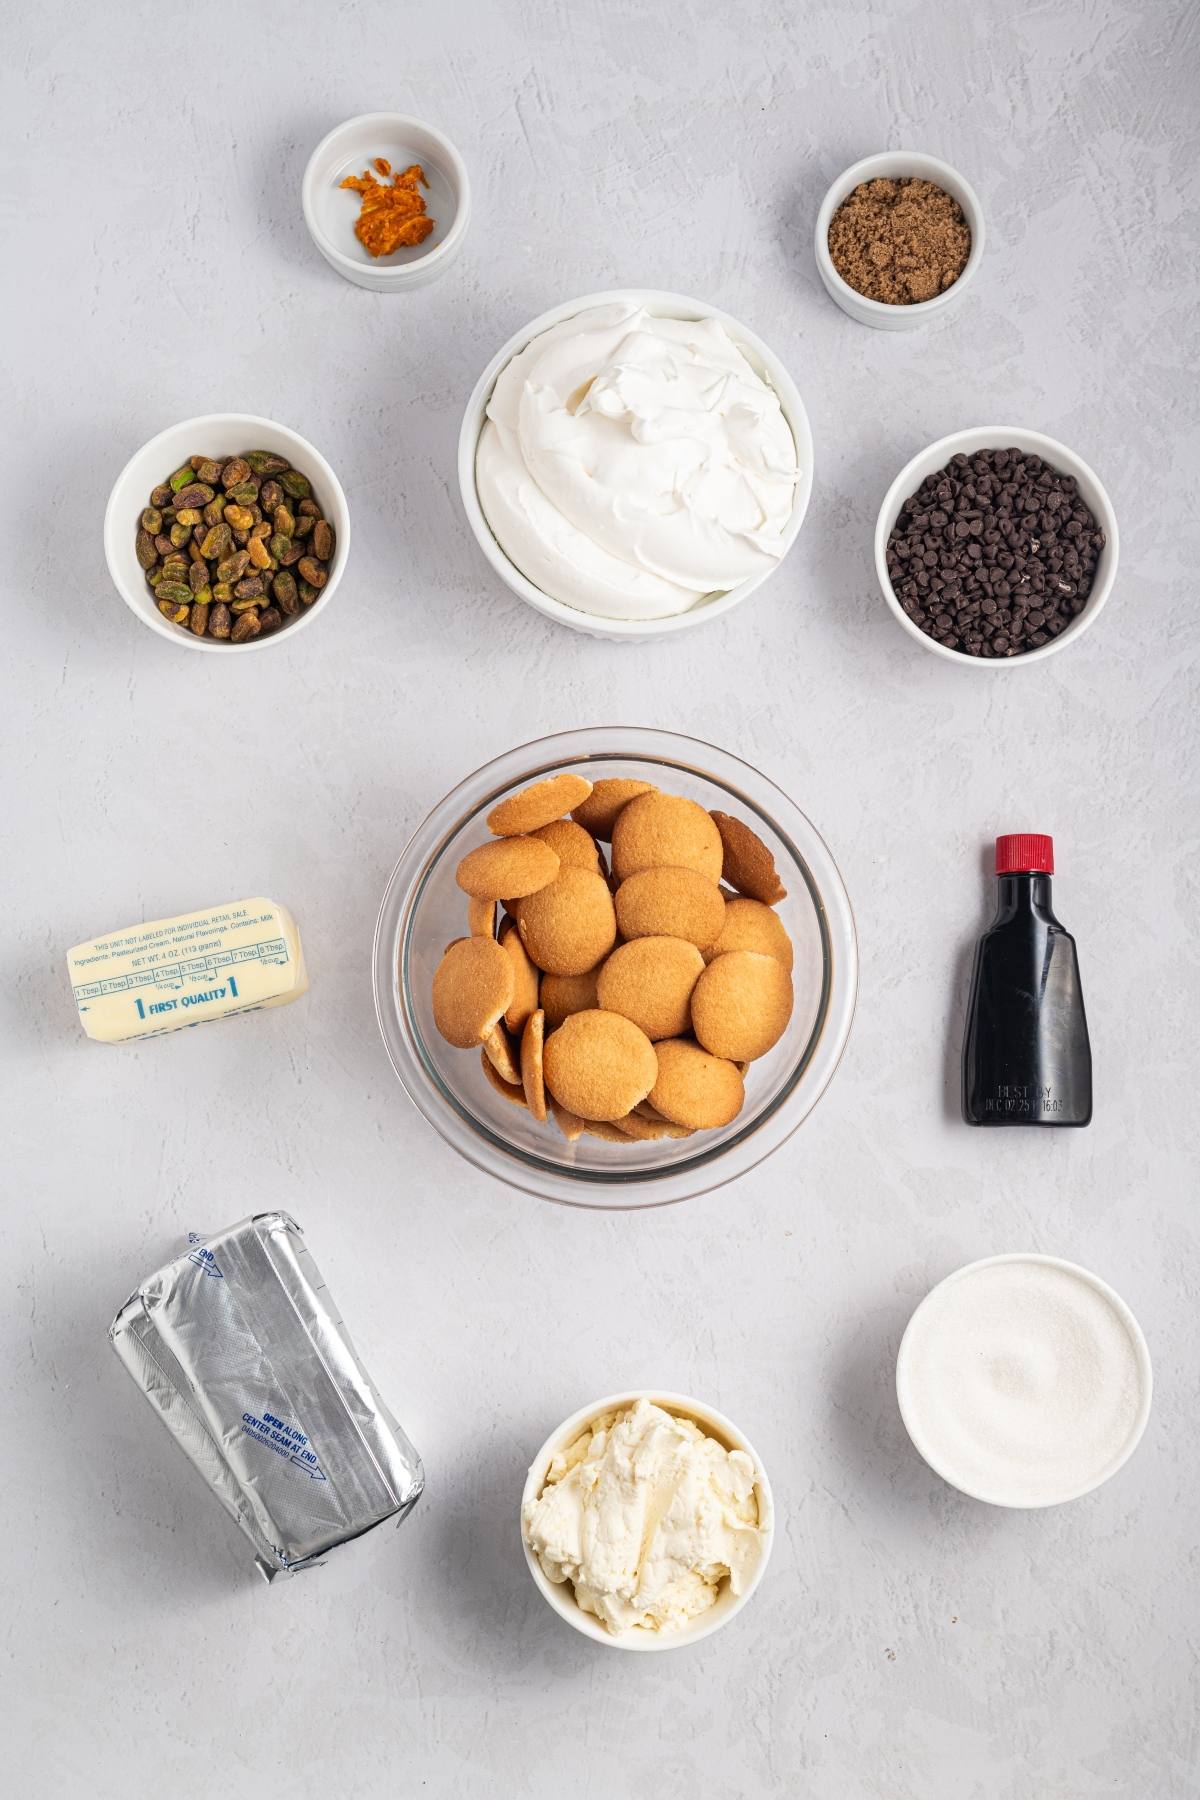
No Bake Cannoli Cheesecake Ingredients
A complete list of ingredients and amounts can be found in the recipe card below.
Vanilla wafers: About 40 vanilla wafers crushed into fine crumbs to form the sweet cookie crust. I used Nilla wafers.
Pistachios: To add nutty flavor and a bit of crunch to the crust.
Brown sugar: Light brown sugar that helps the crumbs cling together and adds a hint of caramel. Use dark brown sugar if you prefer.
Butter: Melted salted or unsalted butter binds the crust so it presses firmly into the pan.
Cream cheese: For a smooth, tangy base that gives the classic cheesecake texture. Bring it up to room temperature to soften it for easier blending.
Ricotta: Whole milk ricotta cheese, well drained, for a lighter texture and true cannoli flavor.
Sugar: Granulated sugar sweetens the filling and balances the tangy dairy and citrus.
Vanilla extract: Vanilla to round out the flavors and tie the cheesecake and cannoli elements together.
Orange zest: Finely grated zest to add a gentle citrus note that brightens the rich filling. You can omit this if you want but it adds a cannoli flavor.
Whipped topping: Thawed whipped topping that keeps the cannoli filling light, fluffy and easy to slice. I used a tub of Cool Whip.
Mini chocolate chips: Mini semi sweet chips so little bursts of chocolate run through every slice. I used Nestle Tollhouse mini semi sweet chocolate chips.
How to Make Cannoli Cheesecake
For more detailed instructions with weights and measurements, jump to the printable recipe card.
Prepare the pan: Grease a springform pan.
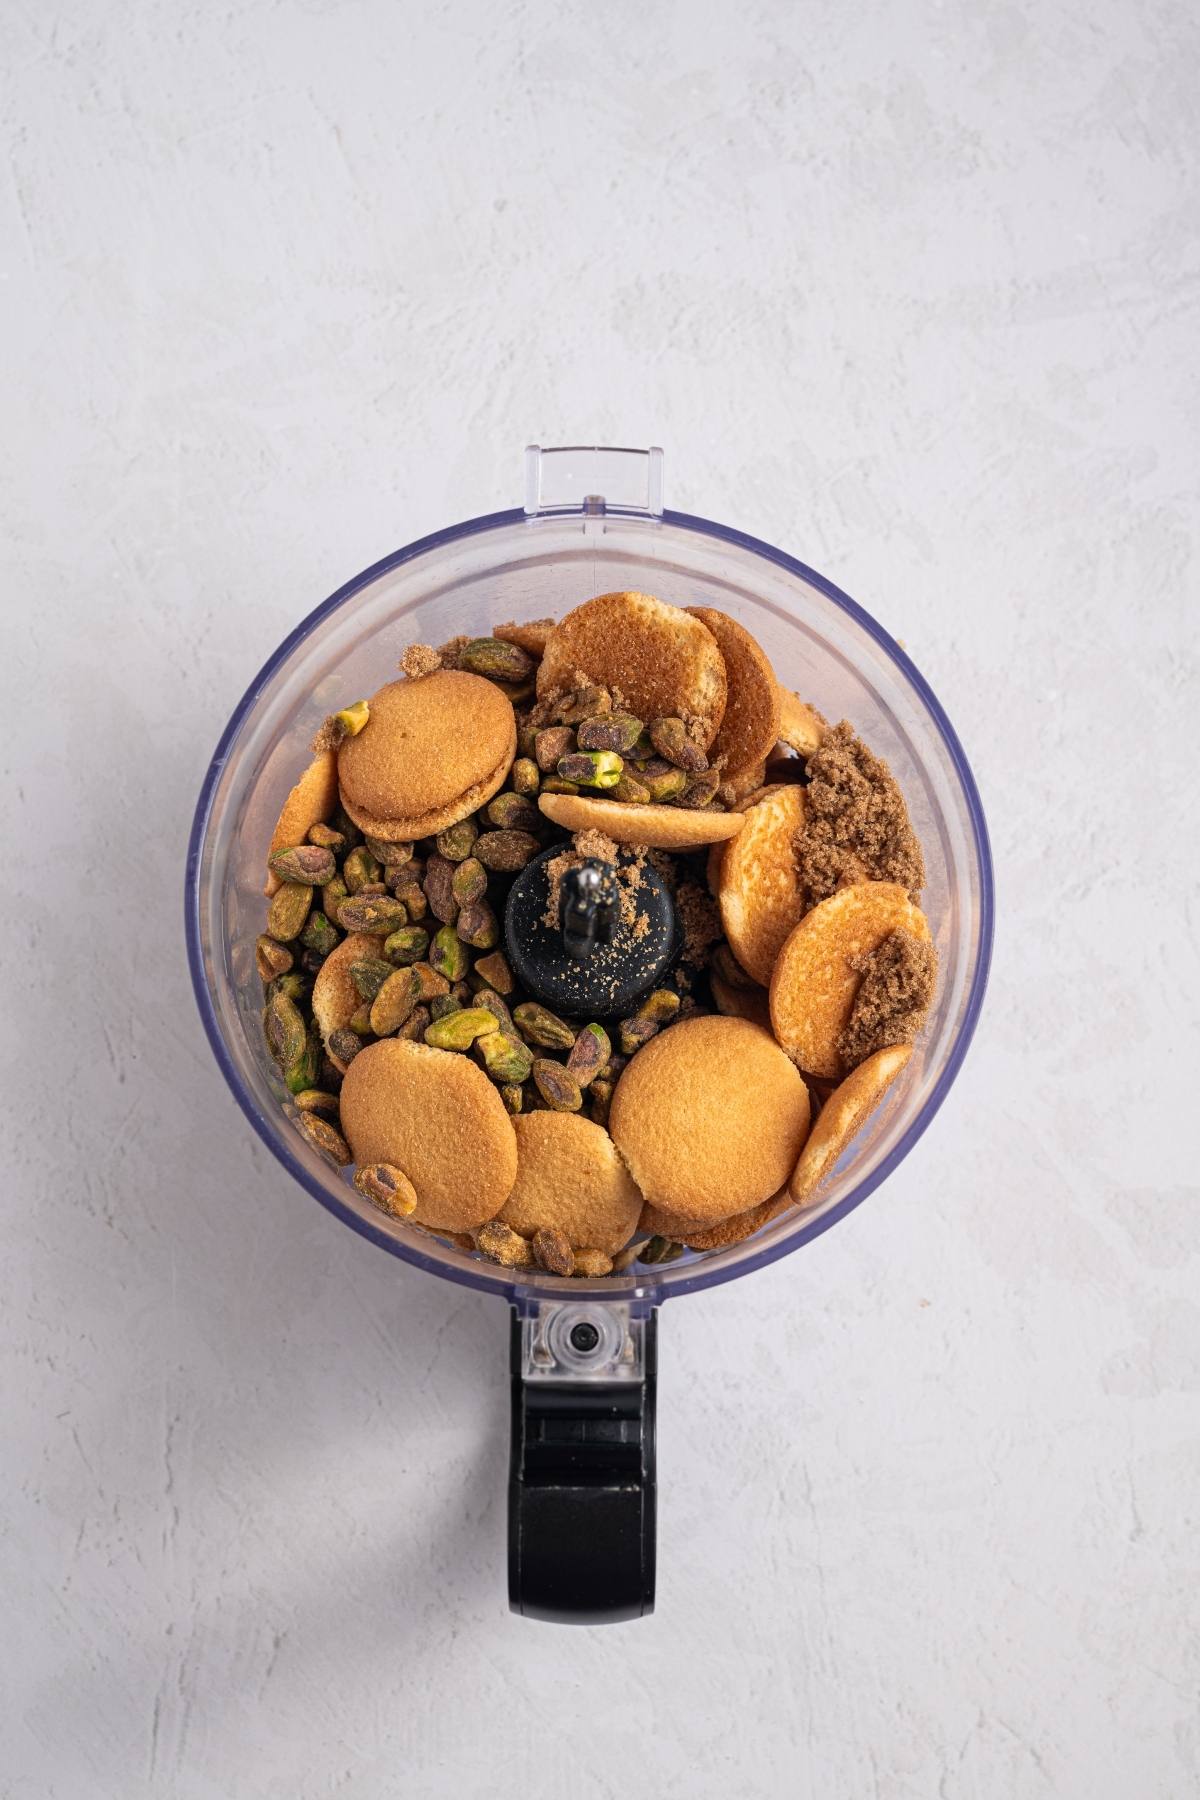
Make the crumb mixture: Pulse the wafers, pistachios and brown sugar in a food processor until fine, then blend in melted butter.
Form the crust: Press the crumb mixture firmly over the base and slightly up the sides of the pan, then freeze until very firm.
Mix the filling base: Beat the cream cheese, drained ricotta, sugar, vanilla and orange zest in a large bowl with an electric mixer until completely smooth and creamy.
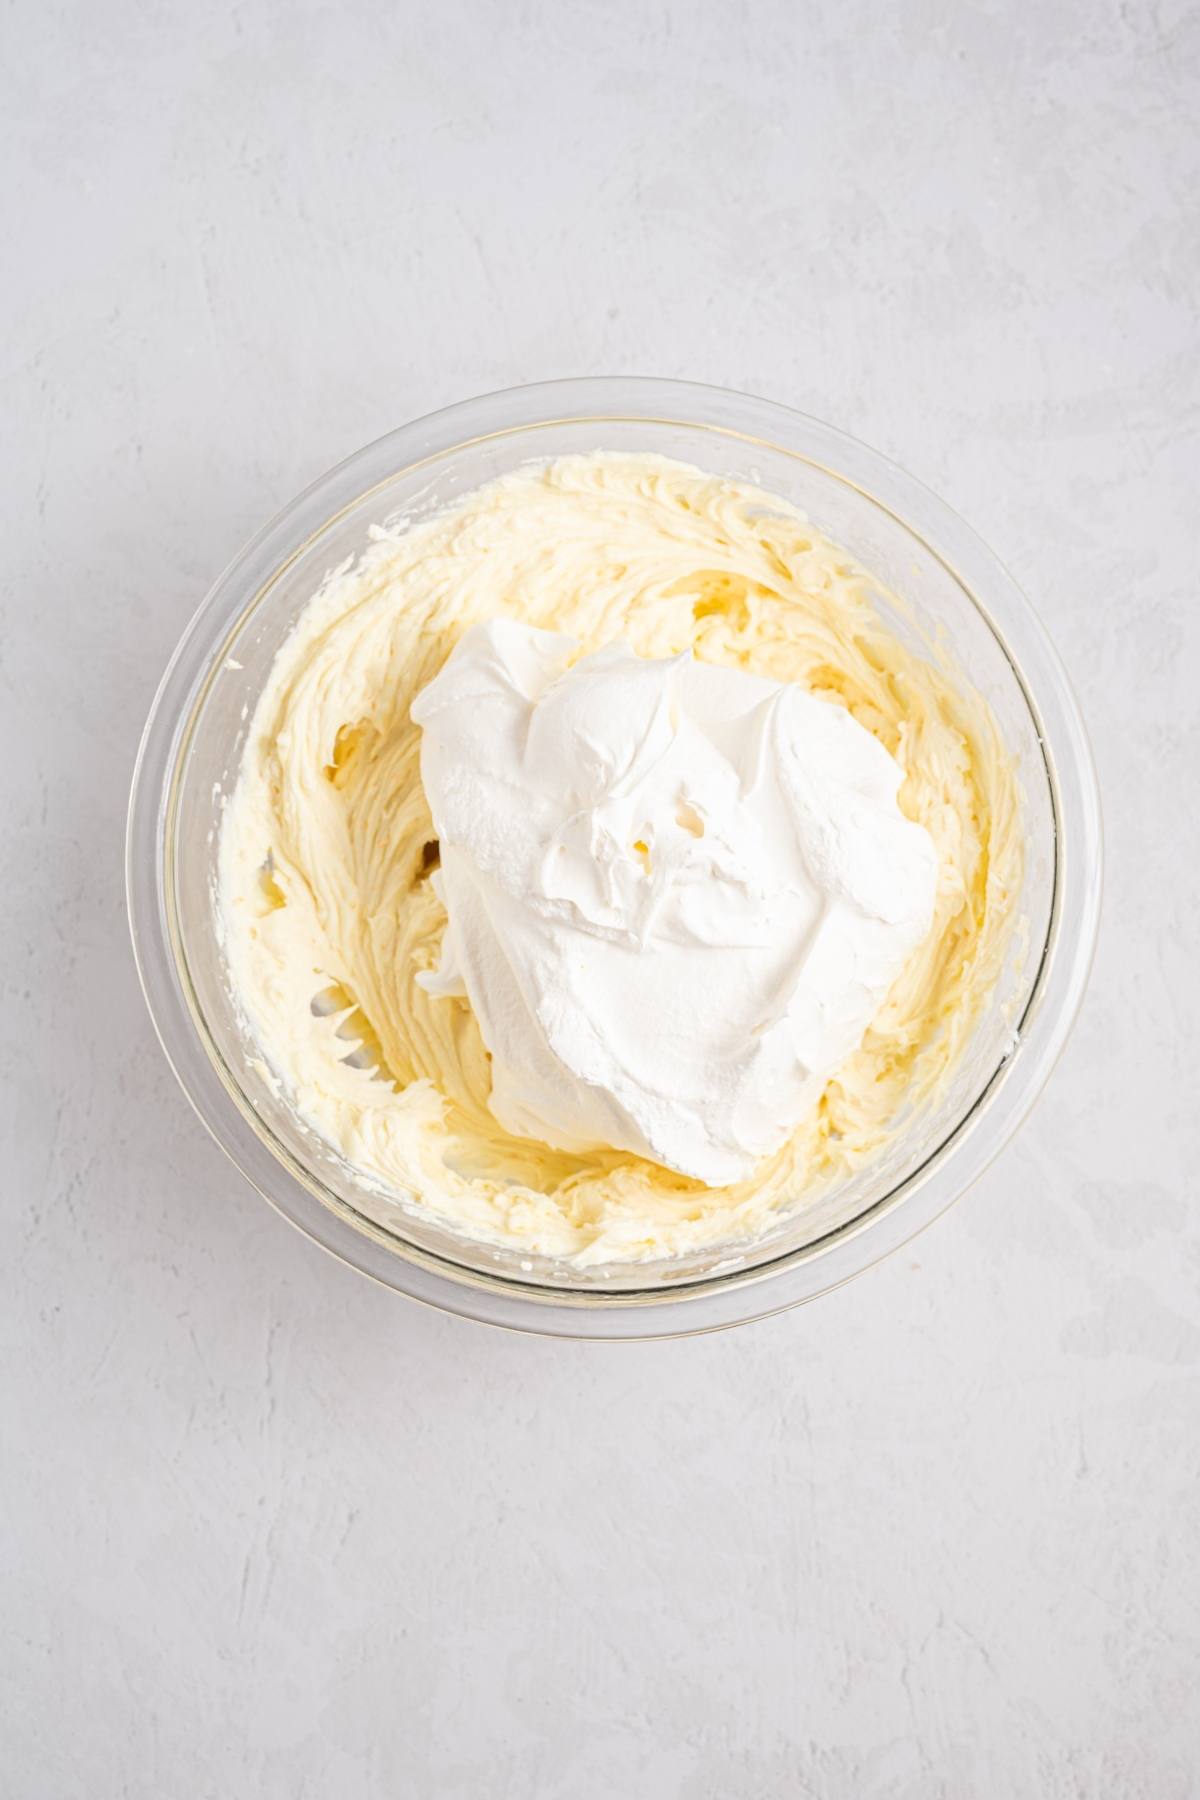
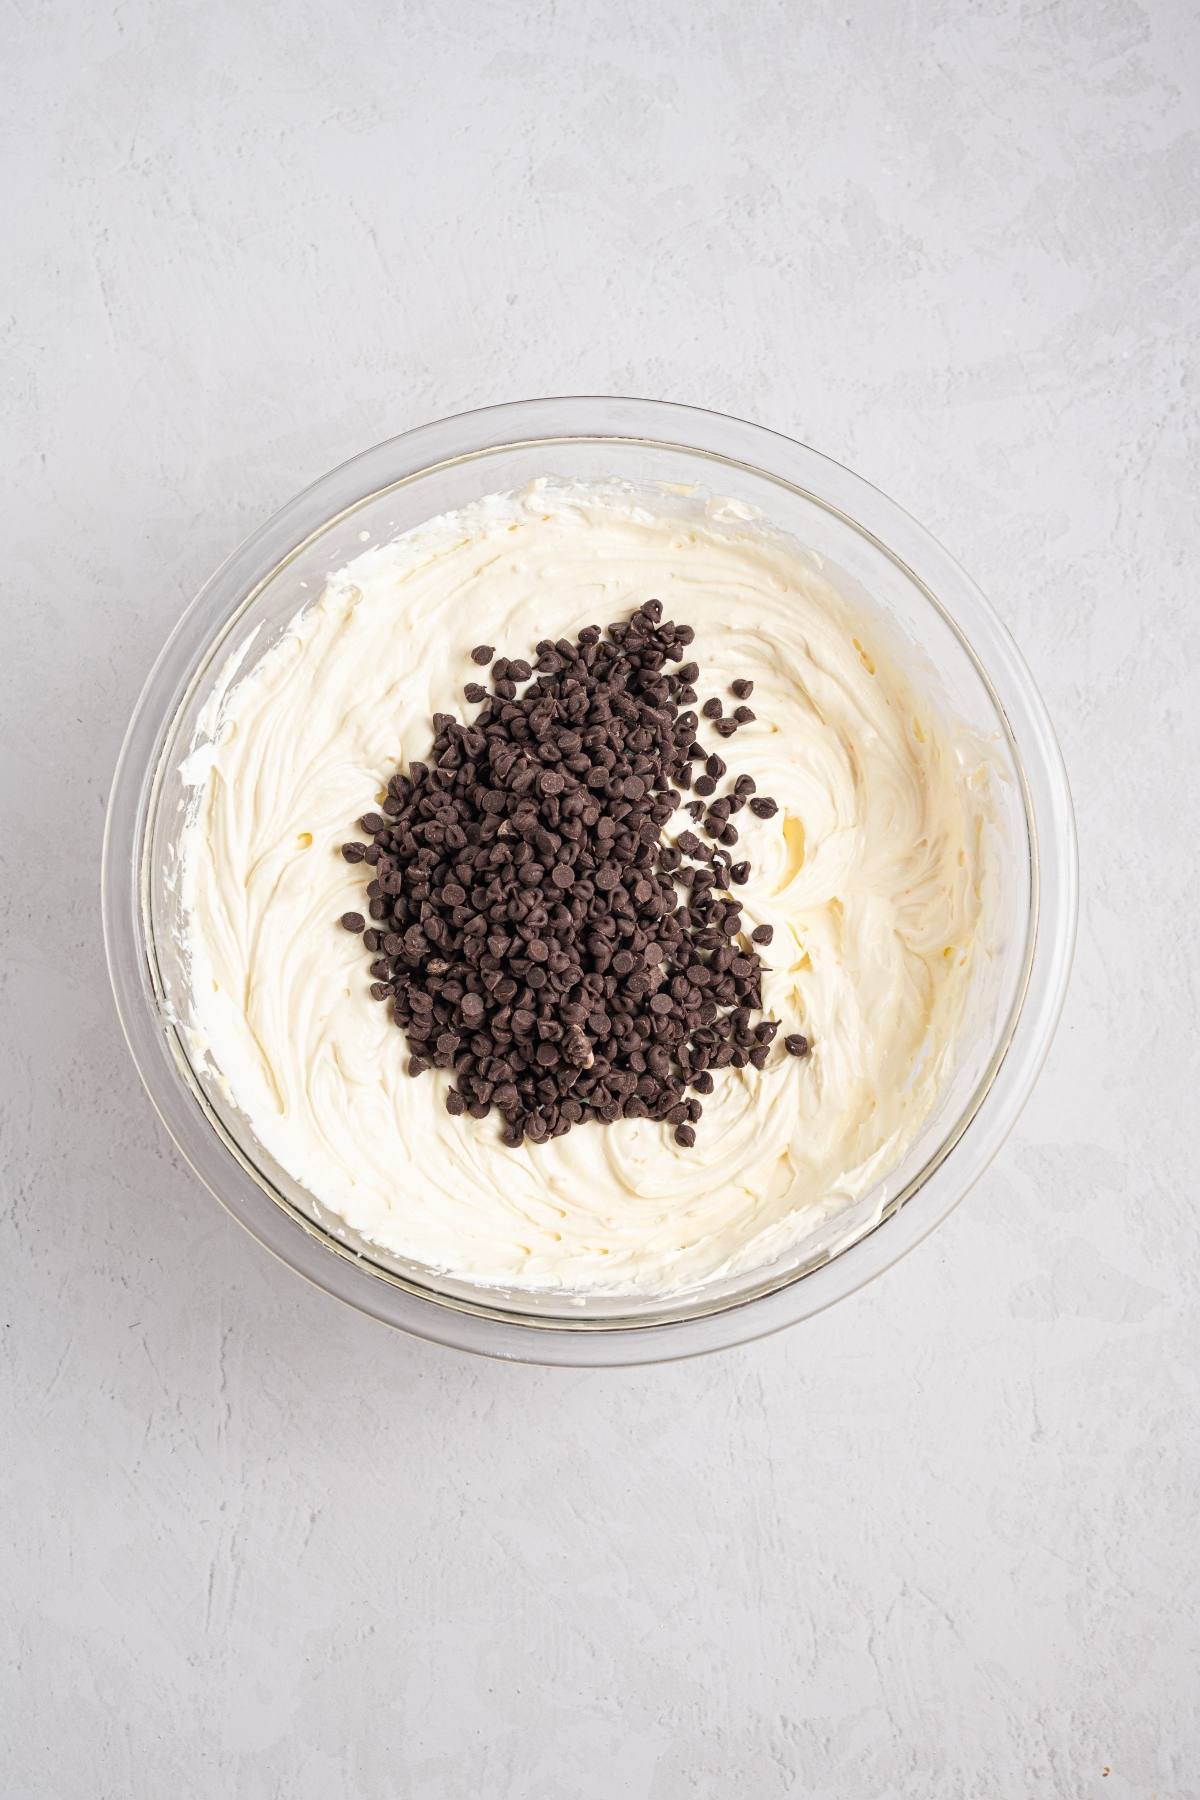
Fold in the extras: Gently fold in the whipped topping, then fold in the mini chocolate chips so they are spread evenly through the cheesecake batter mixture.
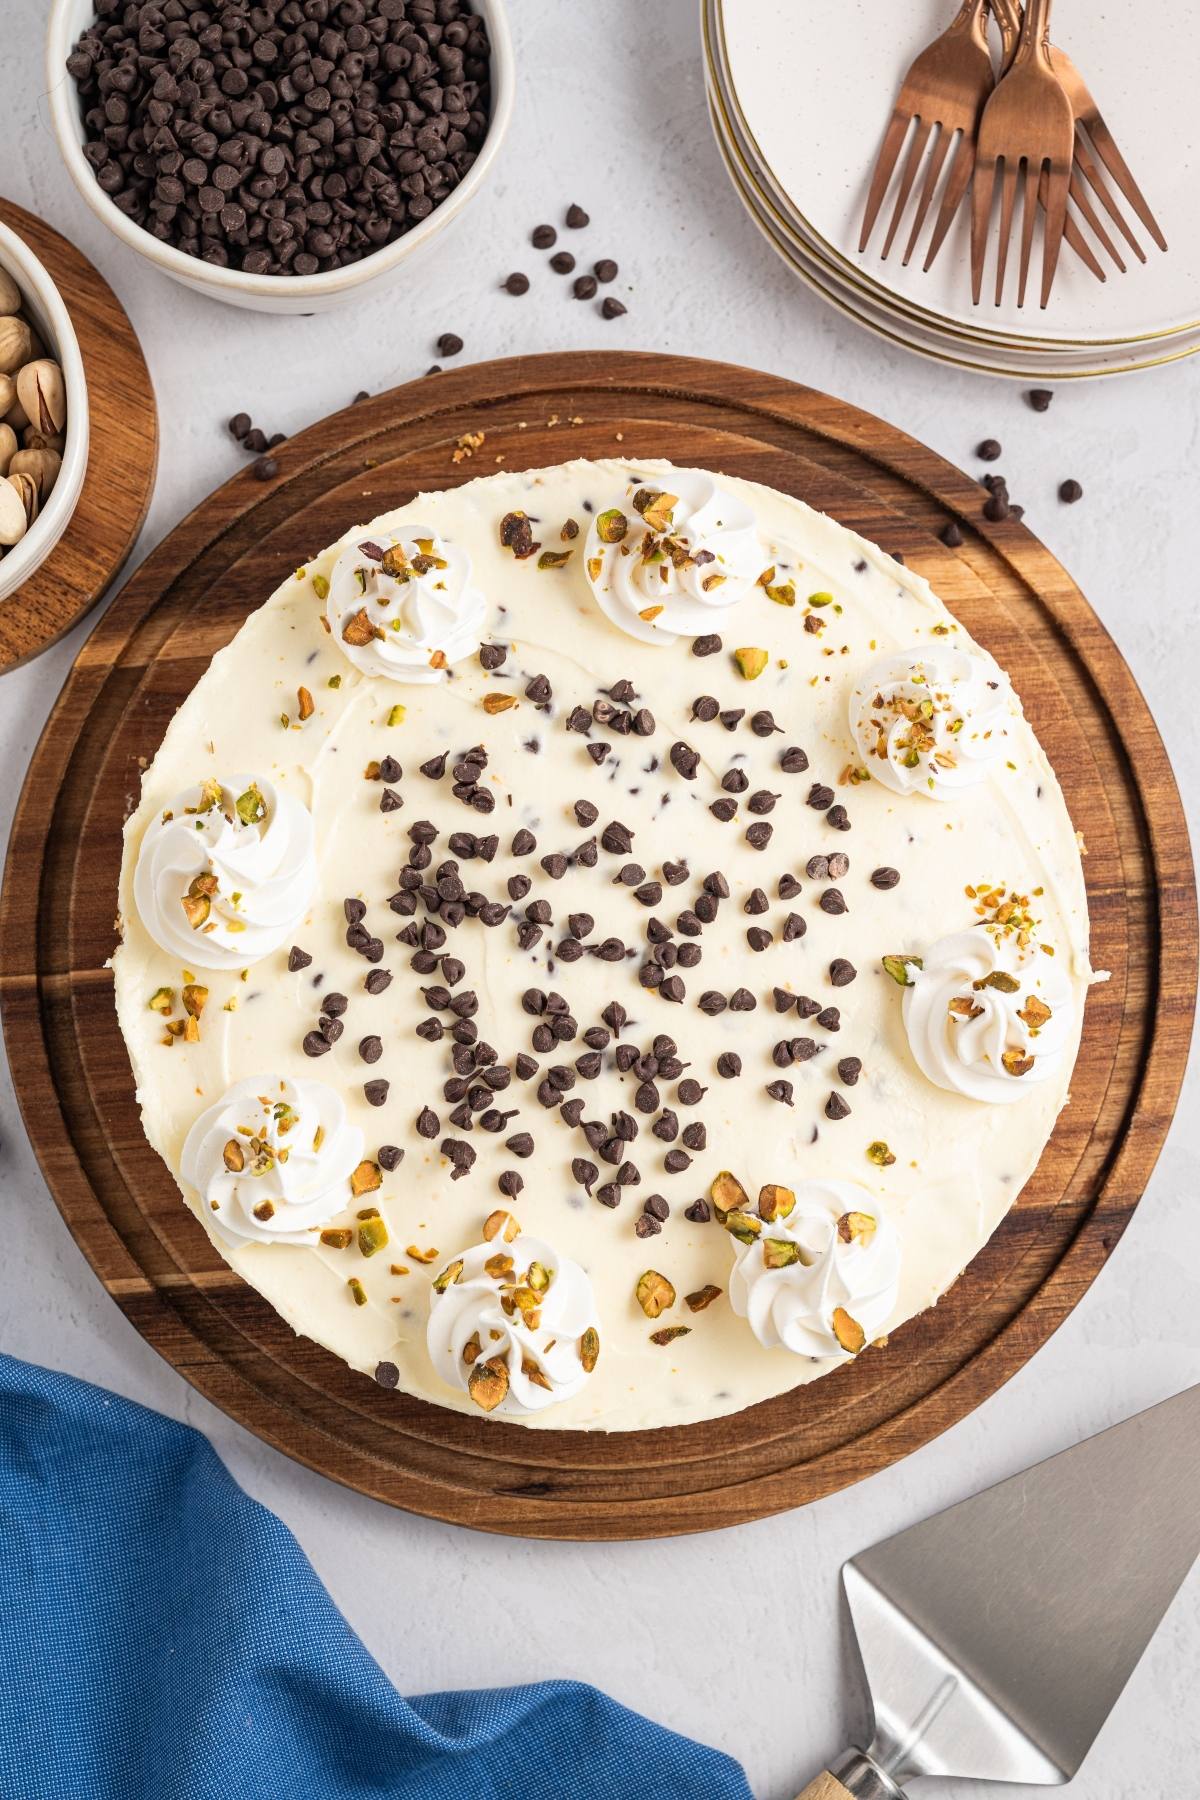
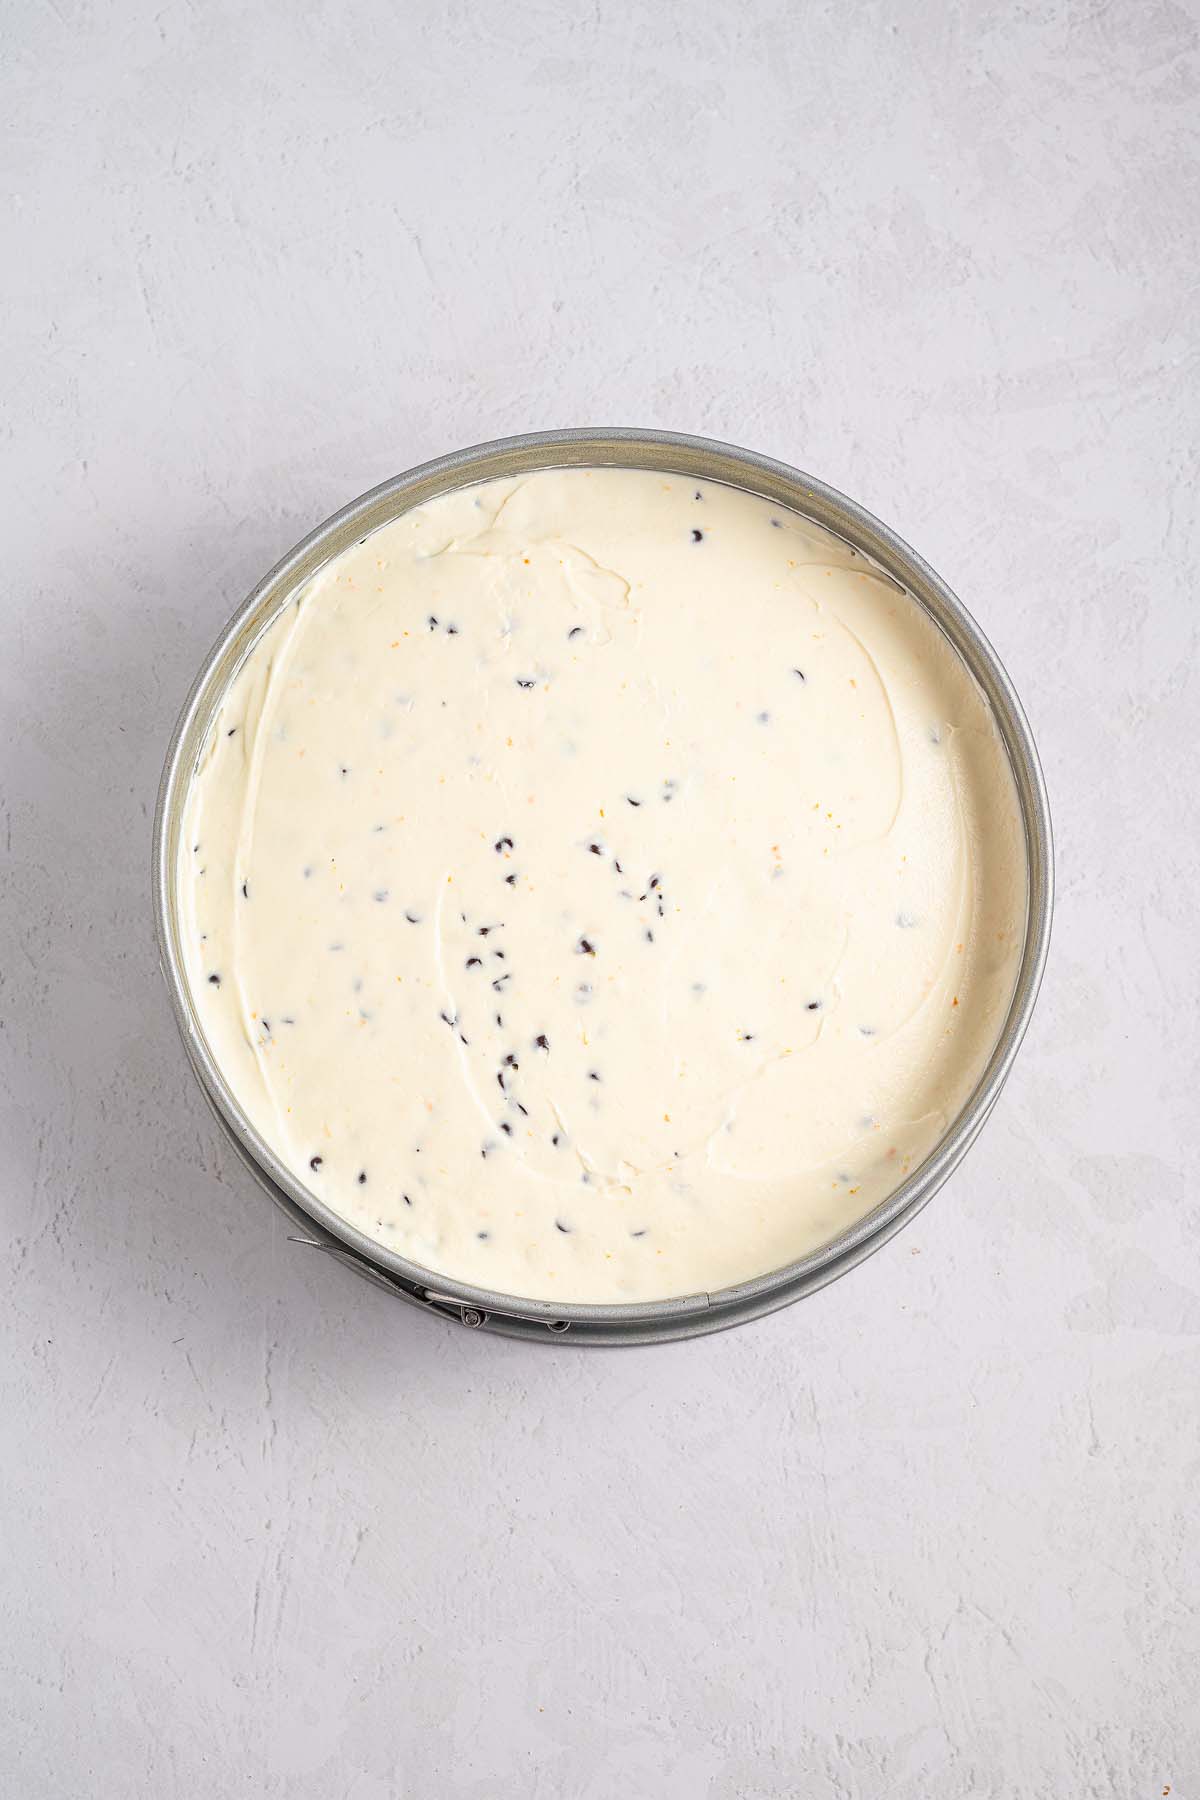
Fill and chill: Spoon the cheesecake filling over the cold crust, smooth the top with a spatula, cover and chill.
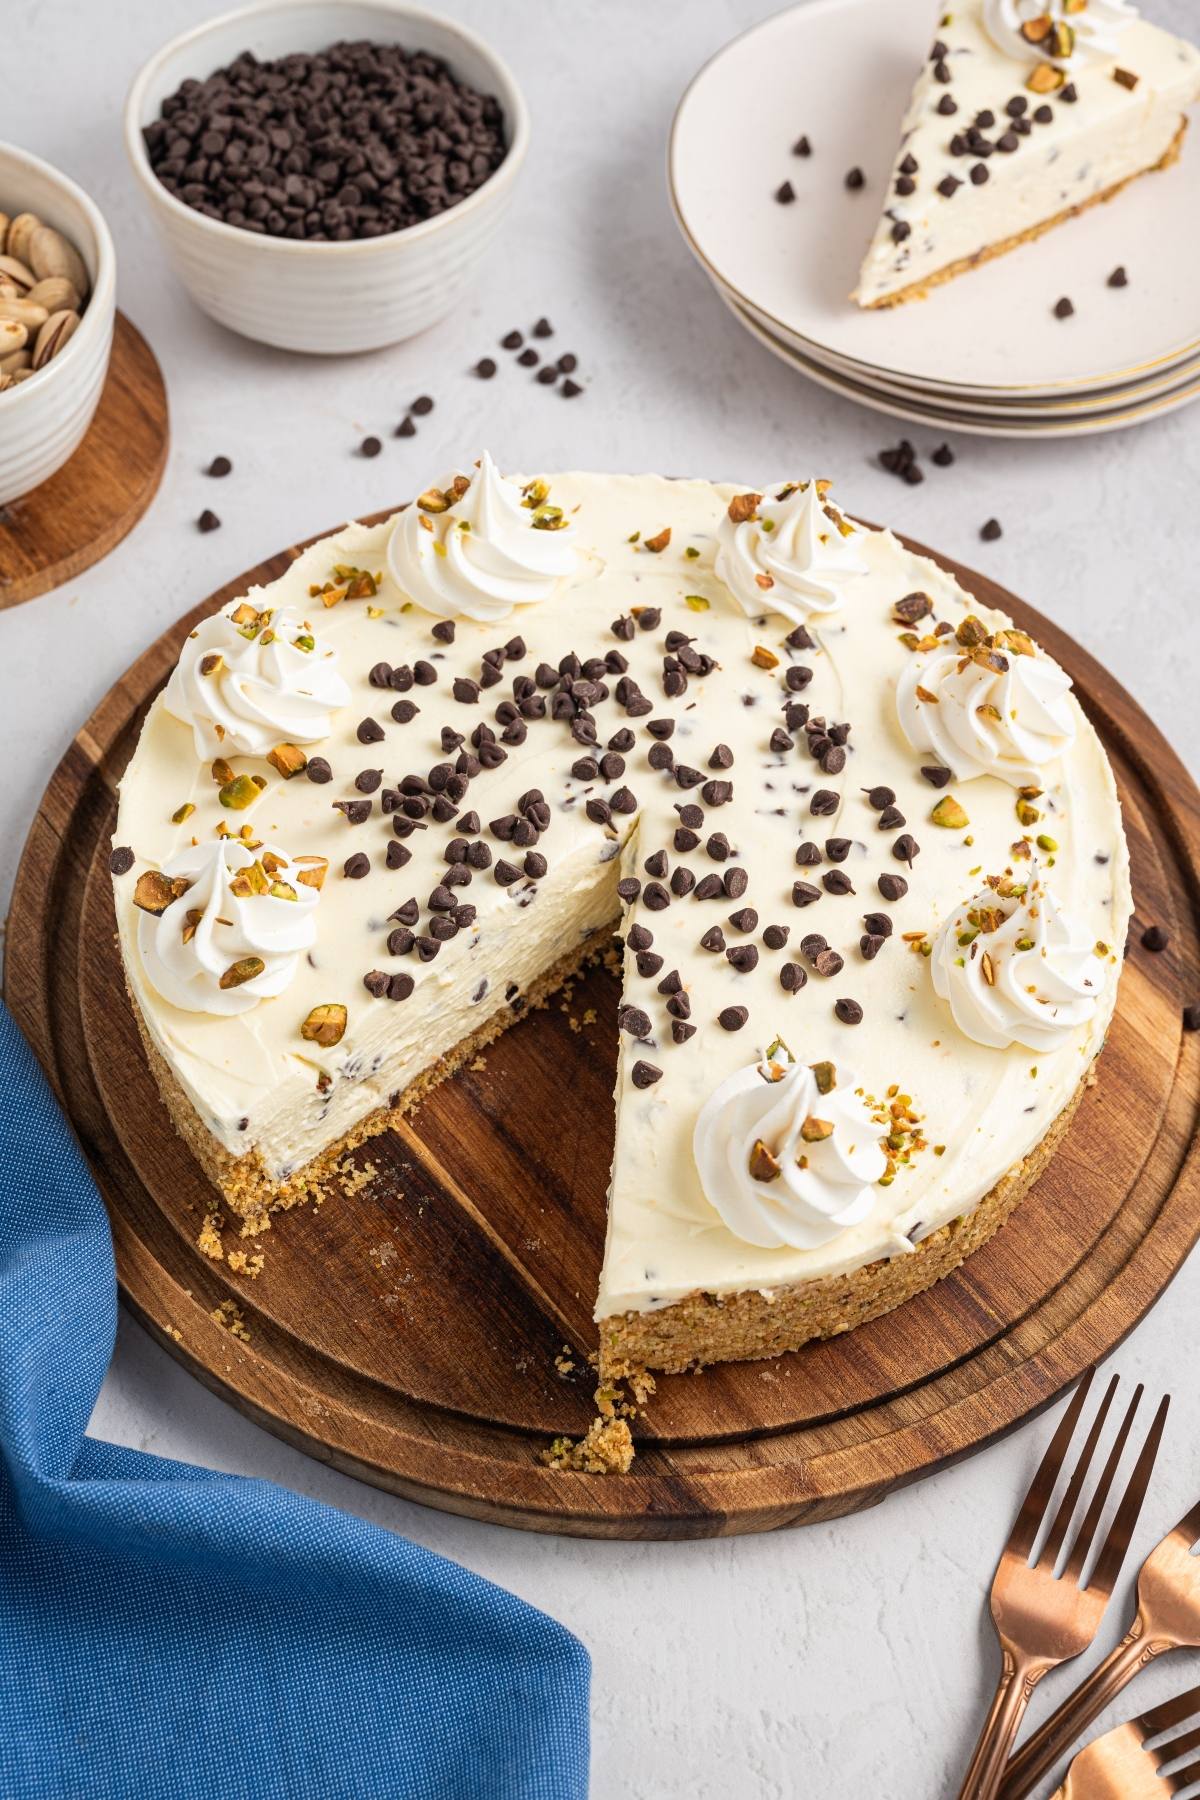
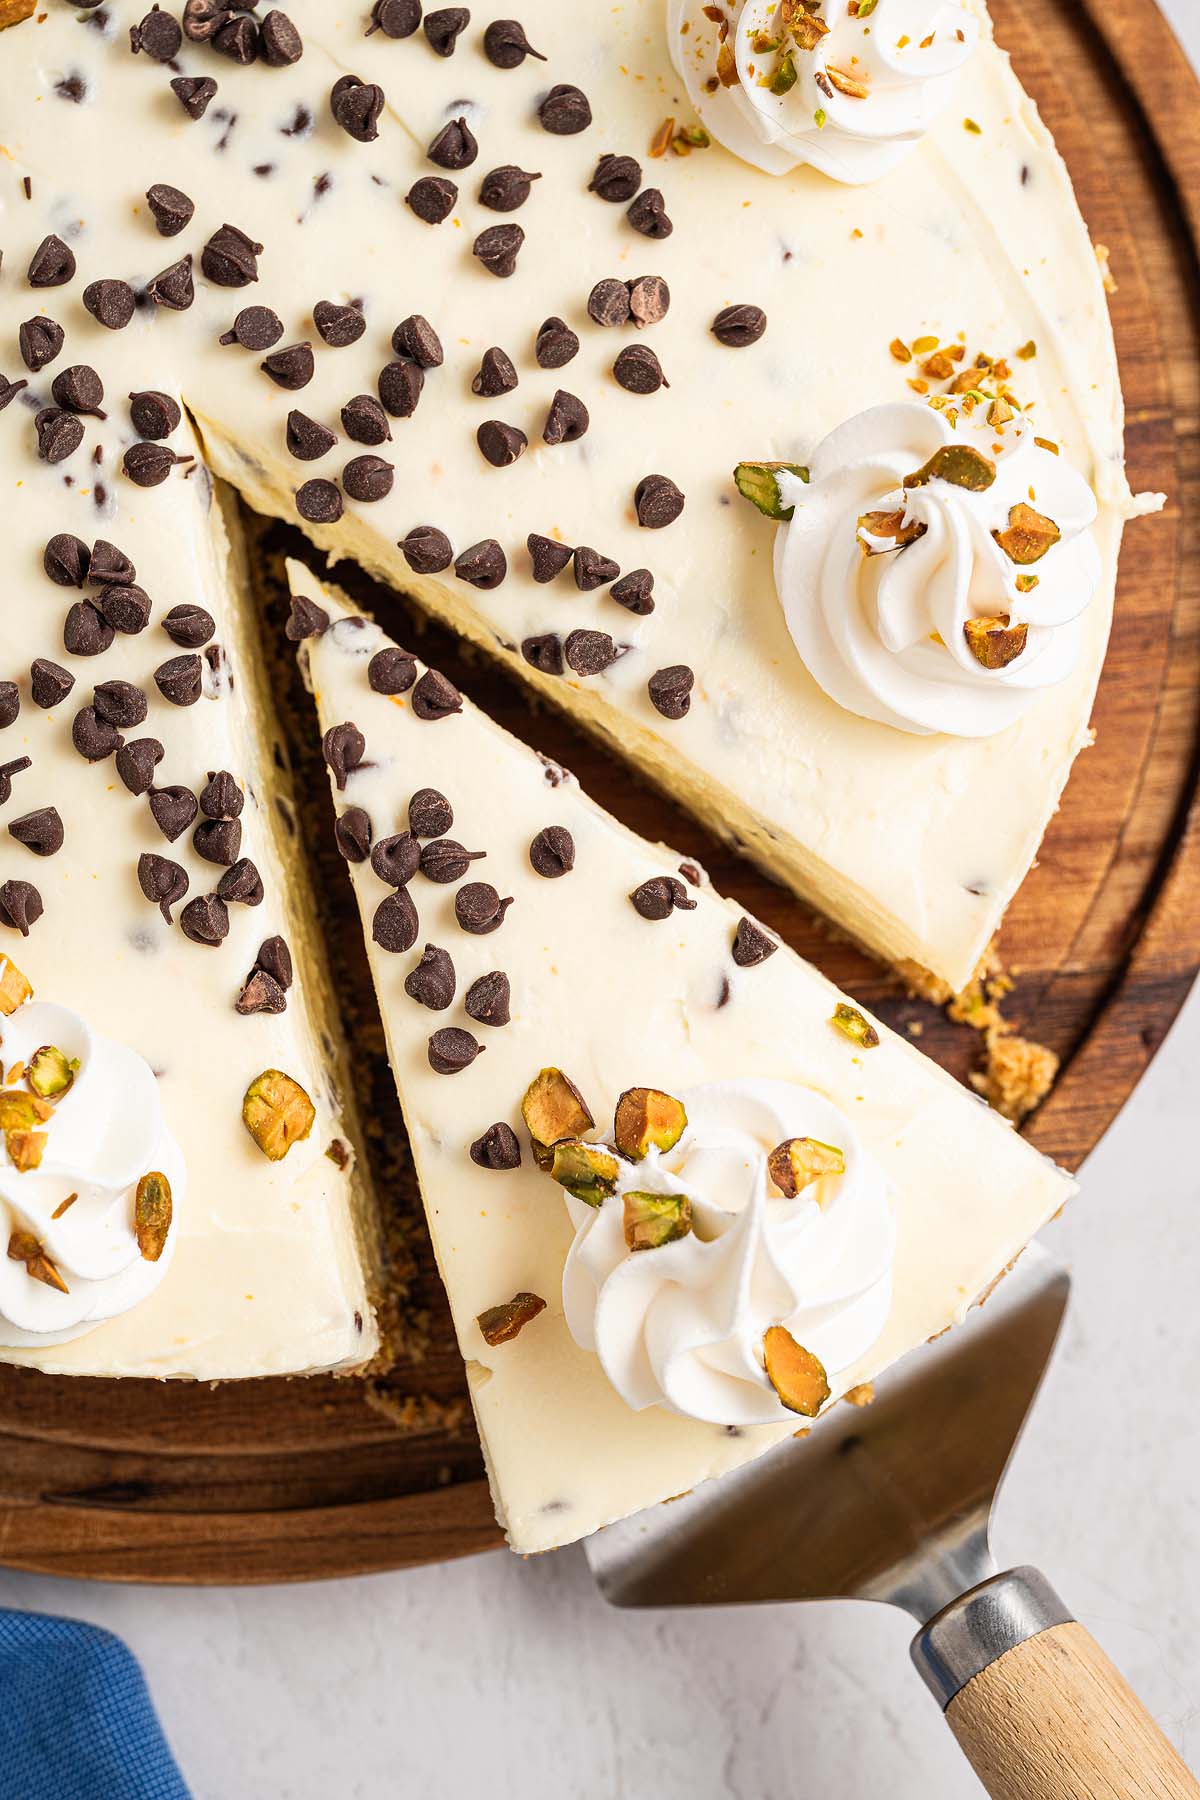
Finish and serve: Run a thin knife around the edge, release the springform ring, move the cheesecake to a serving plate and garnish before slicing.
Substitutions and Variations
Graham cracker crust option: Use crushed graham crackers instead of vanilla wafers if you want a more classic graham cracker crust flavor.
Cookie swaps: Try crushed sugar cookies, graham cracker crumbs, crushed waffle cookies or make a crushed waffle cone crust.
Citrus variations: Swap the orange zest for lemon zest or use a mix of the two.
Powdered sugar filling: Replace the granulated sugar in the filling with powdered sugar and scale it back slightly for a softer sweetness.
Gluten-free crust: Choose gluten-free vanilla wafers or gluten-free graham style cookies.
Dairy-free version: Use dairy free cream cheese, a thick dairy free whipped topping, plant based chocolate chips and a dairy free buttery spread in the crust (the texture will be a bit softer).
Topping ideas: Add crushed cannoli shells around the edge, drizzle melted chocolate over the top or finish with extra pistachios and citrus zest.
Make mini cheesecakes: For individual treats, press the crust into lined muffin cups, add the filling and chill until firm, then remove the liners before serving.

Serving Suggestions
Appetizers: Begin your Italian inspired meal with burrata tomato bites or antipasto skewers.
Main dishes: Serve shrimp francese, chicken valdostana or a pepperoni lasagna next.
Dessert: Finish with a slice of cannoli cheesecake and perhaps a glass of limoncello for a delicious treat everyone will remember.
How to Store
Store: Keep the cheesecake covered in the fridge for up to 4 days, either in an airtight container or tightly wrapped in plastic wrap.
Freeze: Wrap the whole cheesecake or individual slices in plastic wrap, then foil, and freeze for up to 2 months.
Thaw: Thaw in the fridge until the filling feels creamy again before serving.
Top Tips
Drain the ricotta well: Spread the ricotta on paper towels or in a fine mesh strainer so extra moisture does not water down the ricotta whipped cream filling.
Pack the crust firmly: Take time pressing the crumb mixture into the prepared pan so the crust holds together when you cut neat slices. I press it in with a flat-bottomed measuring cup.
Beat until smooth: Mix the cream cheese and ricotta until there are no lumps before folding in whipped topping and chocolate chips.
Chill long enough: Let the cheesecake sit in the fridge until the center feels fully set so the slices keep their shape.
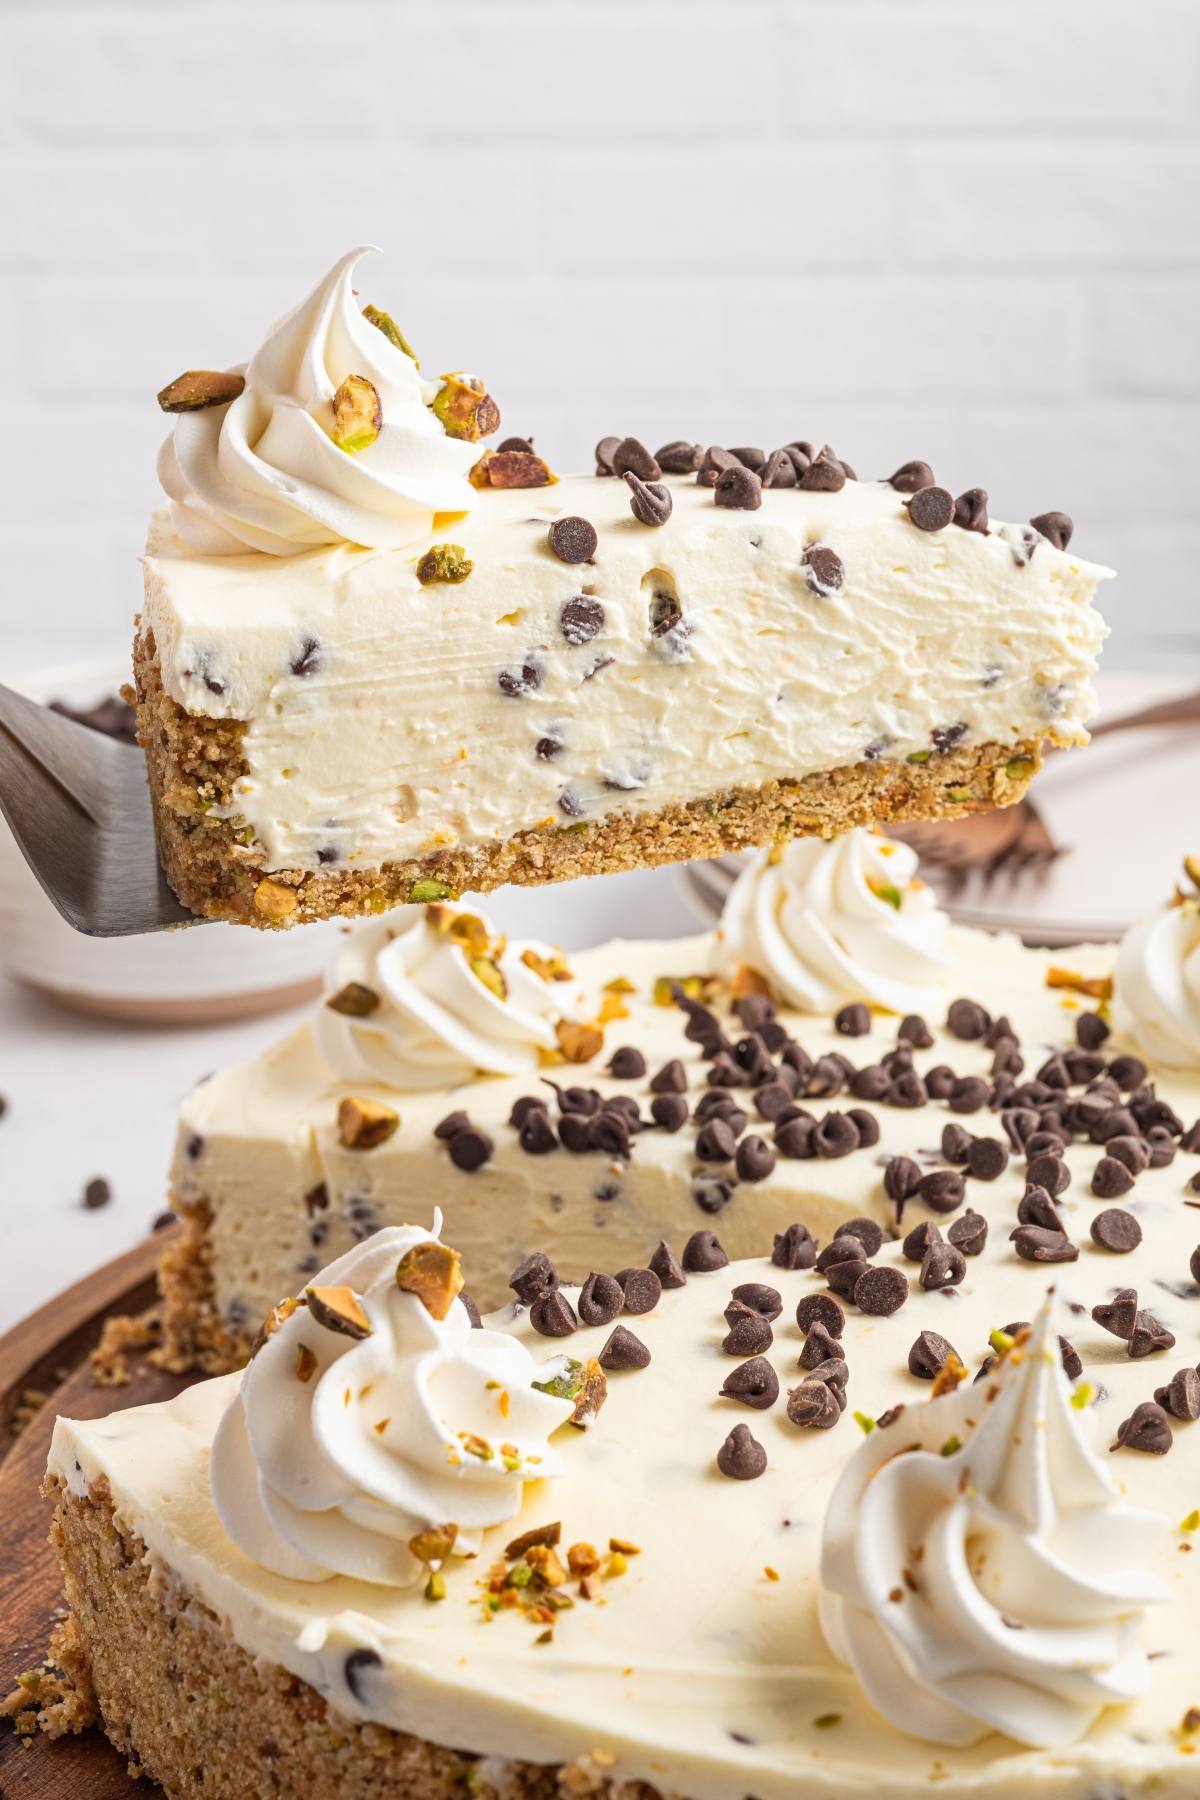
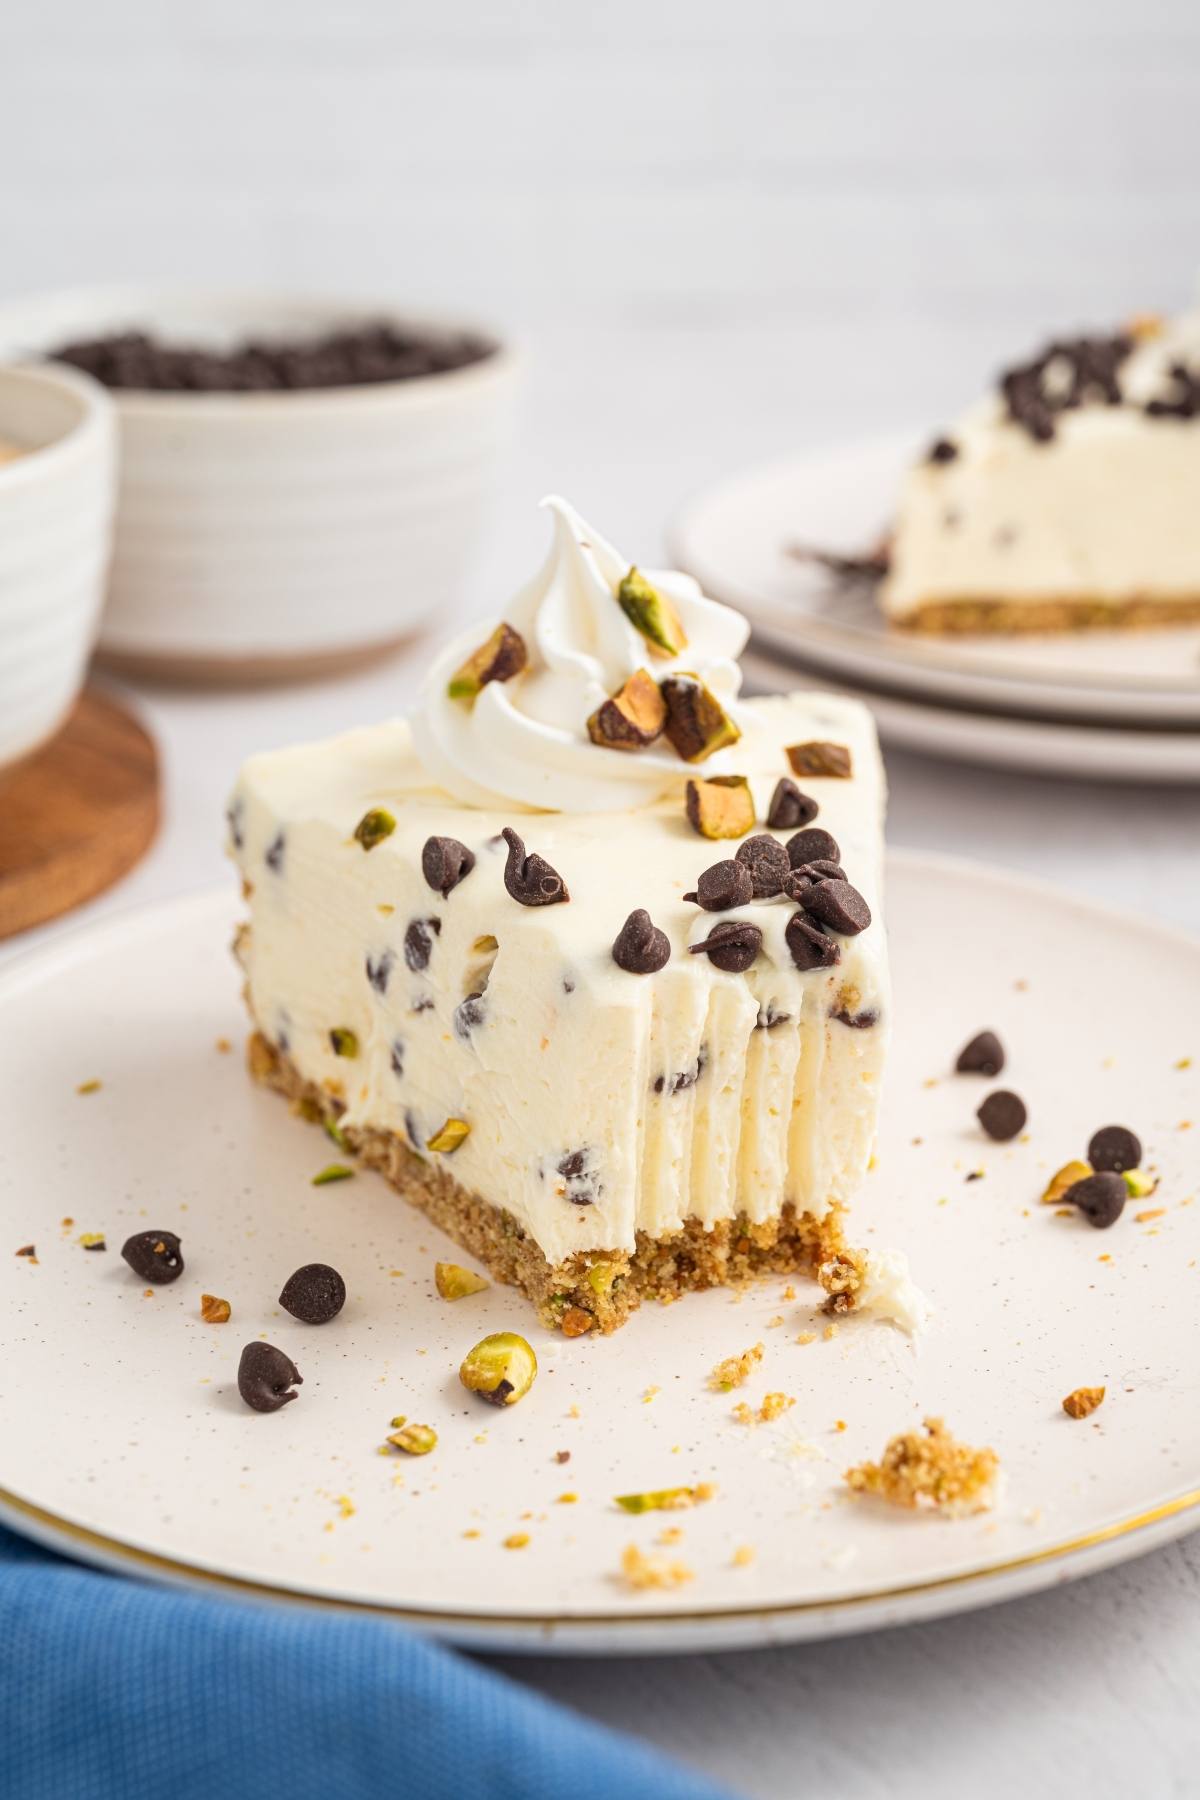
Warm the knife: Dip a sharp knife in hot water, wipe it dry, then cut slices for clean edges that show off the layers.
No Bake Cannoli Cheesecake FAQs
It doesn’t have to, but chilling it overnight gives the best texture and makes slicing easier.
This removes extra liquid so the filling stays thick and creamy, not watery. I spread the ricotta out on a paper towel-lined cutting board to drain it.
Add whipped cream and extra toppings close to serving time so the decorations stay fresh and the whipped cream holds its shape.
Cannoli Cheesecake Recipe
Cannoli Cheesecake
Equipment
- Springform Pan 9-Inch
- Microplane or Zester
- Offset Spatula Optional
Ingredients
For the Crust
- 40 vanilla wafers, about 3 Cups
- ⅓ Cup pistachios, shelled, roasted and salted – remove shells before measuring
- 2 Tablespoons brown sugar
- 5 Tablespoons unsalted butter, melted, plus more for greasing
For the Filling
- 16 Ounces cream cheese, softened
- 8 Ounces whole milk ricotta, drained
- 1 Cup granulated sugar
- 1 Teaspoon vanilla extract
- ½ Teaspoon orange zest, from ⅔ to 1 medium naval orange
- 8 Ounces whipped topping, thawed
- 1 Cup mini chocolate chips
Instructions
Make the Crust
- Grease a 9-inch springform pan with butter or shortening and set aside.
- Place the vanilla wafers, pistachios, and brown sugar in a food processor, and pulse until the wafers have become fine crumbs and the pistachios are finely chopped.
- Slowly pour in the melted butter while the processor runs at low speed until the crumbs are well coated.
- Firmly press the mixture into the greased pan, and place in the freezer for 15 to 20 minutes or until the crust has hardened.
Prepare the Filling
- While the crust is in the freezer, add the cream cheese, ricotta, granulated sugar, vanilla extract, and orange extract to a large mixing bowl.
- Use an electric mixer to mix everything until smooth.
- Fold in the whipped topping, then fold in the mini chocolate chips.
Assemble the Cheesecake
- Spoon the filling over the hardened crust, and spread it out evenly.
- Chill in the refrigerator for at least 5 hours or until the cheesecake is set.
- Run a thin knife around the edge of the cheesecake, and carefully release it from the springform pan before transferring it to a large cake stand or platter.
- Top with whipped cream and extra mini chocolate chips or chopped pistachios, if liked.
Notes
Pack the crust firmly: Take time pressing the crumb mixture into the prepared pan so the crust holds together when you cut neat slices. I press it in with a flat-bottomed measuring cup.
Beat until smooth: Mix the cream cheese and ricotta until there are no lumps before folding in whipped topping and chocolate chips.
Chill long enough: Let the cheesecake sit in the fridge until the center feels fully set so the slices keep their shape.
Warm the knife: Dip a sharp knife in hot water, wipe it dry, then cut slices for clean edges that show off the layers.
Nutrition

Cannoli cheesecake has a vanilla wafer and pistachio crust that gives just enough crunch under a cool, silky filling to make you feel like you’re spooning into a giant cannoli. Mini chocolate chips and a hint of citrus keep each bite interesting, and the no bake method means the fridge quietly does the hard work while you get on with everything else. Dress it up with whipped cream, extra chocolate and nuts, then enjoy something just as tasty as your favorite Italian bakery treat.
Other Recipes to Try


Bella Bucchiotti
Bella Bucchiotti is a Canadian-based syndicated food, travel, and lifestyle writer, photographer, and creator at xoxoBella. She founded xoxoBella in 2015, where she shares her love for food, dogs, sustainability, fitness, crafts, outdoor adventures, travel, and philanthropy to encourage others to run the extra mile, try new recipes, visit unfamiliar places, and stand for a cause. Bella creates stress-free and family-friendly recipes for weeknight dinners and festive feasts.


Can you freeze this cheesecake?
Hi Cathy, yes you can freeze it. I recommend you wrap it well in plastic wrap and then foil, or else you can pop slices in airtight containers, and freeze for up to 2 months. Thaw in the fridge before serving (overnight if possible) and it should keep the creamy texture.