This post may contain affiliate links, please see the privacy policy for details.
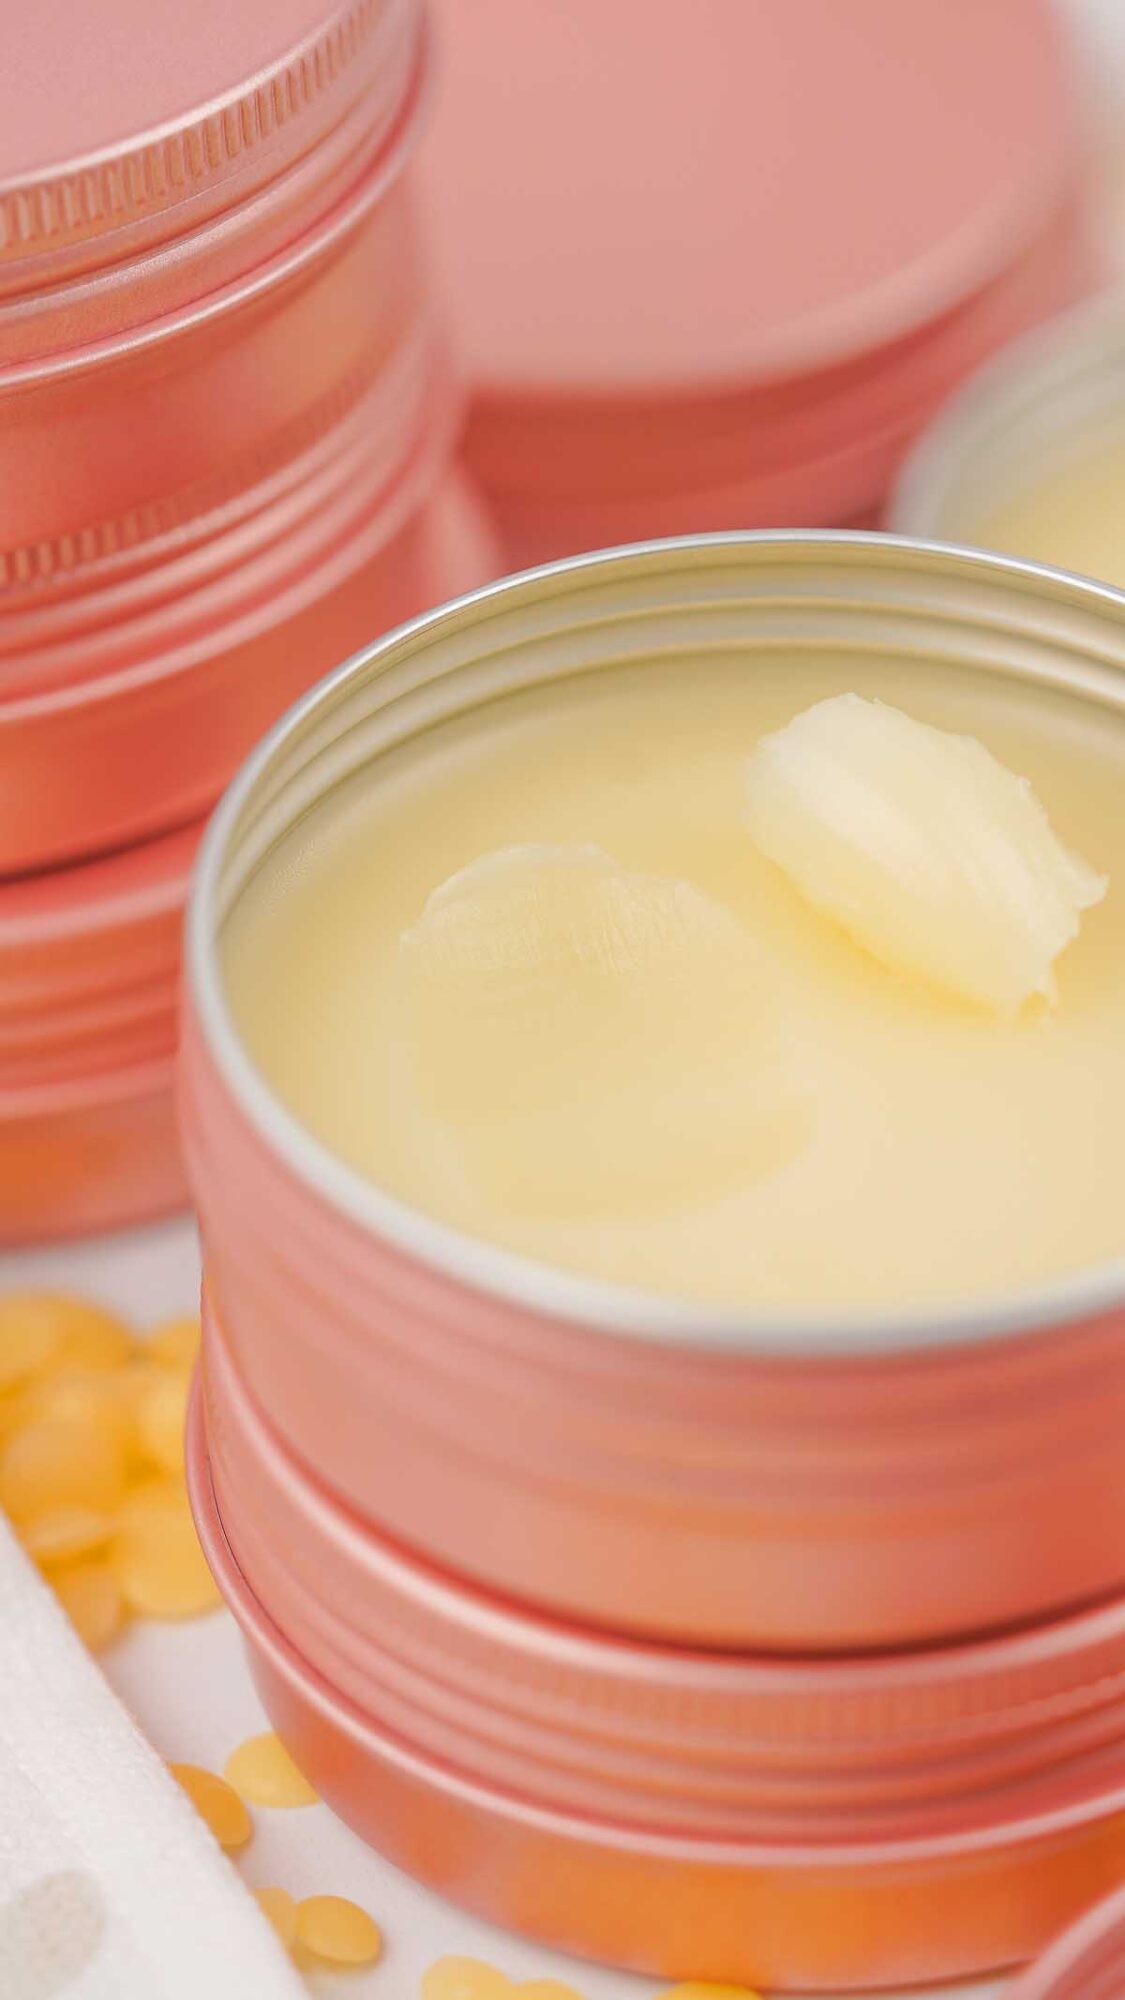
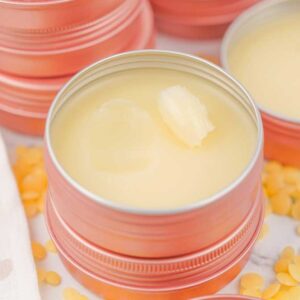
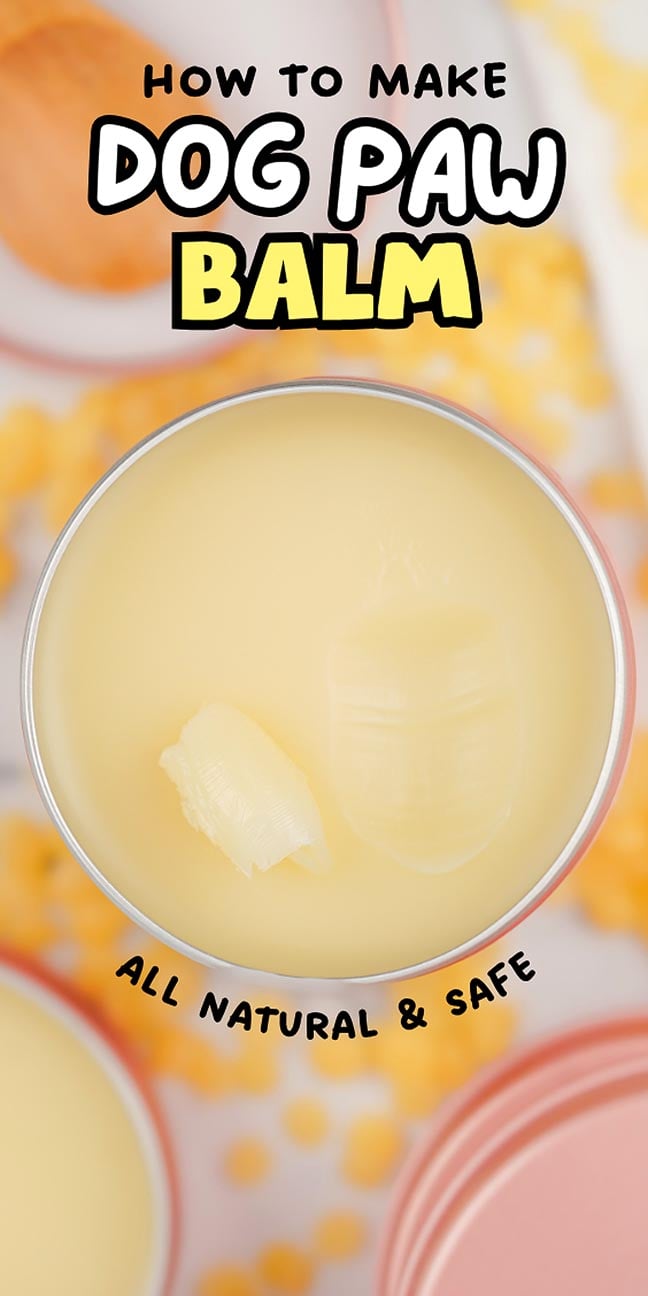
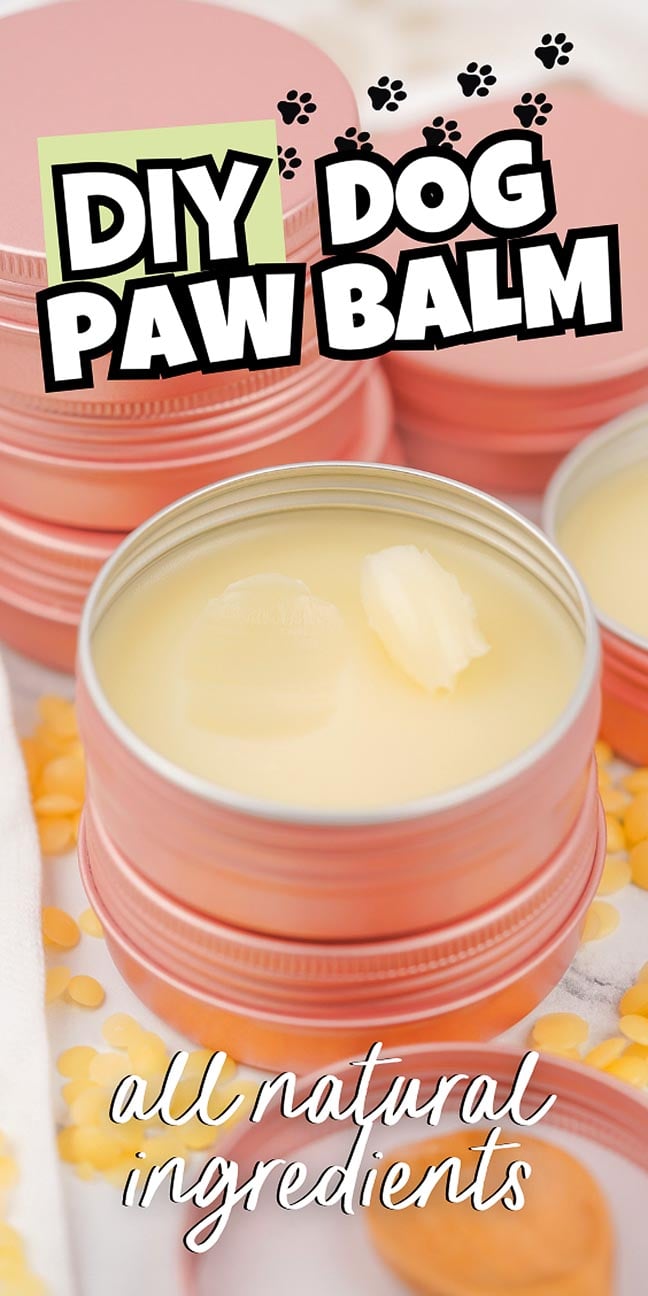
This DIY dog paw balm is perfect for your fur-baby’s paws if they’re dried out or scratchy, or even just to keep their paws in tip-top condition. Revitalize their paw pads with this gentle paw balm for soft, healthy results. This DIY balm is a natural salve especially created for our four-legged friends and it helps protect from the harsh elements.
Keep your dog’s paws healthy and protected with this DIY paw balm recipe. It’s a gentle, all-natural salve that’s a breeze to whip up.
Find out more about flying with your pup, some tips for staying in a hotel with a dog and how to make your own sweet potato and bacon dog treats.

Why You’ll Love It
Kind and gentle: There are no chemicals or unwanted ingredients in this all-natural paw balm.
Easy to prepare: You simply need to measure out your ingredients, melt them together in a saucepan and store the balm in little pots.
Makes a great gift: All your friends and family members with dogs will love this homemade paw balm. Oh, and it’s good for cats too!
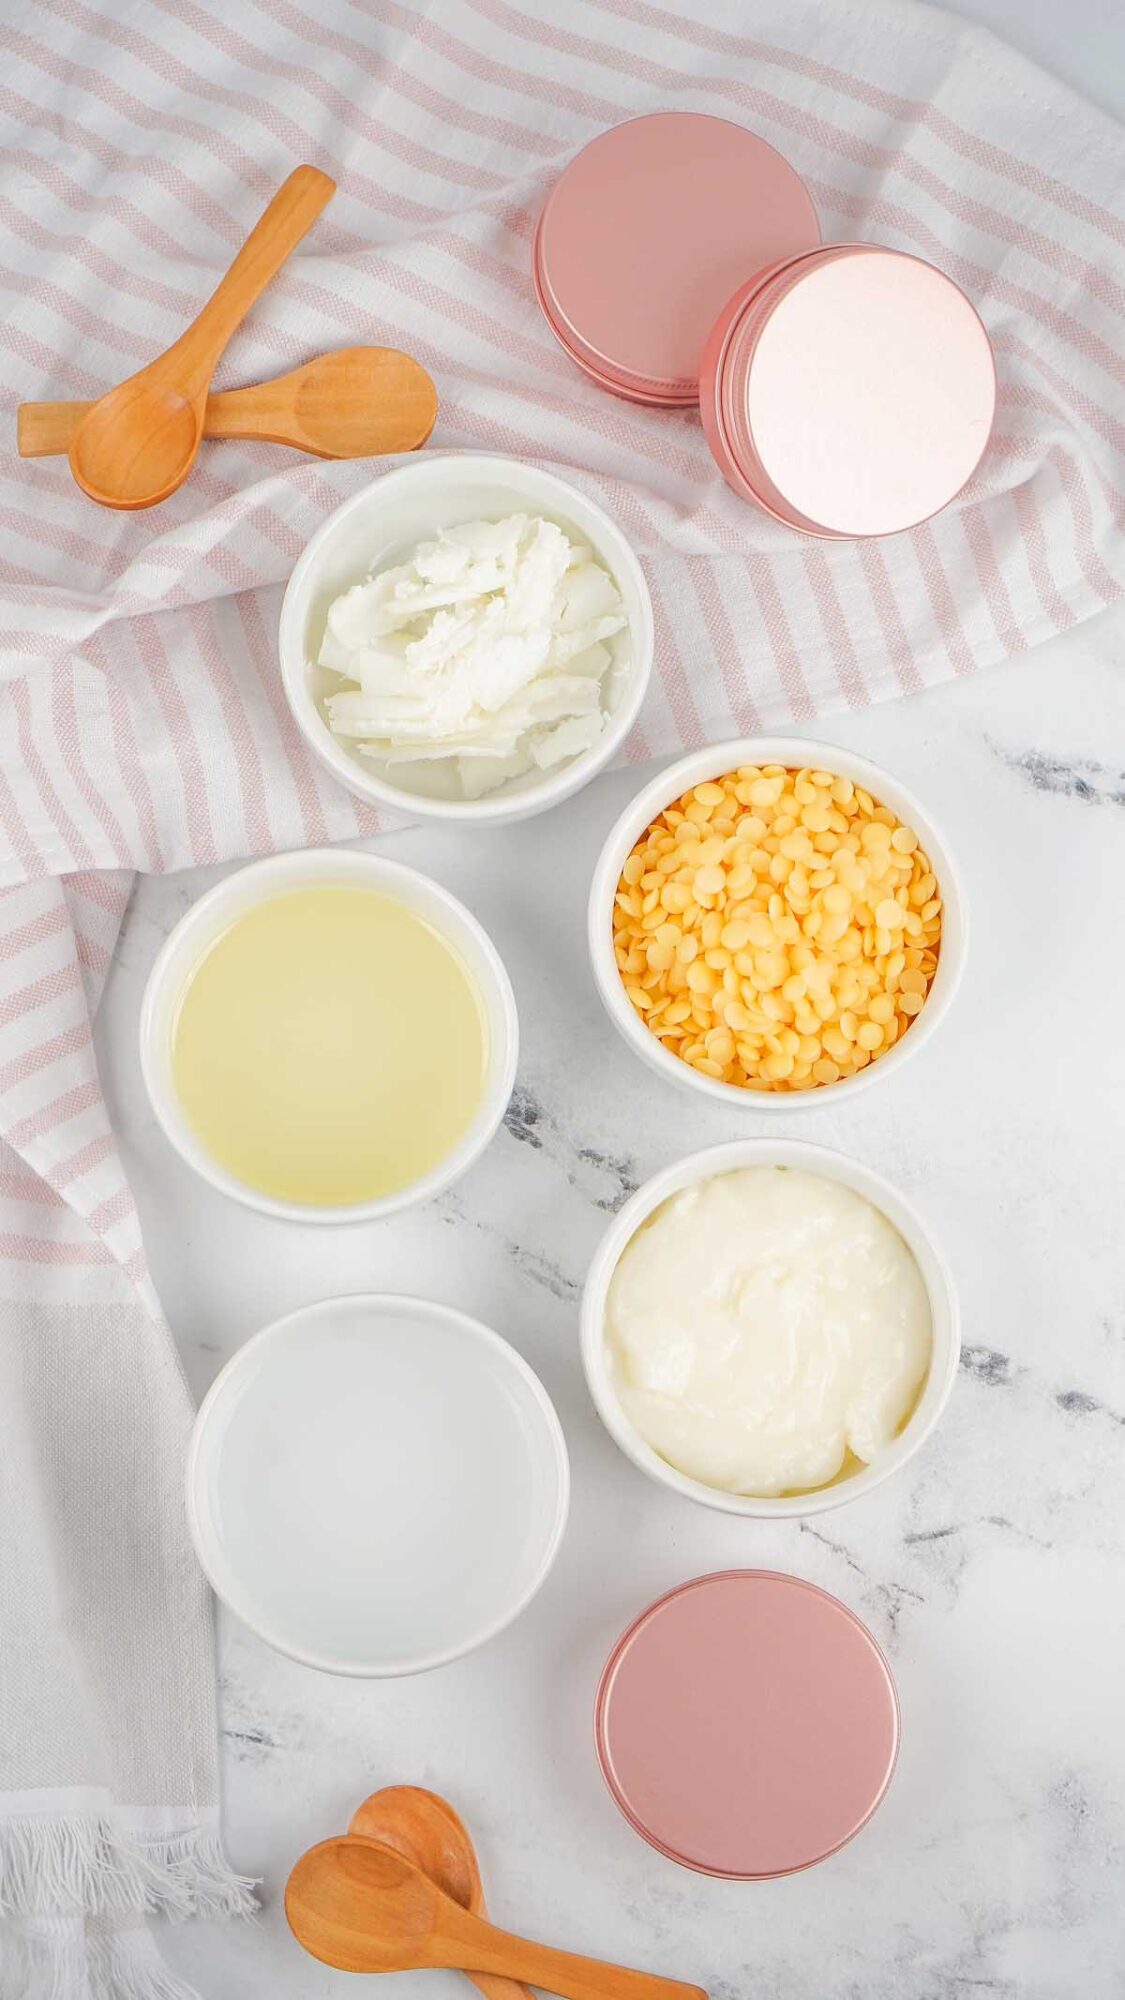
Homemade Dog Paw Balm Ingredients
A complete list of ingredients and amounts can be found in the recipe card below.
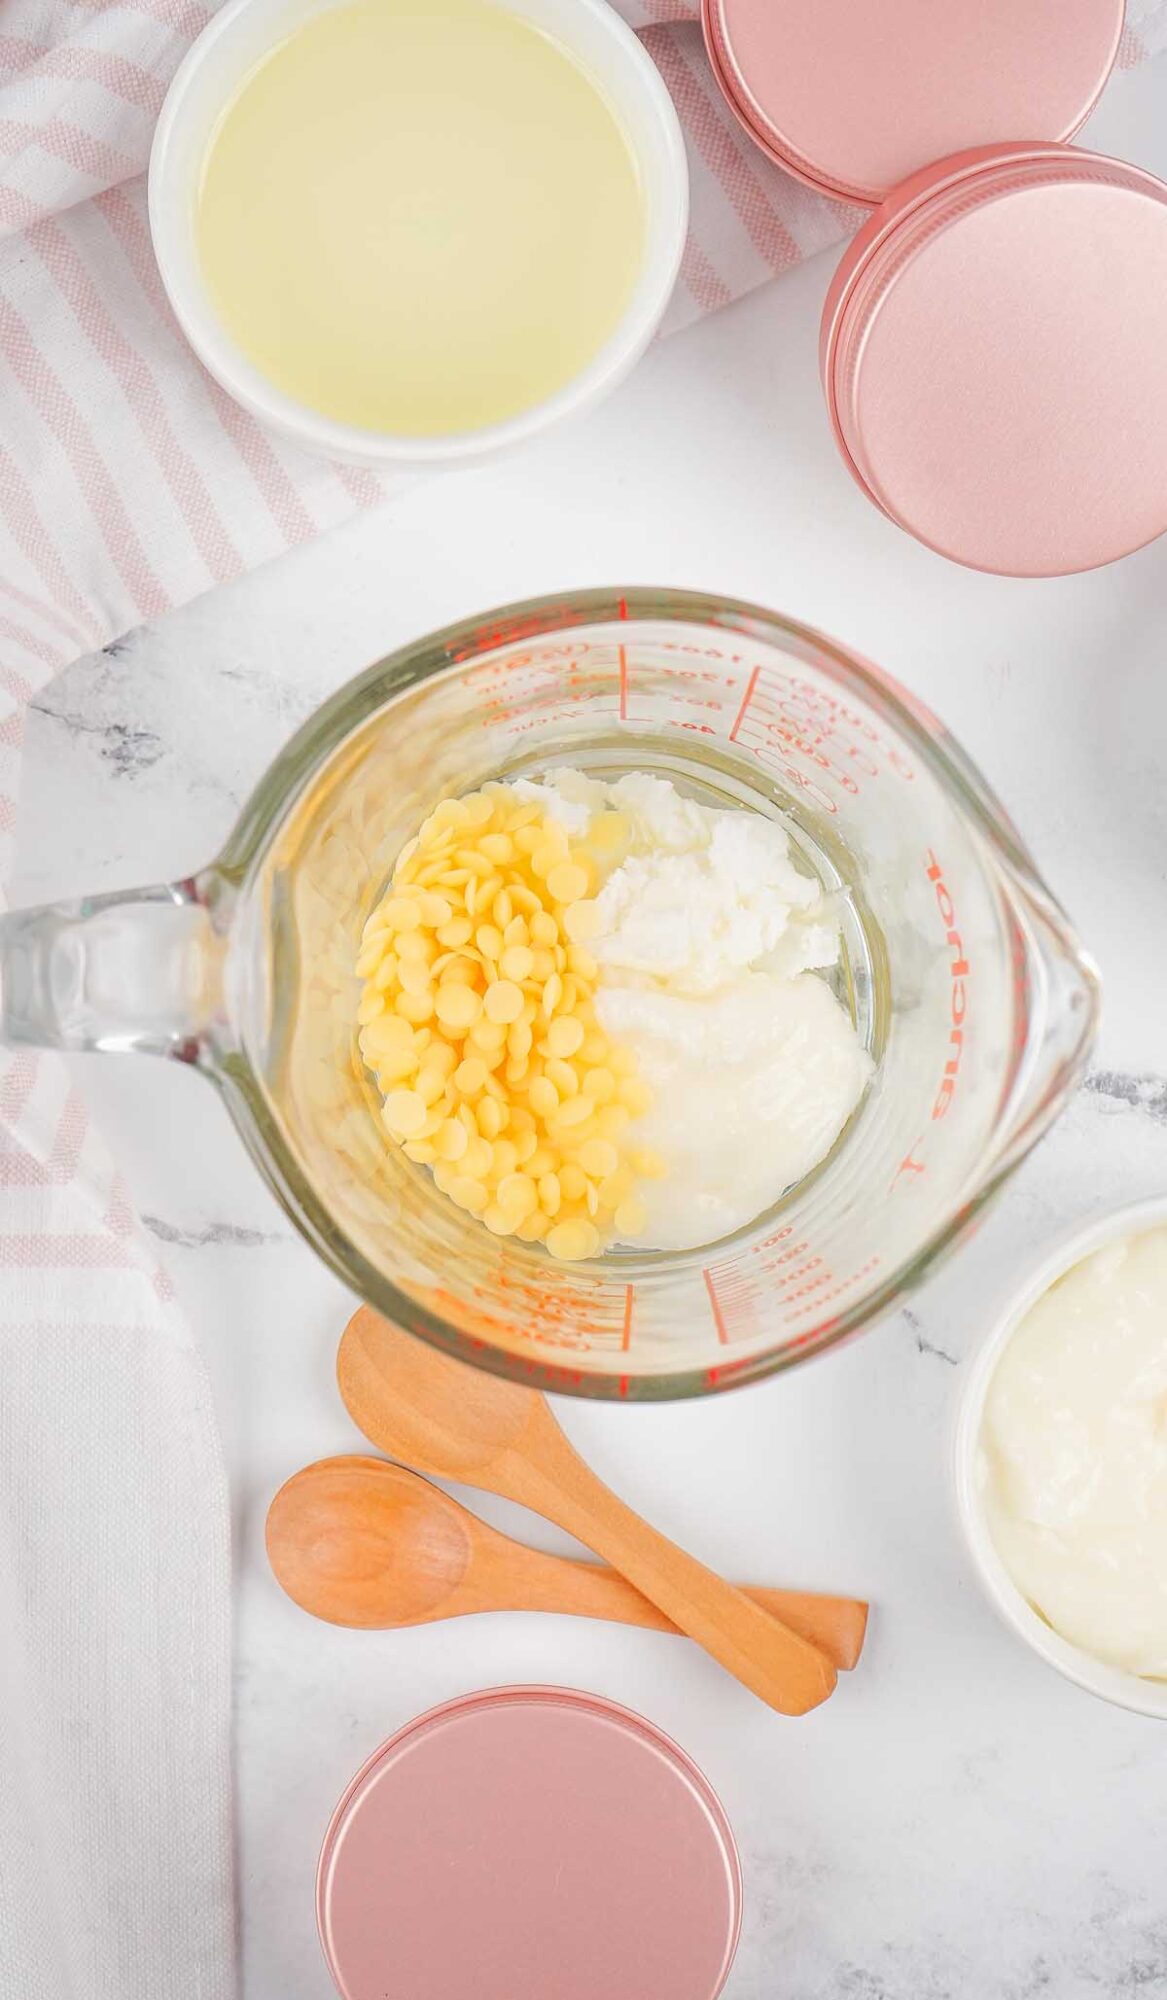
Vitamin E oil: Helps to soften split, dry paws.
Coconut oil: Very moisturizing.
Beeswax pellets: Easily absorbed and deeply nourishing for cracked paws (I love these).
Shea butter: Choose 100% pure raw shea butter (I used this one).
How to Make Paw Balm for Dogs
For more detailed instructions with weights and measurements, jump to the printable recipe card.
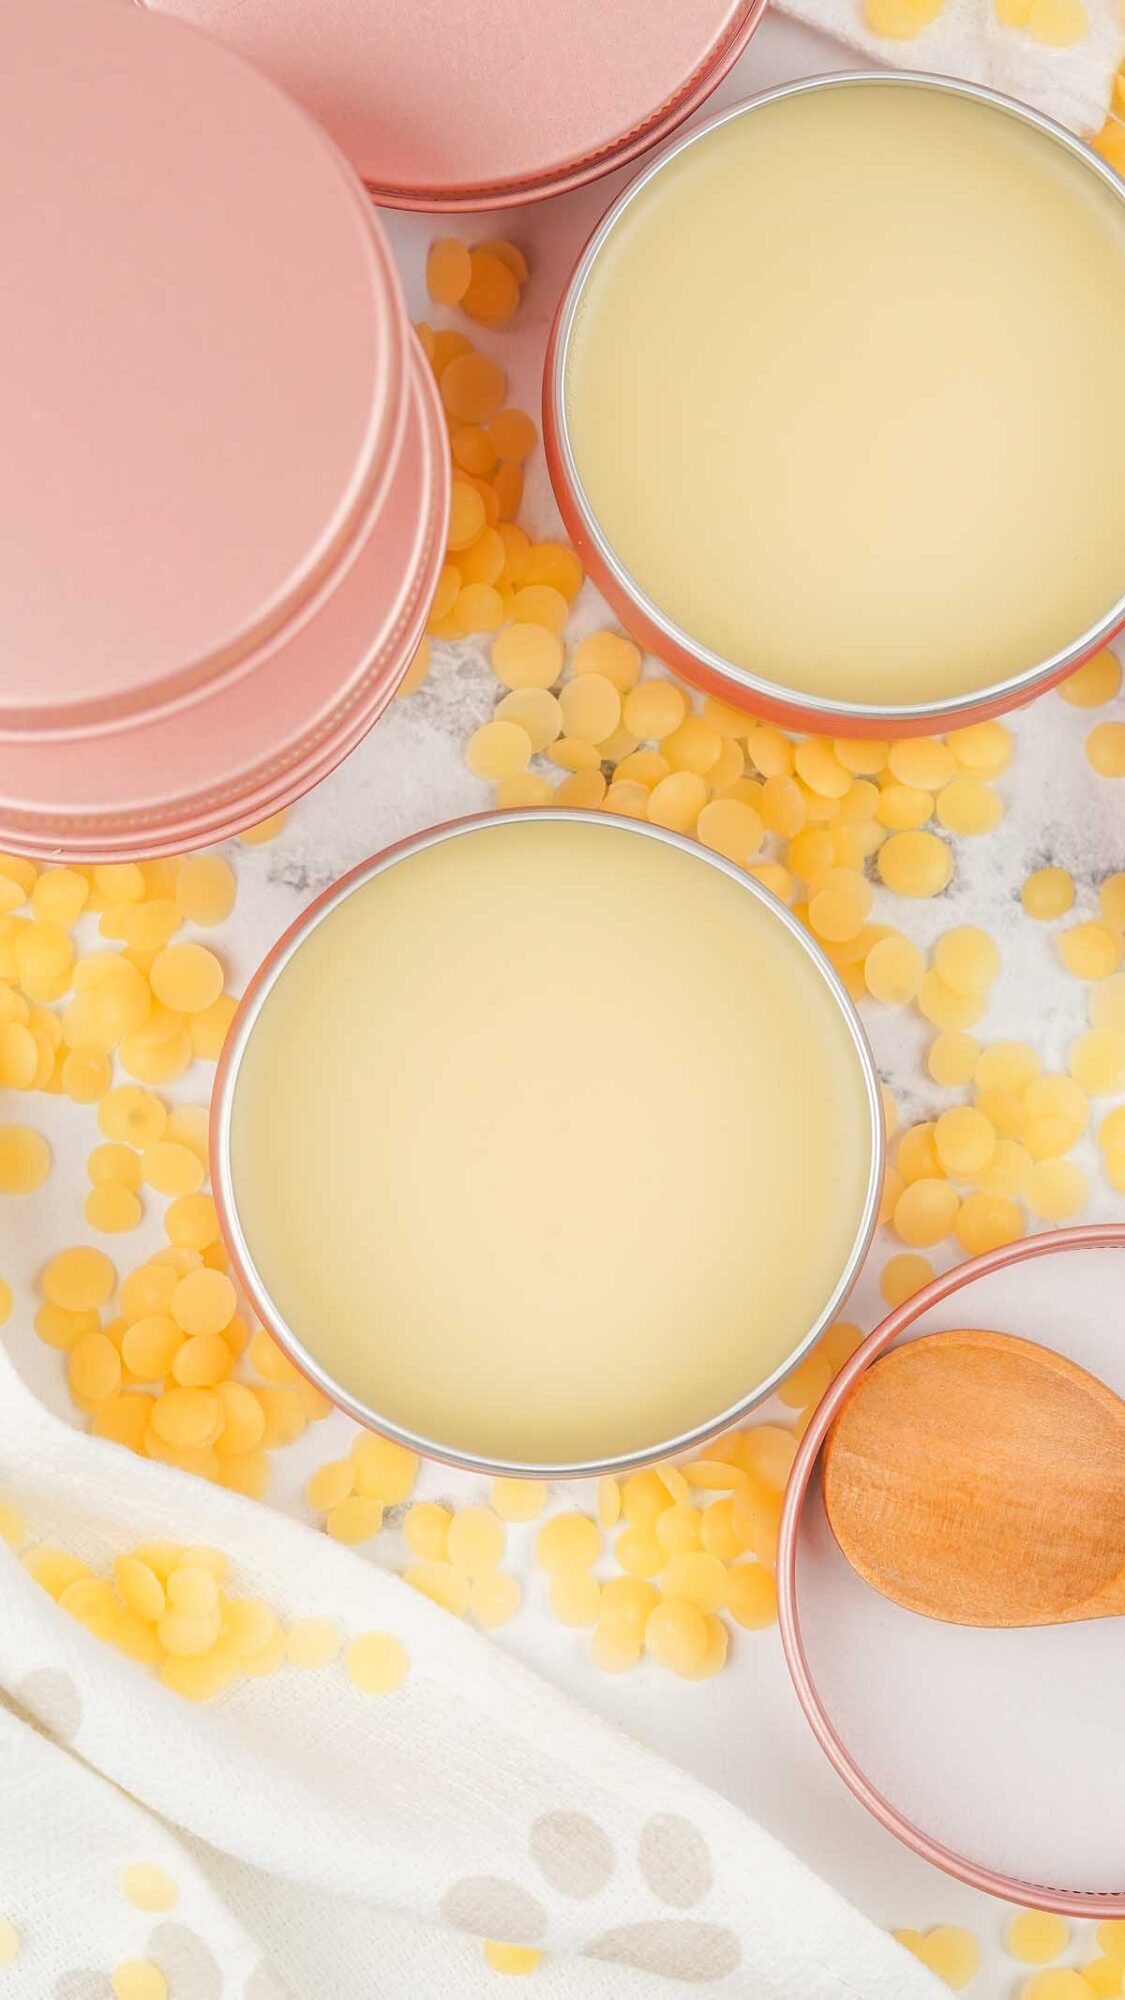
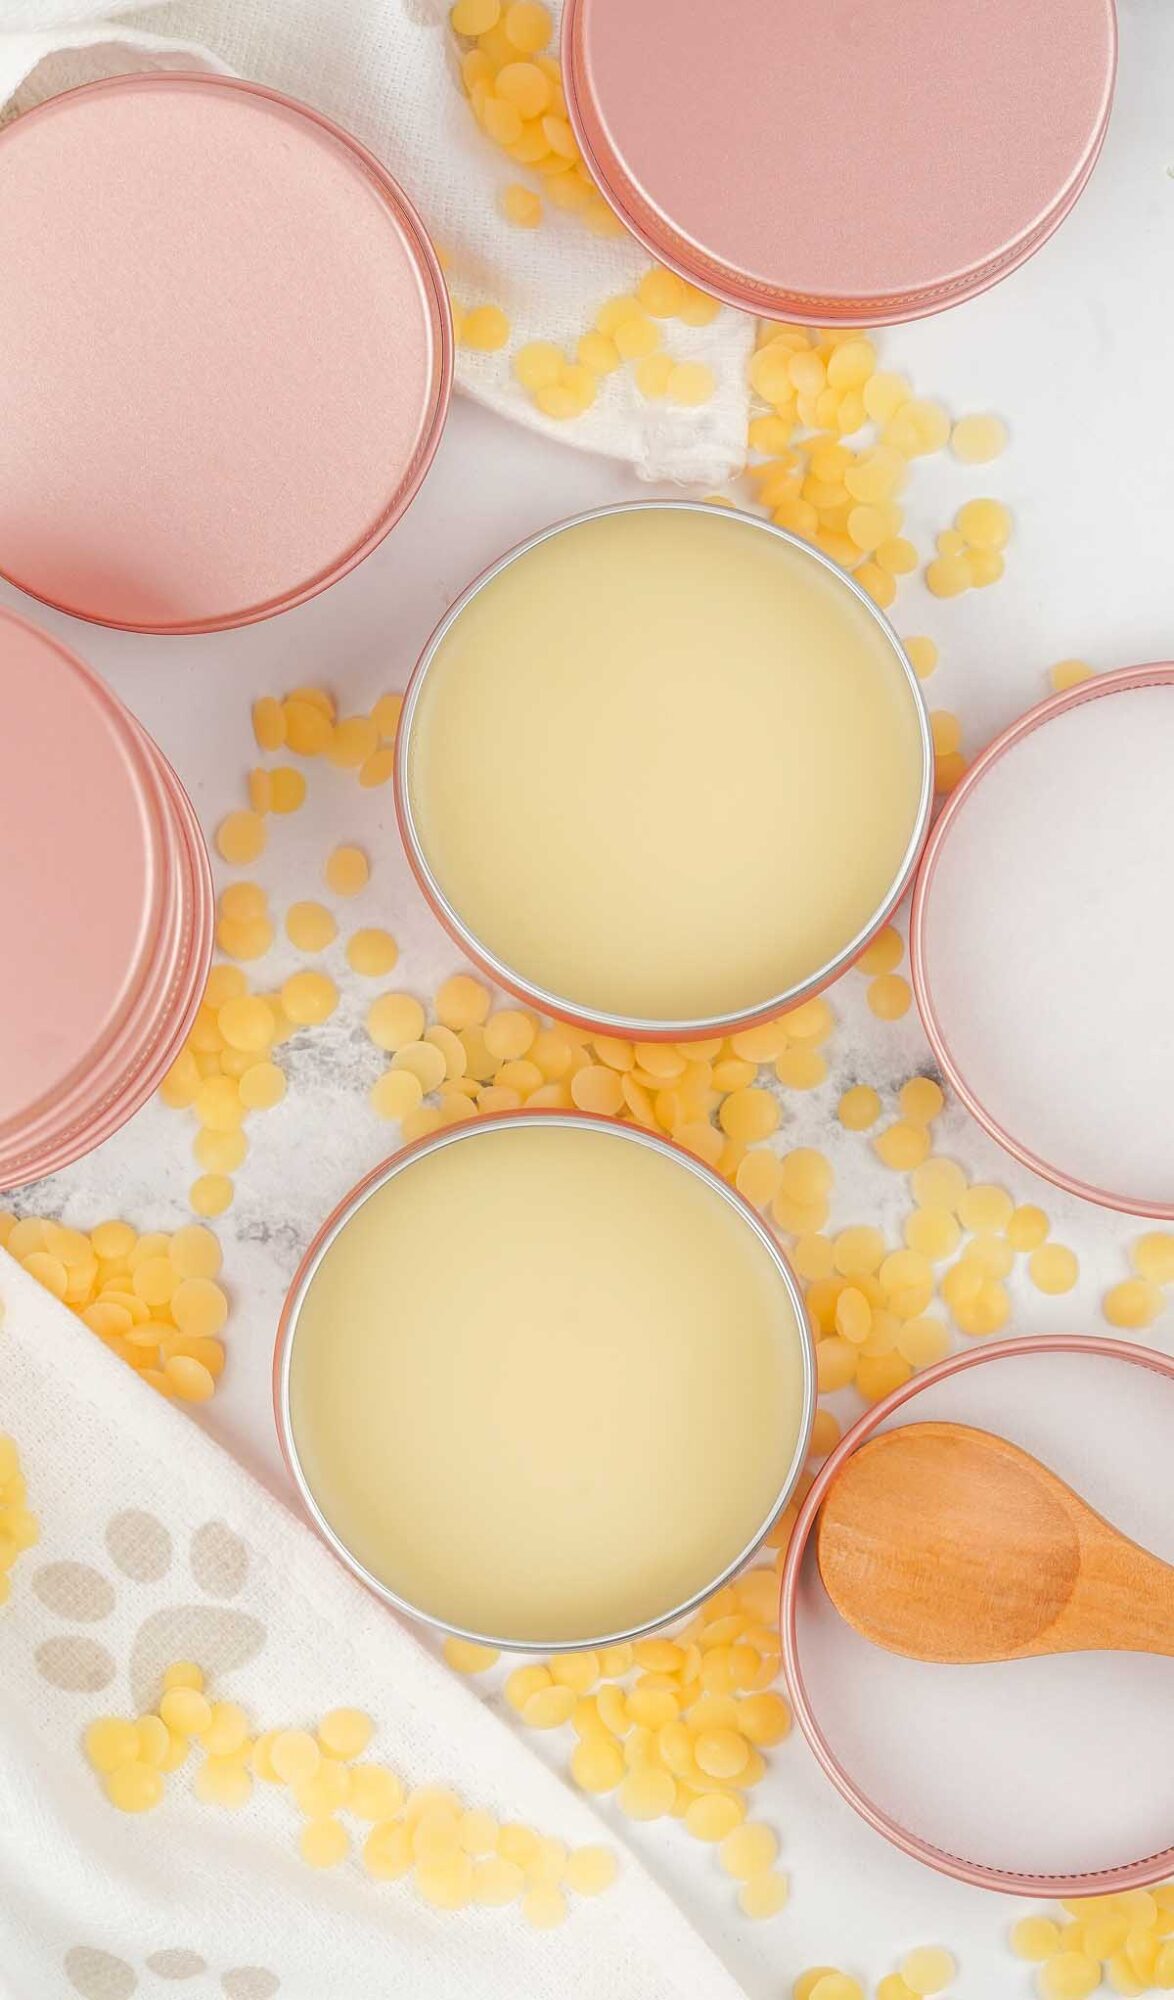
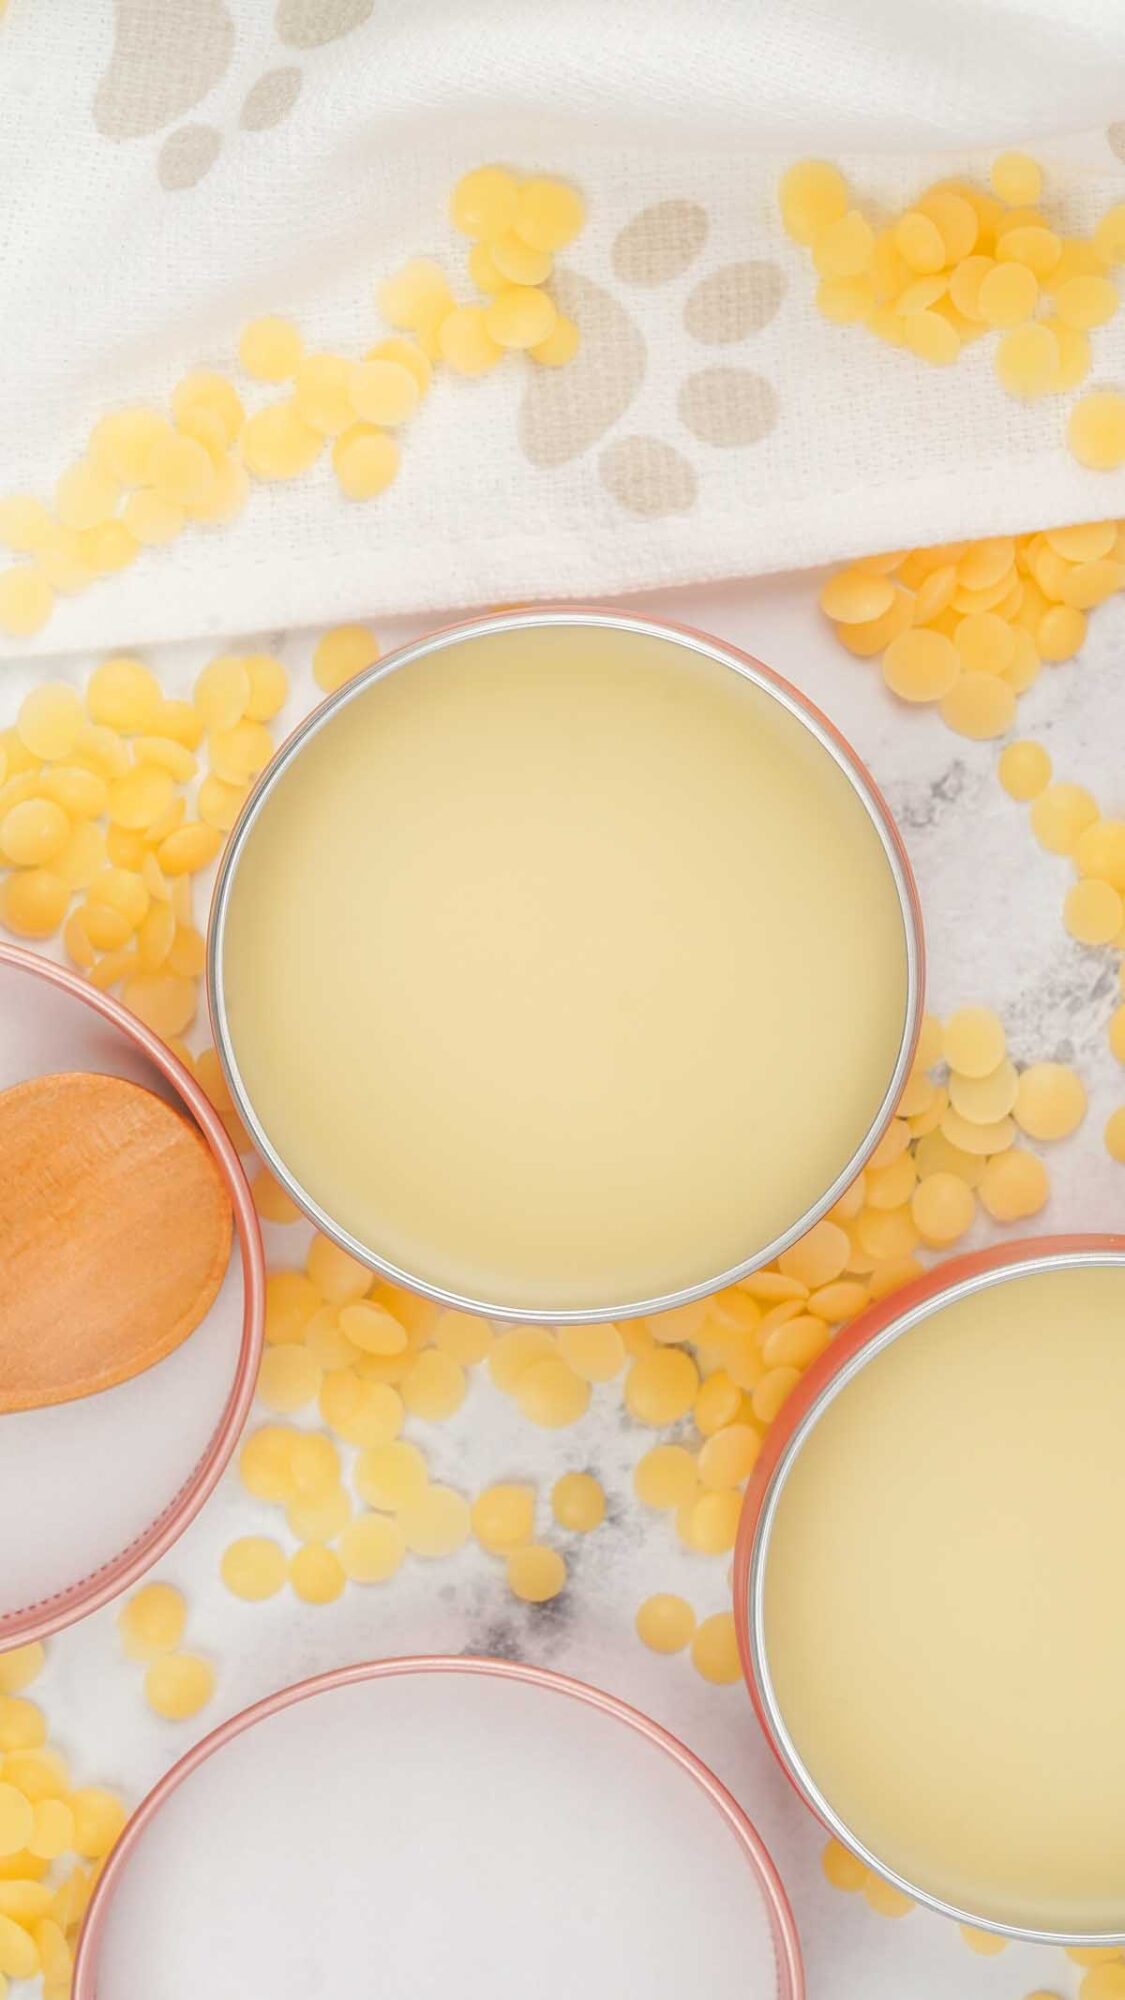
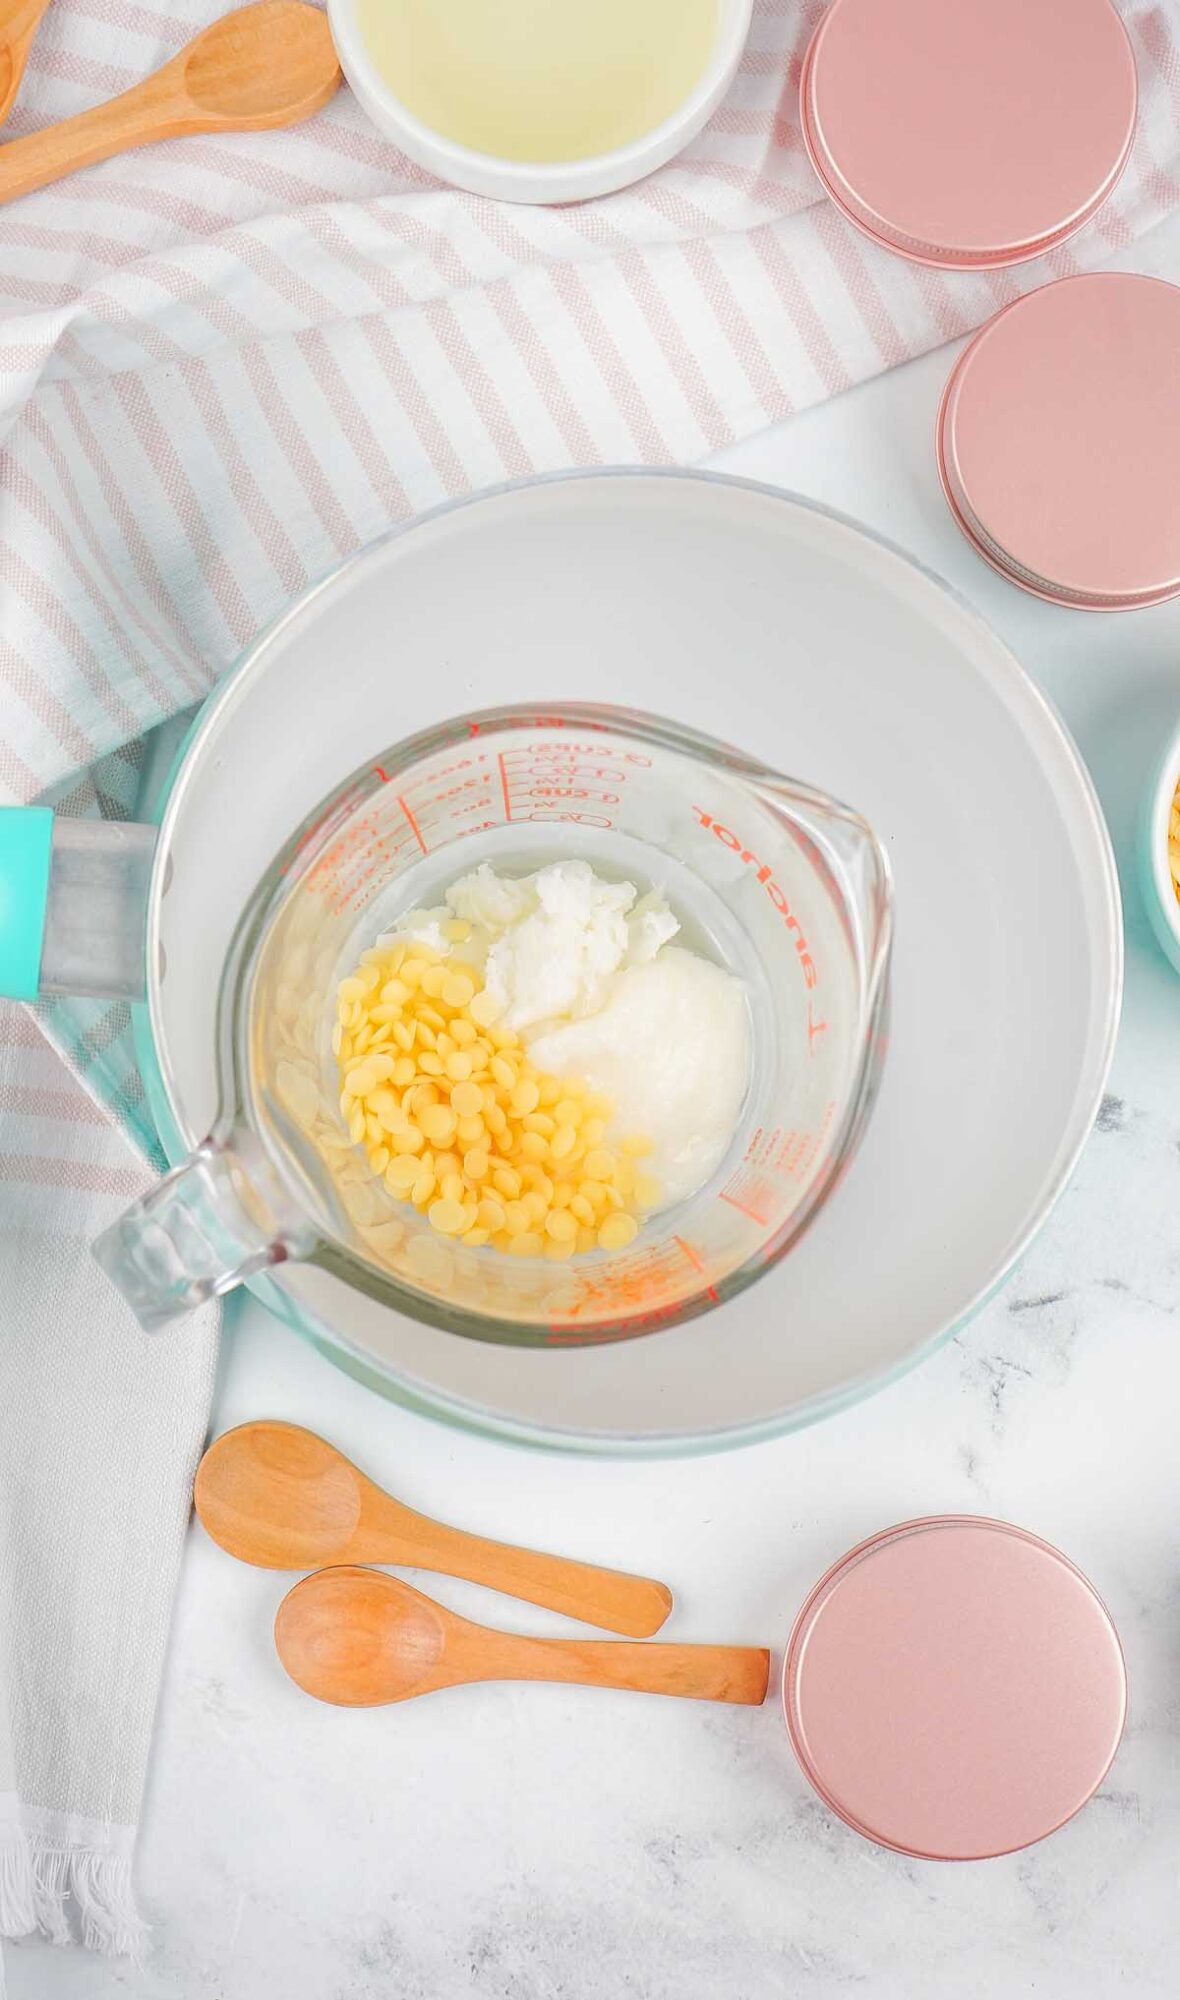
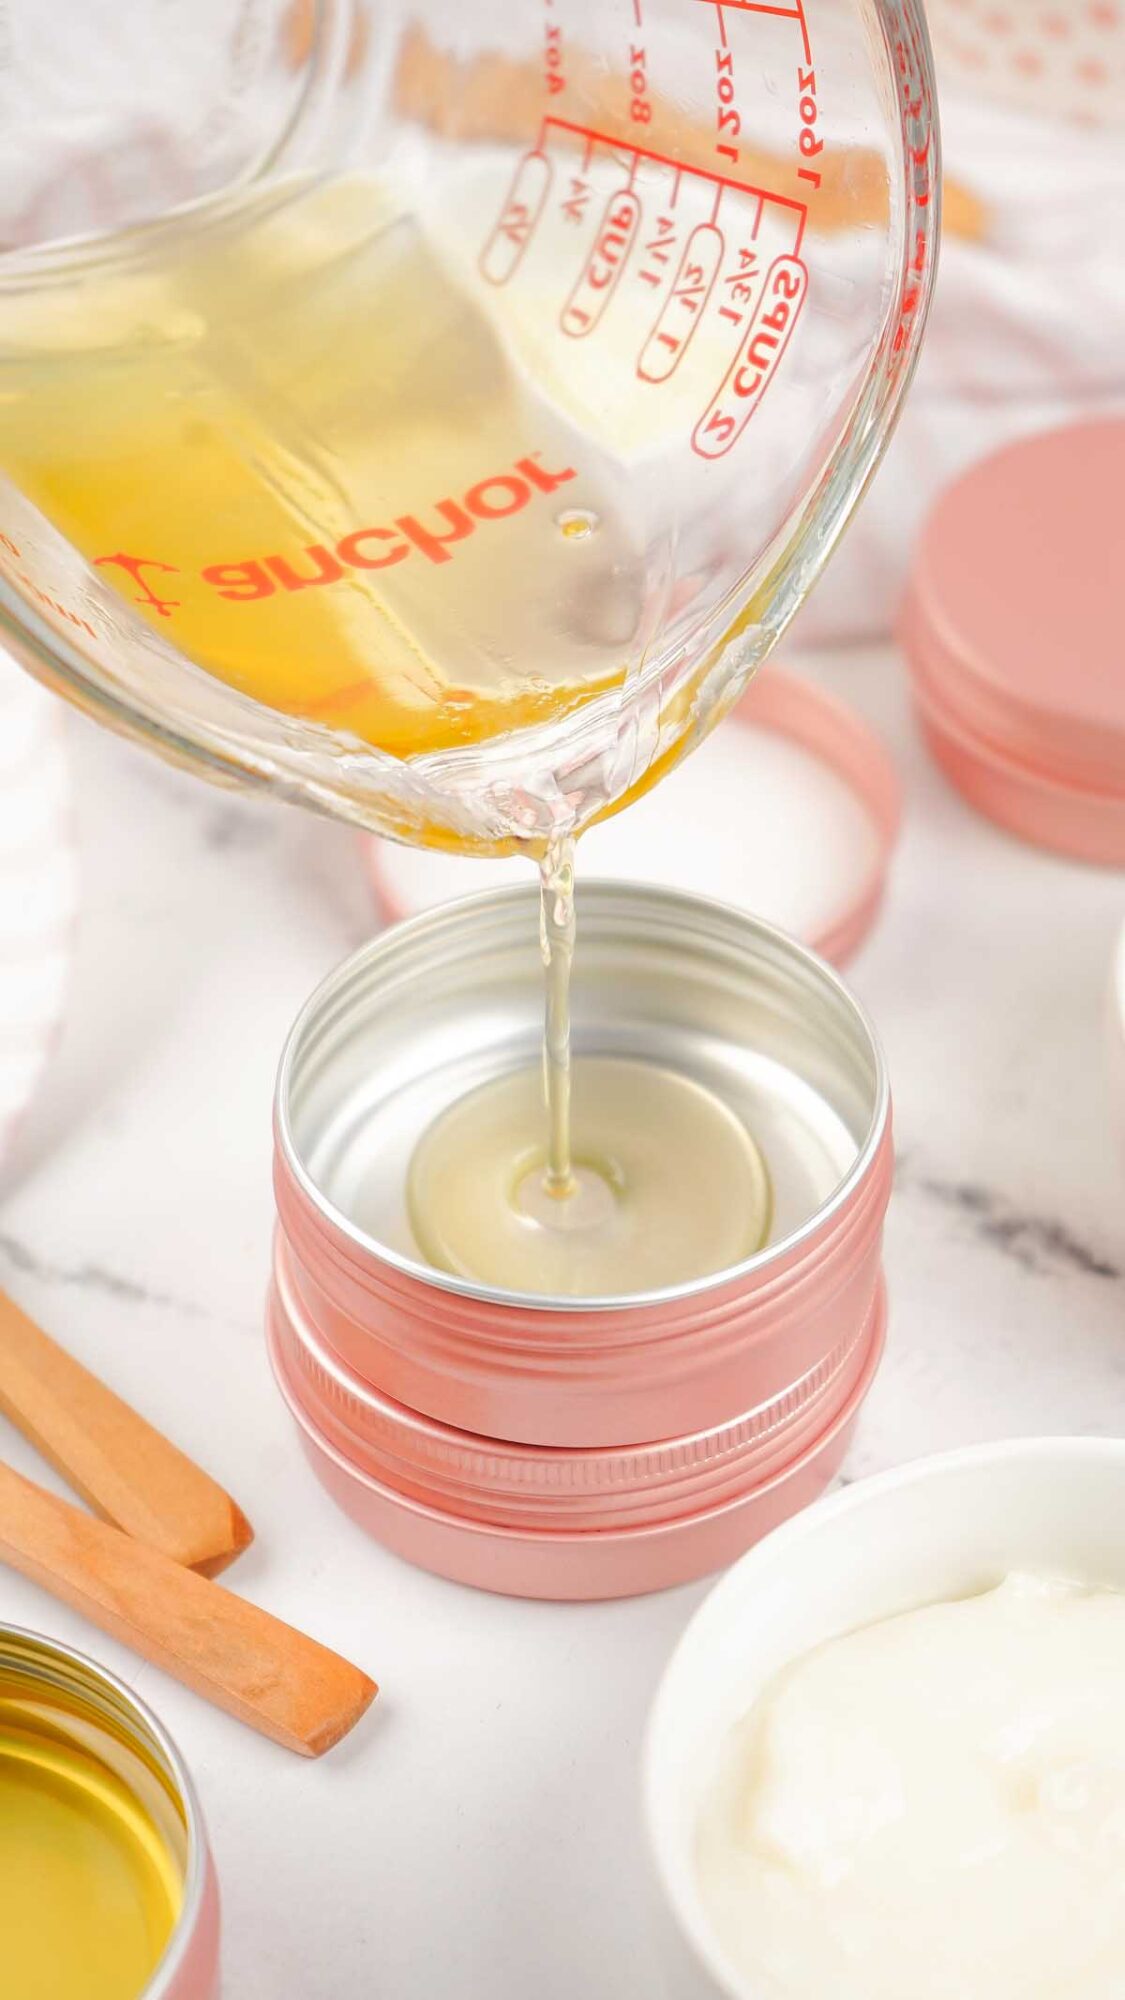
Melt the ingredients: Pour water into a pot on the stove. Add all the ingredients to a heatproof glass measuring cup and put it in the water with the handle outside the pan. Over a low heat, bring it to a gentle simmer (avoid extreme heat) and stir occasionally (there’s no need to stir continuously). It takes about 10 minutes for the ingredients to melt together. If it seems to thick you can add more beeswax pellets.
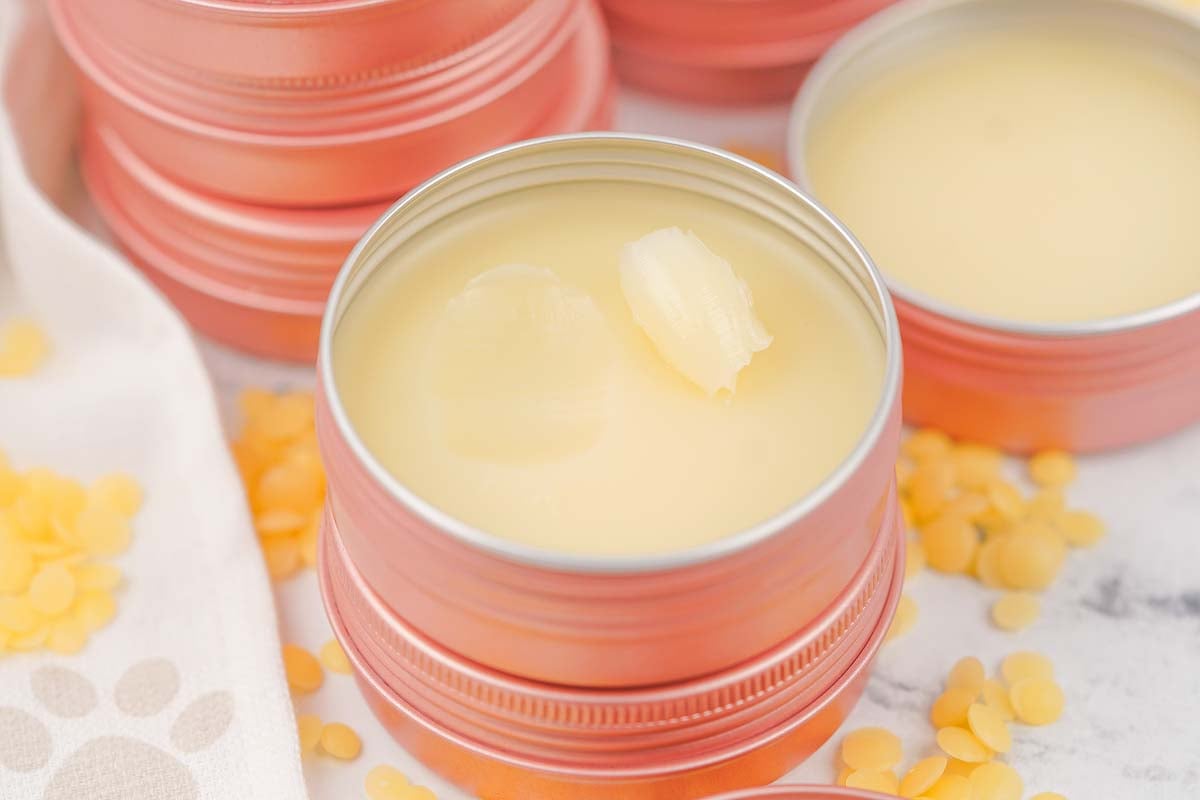
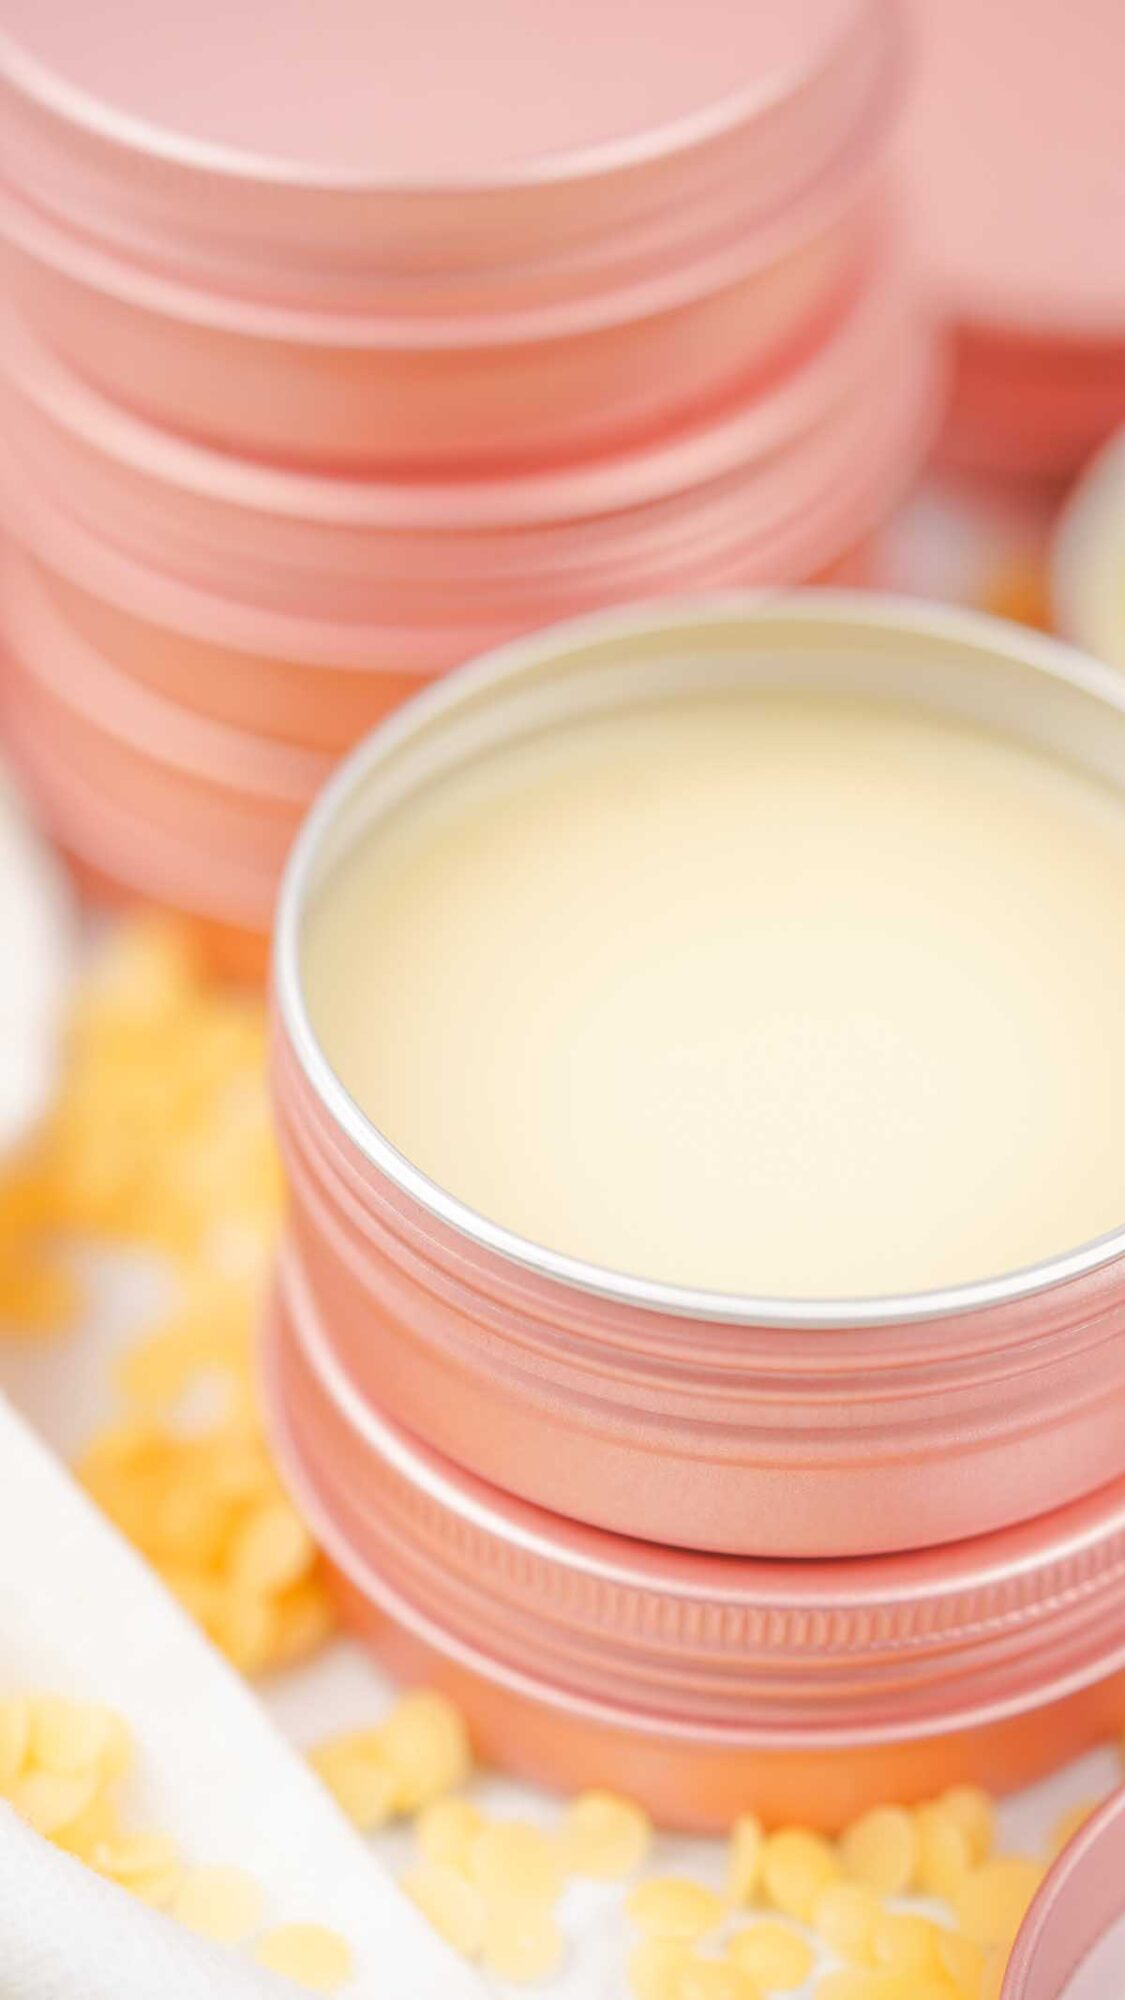
Pour the paw balm into containers: Once the mixture is melted, pour it into clean, dry containers and leave them for several hours to set. Cover and keep somewhere dry and cool. I use 2 smaller containers so the mixture sets faster than in one larger container.
Substitutions and Variations
Vitamin E oil: Jojoba oil works just as well, so you can use this instead if you like.
Containers: You can use a 4-ounce container, a pair of 2-ounce containers, refillable lip balm tubes, or any kind of small pot with a tight-fitting lid.
How to Store and Use Dog Paw Balm
Store: Keep the dog paw balm somewhere cool and dry.
Use: Rub a small amount of balm into your dog’s clean paws once a day for rough pads or once or twice a week to maintain healthy soft pads. How often you use it can vary depending on the condition of your pooch’s paw pads.
Top Tips
Don’t add essential oils: A lot of essential oils are unsafe for dogs, so I recommend not adding any. Save the lavender oil to make your own lavender shea body butter or some shower steamers!
Safe ingredients: Check all your labels to ensure you choose pure ingredients. Although these ingredients are dog-safe, it’s best to consult your vet before using this paw balm if your dog has an allergy or medical condition. Just because something’s all-natural doesn’t mean it’s safe for every pet.
Double boiler: You can use a double boiler to melt the ingredients.
Use an oven mitt: This is to protect your hands if the handle on your measuring cup is very hot.
Filling the containers: Put the containers somewhere you can leave them to set for hours after filling them, since the mixture will be very hot and you won’t want to be carrying them to somewhere else. You can use tin containers or lip balm tubes.
Paw socks or booties: You can put these on after applying the balm to your dog’s paw. Although the balm is safe for pets to lick off, it works best if it’s left on for long enough to soak in.

Recipe for Dog Paw Balm FAQs
You don’t have to but if you’re only using it on one dog once or twice a week, or less, you might like to refrigerate it to lengthen its shelf life. I recommend warming the balm for your pet’s paws up a little in your hands before application if it’s been in the fridge so your pet will feel comfortable instead of having a sudden shock of icy cold on his or her paws! This paw balm keeps for up to 2 months without refrigeration.
It should be soothing on irritated dogs paws, noses or other parts of your pet but if your dog seems to have a skin issue, it’s best to consult your vet to diagnose any underlying issues.
Yes! Some dog paw balms have ingredients like sweet almond oil, cocoa butter, mango butter, and other ingredients that are good for humans but might irritate pets paws. For this reason, we’re only using pure, natural ingredients that are safe for dog paws and cat paws, even if they decide to lick it off.
Best Dog Paw Balm Recipe
DIY Dog Paw Balm
Equipment
- Saucepan 2-Quart
- Liquid Measuring Cup Heatproof
- Spatula Rubber
- Two 2-Ounce Tin Containers or One 4-Ounce
Supplies
- 2½ Cups Water
- 2 Tablespoons Vitamin E oil
- 1 Tablespoon raw shea butter
- 2 Tablespoons coconut oil
- 1½ Tablespoons beeswax pellets
Instructions
- Put your containers somewhere you want them to sit for 4 hours so the paw balm can harden. Once they’re filled with hot paw balm liquid, you won’t want to move them around.
- Put the water in a 2-quart saucepan.
- Put all the other ingredients in a 2-cup heatproof glass measuring cup and put it in the saucepan with the handle hanging over the outside of the pan.
- Turn the heat up to medium (or low medium if your stove runs hot).
- Bring the ingredients to a gentle simmer. Let it simmer for about 10 minutes, stirring every few minutes, until all the ingredients have melted.
- Lift the measuring just out of the water, using an oven mitt if the handle is hot, and pour the contents into your heatproof containers, filling them no more than ¾-full.
- Let the paw balm fully set (this can take up to 4 hours) and then cover the containers and store somewhere cool. Use within 2 months.
Notes
Safe ingredients: Check all your labels to ensure you choose pure ingredients. Although these ingredients are dog-safe, it’s best to consult your vet before using this paw balm if your dog has an allergy or medical condition. Just because something’s all-natural doesn’t mean it’s safe for every pet.
Double boiler: You can use a double boiler to melt the ingredients.
Use an oven mitt: This is to protect your hands if the handle on your measuring cup is very hot.
Filling the containers: Put the containers somewhere you can leave them to set for hours after filling them, since the mixture will be very hot and you won’t want to be carrying them to somewhere else. You can use tin containers or lip balm tubes.
Paw socks or booties: You can put these on after applying the balm to your dog’s paw. Although the balm is safe for pets to lick off, it works best if it’s left on for long enough to soak in.

This DIY dog paw balm is so easy to make and you can save money whipping up your own pet health products. It’s a pure, all-natural salve that’s really soothing on rough or irritated paw pads. Making your own dog paw balm is fun and you can make a whole batch to give as gifts to friend and family pet owners too. This paw balm is kind and gentle, even if your furry friends have dry or sensitive skin.
Other DIY Crafts to Try
Bella Bucchiotti
Bella Bucchiotti is a Canadian-based syndicated food, travel, and lifestyle writer, photographer, and creator at xoxoBella. She founded xoxoBella in 2015, where she shares her love for food, dogs, sustainability, fitness, crafts, outdoor adventures, travel, and philanthropy to encourage others to run the extra mile, try new recipes, visit unfamiliar places, and stand for a cause. Bella creates stress-free and family-friendly recipes for weeknight dinners and festive feasts.