This post may contain affiliate links, please see the privacy policy for details.
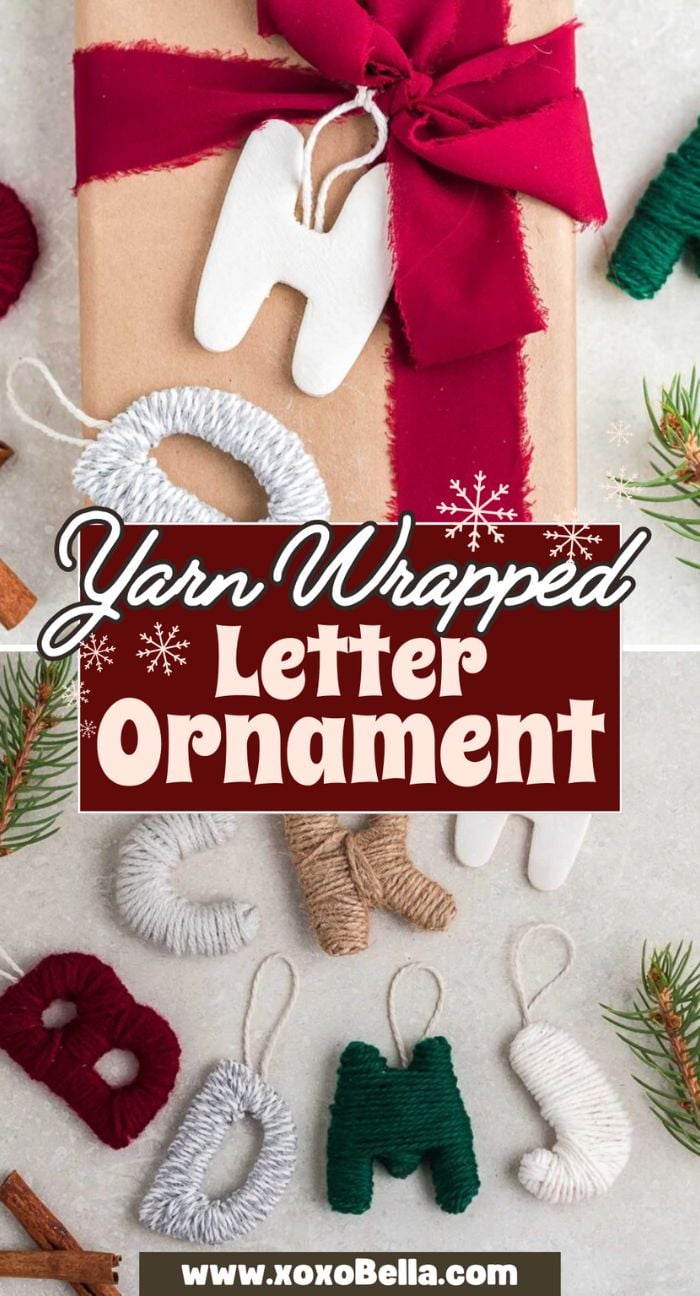
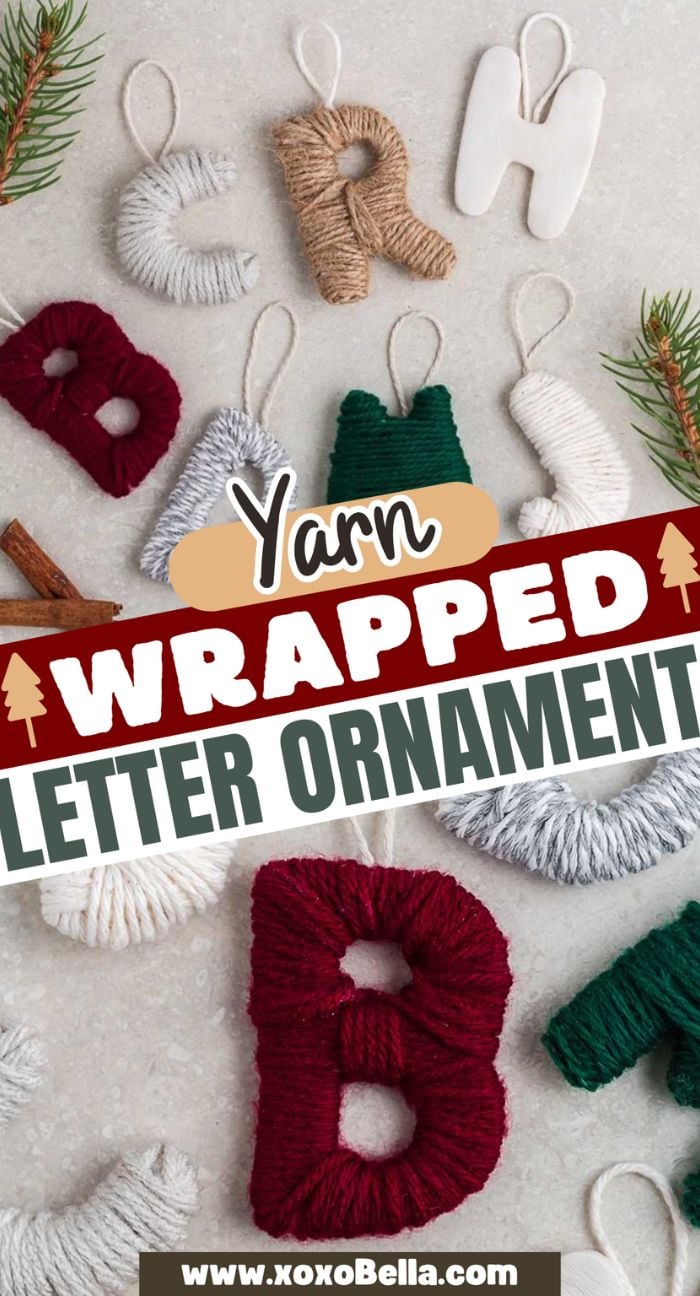
DIY personalized ornaments like yarn wrapped letters are a fun project for the festive season. With some yarn, air dry clay, cookie cutters, twine, and glue, you can make these cute DIY yarn letters that double as ornaments, and they’re cuter than anything you can find in the store. Also, you don’t need fancy equipment like a kiln, since you’re using air dry clay for this project. You should definitely add these DIY yarn wrapped letter ornament and gift tags to your craft list this Christmas.
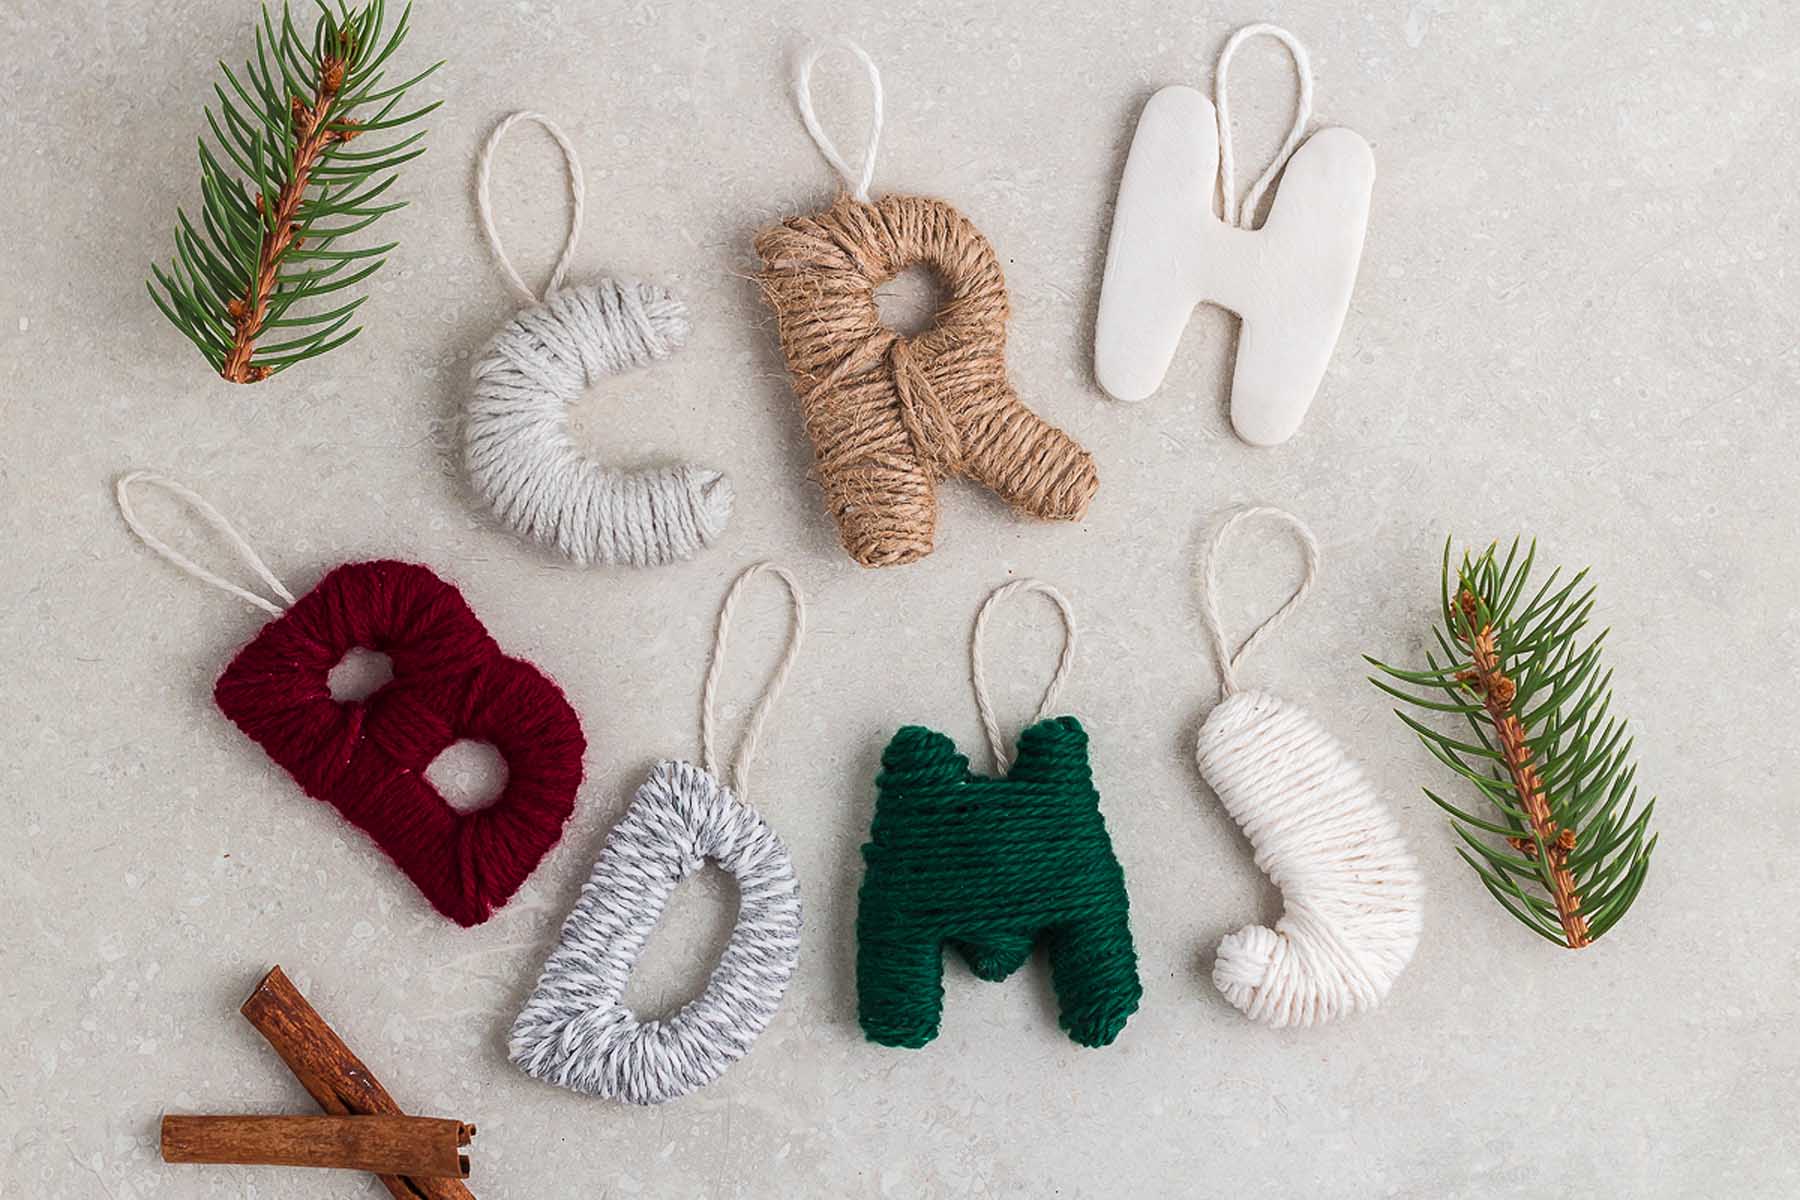
Air dry clay ornaments are simple to make and a lot of fun to decorate. Air dry clay is cheap and widely available and you probably already have cookie cutters and yarn.
You might also want to make this orange garland or crochet star garland, or even some festive gifts like mason jar cocktail gifts or BBQ rubs.

Why You’ll Love It
Easy: There’s nothing tricky about using air dry clay or these beautiful ornaments. In fact, even the kids love making these so make sure you stock up on supplies because you’ll want to make air dry clay decorations for all your friends and family!
Cute and festive: There are some ornaments we like to have around us all the time, while others are best suited to various holidays. Christmas tree ornaments and other Christmas ornaments are brought out and displayed in most homes, and it’s so much fun to make air dry clay ornaments. You’ll look forward to displaying these festive pieces every year.
Versatile: You can use any letters, initials, shapes or anything else you want for your dry clay Christmas ornaments. Make everyone’s first initial if you want to attach these to gifts or Christmas stockings, or consider snowmen, Santa hats or whatever else you like. If you’re feeling creative, you could even make a freestyle ornament shape!

Craft Supplies for Air Dry Clay Ornaments
A complete list of materials and amounts can be found in the tutorial card below.
Yarn, air dry clay (here), alphabet cookie cutters (here), cotton twine (here), and clear glue (here) are all you need to make air dry clay ornaments.

How to Make Your Own Yarn Wrapped Letter Ornaments
For more detailed instructions, jump to the printable instructions card.
Make the clay letters: Roll out the air dry clay to about 1/4-inch thick using a rolling pin and cut out letters using the letter shapes cookie cutters.
Smooth them and let them dry: Smooth out any rough edges or little bumps with a little water on your finger and let the letters dry on newspaper or wax paper (this takes 24 hours so plan ahead!)
Add the twine and yarn: Glue a cotton twine loop on to the back using glue so you can use it as a gift tag or hang it on the tree.
Add the yarn: Now you can wrap the yarn around the dry clay Christmas ornaments until all the clay is completely covered, and then use glue to hold each yarn end in place.
The finishing touches: Make sure the yarn is secured in place and no clay is visible, and then cut cotton twine or ribbon so you can attach it to a gift box or bag handle or hang it on the Christmas tree.

Substitutions and Variations
Different shapes: Use any cookie cutter shape you want. If you want to make Christmas trees, snowmen or another shape, go ahead. Just make sure it’s going to be easy to wrap with yarn and doesn’t have too many pointy or irregular bits that will be hard to wrap. Either make your own shapes or see what the dollar store has that you can yarn wrap.
Speedy version: If you’re in a hurry and don’t have 24 hours to wait for the air dry clay to dry, you can instead make a cardboard letter (several pieces glued together to make it thick enough) instead. Cardboard letters don’t need drying time so they’re a faster alternative for your happy crafting project.
Different colors: Christmas colors like green, red and white are always good for air dry clay Christmas ornaments but you can use any color you want or even use two or more different yarn colors to customize them however you wish.
Use a glue gun: A hot glue gun will also work in place of the tacky glue but this type of glue can be conspicuous on the finished ornaments. Clear glue is better than white glue, for this reason.

How to Display DIY Yarn Letters
Name initials are perfect to put on gift boxes or bag handles and they add a special touch to your gifts. Another way to display air dry clay Christmas ornaments is to hang them on a Christmas tree. You might be interested in some other Christmas ornaments to make yourself too. Perhaps a felt Christmas tree garland or crochet star garland, or maybe salt dough ornaments such as gingerbread men or a garland with dried orange slices.

How to Store Air Dry Clay
Unused air dry clay: Keep the clay in its vacuum-sealed packaging until you’re ready to make your air dry clay ornaments. Once it’s exposed to the air it begins to dry out, hence the name. You don’t have to be left with excess clay. Just make extra initials or shapes so it doesn’t just dry out and have to be thrown away.
Dried air dry clay ornaments: The yarn wrapped around these Christmas decorations does protect them somewhat but they can still break if dropped on a hard surface so pack them away carefully after Christmas, maybe with a piece of bubble wrap or similar around each one.

Top Tips
Use thick base letters: Stack 2 or 3 air-dry clay or cardboard layers for a sturdy shape that’s easier to wrap.
Secure every few wraps: A dot of clear tacky glue helps the yarn stay in place, especially on corners.
Keep yarn taut: Pull gently while wrapping so it lays flat and neat on the letter.
Add the hanging loop early: Glue the twine loop before wrapping, so it won’t get tangled under layers.
Cover all edges: Wrap both horizontally and vertically to make sure no base peeks through on any side.

Yarn Wrapped Initial Ornaments FAQs
When I made them, I used this brand which is affordable and great quality. It comes in brown or white, but since the yarn is going to cover every part of the clay it makes no difference what color clay you choose. When drying the initial ornaments, you will see the clay lighten and become matte.
Some people like the minimalistic look so you don’t have to add yarn if you don’t want to. You might like to experiment with wool in place of cotton yarn or even try some acrylic paints over part or the entire letter. Whether you’re working on salt dough ornaments or these air dry clay Christmas ornaments, it’s always fun to get creative. You could glue on some little stars if you wanted to, or add pom poms or glitter. Let your imagination soar!
Count on the Christmas ornaments taking about 24 hours to dry completely. If you’re making bigger or thicker ornaments it might even take a little longer, so ensure you plan to make the initials at least a day before you want to decorate and use them.
Yarn Wrapped Initial Ornament Instructions

DIY Yarn Wrapped Letter Ornament and Gift Tags
Equipment
- Alphabet Cookie Cutters
Supplies
Instructions
- Roll out some of the air dry clay (about a handful for two letters) ¼-inch thick.
- Use the letter cookie cutters to cut out whichever letter you are going to use.
- Use a small amount of water on your finger to smooth out any bumps or rough edges in the clay.
- Let the ornament dry for 24 hours, or until the clay has hardened and turned white.
- Glue a 4-inch loop of cotton twine to the back of the letter using tacky glue. This will allow you to hang the ornament or use it as a gift tag.
- Wrap the yarn around the letter. Use tacky glue to secure the start of the yarn to the back of the letter and to glue any stubborn yarn into place while wrapping it around the letter. Wrap the yarn as many times as necessary to cover all of the clay.
- Secure the end of the yarn with clear tacky glue to the back of the ornament.
- To use this ornament as a gift tag, cut ribbon or cotton twine to secure the tag to a bag handle or gift box.
Notes
Secure every few wraps: A dot of clear tacky glue helps the yarn stay in place, especially on corners.
Keep yarn taut: Pull gently while wrapping so it lays flat and neat on the letter.
Add the hanging loop early: Glue the twine loop before wrapping, so it won’t get tangled under layers.
Cover all edges: Wrap both horizontally and vertically to make sure no base peeks through on any side.

Personalize your holiday decor with a yarn-wrapped letter ornament. Use air-dry clay or stack cardboard, roll out your letter and let it dry or stay sturdy. Glue on a loop for hanging, then wrap yarn neatly until the base is hidden. Use glue dots to hold yarn in place, especially around corners. These ornaments double as gift tags or stocking labels and bring a cozy, handmade touch to packages or your tree. Kids love wrapping too.
Other Crafts to Try
Bella Bucchiotti
Bella Bucchiotti is a Canadian-based syndicated food, travel, and lifestyle writer, photographer, and creator at xoxoBella. She founded xoxoBella in 2015, where she shares her love for food, dogs, sustainability, fitness, crafts, outdoor adventures, travel, and philanthropy to encourage others to run the extra mile, try new recipes, visit unfamiliar places, and stand for a cause. Bella creates stress-free and family-friendly recipes for weeknight dinners and festive feasts.