This post may contain affiliate links, please see the privacy policy for details.
Although you can find cream for diaper rash on the shelves at the pharmacy, you might prefer to use a DIY diaper rash cream instead, as you know exactly what’s in it and you can omit all those things you might not want in there like synthetic preservatives, colorings, fragrances, and so on.
It’s simple to whip up your own diaper rash cream using natural ingredients that are kind to baby’s skin and highly unlikely to cause any irritation.
Like making your own products? Also try DIY bath salts, shower steamers or whipped shea butter, adding any essential oil that make you happy!
Why You’ll Love It
Gentle on baby’s skin: This is probably the most important thing. A lot of babies have sensitive skin which is already irritated by diaper rash, so using something cooling and soothing that doesn’t sting is ideal.
Works well: I’ve had great results from this DIY diaper rash cream, so I can definitely recommend trying it on your own little one.
Natural ingredients only: You don’t need synthetic or chemical ingredients, just all-natural ones that are kind and gentle but still effective on diaper rashes. Although ingredients like tea tree essential oil and lavender essential oil are generally safe and non-irritating (and 100% natural) this recipe omits essential oils just in case they do cause a reaction.
DIY Diaper Cream Ingredients
A complete list of ingredients and amounts can be found in the recipe card below.
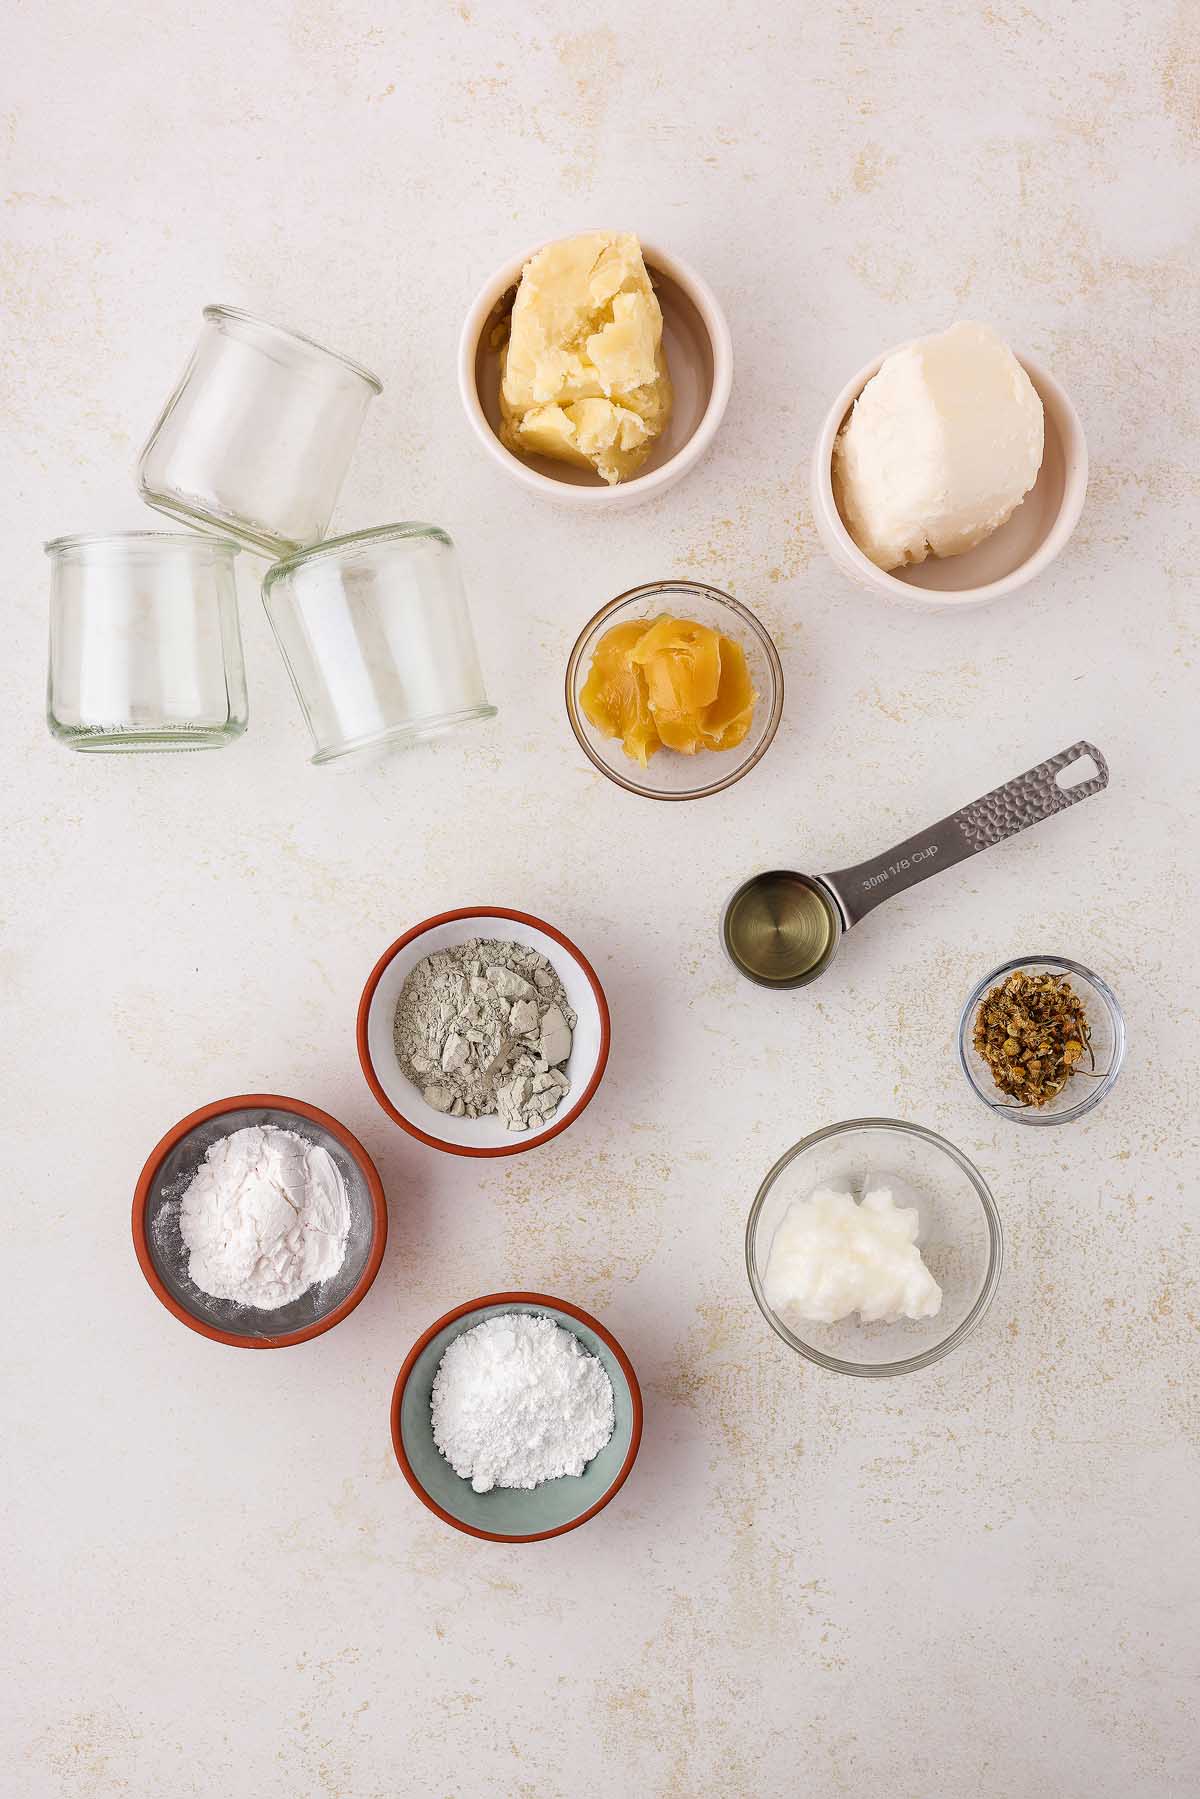
Coconut oil: Anti-inflammatory and antimicrobial. Contains natural antioxidants and can promote healing of the skin. Safe for even the most delicate areas.
Chamomile flowers: It is believed to have soothing effects on the skin which helps to reduce inflammation.
Shea butter: Contains natural antioxidants and fatty acids. Acts as a nice barrier against sensitive skin. Provides good hydration for dry, aggravated skin.
Mango butter: Also rich in fatty acids like shea butter. Non-comedogenic, anti-inflammatory, and contains essential vitamins that aid in skin restoration.
Sunflower oil: Good moisturizer, anti-inflammatory, and contains antioxidants that will aid in nourishing and replenishing delicate skin. Often used to help wounds through the healing process.
Lanolin: A great emollient for troubled skin. It is an excellent moisturizer even in the most delicate places. Adding a little bit of lanolin to skin can help prevent diaper rash because it maintains a healthy moisture balance.
Non-nano, uncoated zinc oxide: Reduces inflammation and aids in healing skin. Also a natural barrier against sun damage and a natural deodorizer. Reduces inflammation and it is antibacterial, which is excellent to have during a diaper rash! Primary ingredient in most store-bought diaper rash creams. Uncoated non-nano zinc oxide is important to purchase because the particles aren’t small enough to enter the blood stream.
Bentonite clay: Anti-inflammatory. Contains lots of minerals that will help baby’s sensitive skin through the healing process.
Arrowroot flour: Antimicrobial and anti-inflammatory. Helps to soothe skin and reduce redness. Arrowroot flour is also super absorbent, which will aid a baby’s skin in the case of a diaper rash to keep moisture away from sensitive skin.
How to Make DIY Diaper Cream
For more detailed instructions with weights and measurements, jump to the printable recipe card.
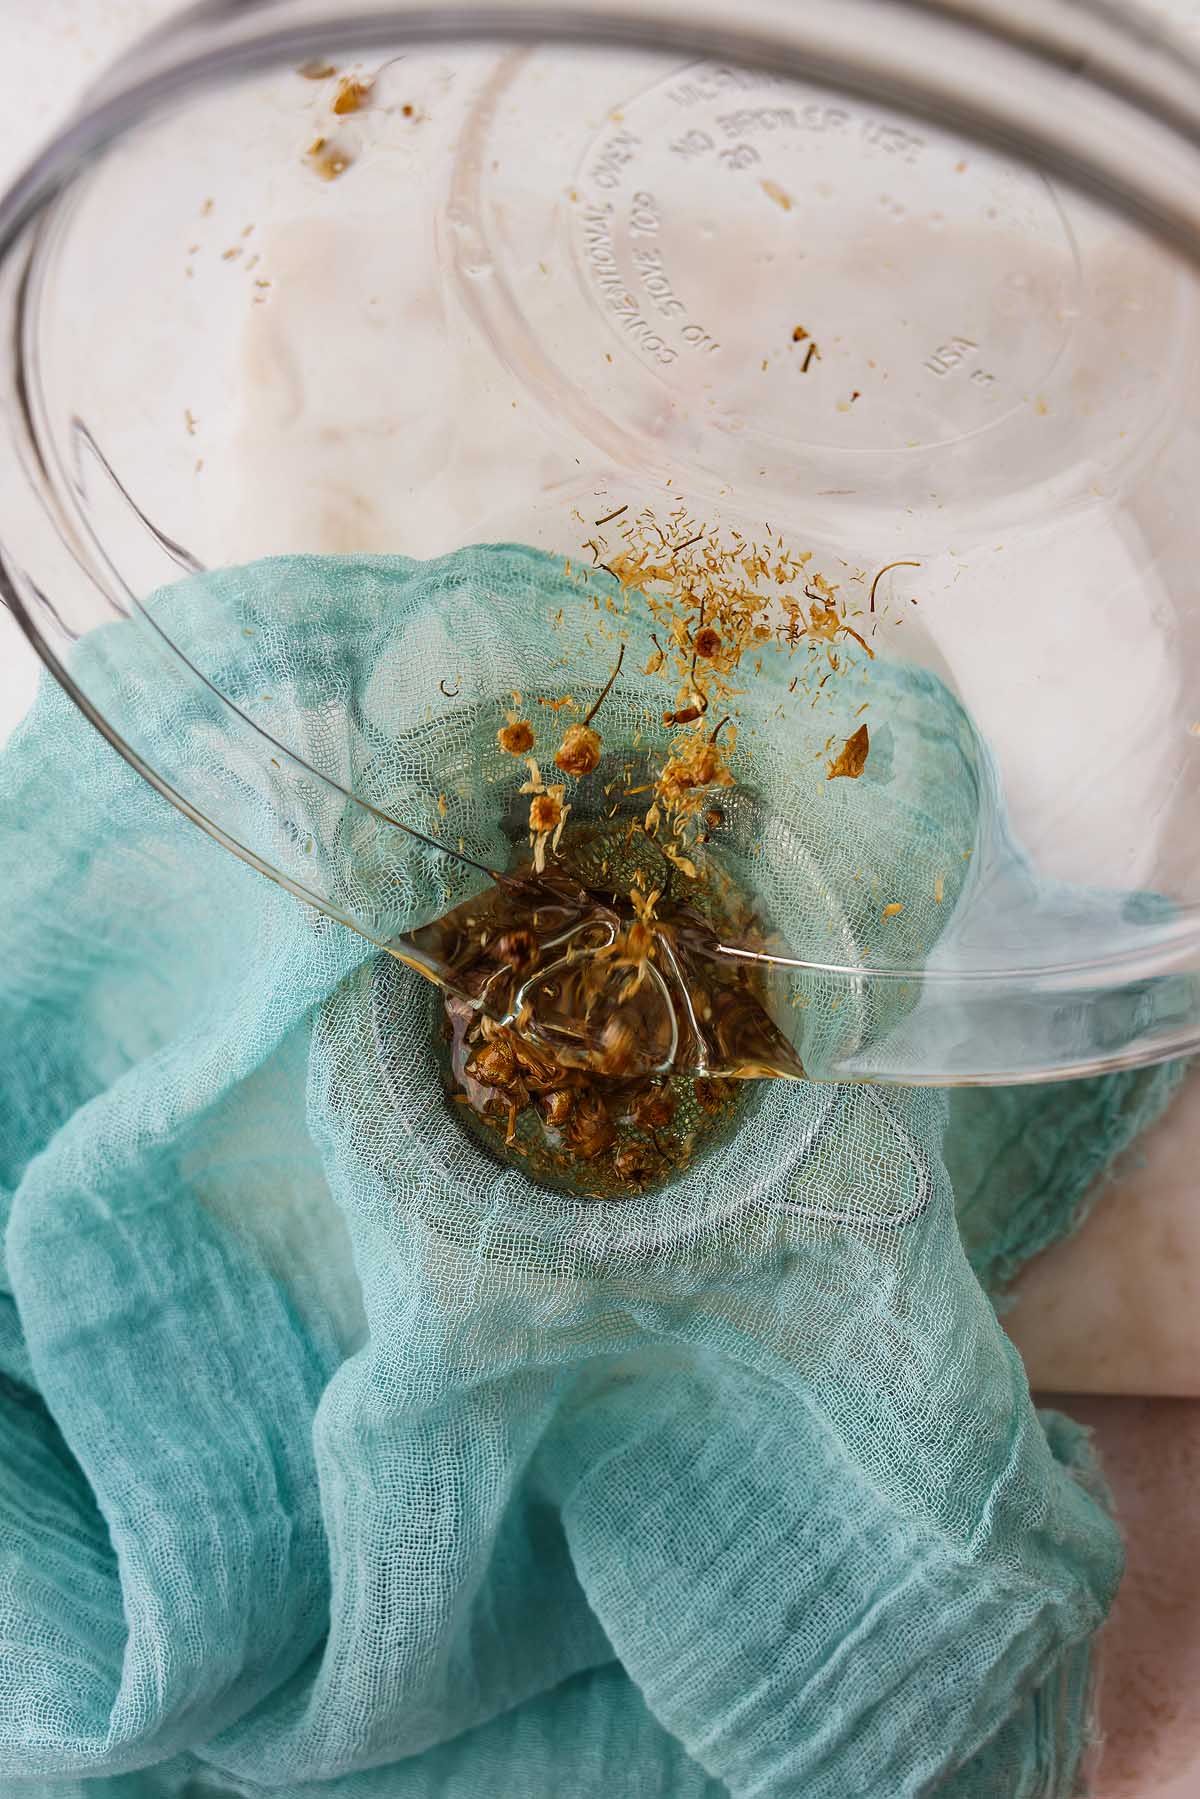
Make chamomile oil: Put coconut oil and chamomile flowers in a bowl or pot. Fill a pot with water and put the bowl or pot with the coconut oil mixture above it. Bring the water to a simmer and let the coconut oil and chamomile flowers infuse for 3 hours. Let the mixture come to room temperature and strain out the flowers.
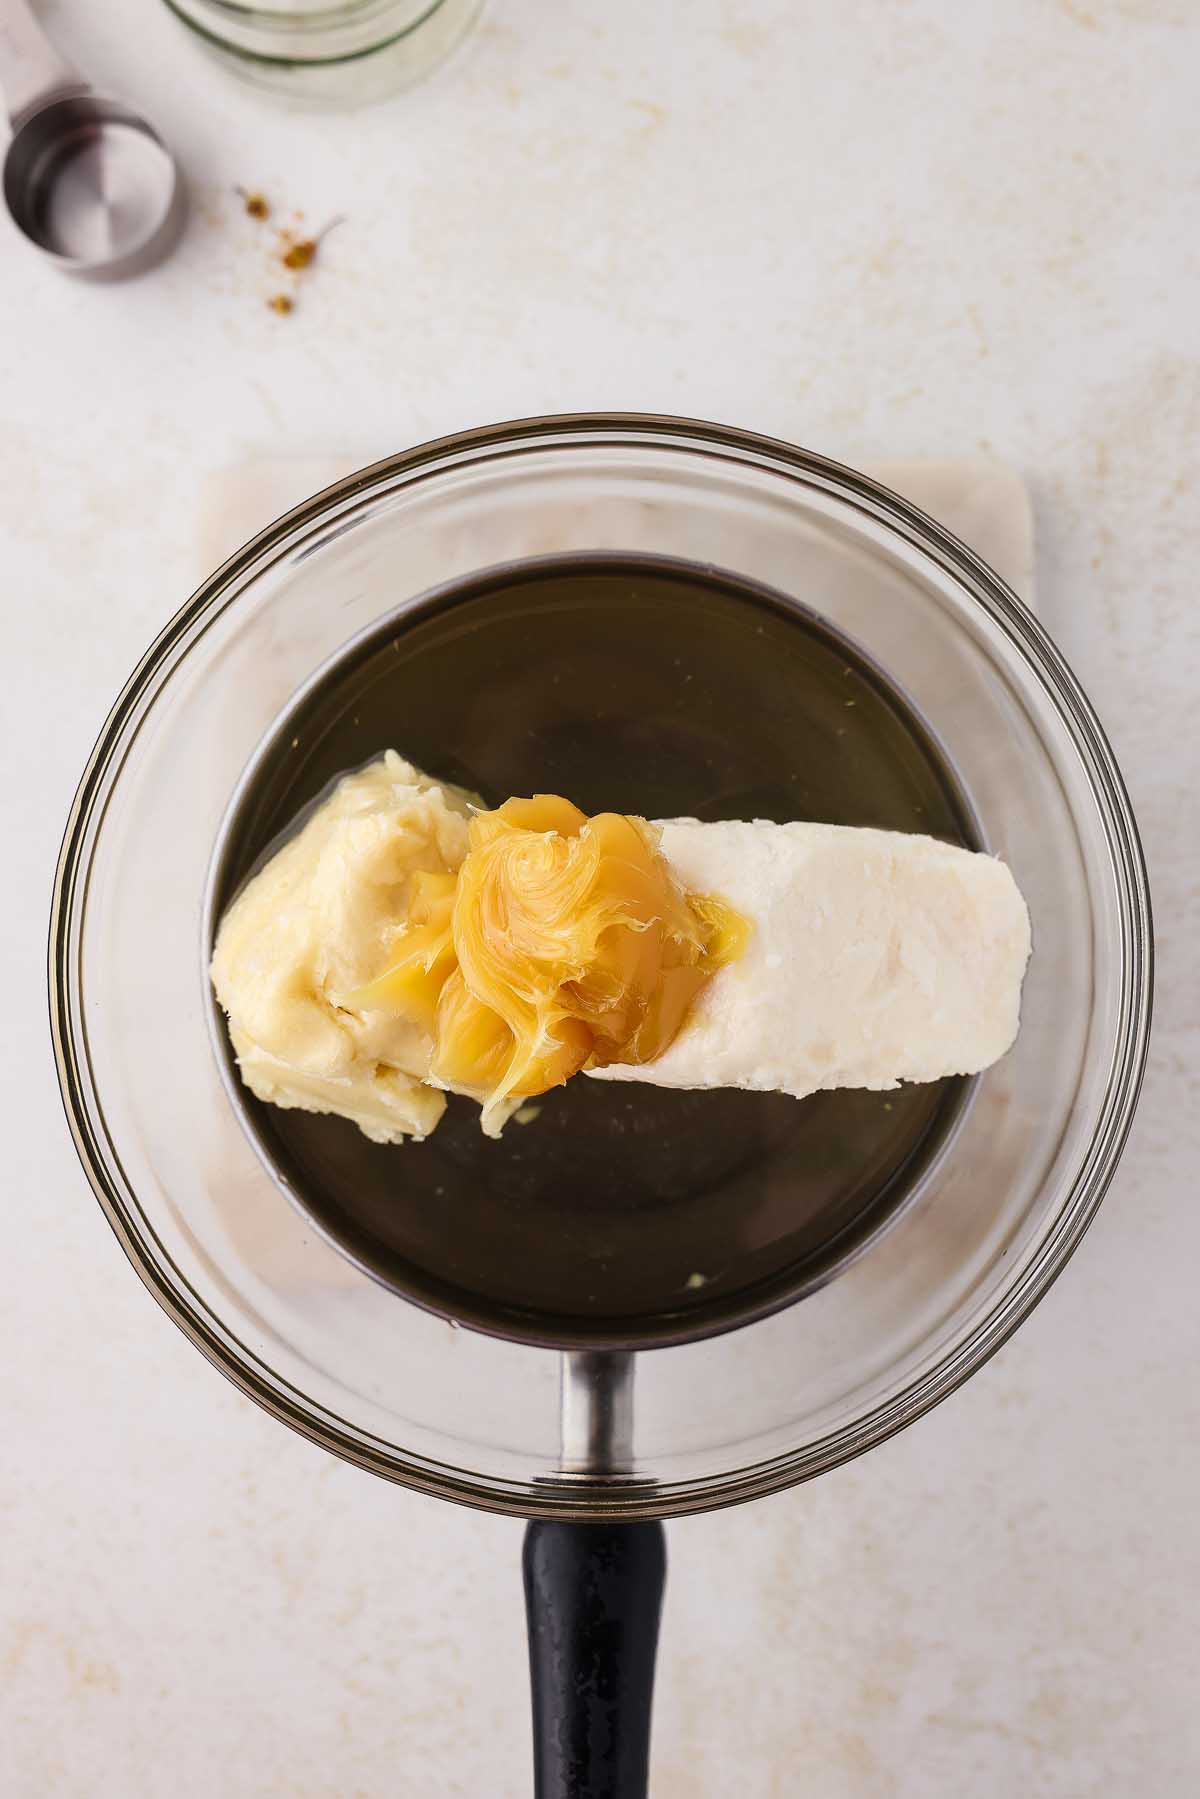
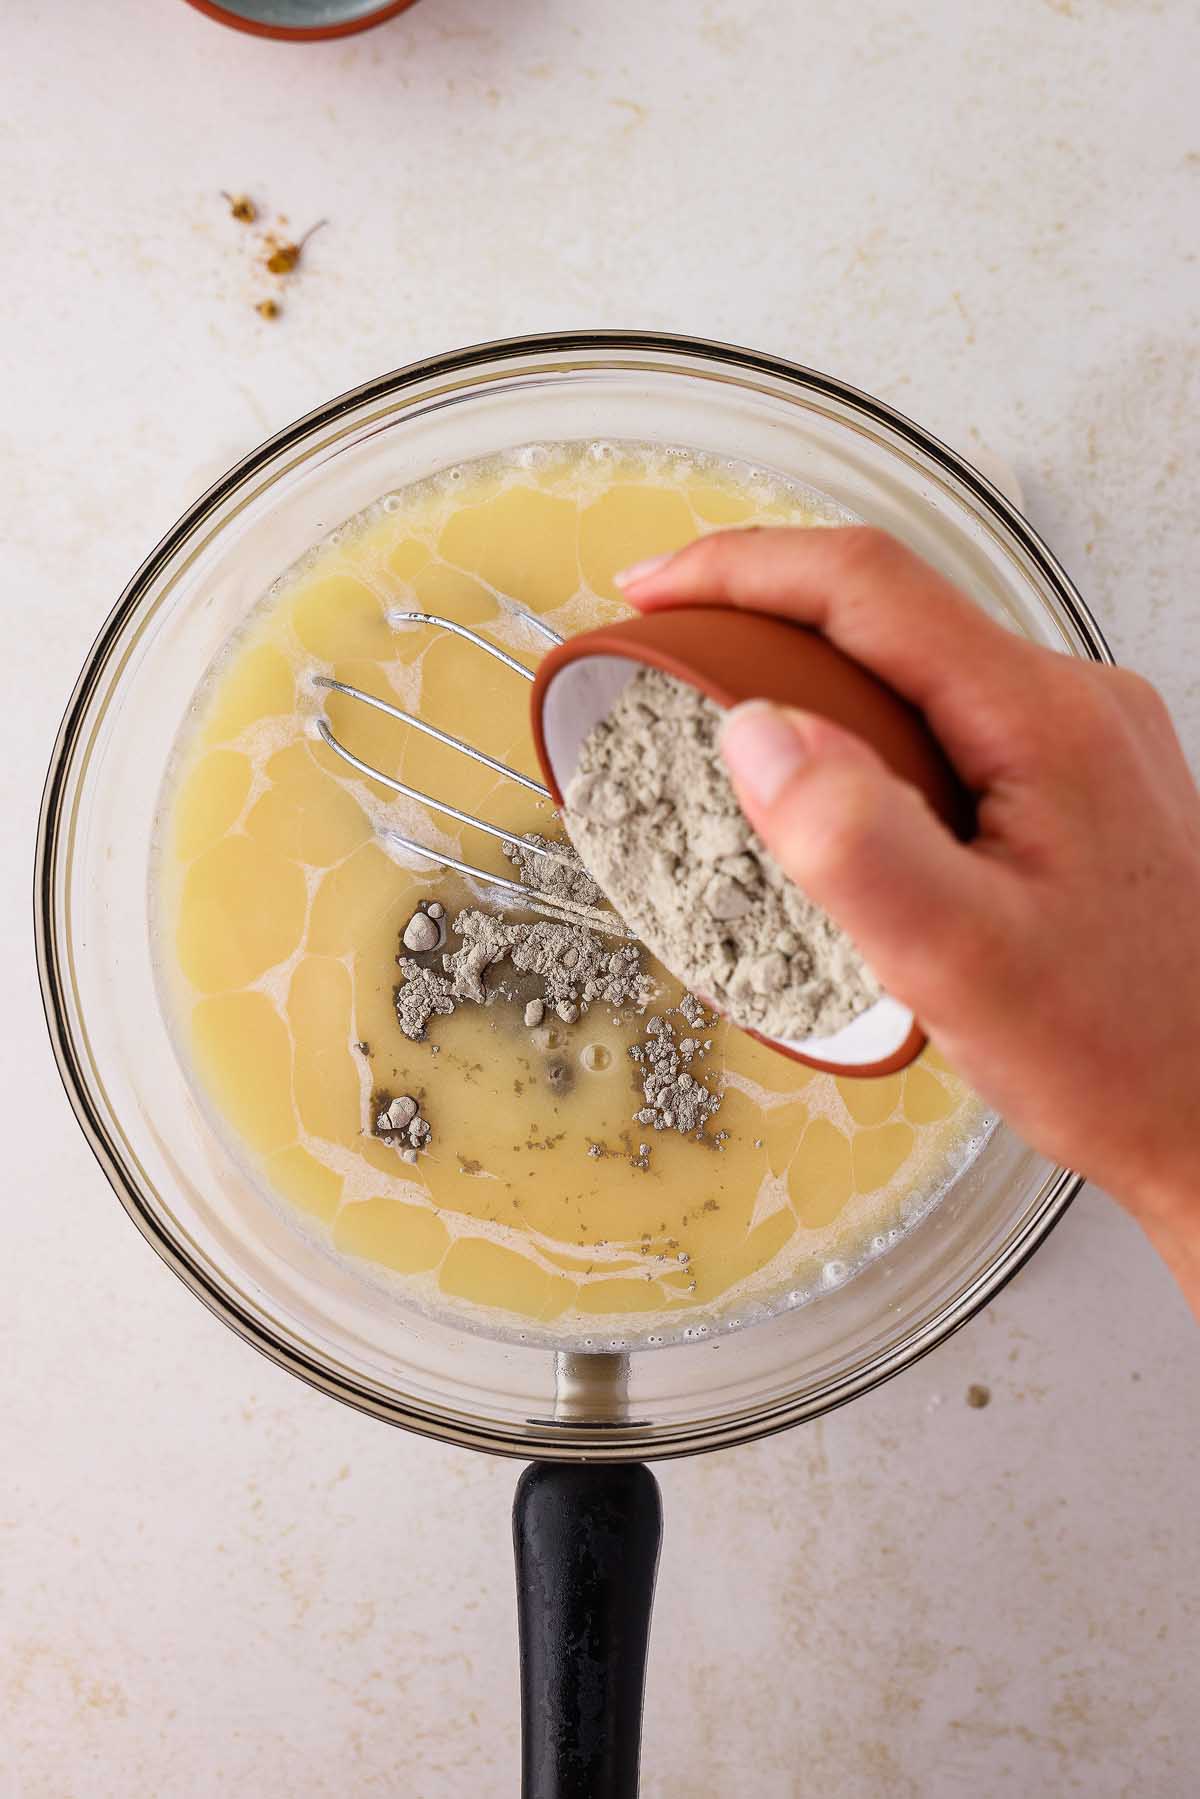
Add more ingredients: Add shea butter, mango butter, sunflower oil, lanolin, and the chamomile-infused oil to a double boiler and whisk gently over a simmering pot of water. It’s OK if the lanolin oil is clumpy at this point. Once everything melts, take it off the heat. Add zinc oxide, bentonite clay and then arrowroot powder, mixing between each addition.
Let the mixture cool: Let it cool and thicken, either on the countertop or, to save time, in the refrigerator for 45 minutes to an hour.
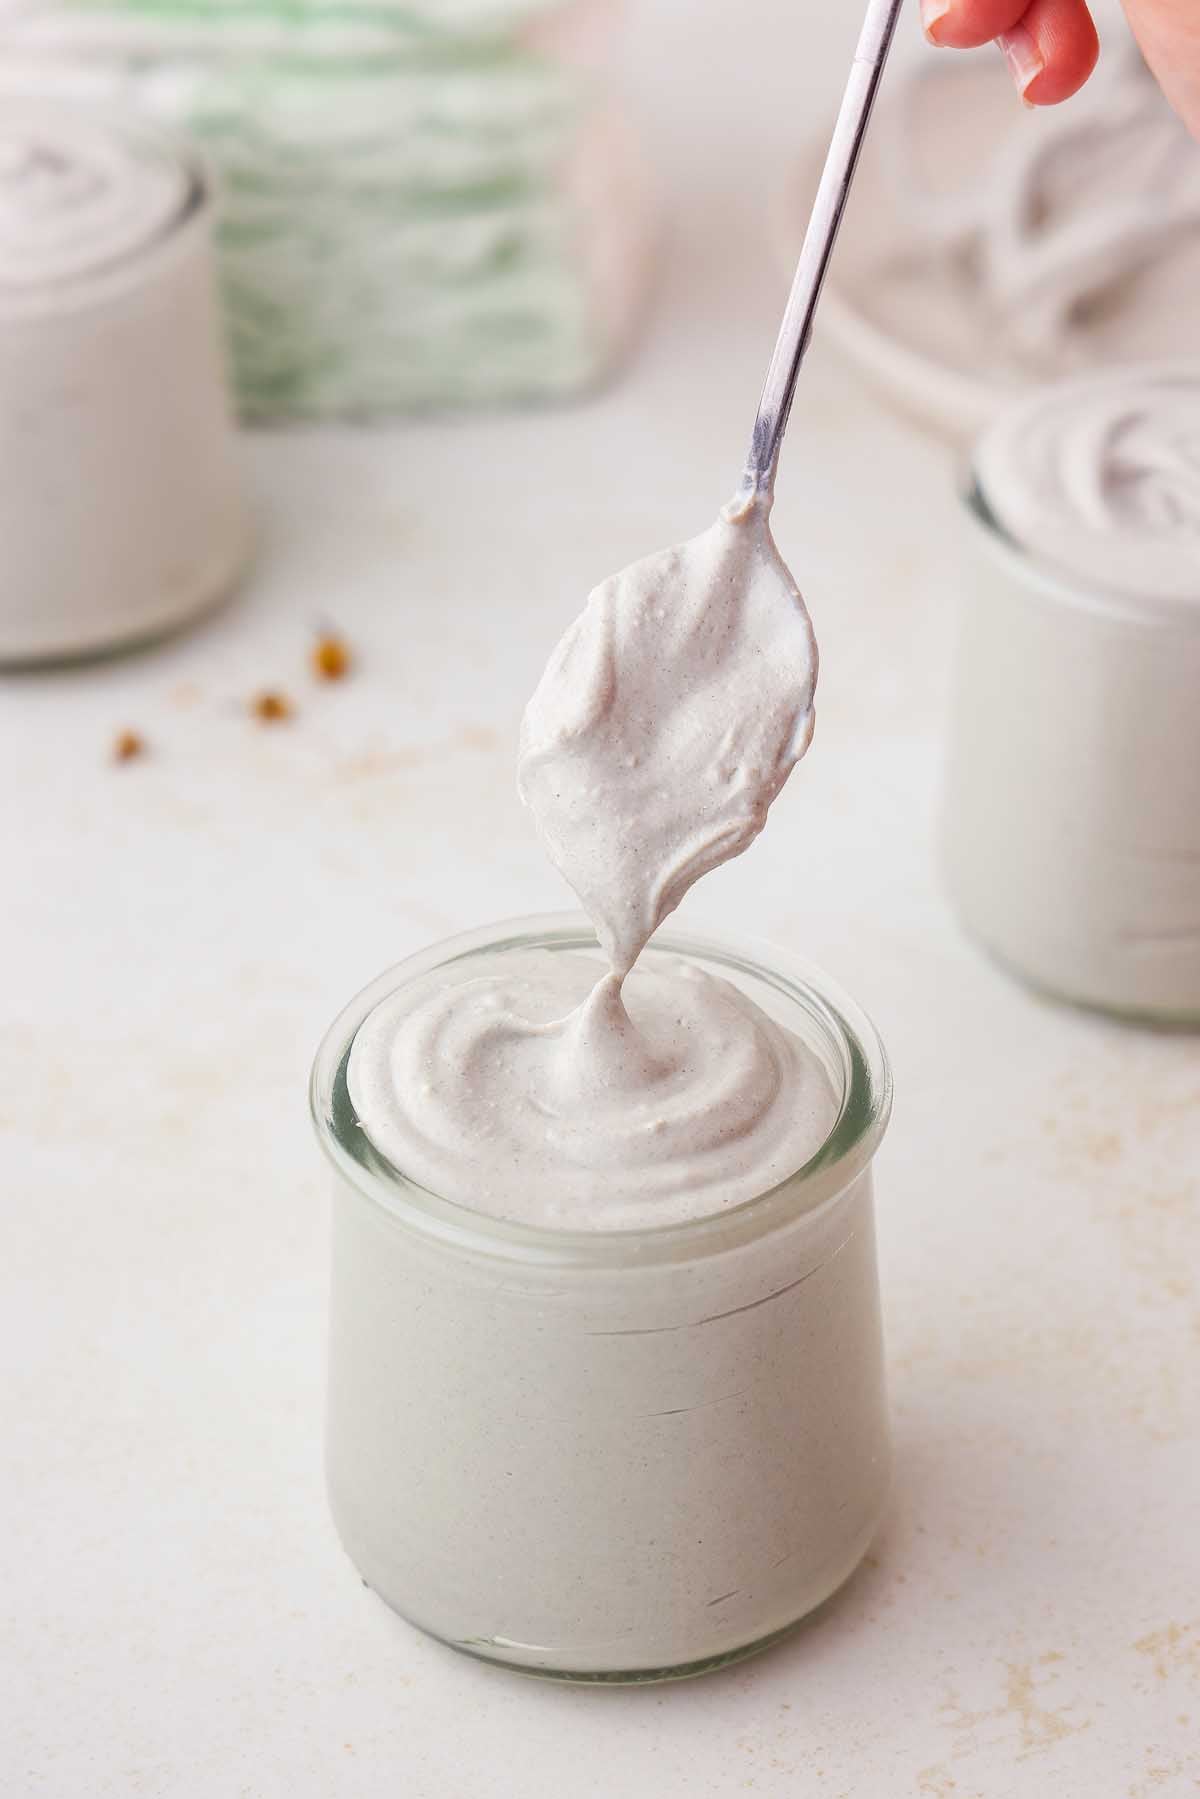
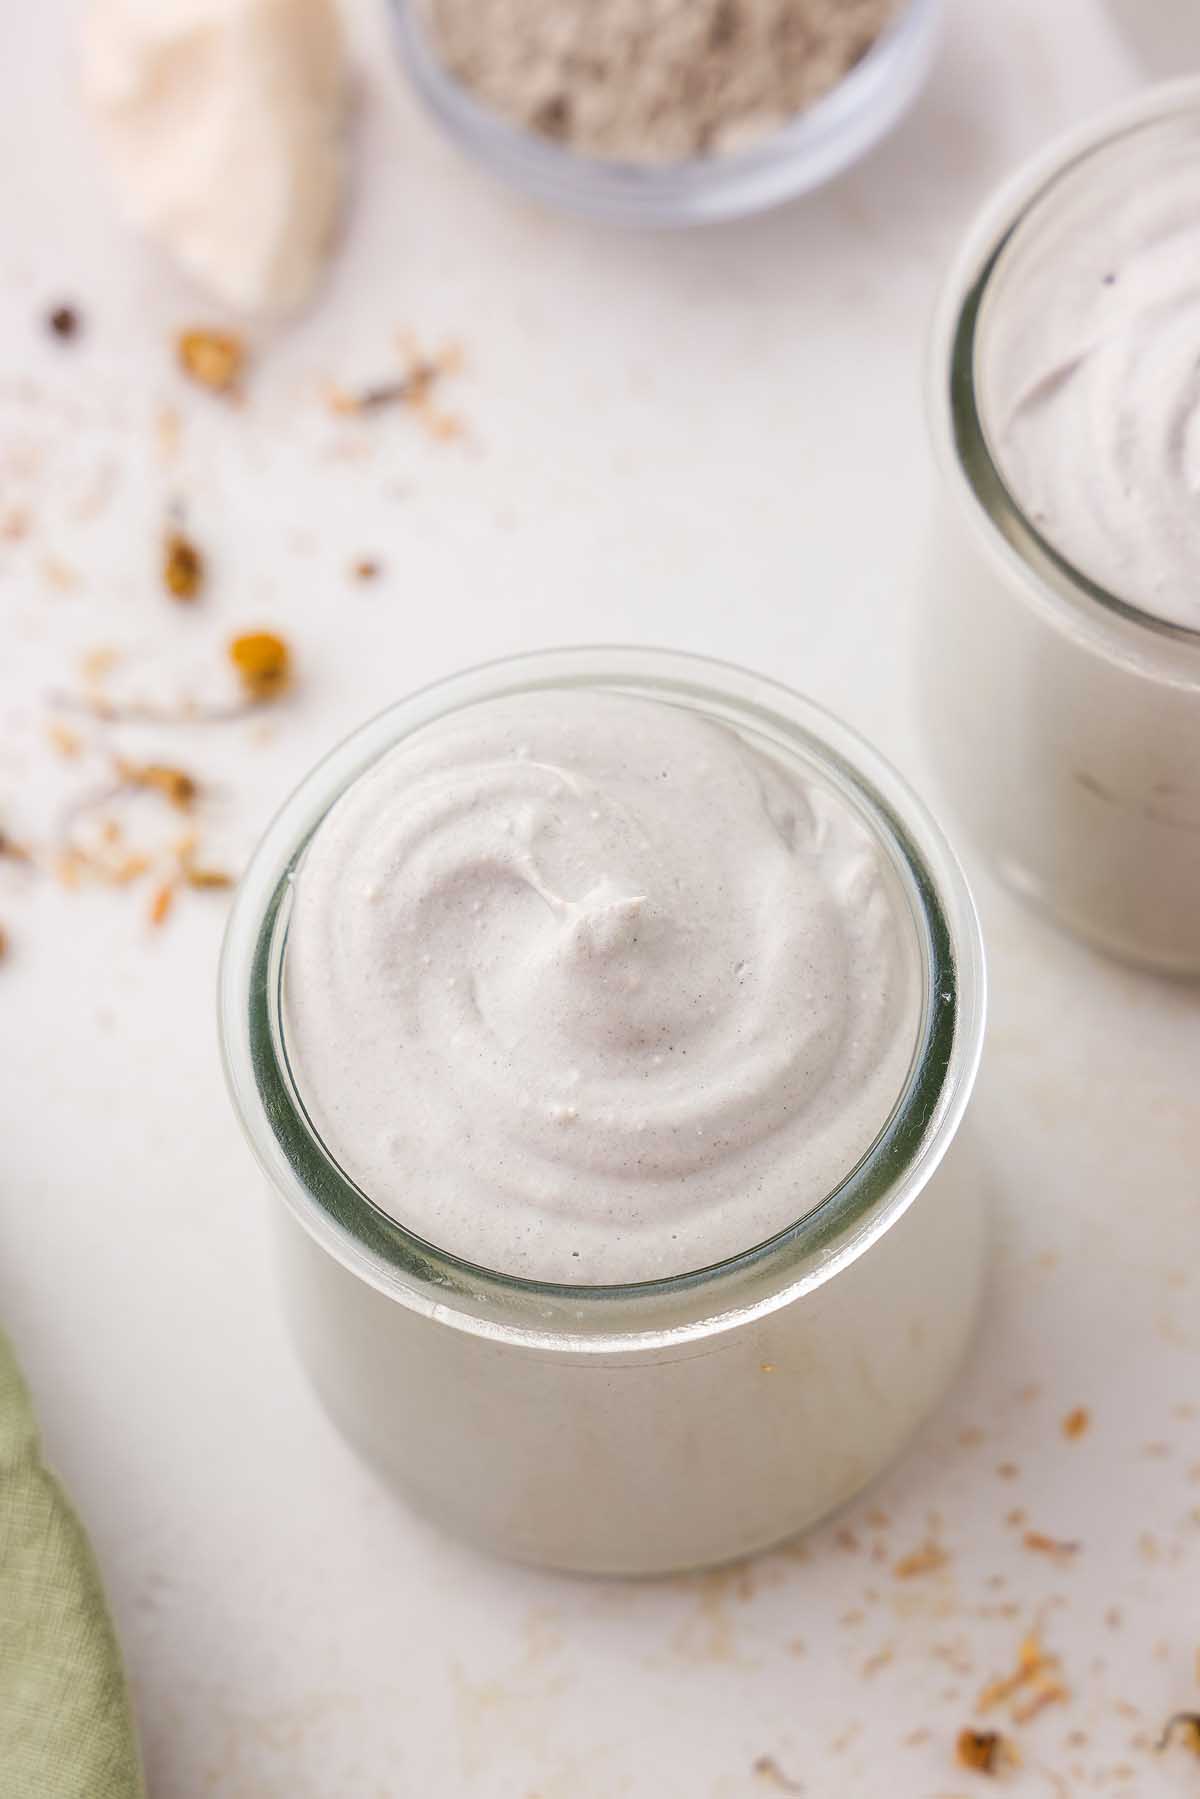
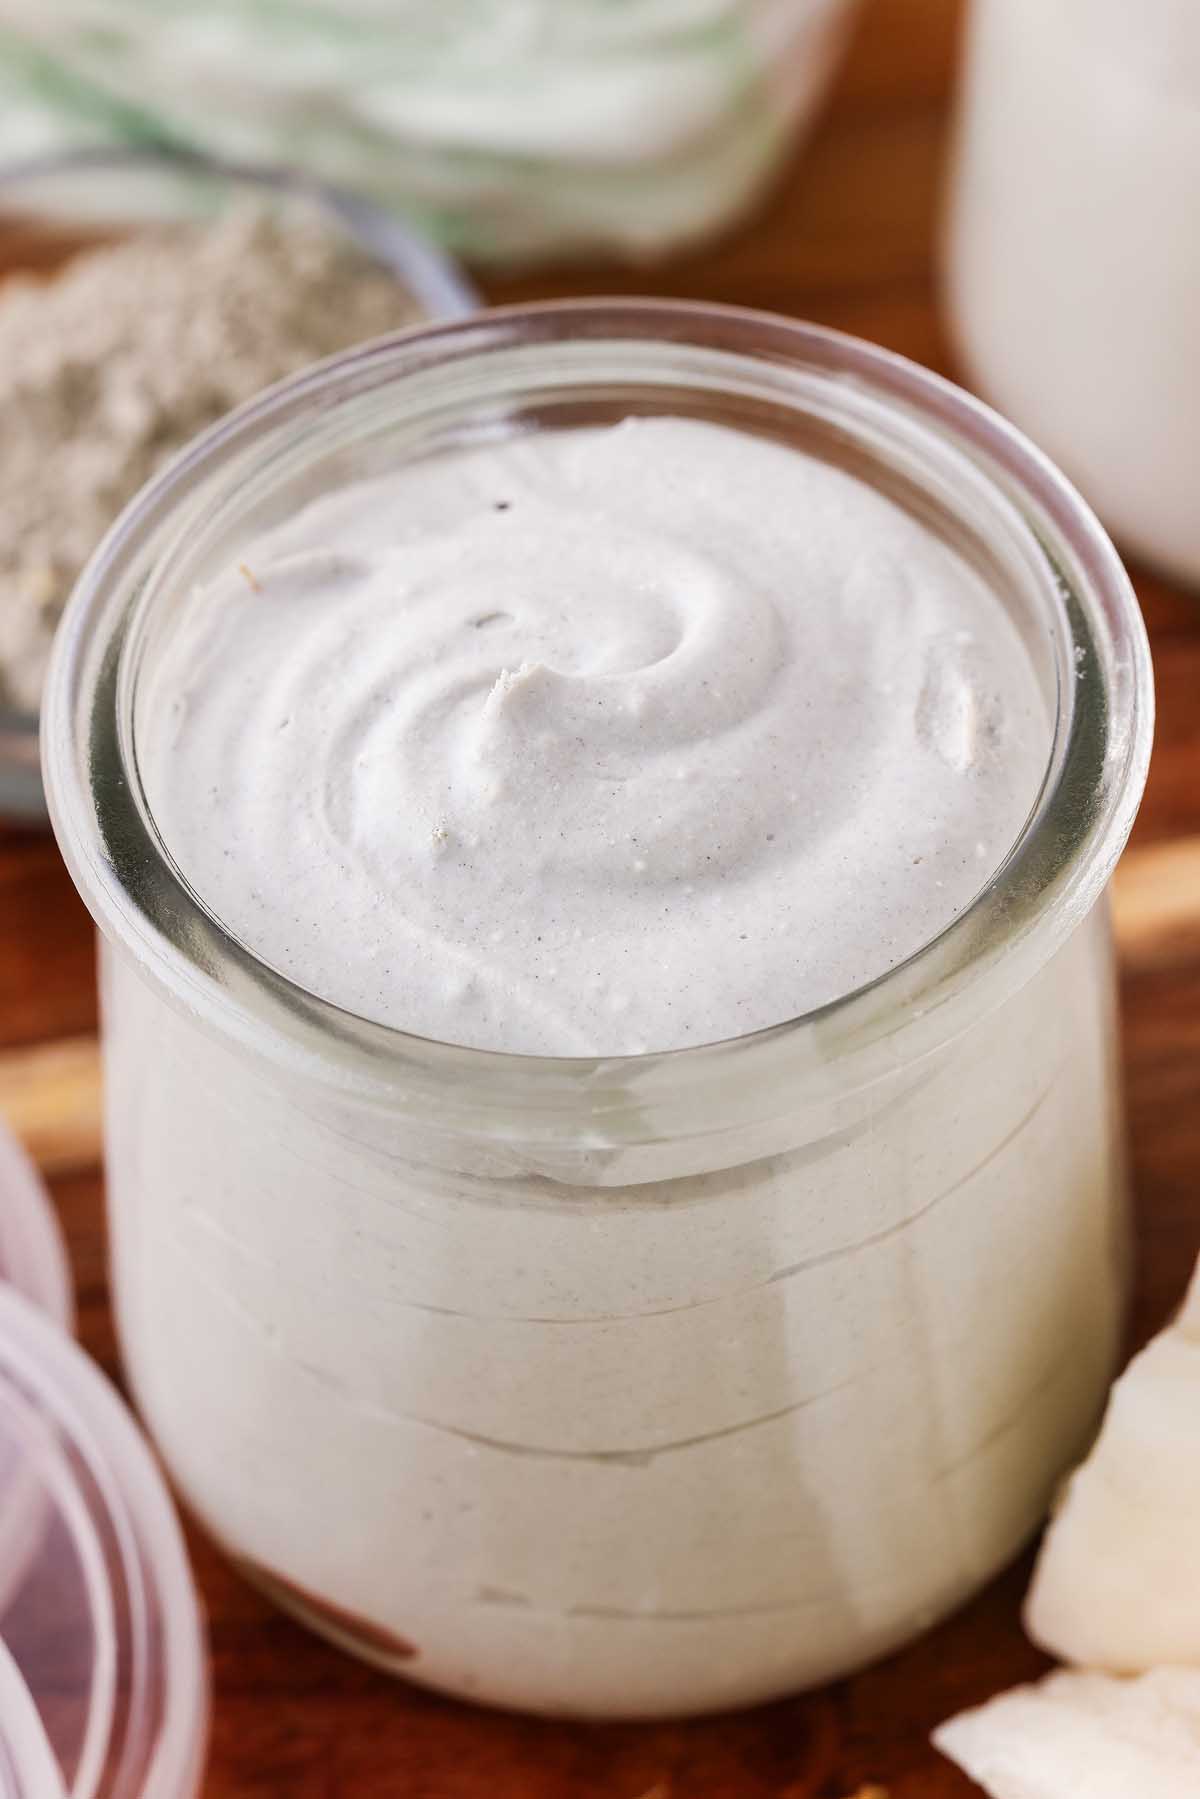
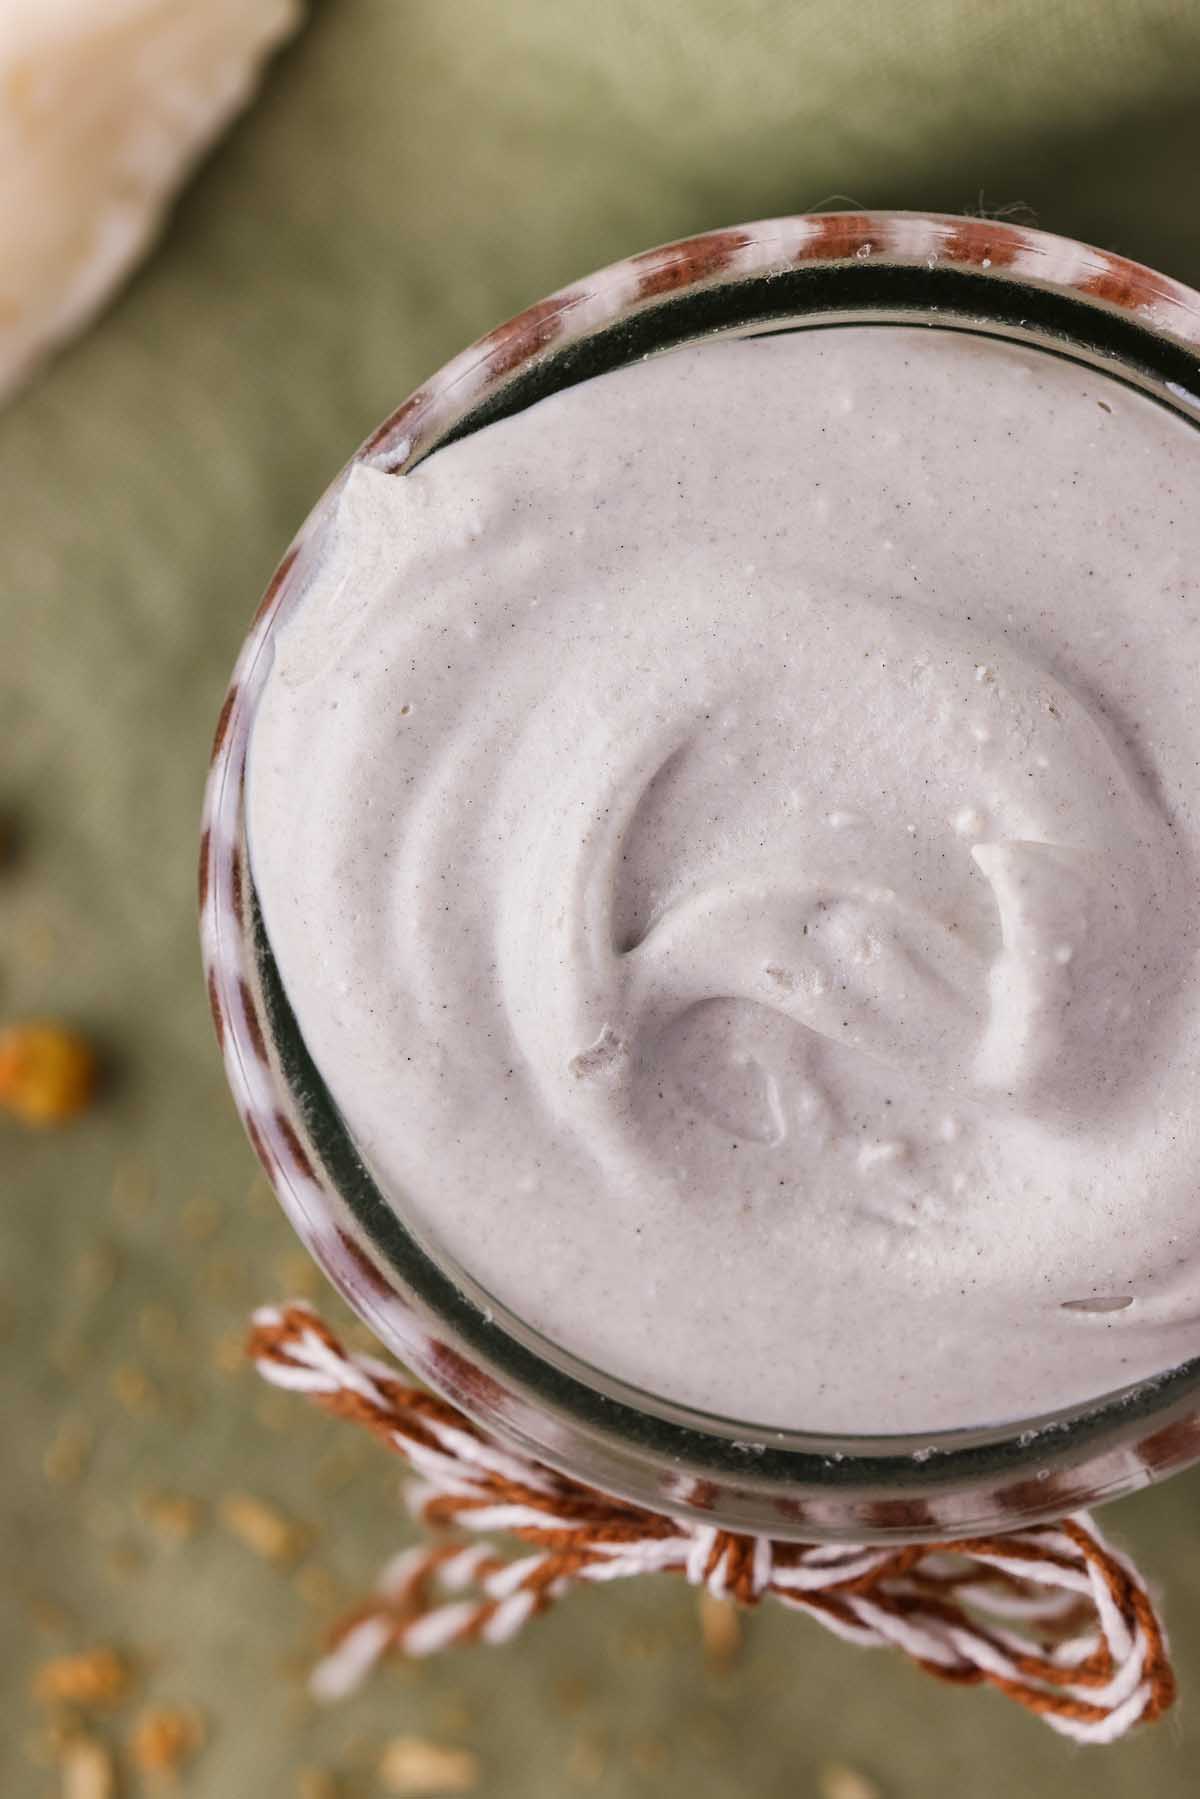
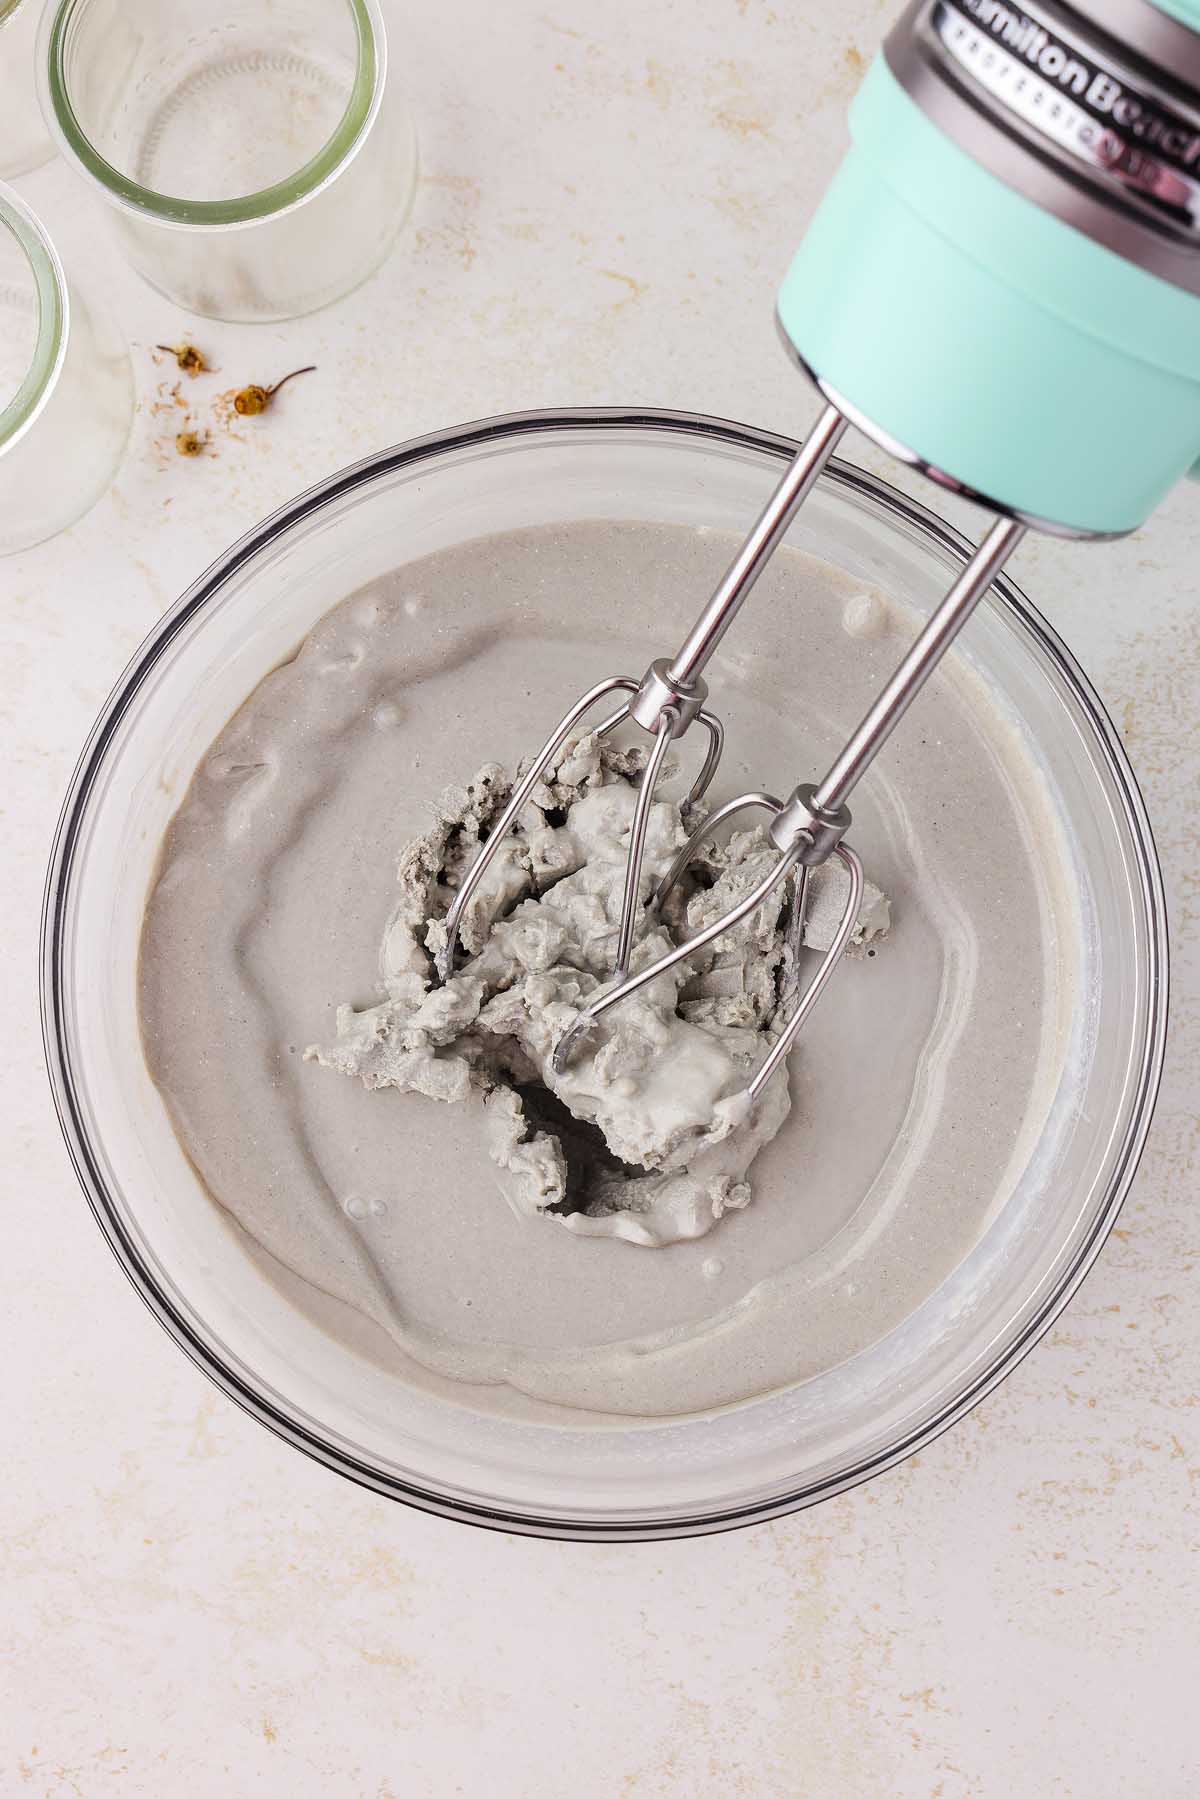
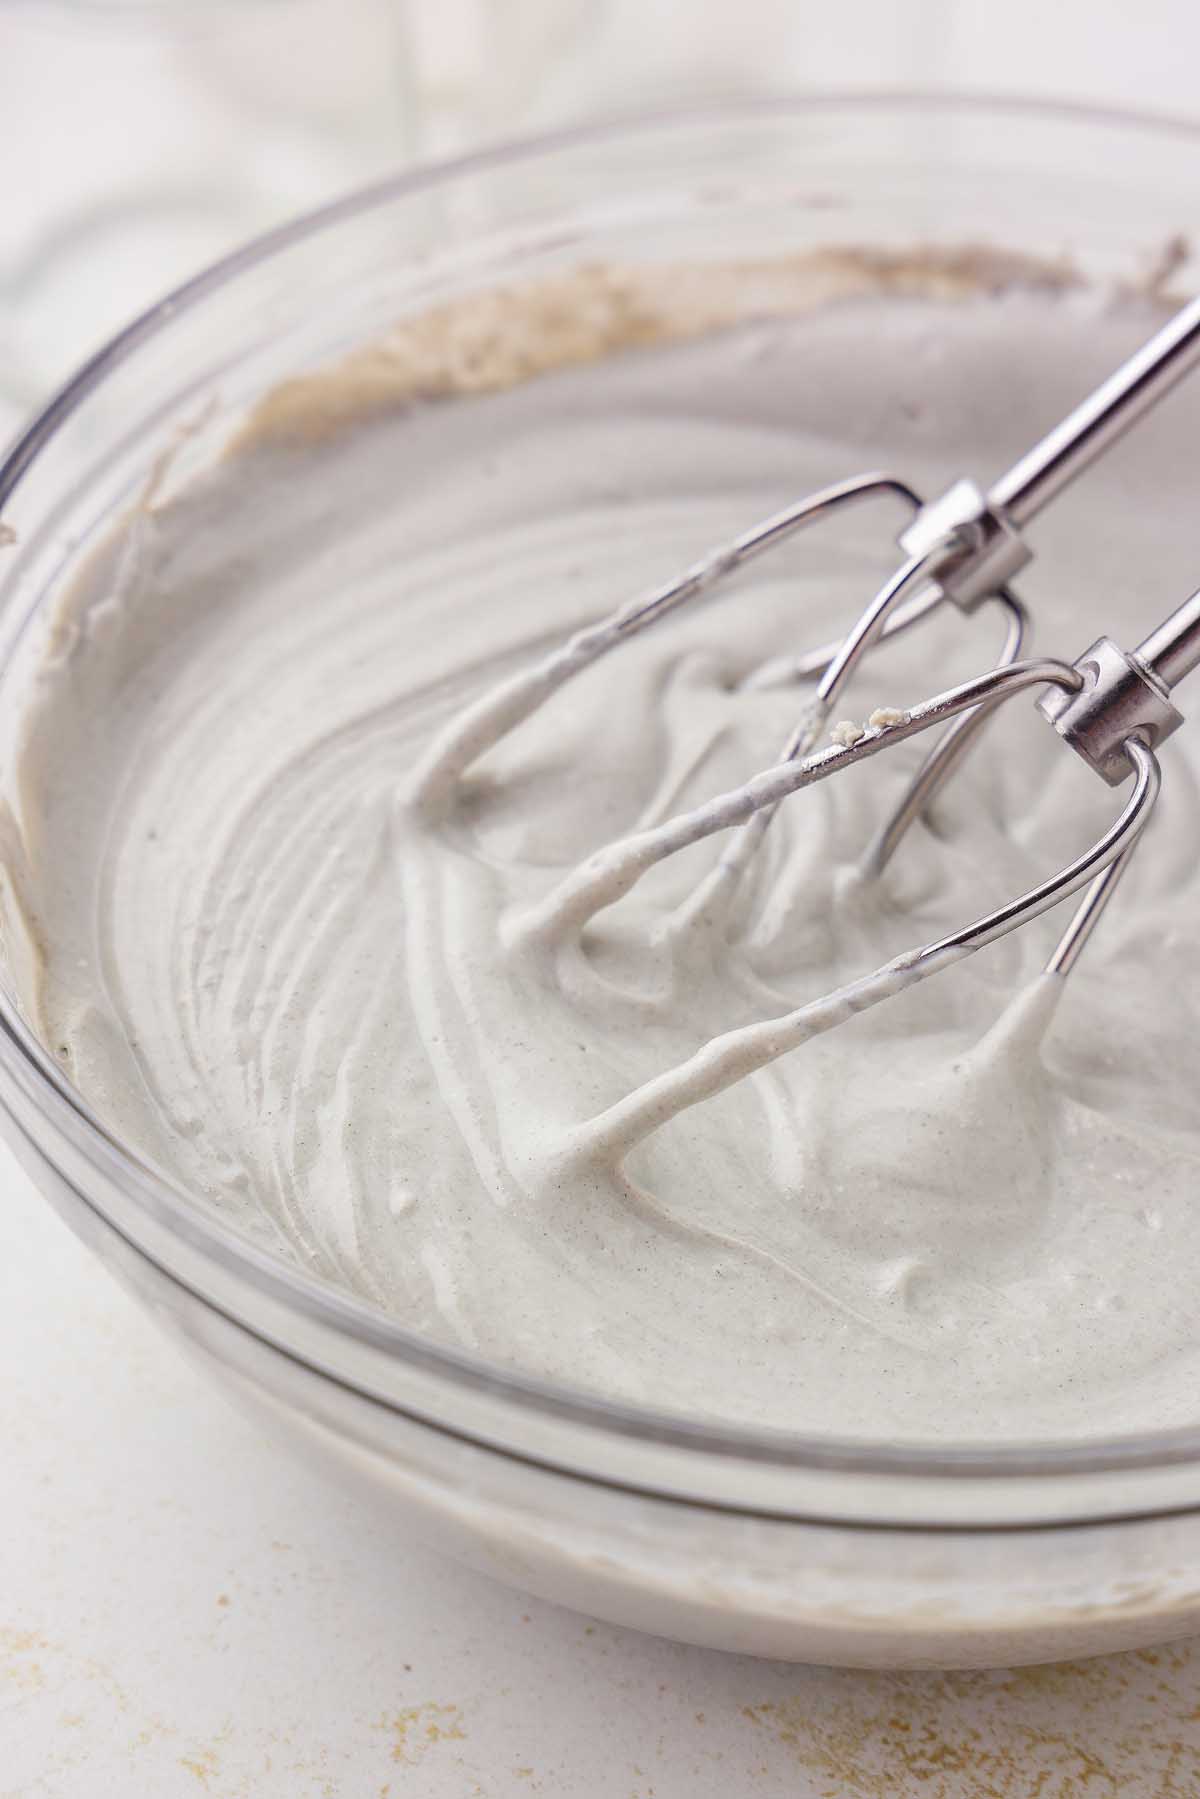
Whip the DIY diaper rash cream: When it’s cooled and thick, whip it with a hand mixer for a minute or 2 until smooth, scraping down the sides with a spatula.
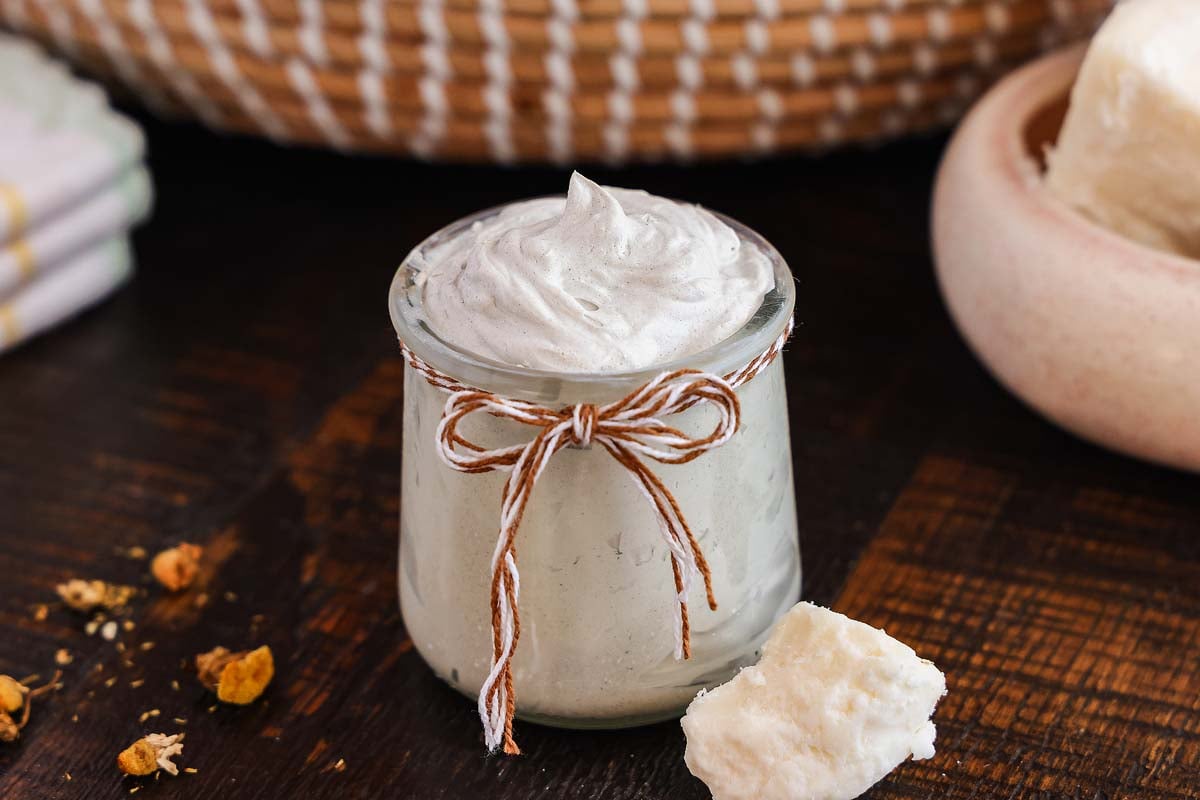
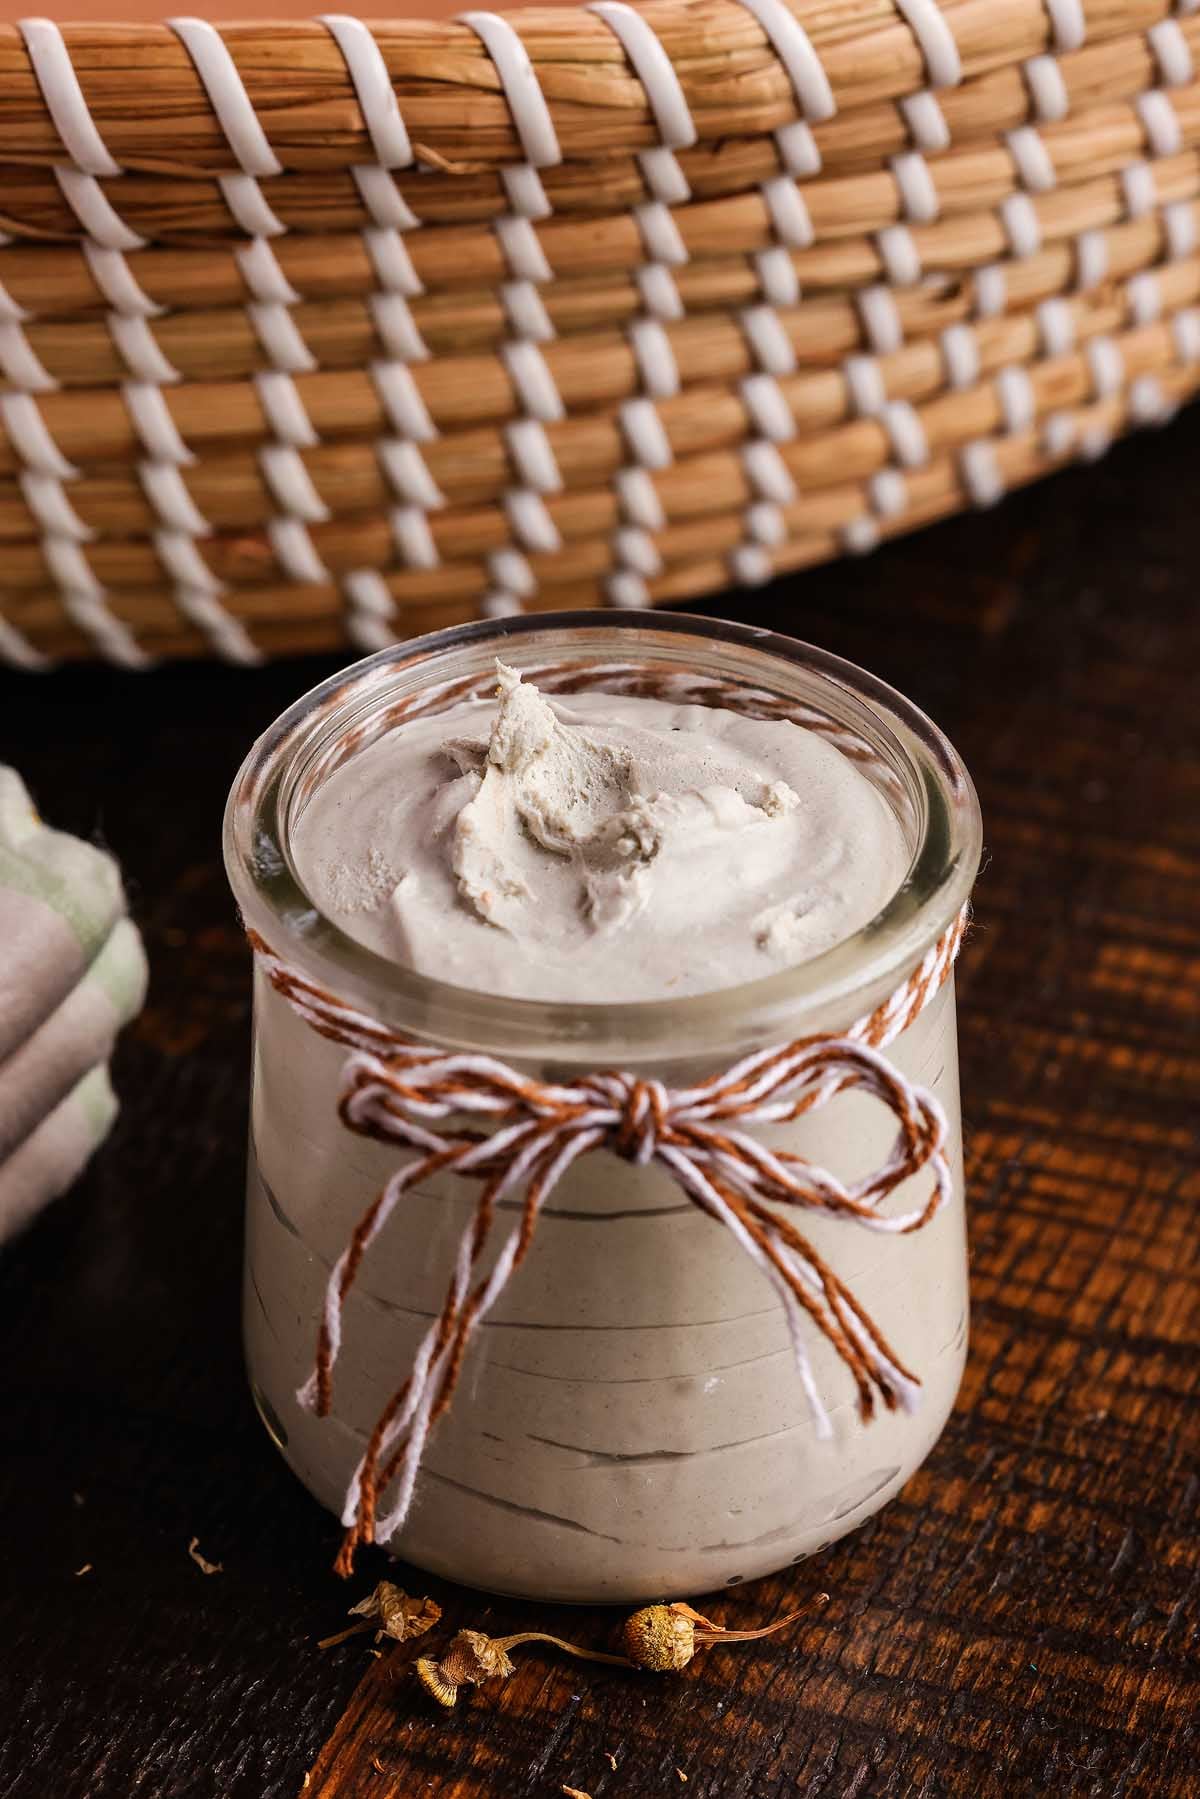
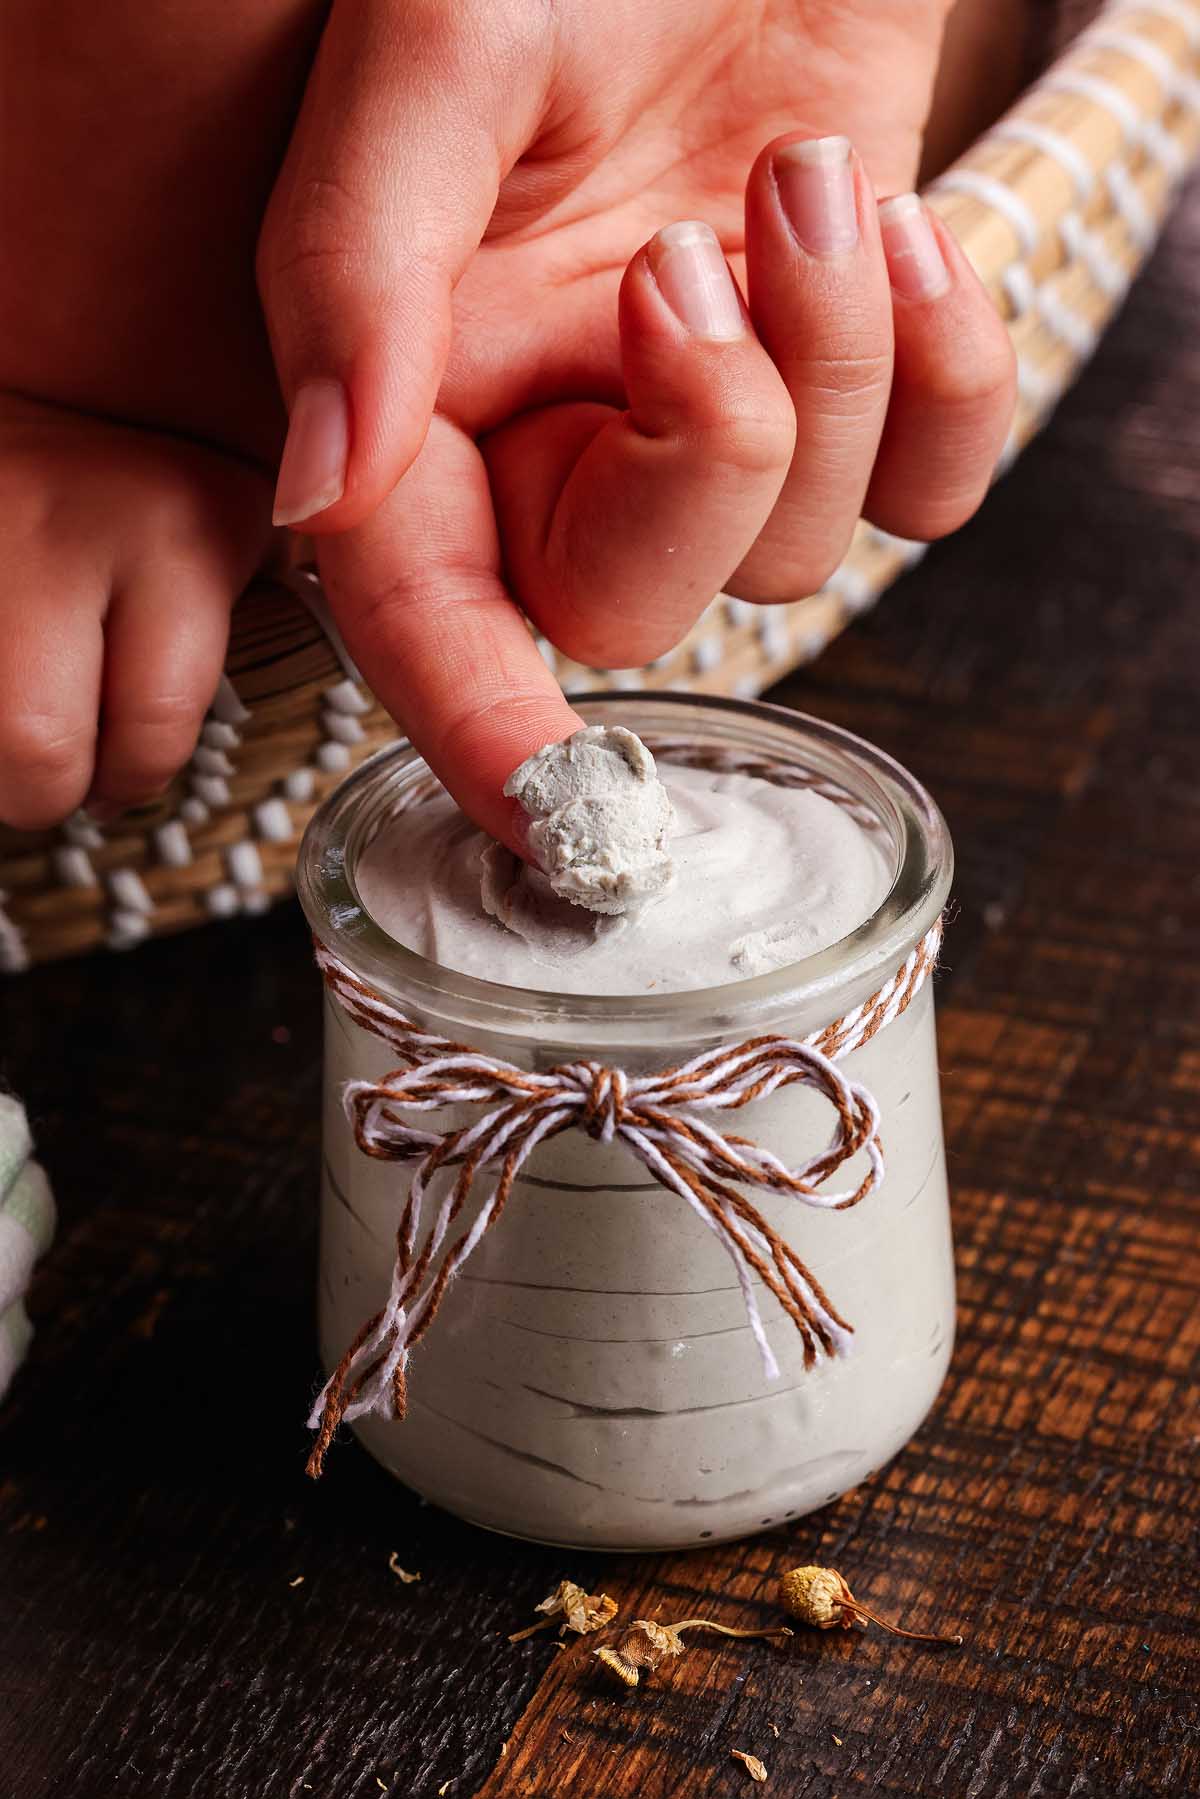
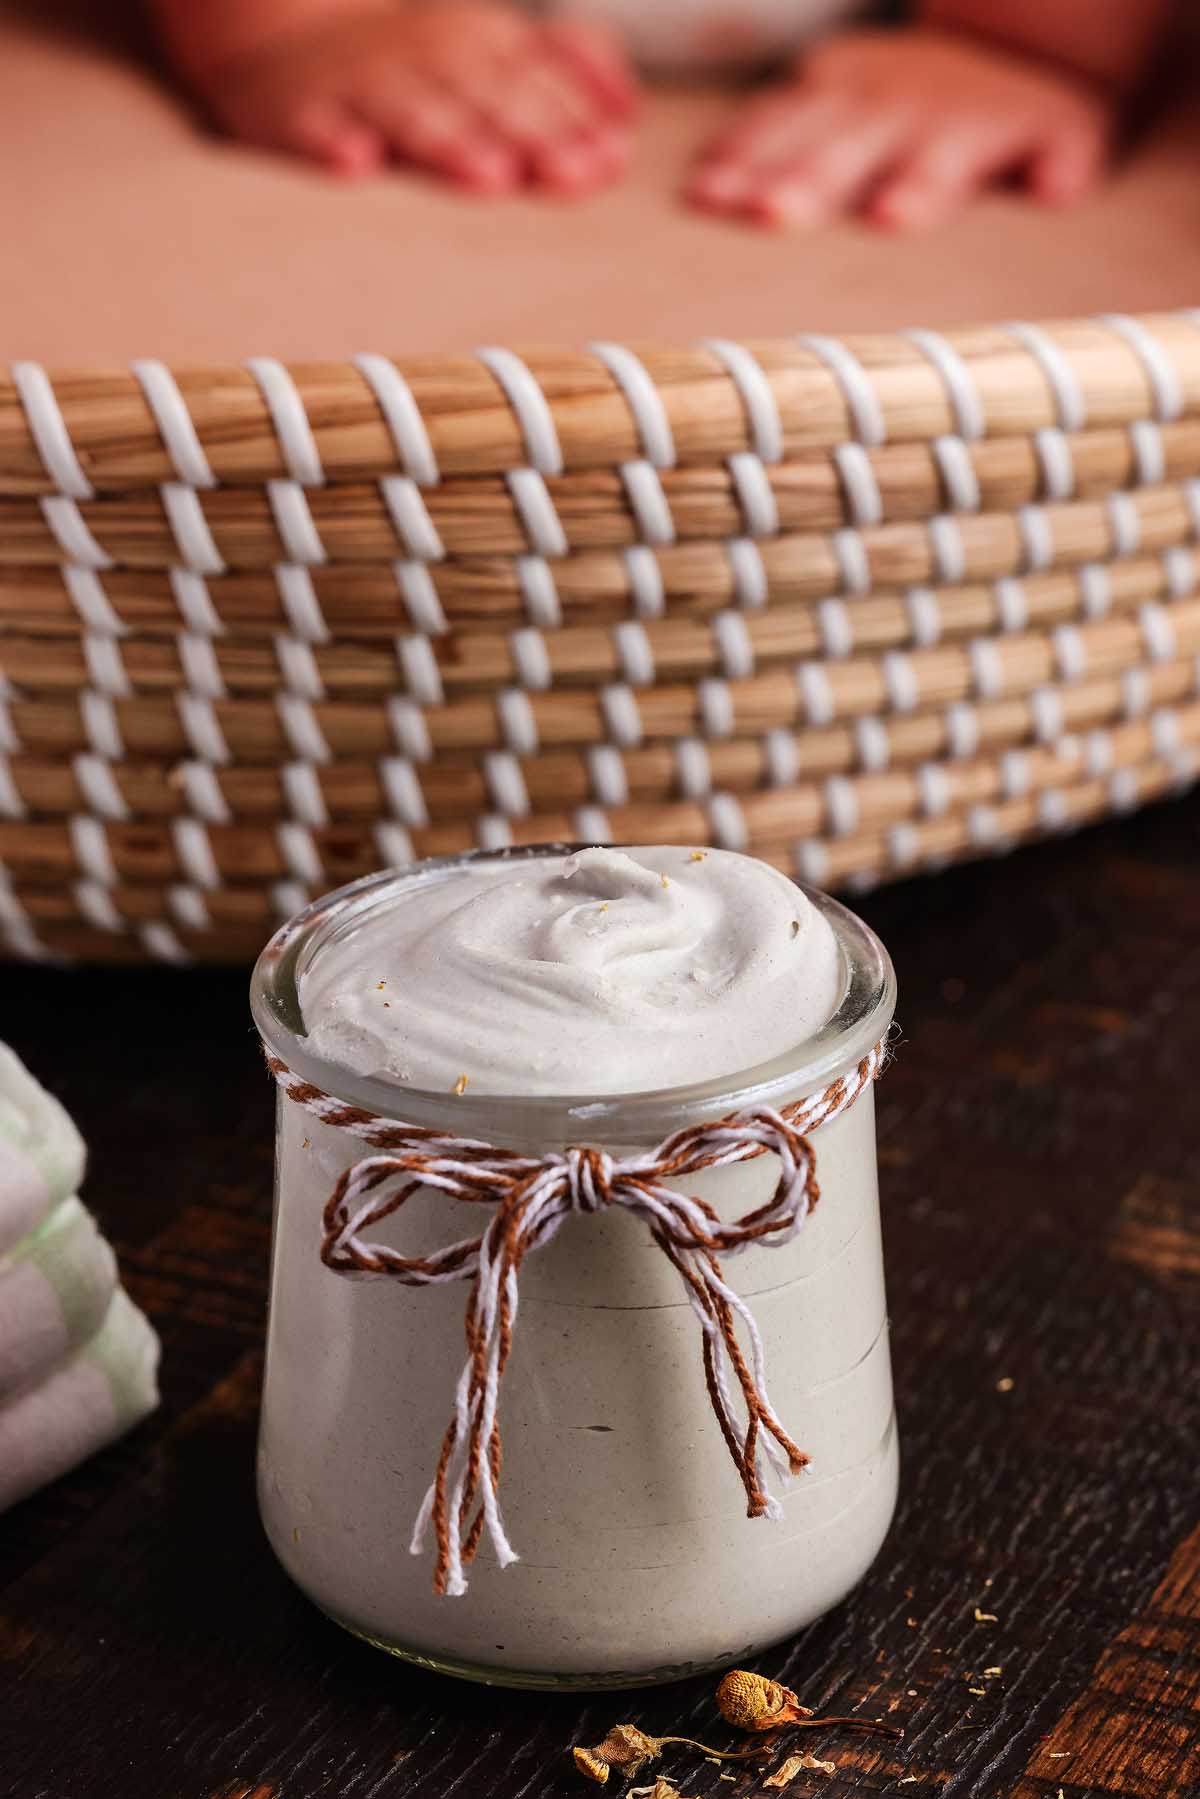
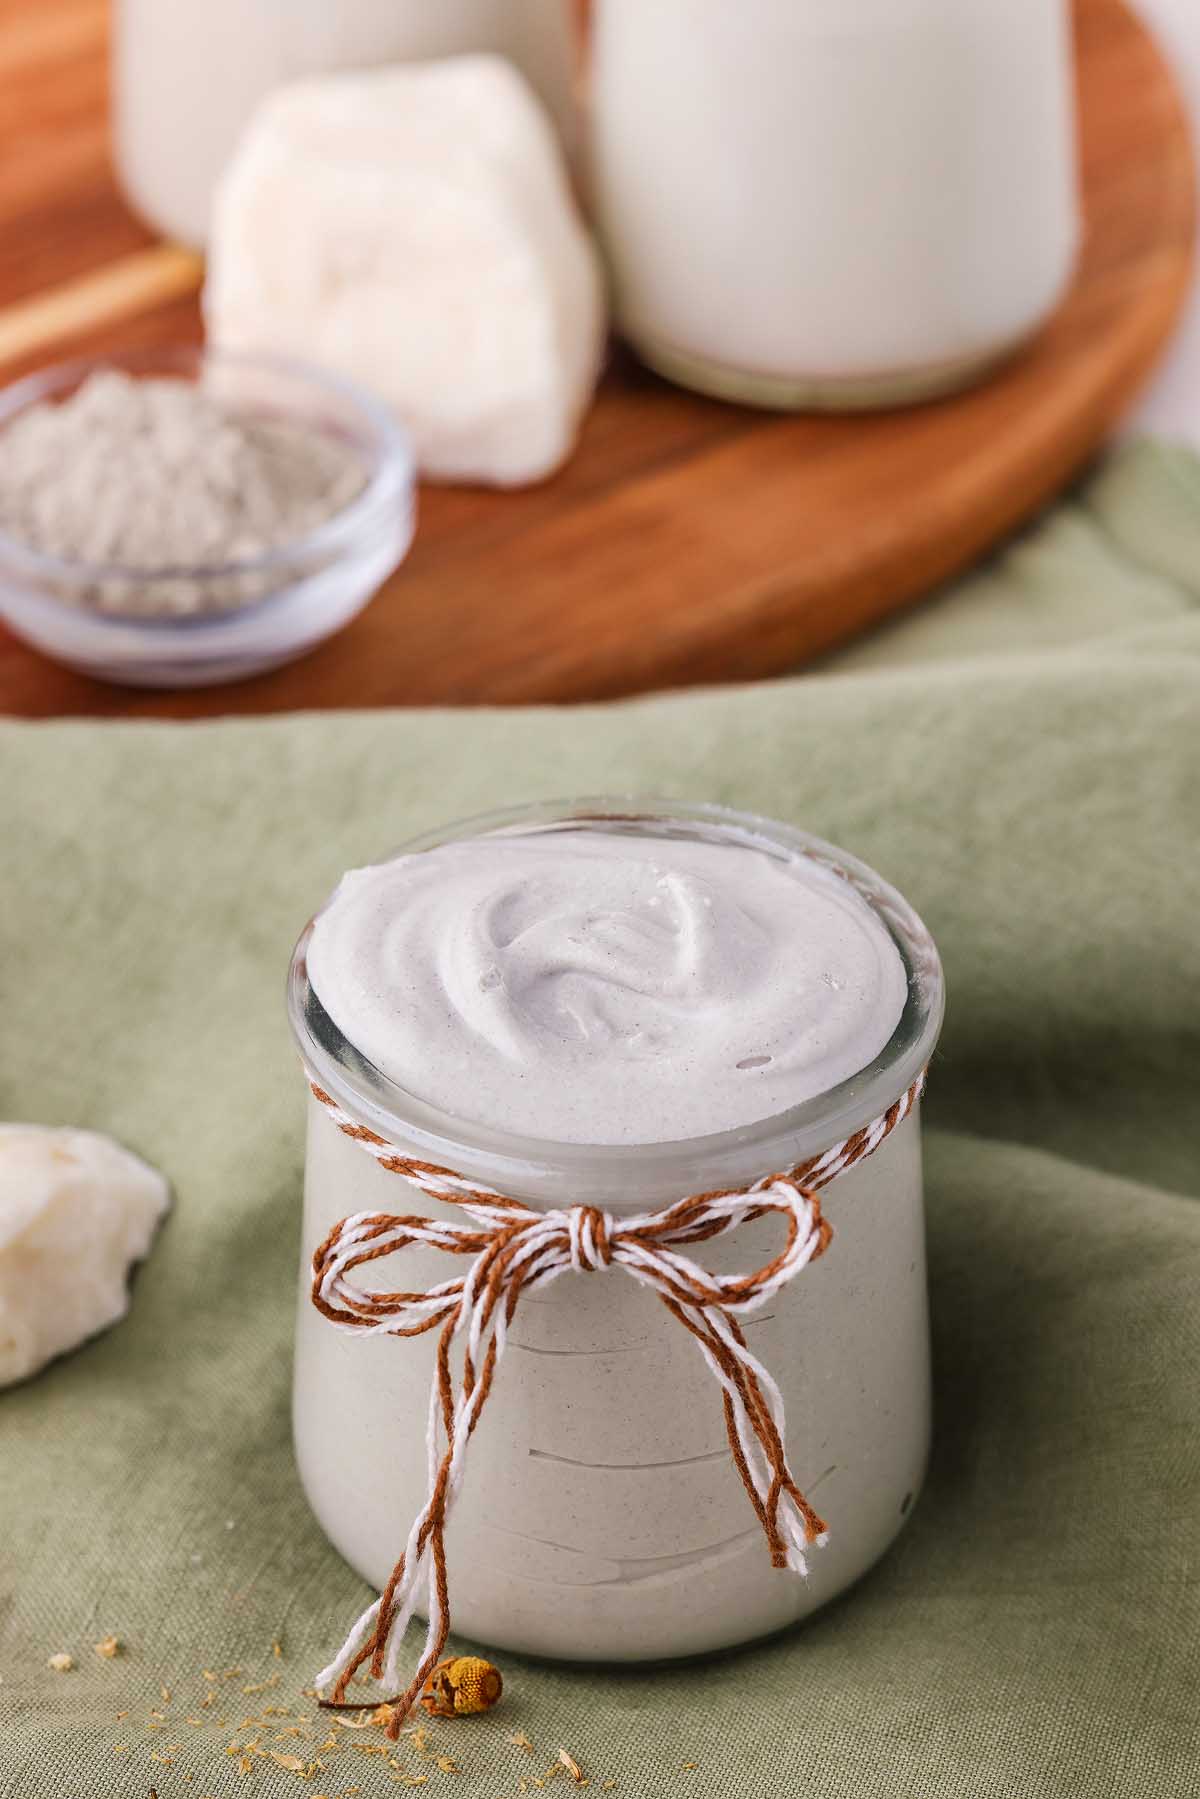
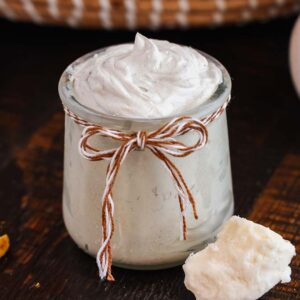
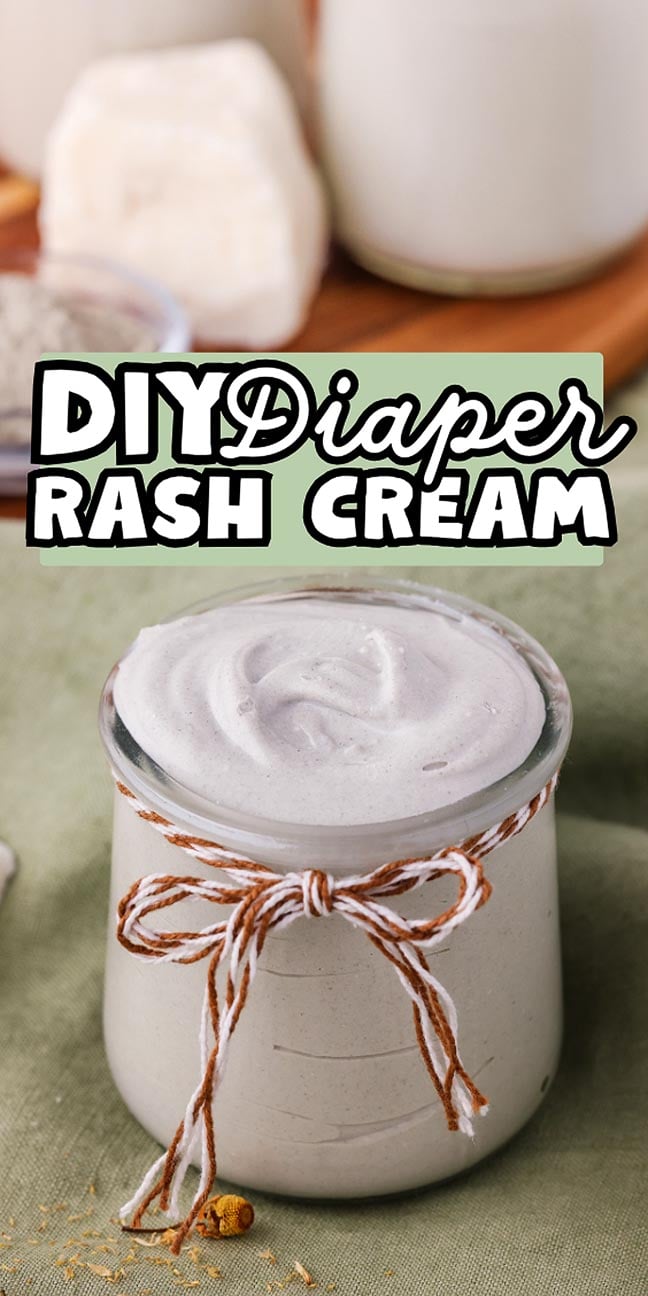
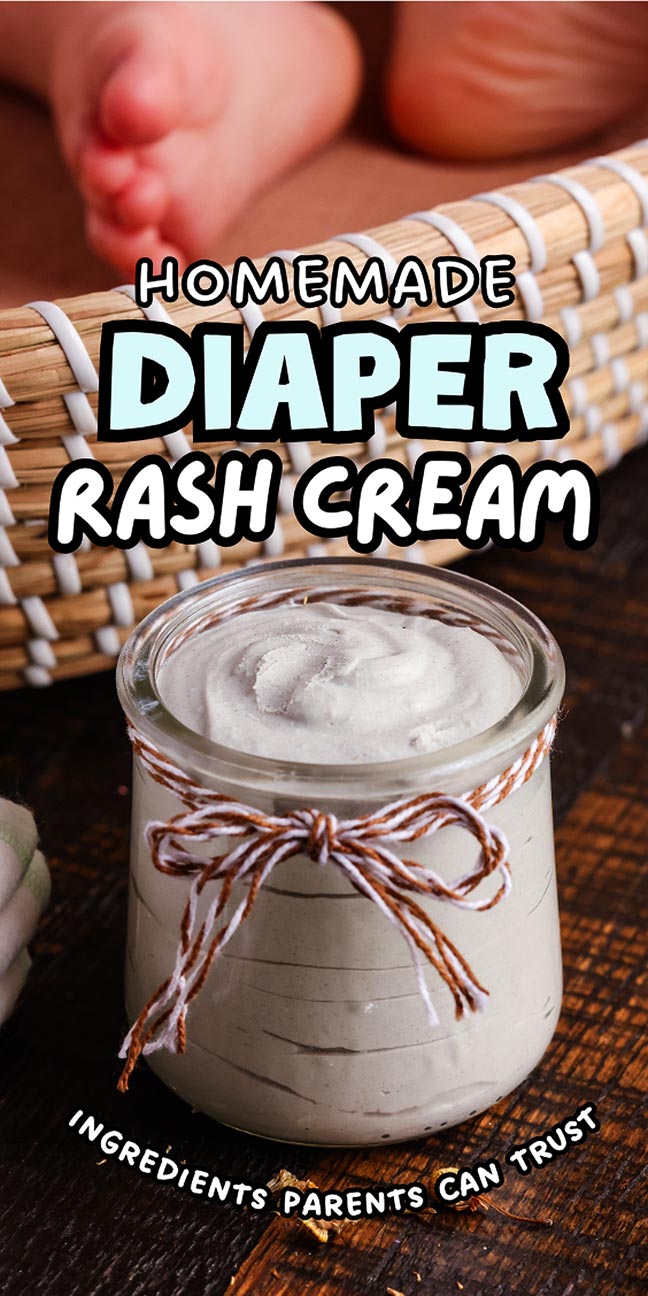
Bottle the diaper rash cream: Spoon or pipe the diaper cream into clean, dry glass jars. It will thicken up a little more after this. Your cream is now ready to use on baby’s diaper rash when needed.
Substitutions and Variations
Chamomile infused oil: Use ½ cup of regular coconut oil instead of infusing oil with chamomile flowers.
Using the Diaper Rash Cream
For diaper rash: This is great for treating diaper rash. It’s all-natural and very gentle on baby’s sensitive skin.
For eczema: Also try it on skin conditions such as dermatitis, eczema or rashes caused by allergies. If you aren’t sure what the condition is, I recommend visiting a doctor first.
As a gift: Make a personalized gift basket for a new mom and include this diaper rash cream, along with any other goodies you want like DIY bath bombs, a chunky hand knit blanket or orange sugar scrub.
How to Store Homemade Diaper Cream
Store: Keep this natural diaper cream in tightly sealed jars somewhere cool and dark. It should keep for up to a year, maybe even longer.
Freeze: Freezing it would probably make it separate and might negatively impact some of the ingredients. Besides, it keeps for about a year so you don’t need to freeze it.
Top Tips
Make the right amount: This recipe makes 3 x 4-ounce jars of cream. You can halve it if you don’t need so much. Personally I like to make extra since it keeps for a year or more.
Severe diaper rash: If baby’s diaper rash is bad, it might be best to rinse the area with warm water when changing a diaper instead of using wet wipes or a cloth (it won’t sting as much).
Warm it before use: If the cream is very cold, you can warm it between your fingers before application.
Try it on other rashes: This cream would also be excellent on small patches of eczema or itchy, irritated skin. It a nice go-to cream for dry eczema patches on elbows and knees or contact dermatitis. Of course, you can also apply it to baby to prevent regular or yeast diaper rash since it’s gentle and moisturizing.
Homemade Diaper Rash Cream FAQs
I haven’t tested it with those, although since there’s no cod liver oil or essential oils in the recipe the diaper cream shouldn’t leave any lingering odors. You might want to use unbleached disposable diapers until the rash is gone, or add a panty liner or similar to prevent the cloth coming into contact with the skin.
You can opt to skip this step and simply use plain, organic coconut oil if you prefer or if you are short on time. If you decide to skip this step, use ½ cup pure coconut oil without the chamomile in the original recipe.
When making your own DIY diaper cream, you can control the ingredients and thickness. If you would like a thicker cream, use 4 tablespoons of zinc oxide and 3 tablespoons of bentonite clay and follow the measurements for the rest of the ingredients. The result will be slightly thicker, but it will still spread easily.
Homemade Diaper Rash Cream Recipe
Homemade Diaper Rash Cream
Equipment
- Glass Bowl
- Pot Medium
Supplies
- ½ Cup organic coconut oil
- 1 Tablespoon dried chamomile flowers
- ½ Cup organic raw shea butter, 4 Ounces
- ½ Cup organic raw mango butter, 4 ounces
- 2 Tablespoons sunflower oil
- 2 Tablespoons lanolin
- 2 Tablespoons non-nano zinc oxide
- 2 Tablespoons bentonite clay
- 2 Tablespoons arrowroot flour
Instructions
- Prepare a chamomile-infused oil by adding the coconut oil and the dried chamomile flowers to a glass bowl or small pot.
- Make a double boiler by filling a medium-large size pot with water and then place the small glass bowl/pot containing the coconut oil and chamomile flowers over it. The glass bowl should hover over the water and not be immersed in it.
- Bring the water to a gentle simmer and let the chamomile infuse into the coconut oil for 3 hours. Once the water beneath the oil begins to boil, reduce the heat to simply keep the water underneath the coconut oil nice and hot.
- After the coconut oil has been infused with chamomile, allow the mixture to cool to a warm room temperature. Strain the flowers from the oil using a cheesecloth.
- Add the shea butter, mango butter, sunflower oil, lanolin, and chamomile-infused (or ½ cup pure) coconut oil to a double boiler. Bring the water underneath to a gentle boil and then reduce the heat slightly. The goal is to gently warm and melt the oils together.
- Whisk gently to help all of the oils and lanolin mix together. Don’t worry if the lanolin is a little clumpy. It will break up and mix in beautifully when we whisk the cooled cream.
- Once the shea butter mixture is melted, remove from heat. Add in the zinc oxide, the bentonite clay, and the arrowroot flour, one at a time. Mix between each added ingredient. Whisk well to break up the clumps. Again, don’t worry if there are a few clumps left or if the powders settle while cooling. The mixture will whip up nicely once cooled.
- Let the mixture cool until it thickens slightly. If you would like to speed up the process, you can place the mixture in the refrigerator for 45 minutes to one hour. The edges will start to set up and thicken first.
- When the mixture begins to cool and thicken slightly, use a hand mixer to whip into a cream. This is the fun part! Whipping the cream gives it a nice, airy consistency and will help it spread like butter! Whip on high for 1 or 2 minutes or until you have a nice, smooth cream. Scrape down the sides of the bowl using a rubber spatula, if needed, and whisk again.
- Spoon or pipe the cream into clean, dry small glass jars. Transferring the cream into jars before it has time to fully set up is ideal because it has a thinner consistency and is very easy to spoon into small jars. Once it totally cools and sets up, it is a little more firm.
- Apply a generous amount to baby’s diaper rash when needed.
Notes
Severe diaper rash: If baby’s diaper rash is bad, it might be best to rinse the area with warm water when changing a diaper instead of using wet wipes or a cloth (it won’t sting as much).
Warm it before use: If the cream is very cold, you can warm it between your fingers before application.
Try it on other rashes: This cream would also be excellent on small patches of eczema or itchy, irritated skin. It a nice go-to cream for dry eczema patches on elbows and knees or contact dermatitis. Of course, you can also apply it to baby to prevent regular or yeast diaper rash since it’s gentle and moisturizing.
This natural diaper rash ointment, or diaper rash cream, is easy to make. It’s a natural diaper rash cream made with shea butter coconut oil, lanolin and other natural ingredients that are safe on sensitive or delicate skin. When diaper dermatitis or diaper rash occurs, warm a little cream up between your fingers and apply to baby’s skin.
Other Recipes to Try
Bella Bucchiotti
Bella Bucchiotti is a Canadian-based syndicated food, travel, and lifestyle writer, photographer, and creator at xoxoBella. She founded xoxoBella in 2015, where she shares her love for food, dogs, sustainability, fitness, crafts, outdoor adventures, travel, and philanthropy to encourage others to run the extra mile, try new recipes, visit unfamiliar places, and stand for a cause. Bella creates stress-free and family-friendly recipes for weeknight dinners and festive feasts.