This post may contain affiliate links, please see the privacy policy for details.
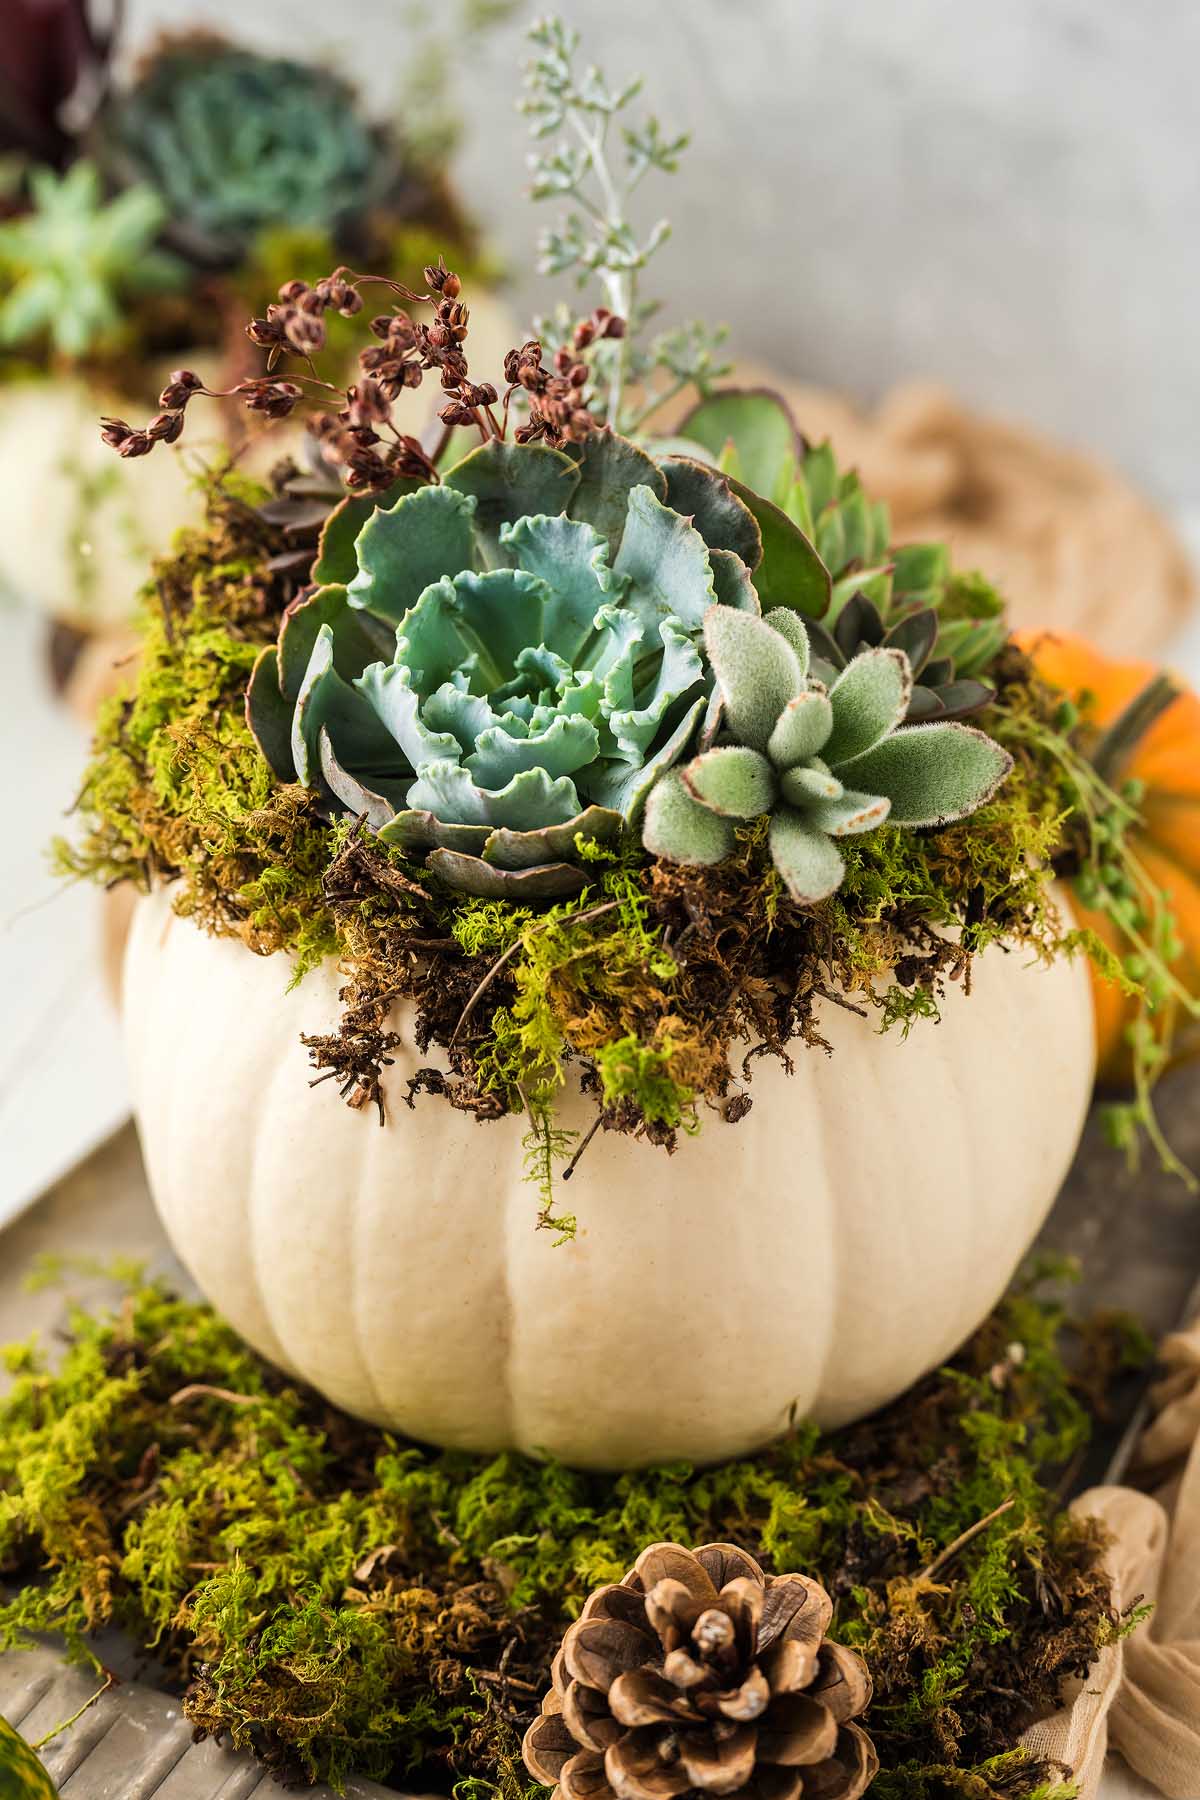
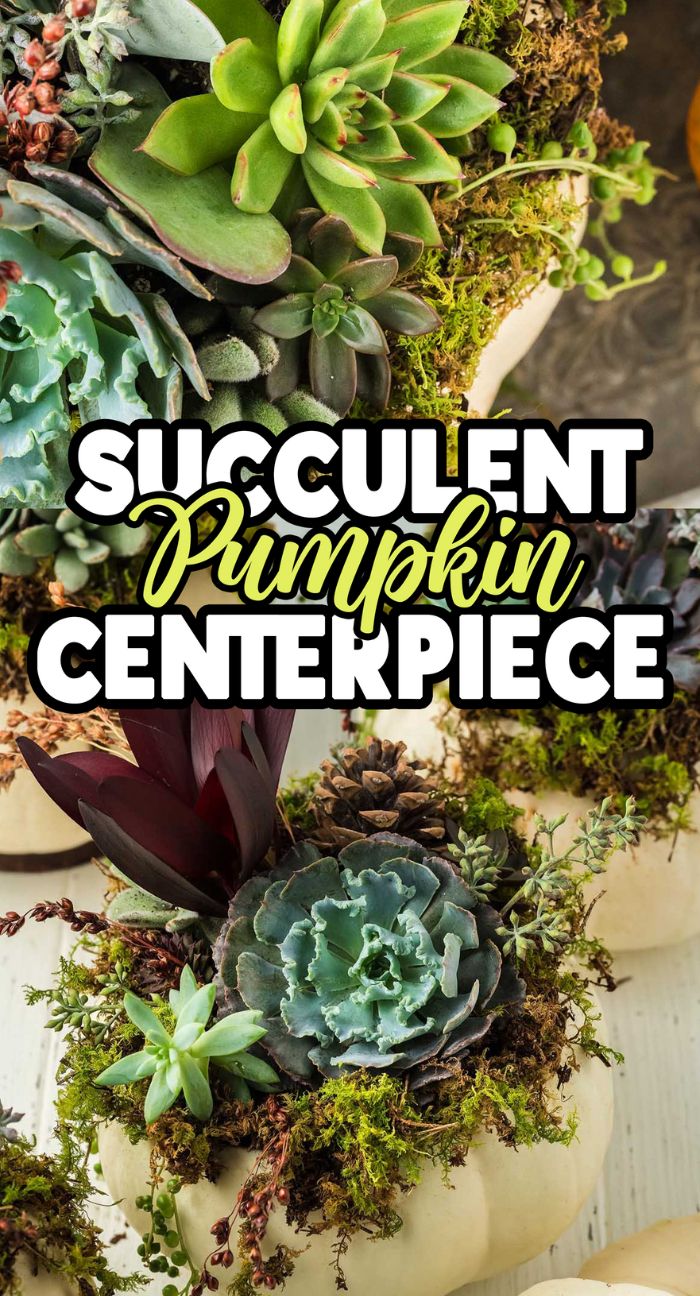
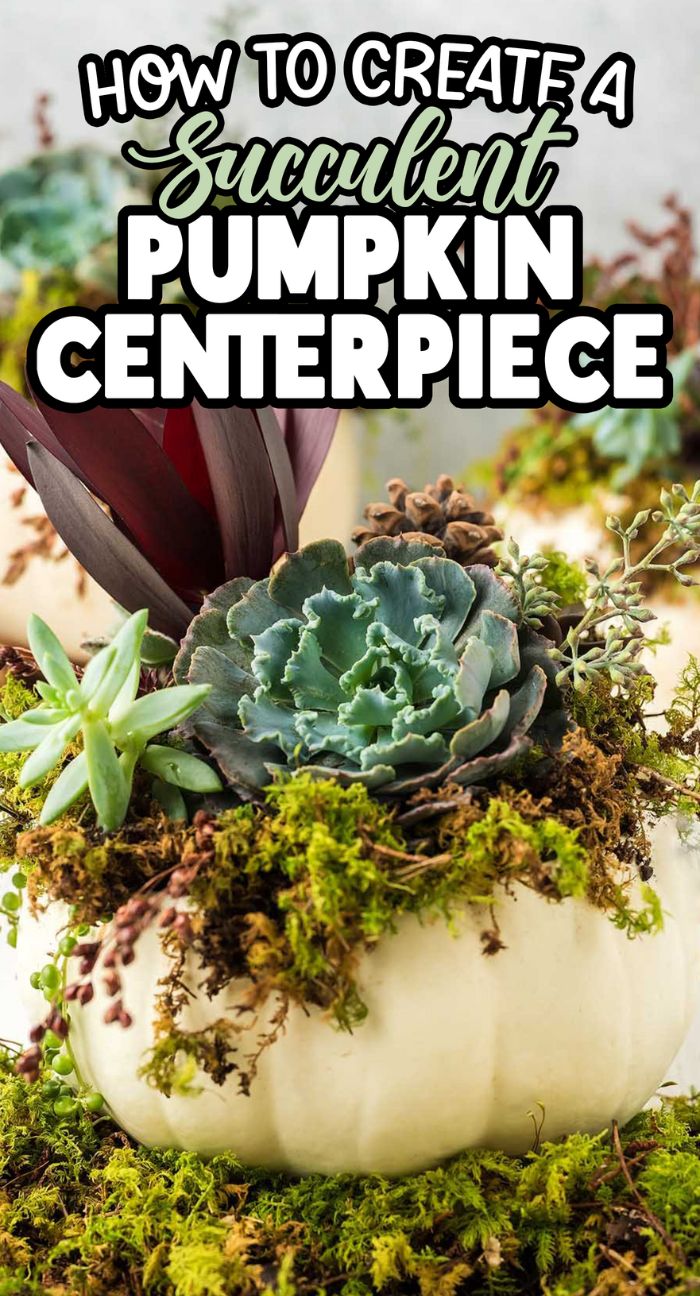
This beautiful pumpkin centerpiece is made with pumpkins along with succulent cuttings or succulent stems. It’s cute, colorful and perfect for the fall. Can you picture this succulent pumpkin in the middle of your Thanksgiving table this year? A bright orange pumpkin, perhaps surrounded by smaller ones and even some white ones, filled with succulent plants and maybe even some pine cones or sphagnum moss, is sure to look great. Discover how to create a succulent pumpkin centerpiece and make something gorgeous to suit your home decor.

Succulent pumpkins offer both a rustic and elegant look. Try this fun project tutorial for yourself. It’s really simple and fun to make a succulent topped pumpkin.
Also try making some bath bombs or shower steamers. Clay name ornaments for gifts are also easy to make, and these pine cone turkeys are super cute!
Why You’ll Love It
Easy: This is a relatively simple project and you don’t need to have green fingers or know anything about gardening or plants.
Creative: Although the stores have no shortage of Thanksgiving and pumpkin themed items this time of year, nothing beats being able to make your own cute decorations, and you are going to love this one!
Giftable: Why stop at just the one succulent pumpkin? Make a few more for your friends, family and colleagues!

DIY Succulent Pumpkin Centerpiece Materials
Pumpkins: Any colors or sizes work.
Jars: These are to go inside the pumpkins and hold the succulents.
Succulents: Attractive plants that require very little watering.
Dirt: Use a cactus mix or succulent mix.

How to Make a Succulent Pumpkin Centerpiece
For more detailed instructions, jump to the printable card below.
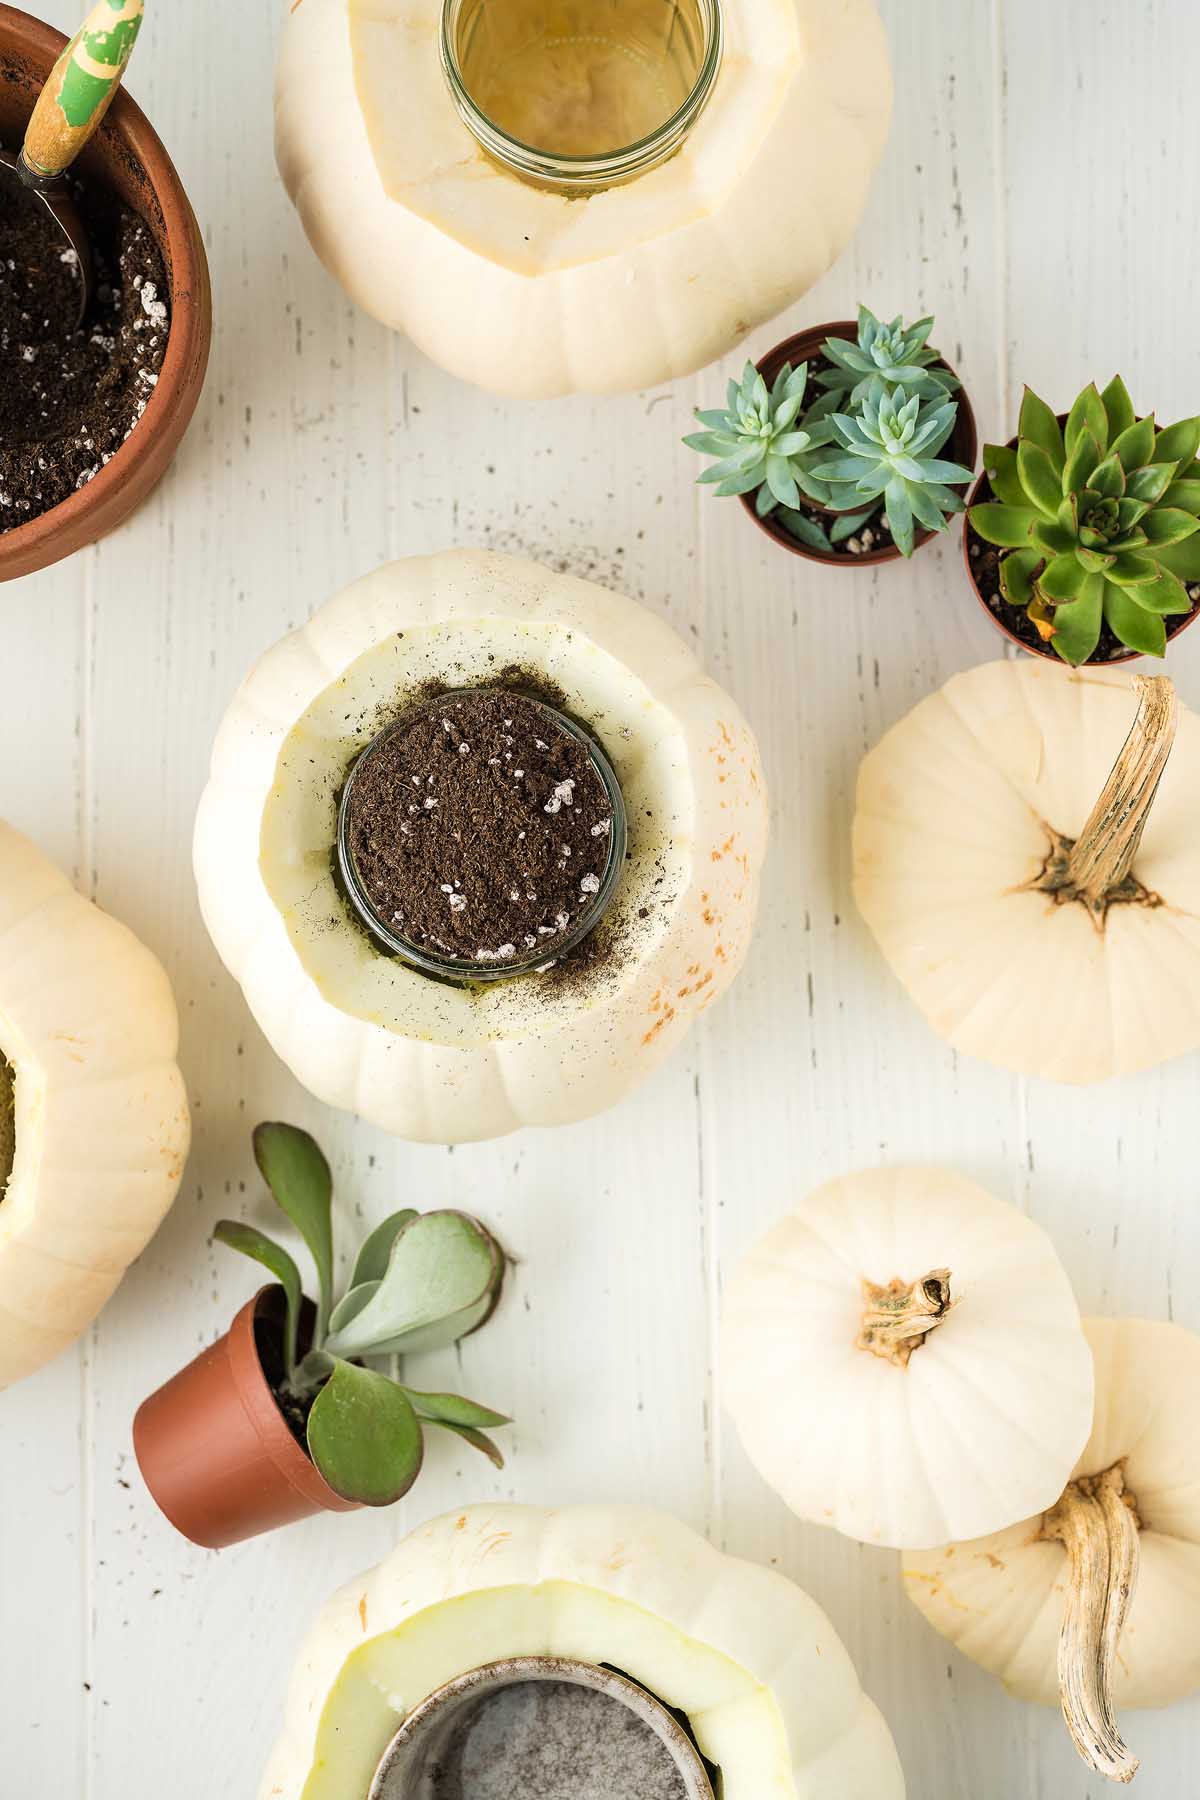
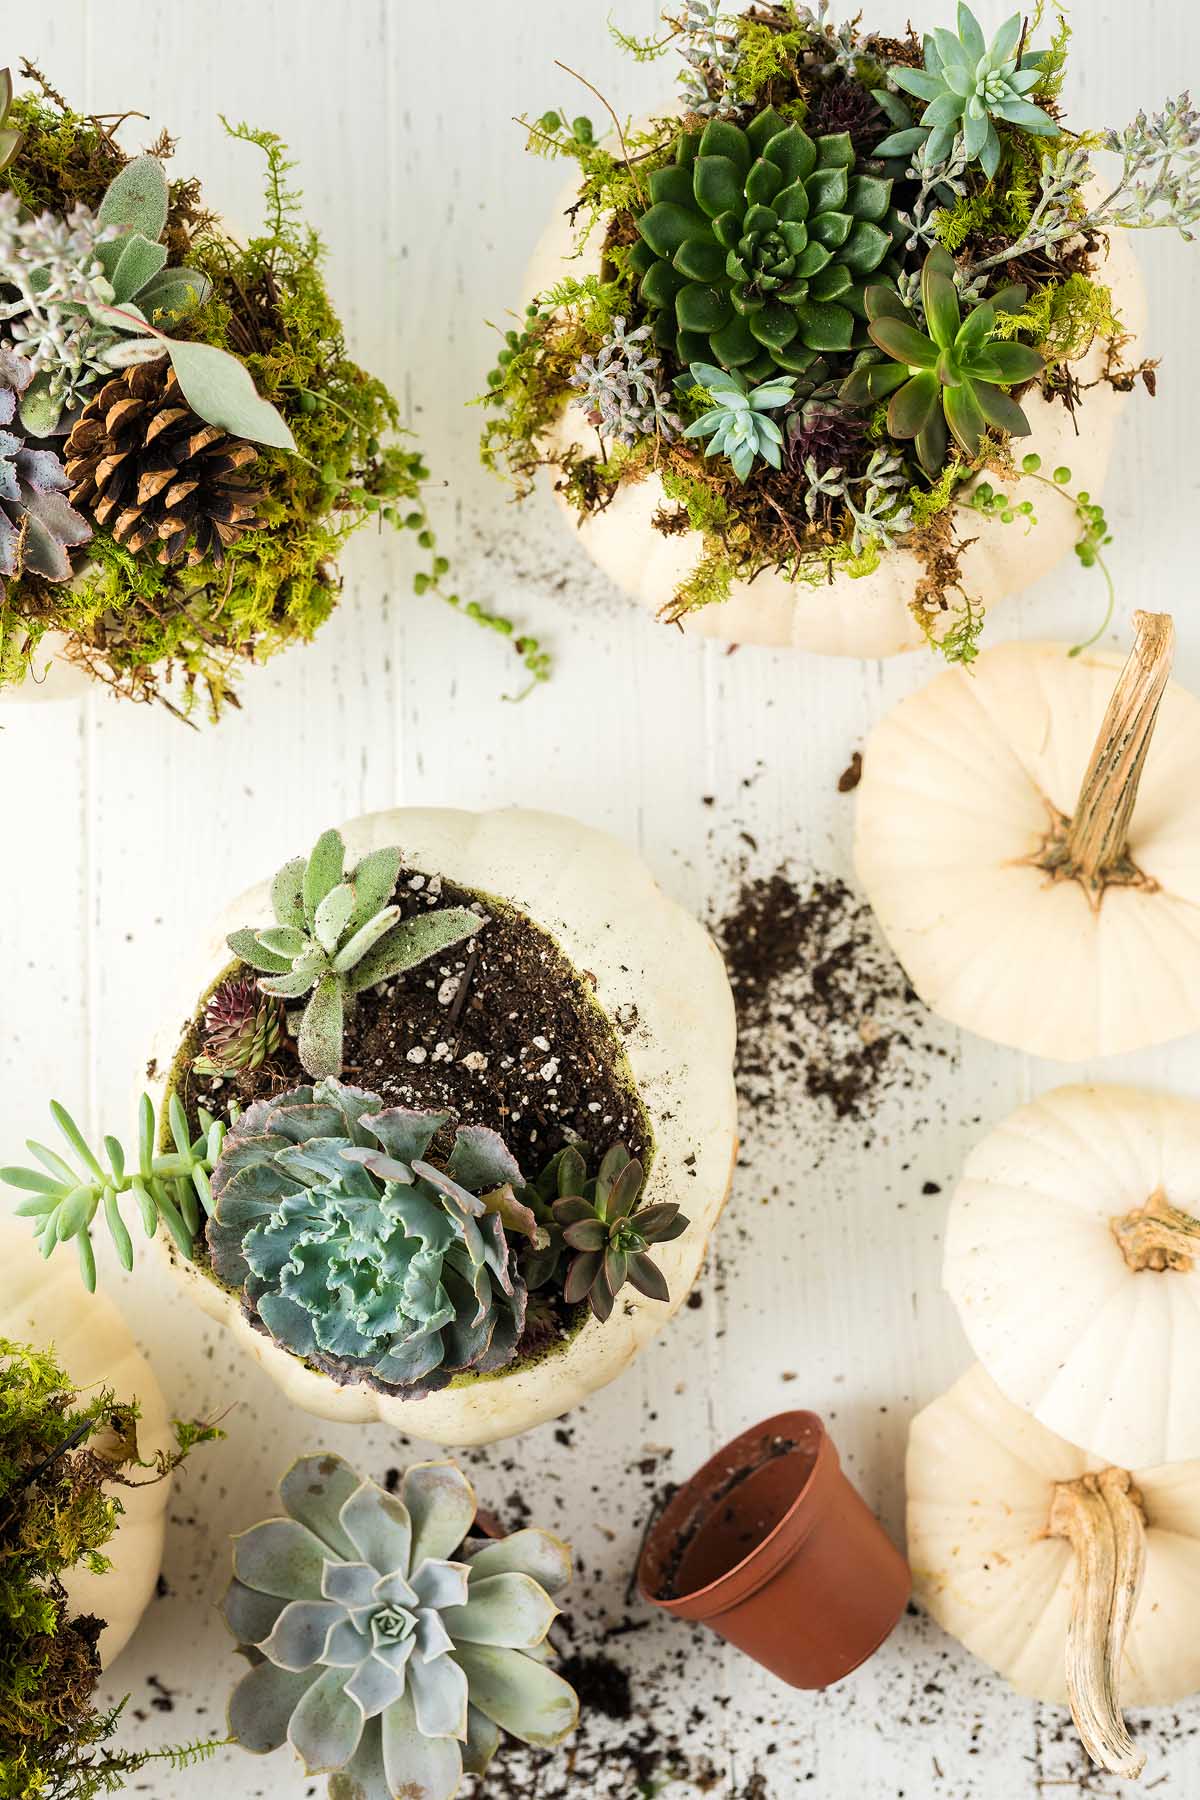
Prepare the pumpkin: Use a sharp knife to cut a big circle out of the top of the pumpkin and take out the seeds. Ensure the circle will be big enough for the container you’re using.
Fill the container: Half-fill your container with dirt and then add succulents one by one, pressing some more dirt around the base of each one. Add a small amount of water.
Assemble the pumpkin succulent centerpiece: Next, nestle the container into the pumpkin, using burlap or moss to cover the gap between the pumpkin.
The finishing touches: Add greenery, dried flowers or any other decorations you like, and then display the succulent filled pumpkin as a centerpiece, adding a white pumpkin or two, or some pine cones if you want.

Substitutions and Variations
Optional extras: Spanish moss, pine cones, dried flowers, burlap, and other decorations can be added to the DIY Thanksgiving centerpiece.
More pumpkins: Consider adding mini pumpkins, white pumpkins and smaller pumpkins to the overall display if the table has enough space.
Different succulent plants: If you love succulents you can mix and match large, medium and small succulents to personalize the pumpkin succulent centerpiece.

How to Display a Succulent Topped Pumpkin
Succulents in pumpkins look gorgeous as a table centerpiece. Although succulents like to be outdoors or on a sunny windowsill, this pumpkin succulent arrangement for Thanksgiving will be fine on your table for a few days even if that’s not in the sun.

How to Care for Your Succulent Pumpkin
Succulents are called that because they hold a lot of water and don’t need watering often. You can water them once a week, ensuring the soil is completely dry before watering. As there isn’t a drainage hole in the pumpkin, don’t add too much water because it can’t drain.

Top Tips
Pick a flat-top pumpkin: Choose one with a stable surface so the arrangement sits securely.
Use jars inside pumpkins: This keeps the succulents contained and makes watering easier.
Layer moss or burlap around the jar: It hides gaps and adds rustic texture to the design.
Mix pumpkin sizes and colors: Different shapes and shades create more visual interest.
Water sparingly: Succulents don’t need much moisture so let the soil dry before watering.
Add decorative touches: Dried flowers, pine cones or greenery give extra seasonal charm.

Succulent Pumpkin FAQs
You can leave the succulents in the container in the pumpkin or carefully remove and put them in a larger one if you want them to grow. I love this pretty succulent planter (here). Succulents thrive on sunlight and prefer at least 6 hours of it daily, so it’s best to keep them somewhere sunny if possible. Caring for succulents is not to difficult even for someone inexperienced with plants. Don’t over-water them. Succulents can be watered once a week and sometimes less. Let the soil dry out before watering and don’t add too much water as there is no drainage hole in the container.
Any kind of succulents will work in this pumpkin centerpiece. Try Lowe’s, Walmart, florist stores or garden centers and perhaps mix and match big succulents with a flat top with long skinny ones for contrast.

Step-by-Step Succulent Pumpkin Guide

Succulent Pumpkin Centerpiece
Equipment
- Potting Soil for Succulents/Cactus
Supplies
- pumpkins
- succulents
Optional Extras
- moss found under trees or at flower shops, pine cones, dried flowers or greenery, burlap etc
Instructions
- Cut a large circle around the pumpkin stem and remove the seeds with a spoon. Make sure you open the pumpkin enough to fit in your container.
- Before placing the container in the pumpkin, fill it halfway with potting soil.
- Remove the succulents from their pots and gently separate and remove some of the dirt/soil. Fill your pot with a variety of succulents and add just a bit of water.
- Place the container in the pumpkin. Use moss or burlap to cover the gap between the container and the pumpkin. Add any dried flowers or other greenery you wish.
- Arrange your pumpkin on your table with any other pumpkins or greenery.
Notes
Use jars inside pumpkins: This keeps the succulents contained and makes watering easier.
Layer moss or burlap around the jar: It hides gaps and adds rustic texture to the design.
Mix pumpkin sizes and colors: Different shapes and shades create more visual interest.
Water sparingly: Succulents don’t need much moisture so let the soil dry before watering.
Add decorative touches: Dried flowers, pine cones or greenery give extra seasonal charm.


Fresh pumpkins often feature in seasonal decor and can be used to create a special Halloween or Thanksgiving centerpiece. A solitary pumpkin, or several, will work, but why not take your centerpiece to the next level by adding succulents and making the pumpkin into a succulent planter? Your amazing centerpiece will be the talk of the table for all the right reasons. Although this is an elegant looking decoration, it’s super easy to make yourself at home with this easy to follow tutorial.
More Crafts to Try
Bella Bucchiotti
Bella Bucchiotti is a Canadian-based syndicated food, travel, and lifestyle writer, photographer, and creator at xoxoBella. She founded xoxoBella in 2015, where she shares her love for food, dogs, sustainability, fitness, crafts, outdoor adventures, travel, and philanthropy to encourage others to run the extra mile, try new recipes, visit unfamiliar places, and stand for a cause. Bella creates stress-free and family-friendly recipes for weeknight dinners and festive feasts.