This post may contain affiliate links, please see the privacy policy for details.
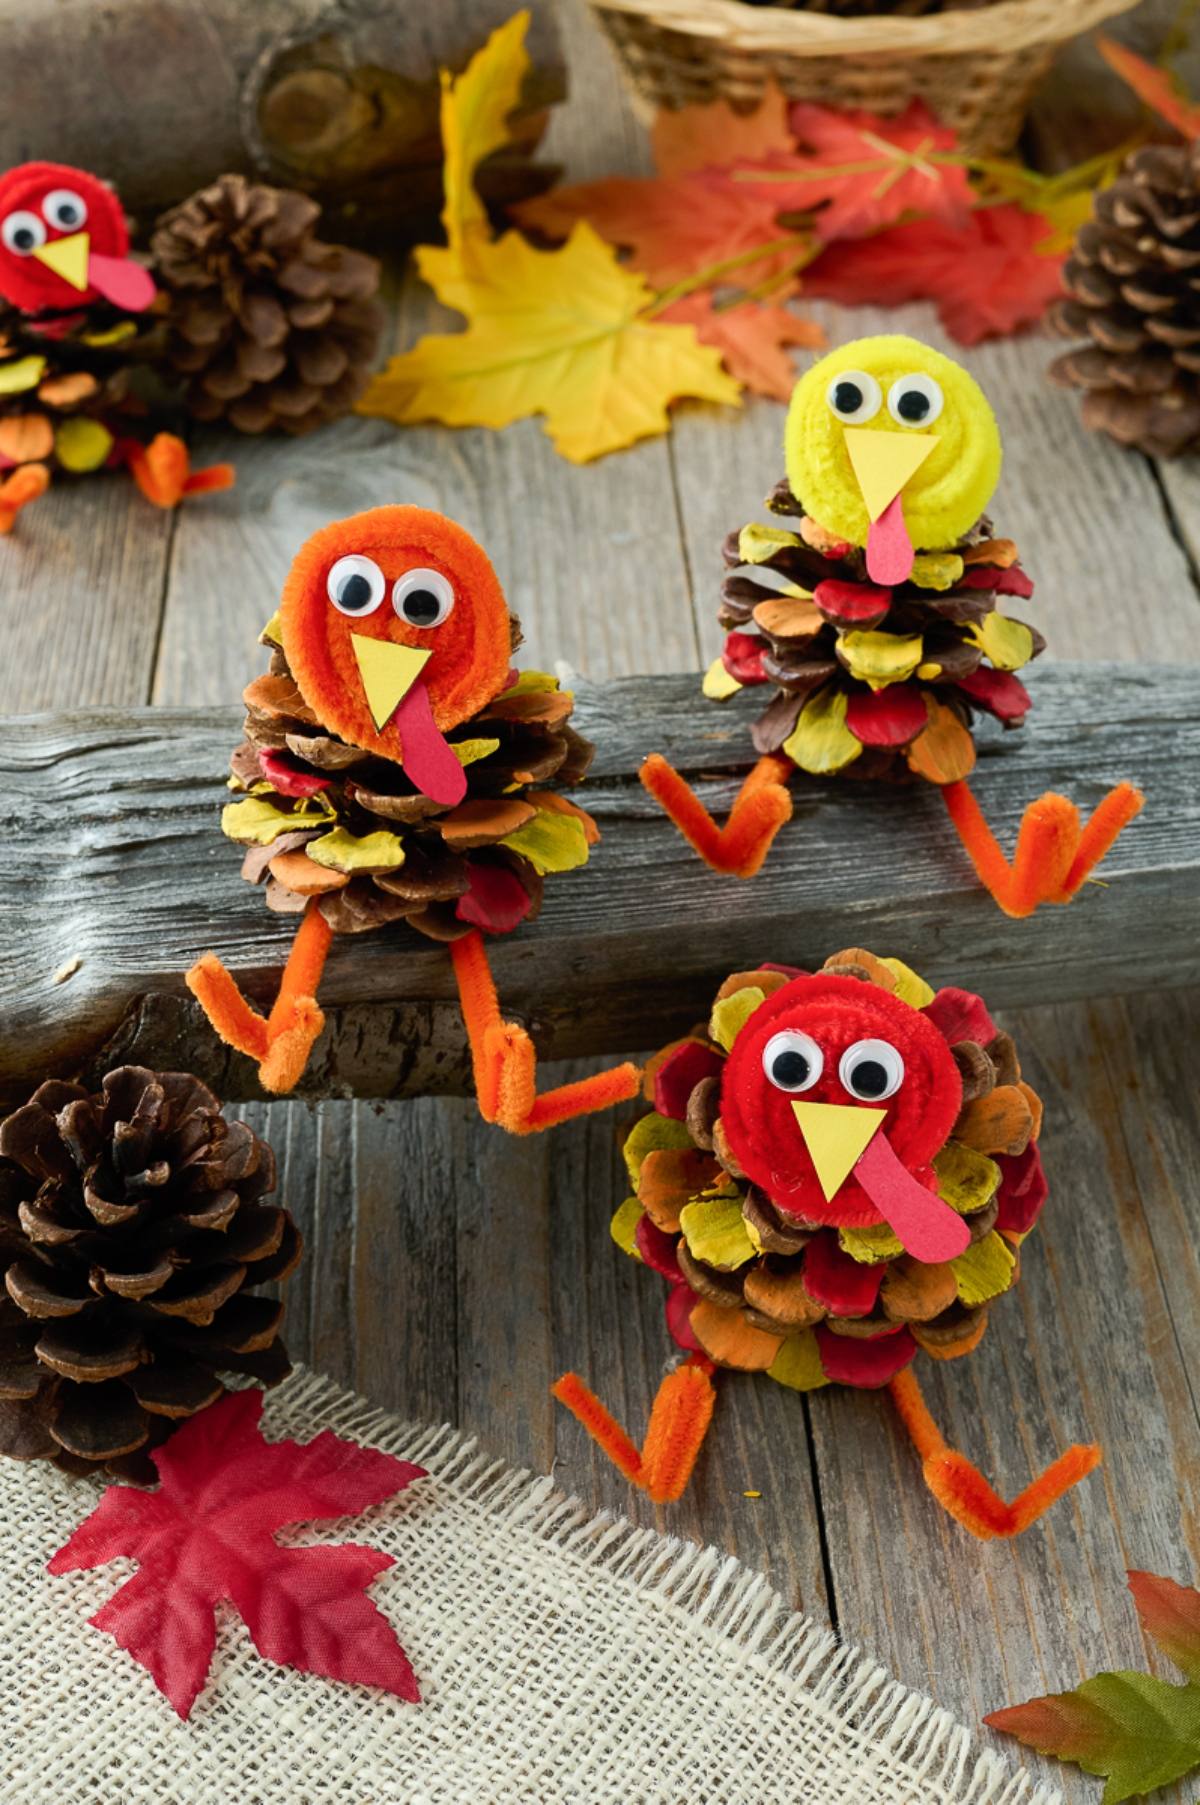
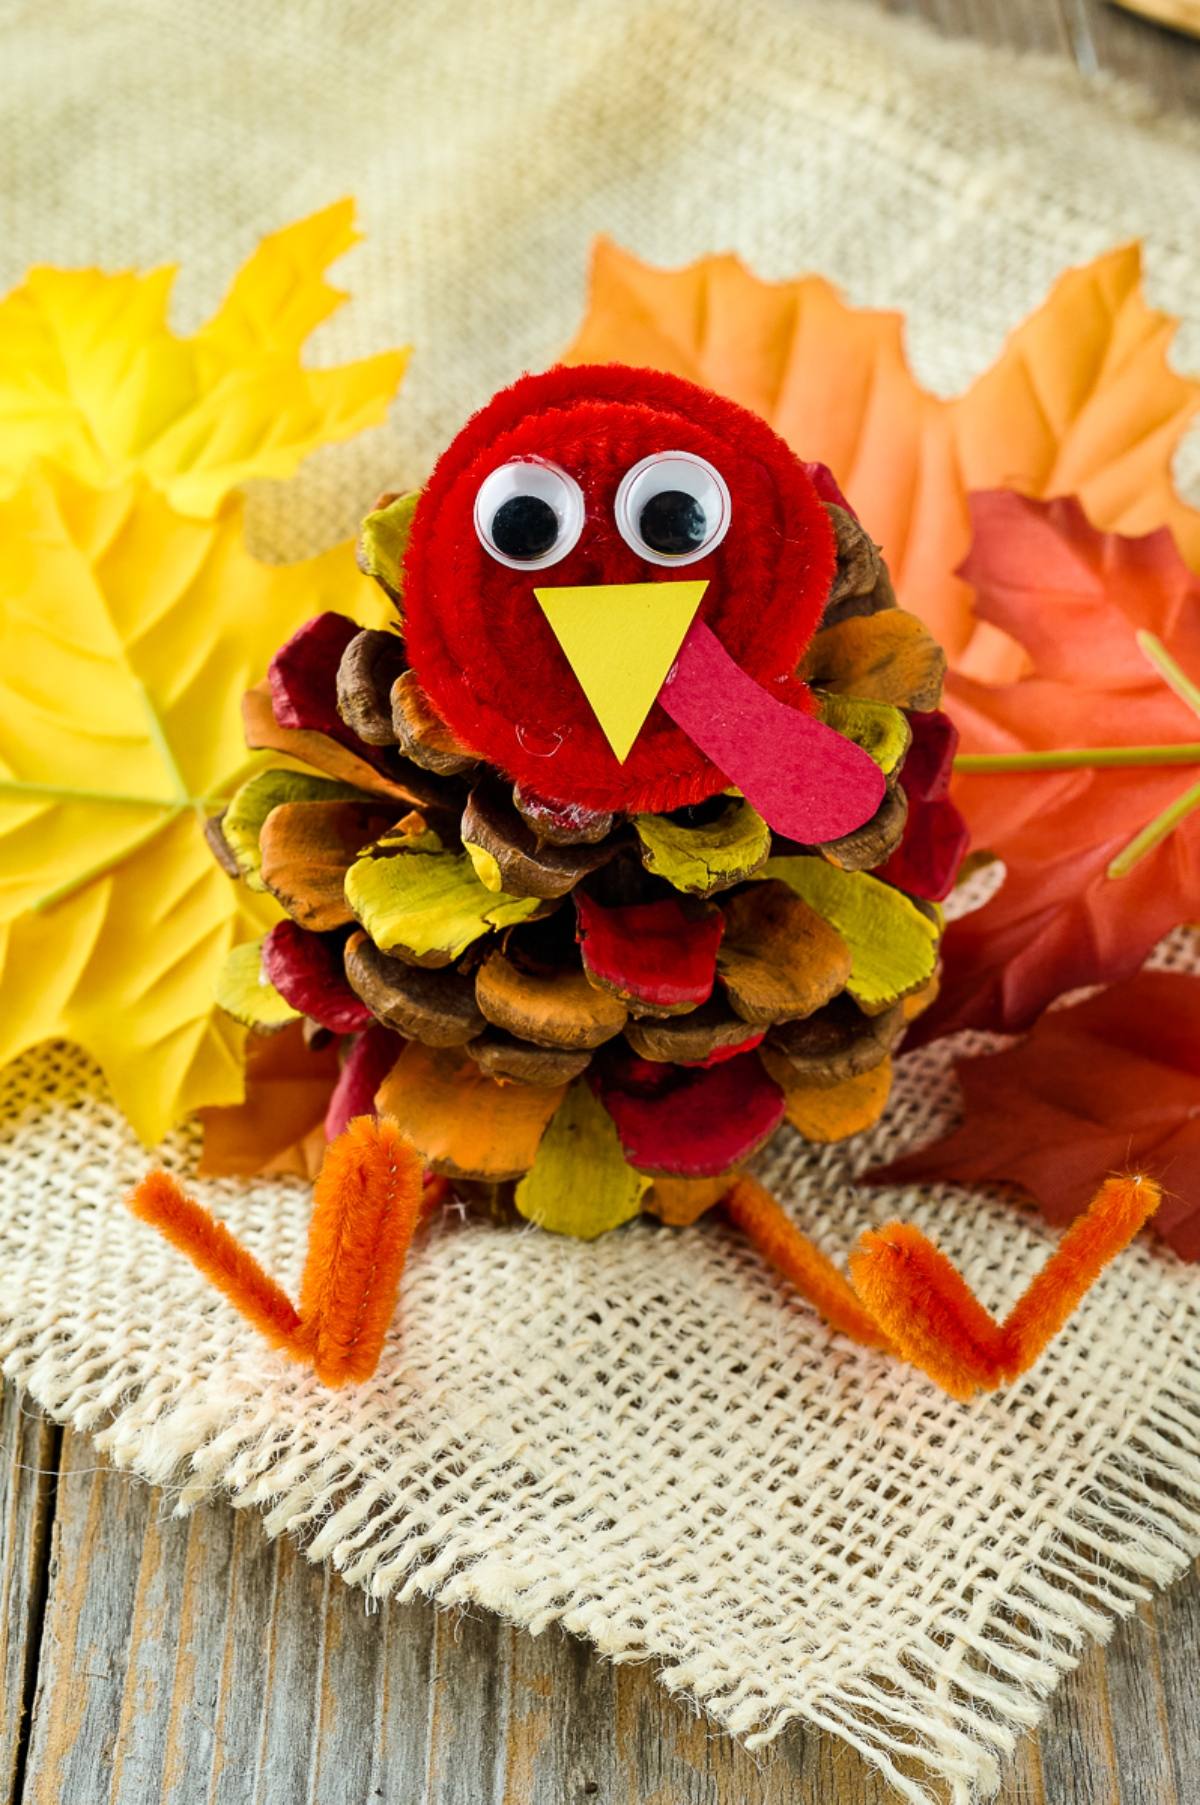
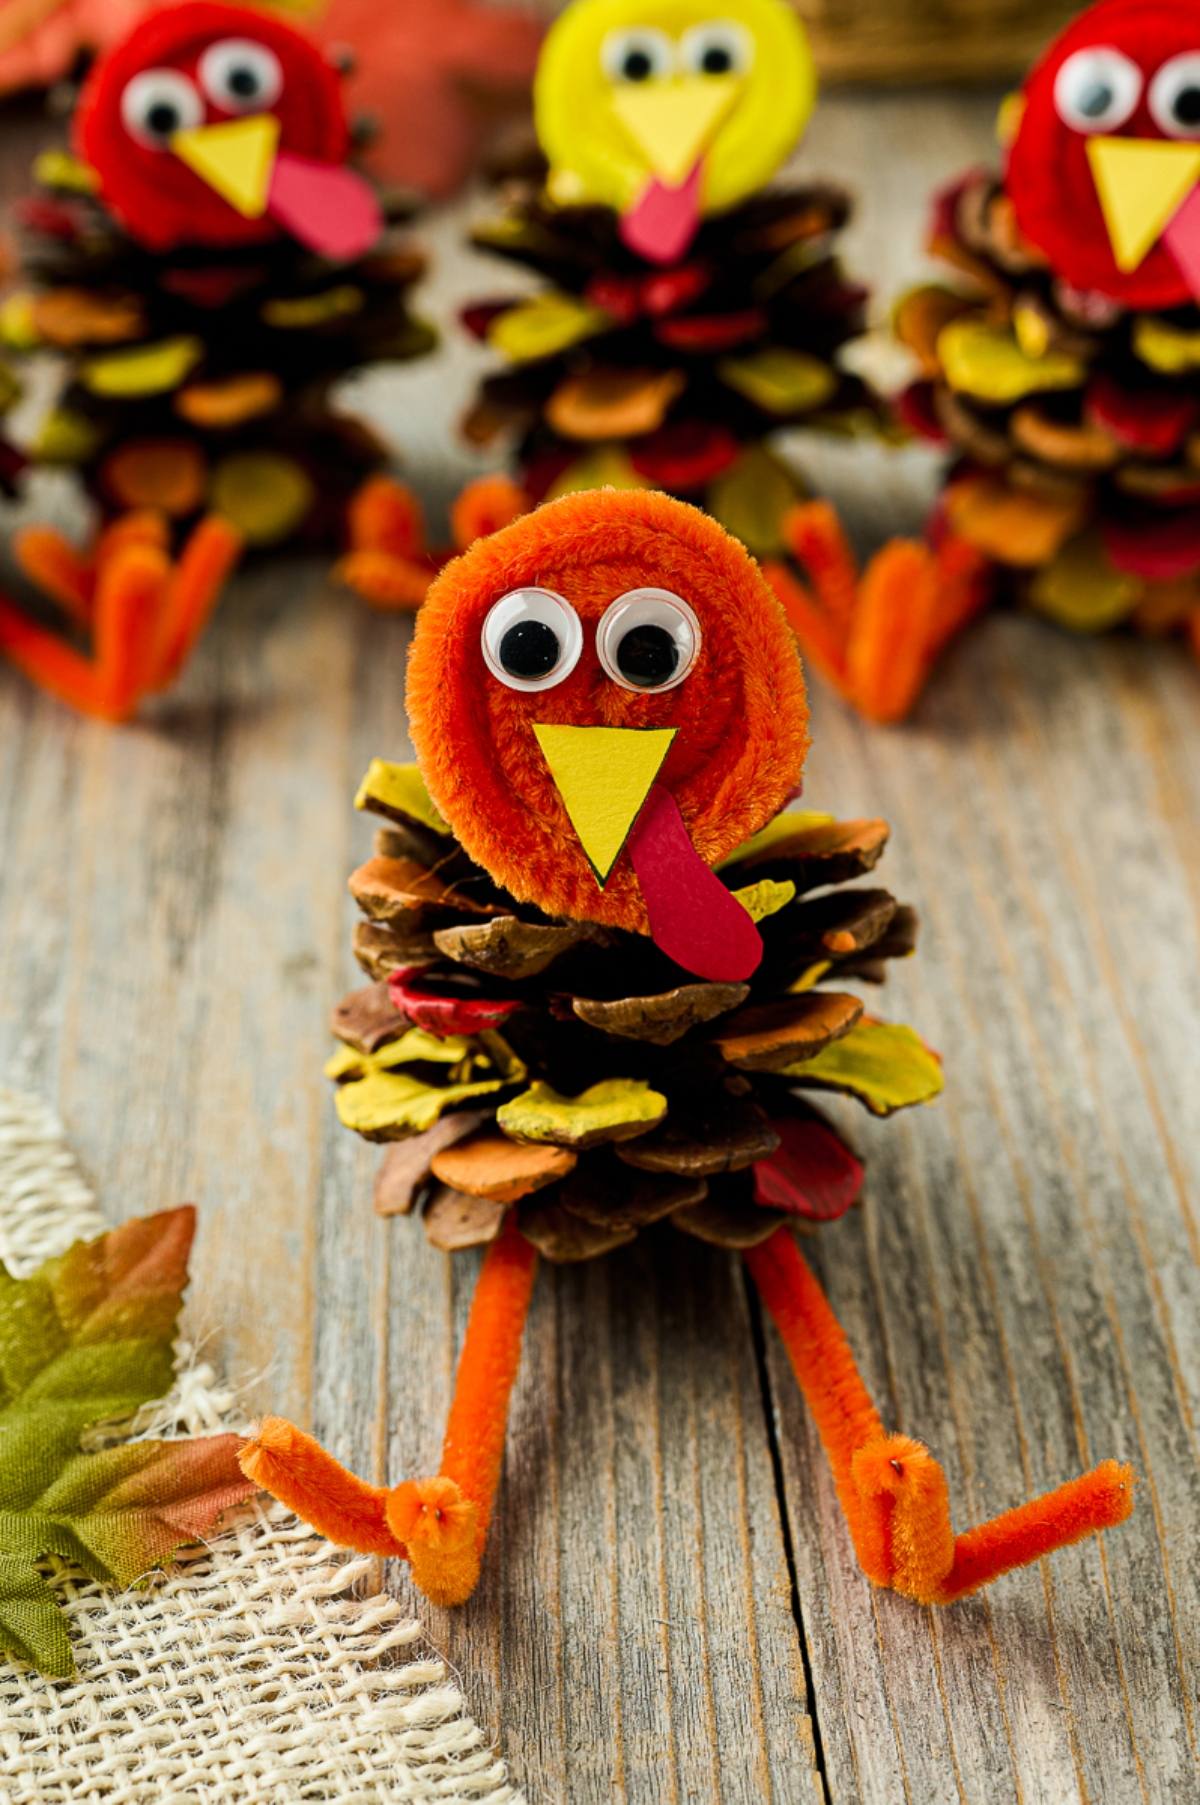
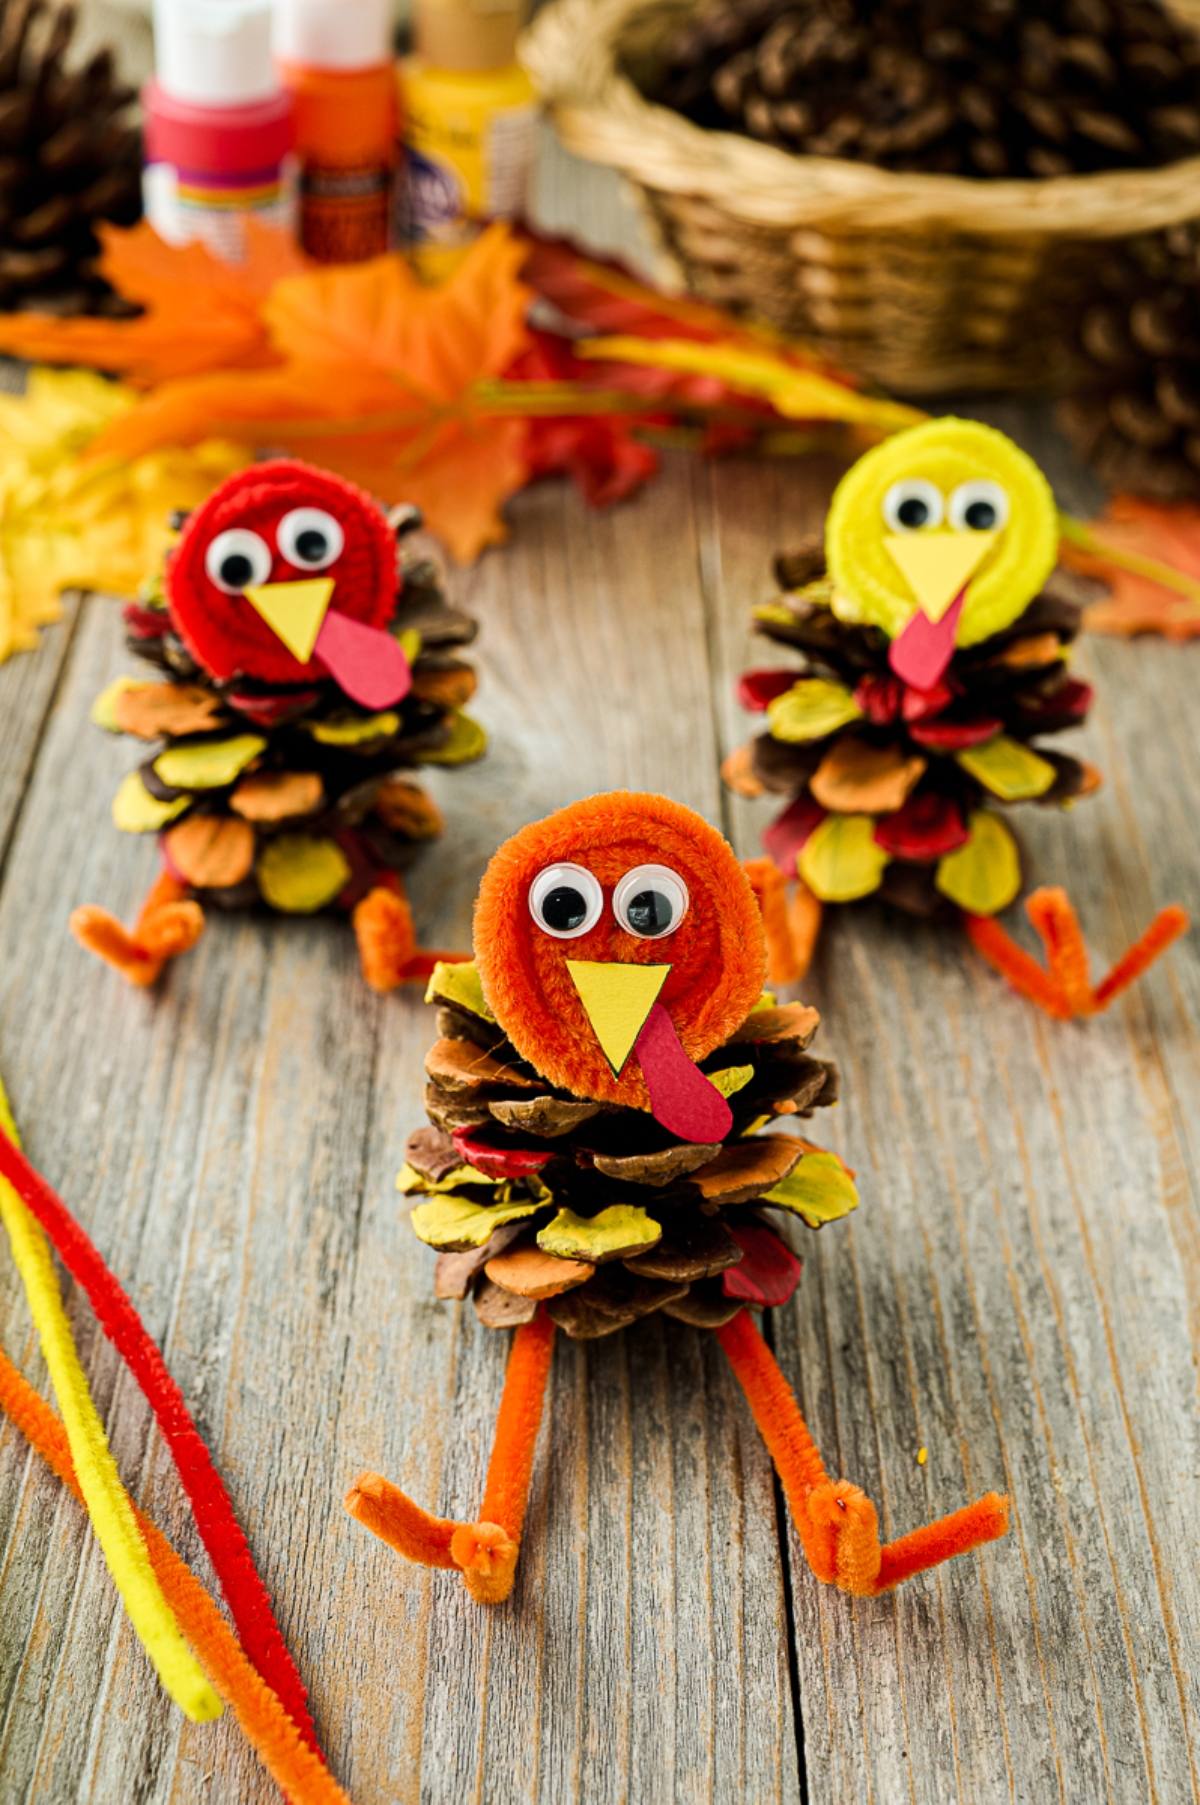
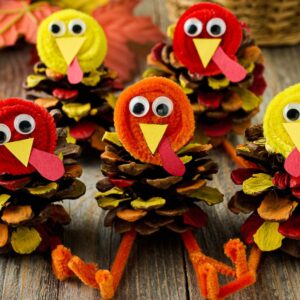
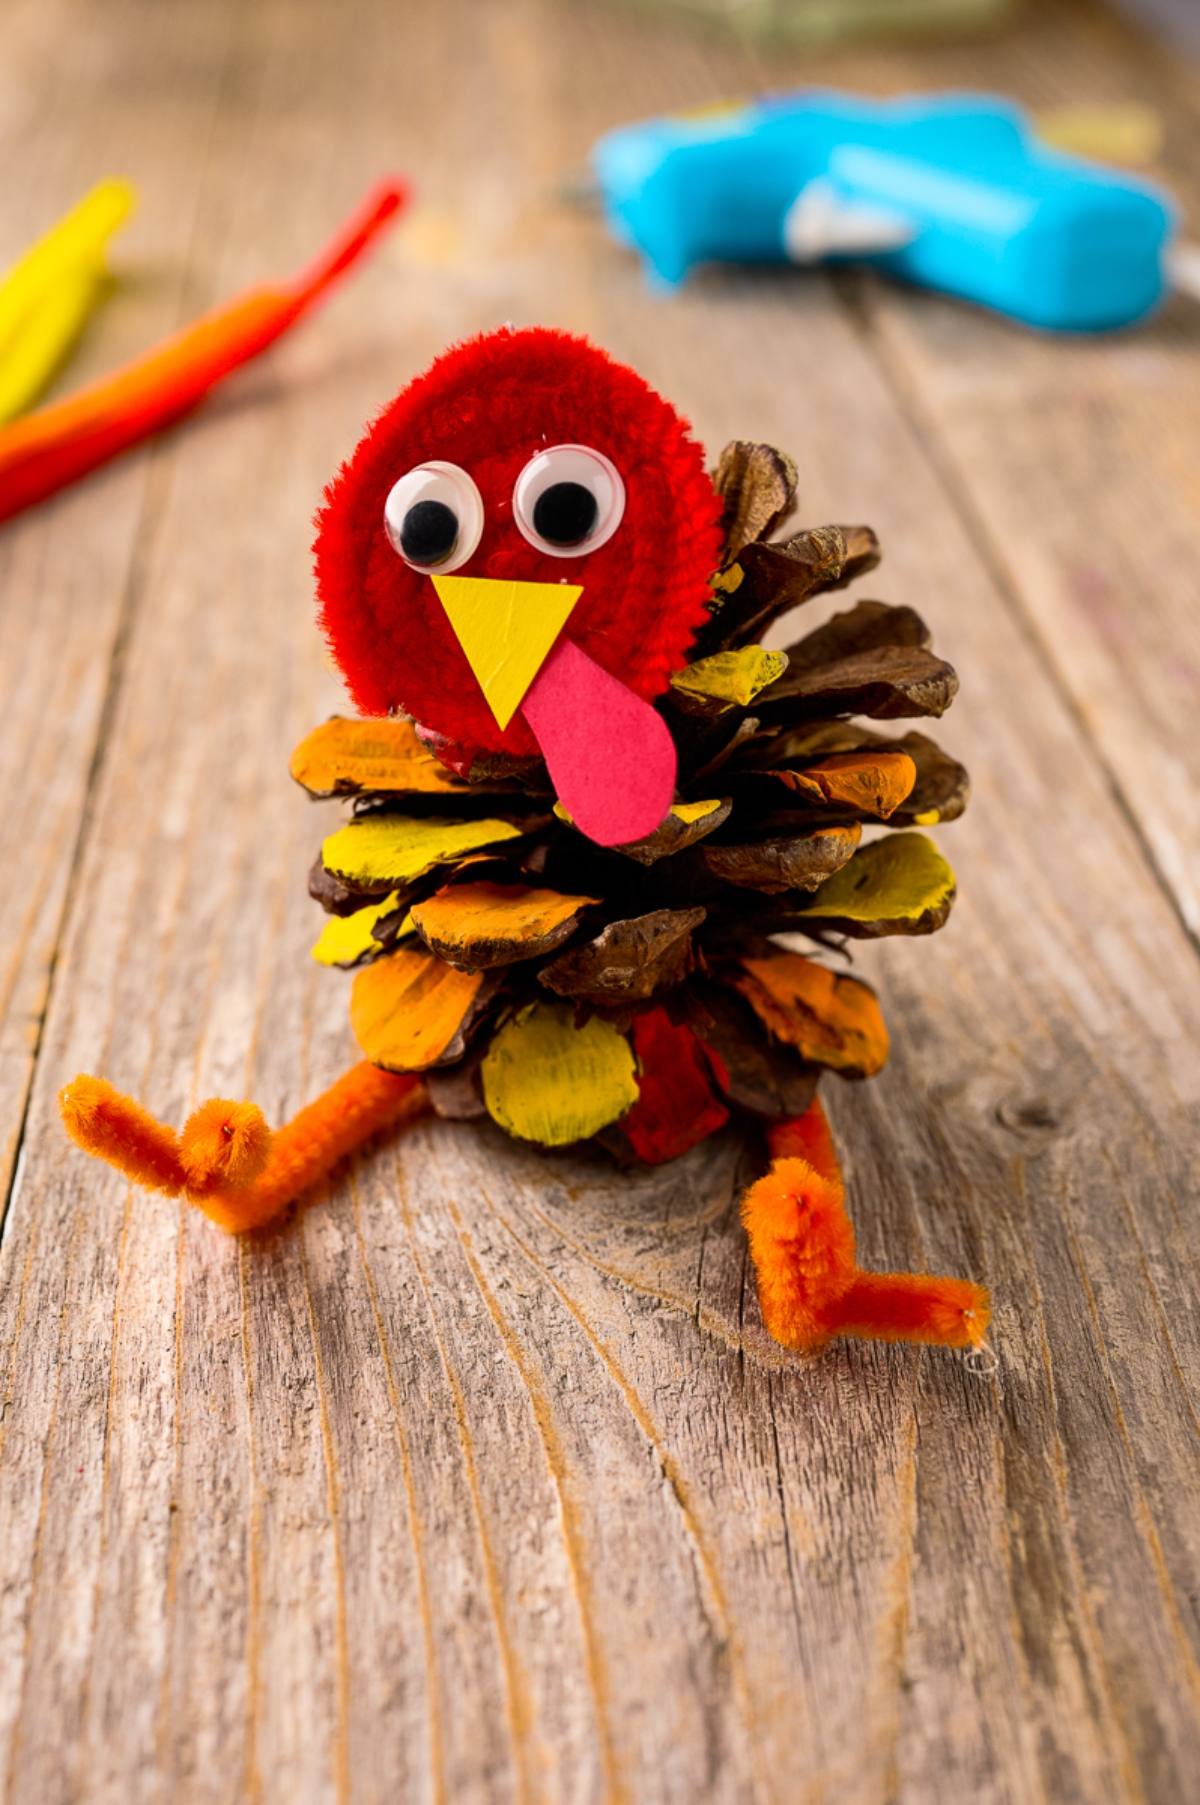
Create fun, colorful pine cone turkeys for Thanksgiving or fall crafting with simple supplies and easy steps. Using pinecones, paint and paper, you can craft adorable decorations kids and adults will love making. Each turkey is completely unique, from the hand-cut beaks to the quirky little legs so you’ll end up with a flock full of personality. Thanksgiving nature crafts like this are the perfect project for holiday decorating, gifting or just enjoying some creative time with friends and family.
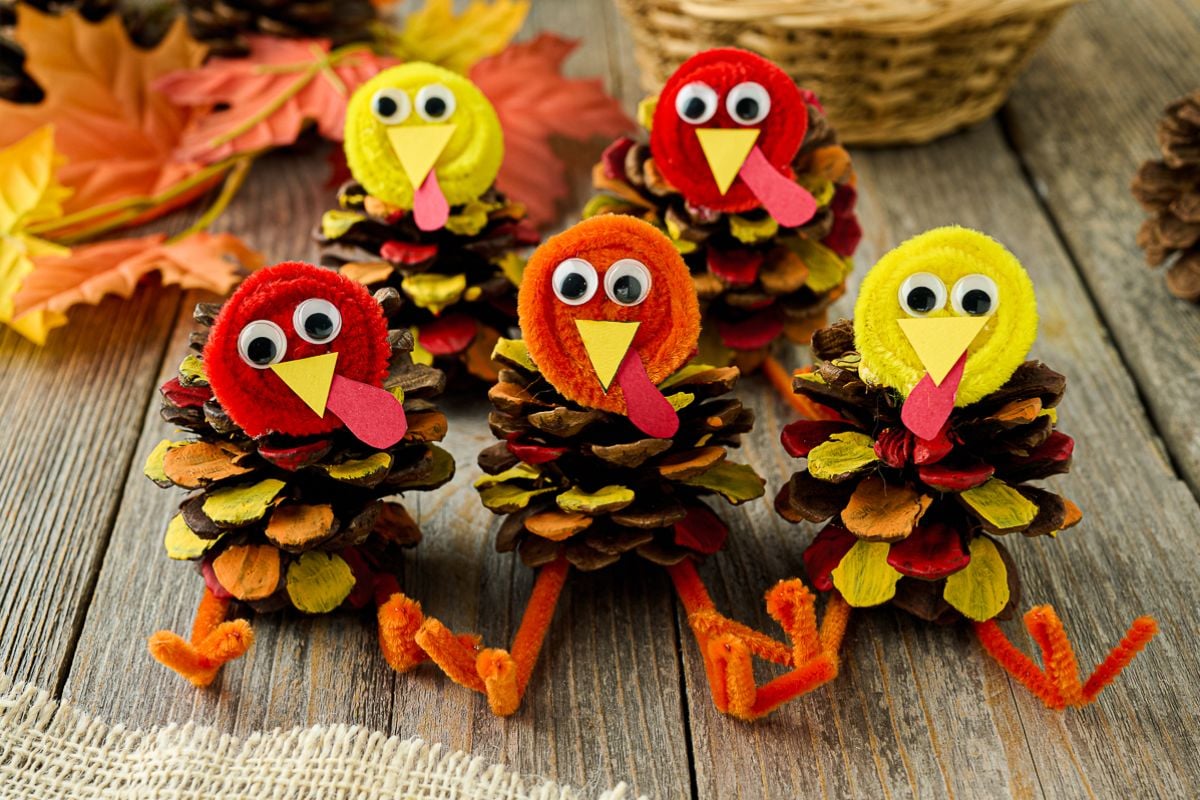
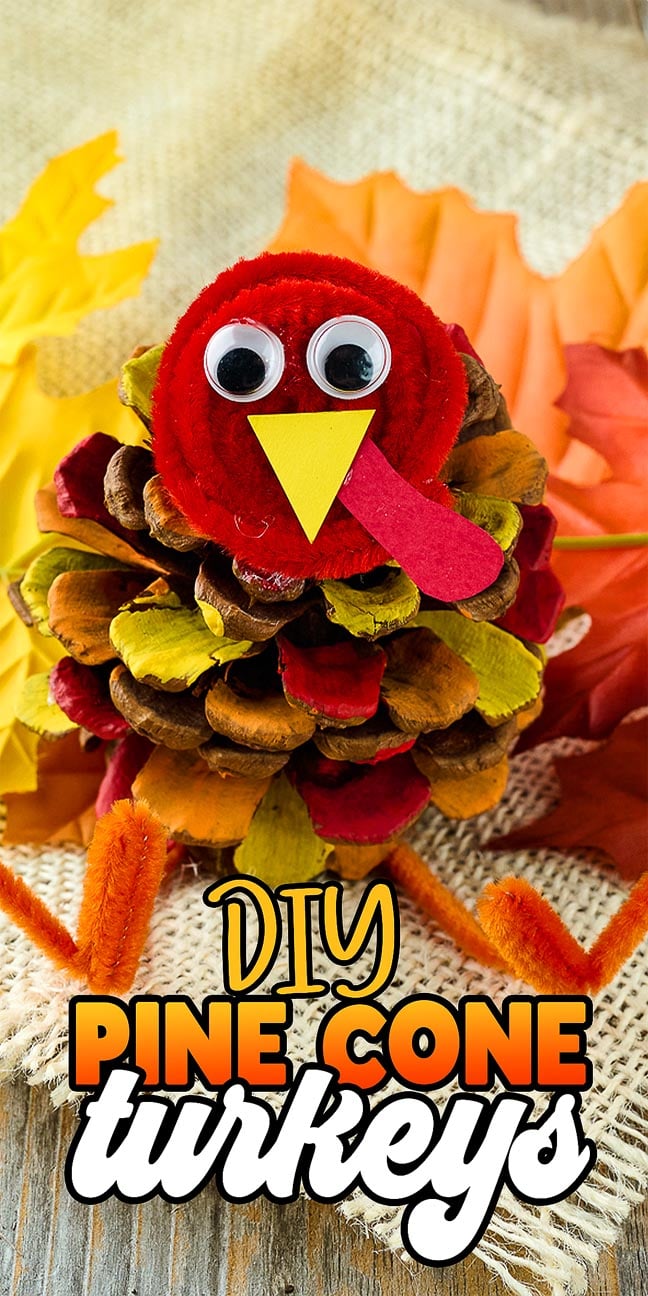
Make these easy, adorable pine cone turkeys for Thanksgiving using pinecones, paint and paper. This fun DIY project is perfect for kids, parties or seasonal decorating.
You might also like to make a succulent pumpkin centerpiece, DIY beeswax wraps, Nutter Butter turkey cookies or these Rice Krispie turkey legs.
Why You’ll Love It
Easy to make: Simple steps mean even beginners can handle this project.
Insta-friendly: Enjoy making these beautiful and cute turkeys and share your creativity on Instagram or your preferred socials.
Ideal kids’ crafts: Safe and fun for all ages with minimal mess.
Budget-friendly: Uses inexpensive supplies from craft or dollar stores.
Festive touch: Perfect for Thanksgiving decor or holiday gifts.
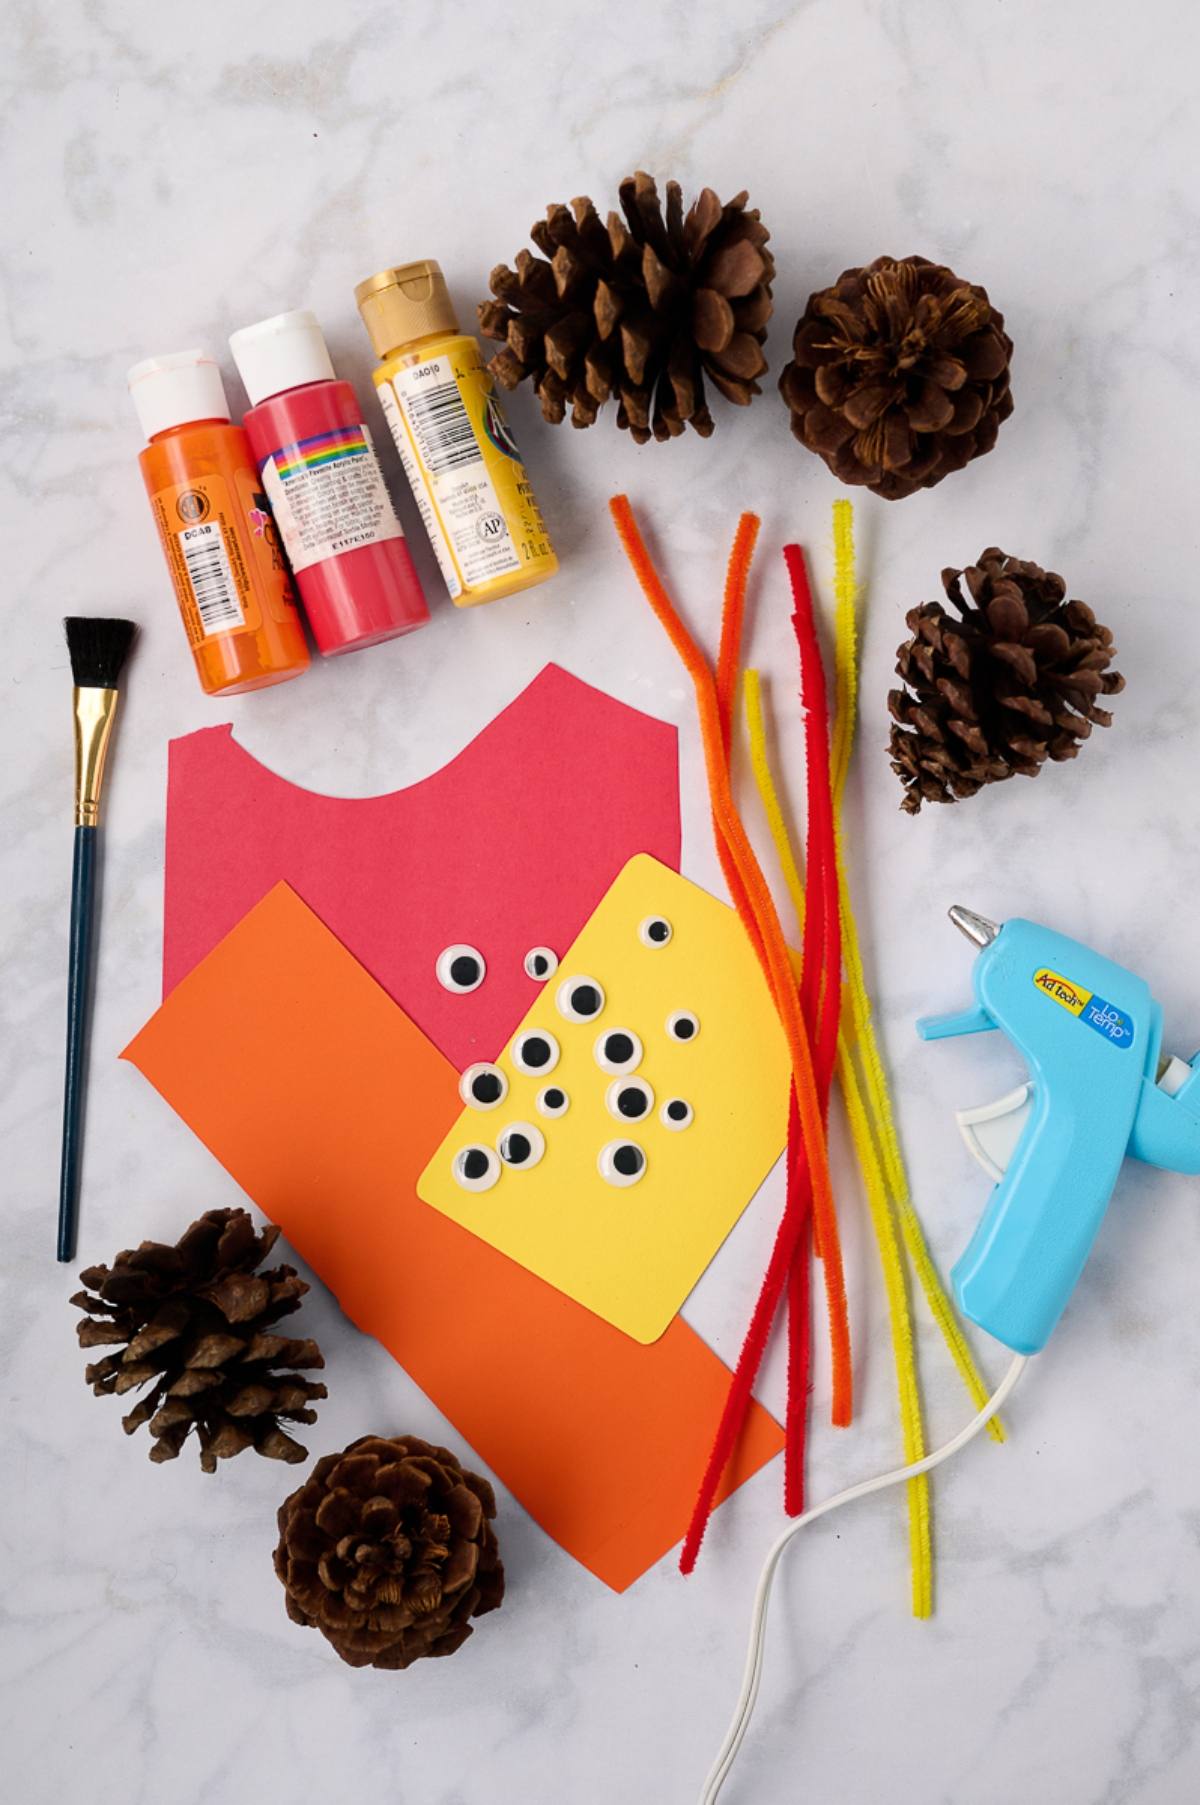
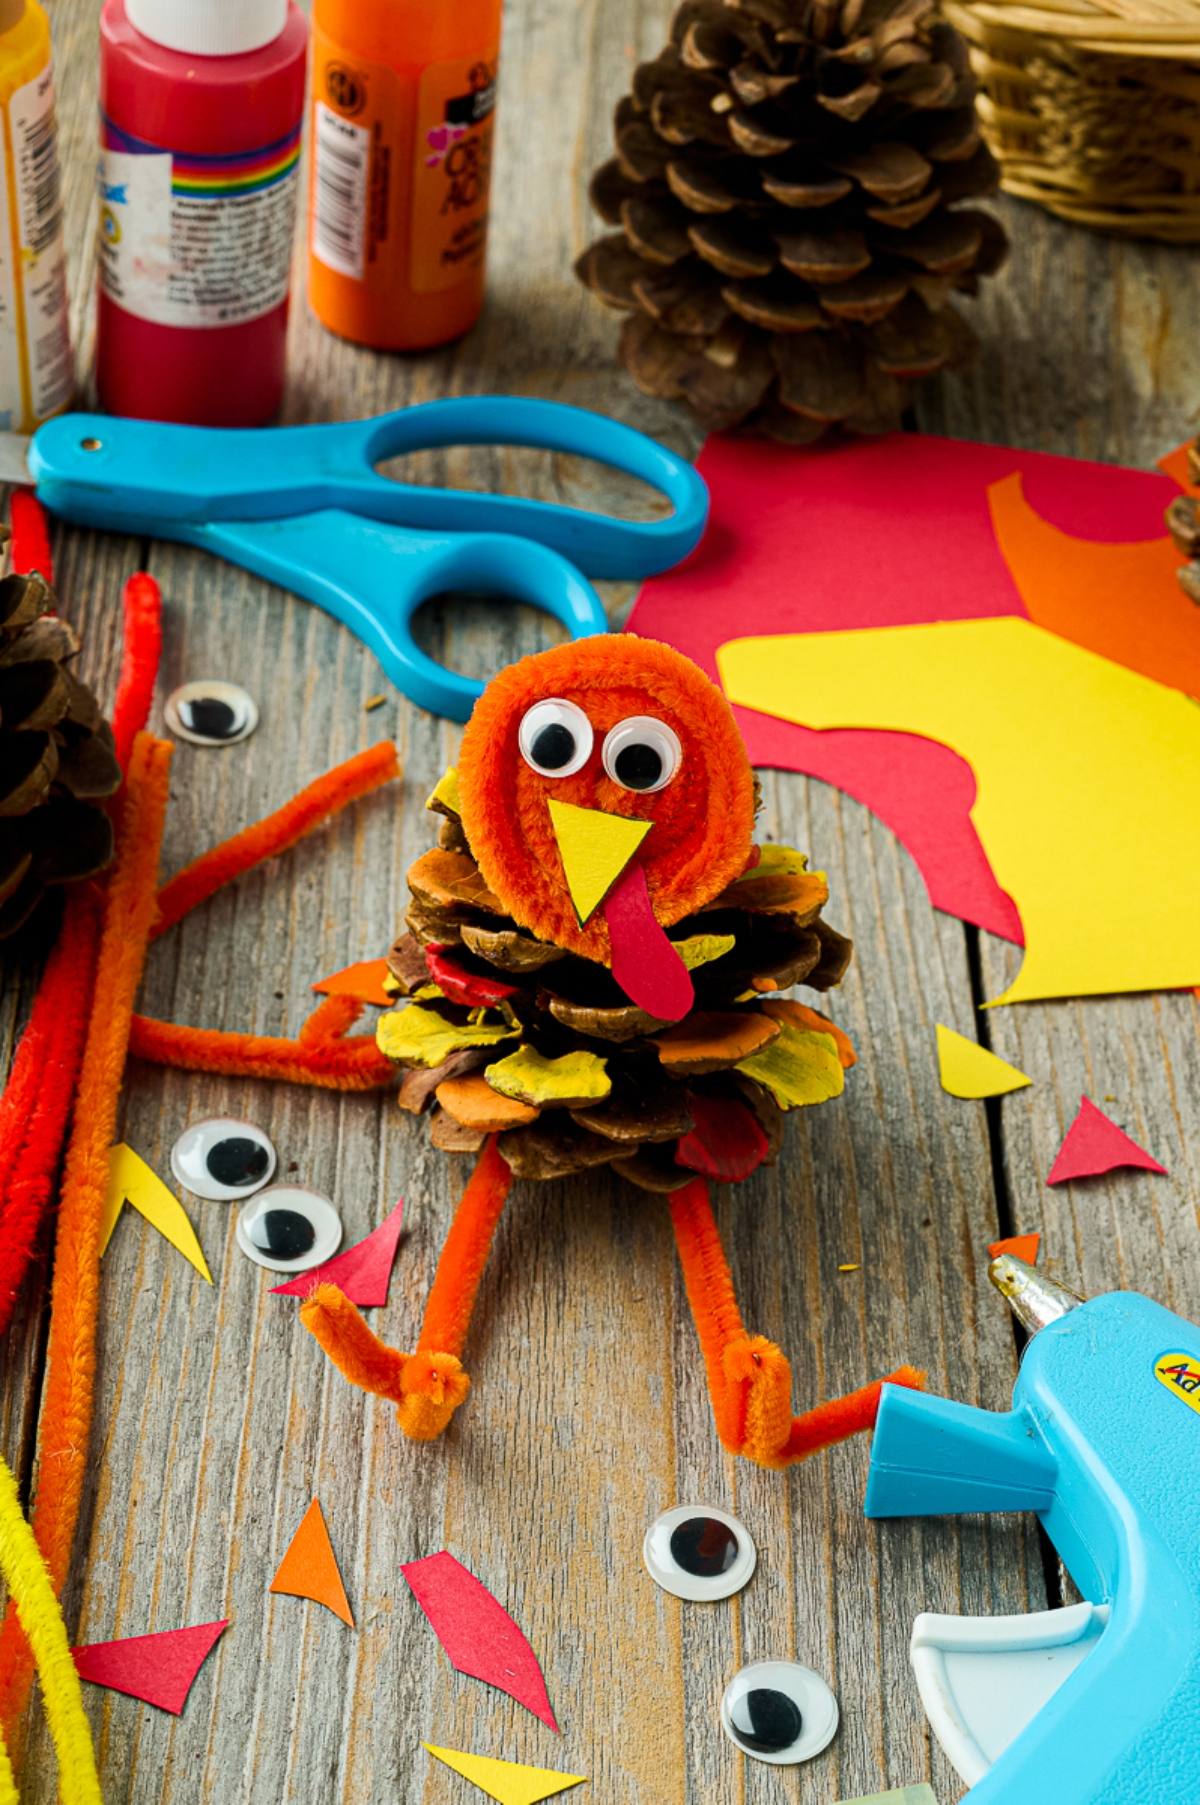
Pinecone Turkey Craft Materials
A complete list of materials and supplies needed can be found in the tutorial card below.
Pinecones: Serve as the turkey body and add rustic charm. Go on a nature walk to find some. Alternatively, you can buy pine cones online.
Matte acrylic craft paint: Brightens the feathers with orange, yellow and red. This can be found at any craft store and sometimes the dollar store.
Craft paper: Creates beaks and wattles for each turkey’s face.
Pipe cleaners: Form legs and faces in matching festive colors.
Googly eyes: Add personality and a playful look to each adorable turkey.
Tools: A glue gun, paintbrush and scissors bring everything together.
How to Make Pine Cone Turkeys
For more detailed instructions with weights and measurements, jump to the printable tutorial card.
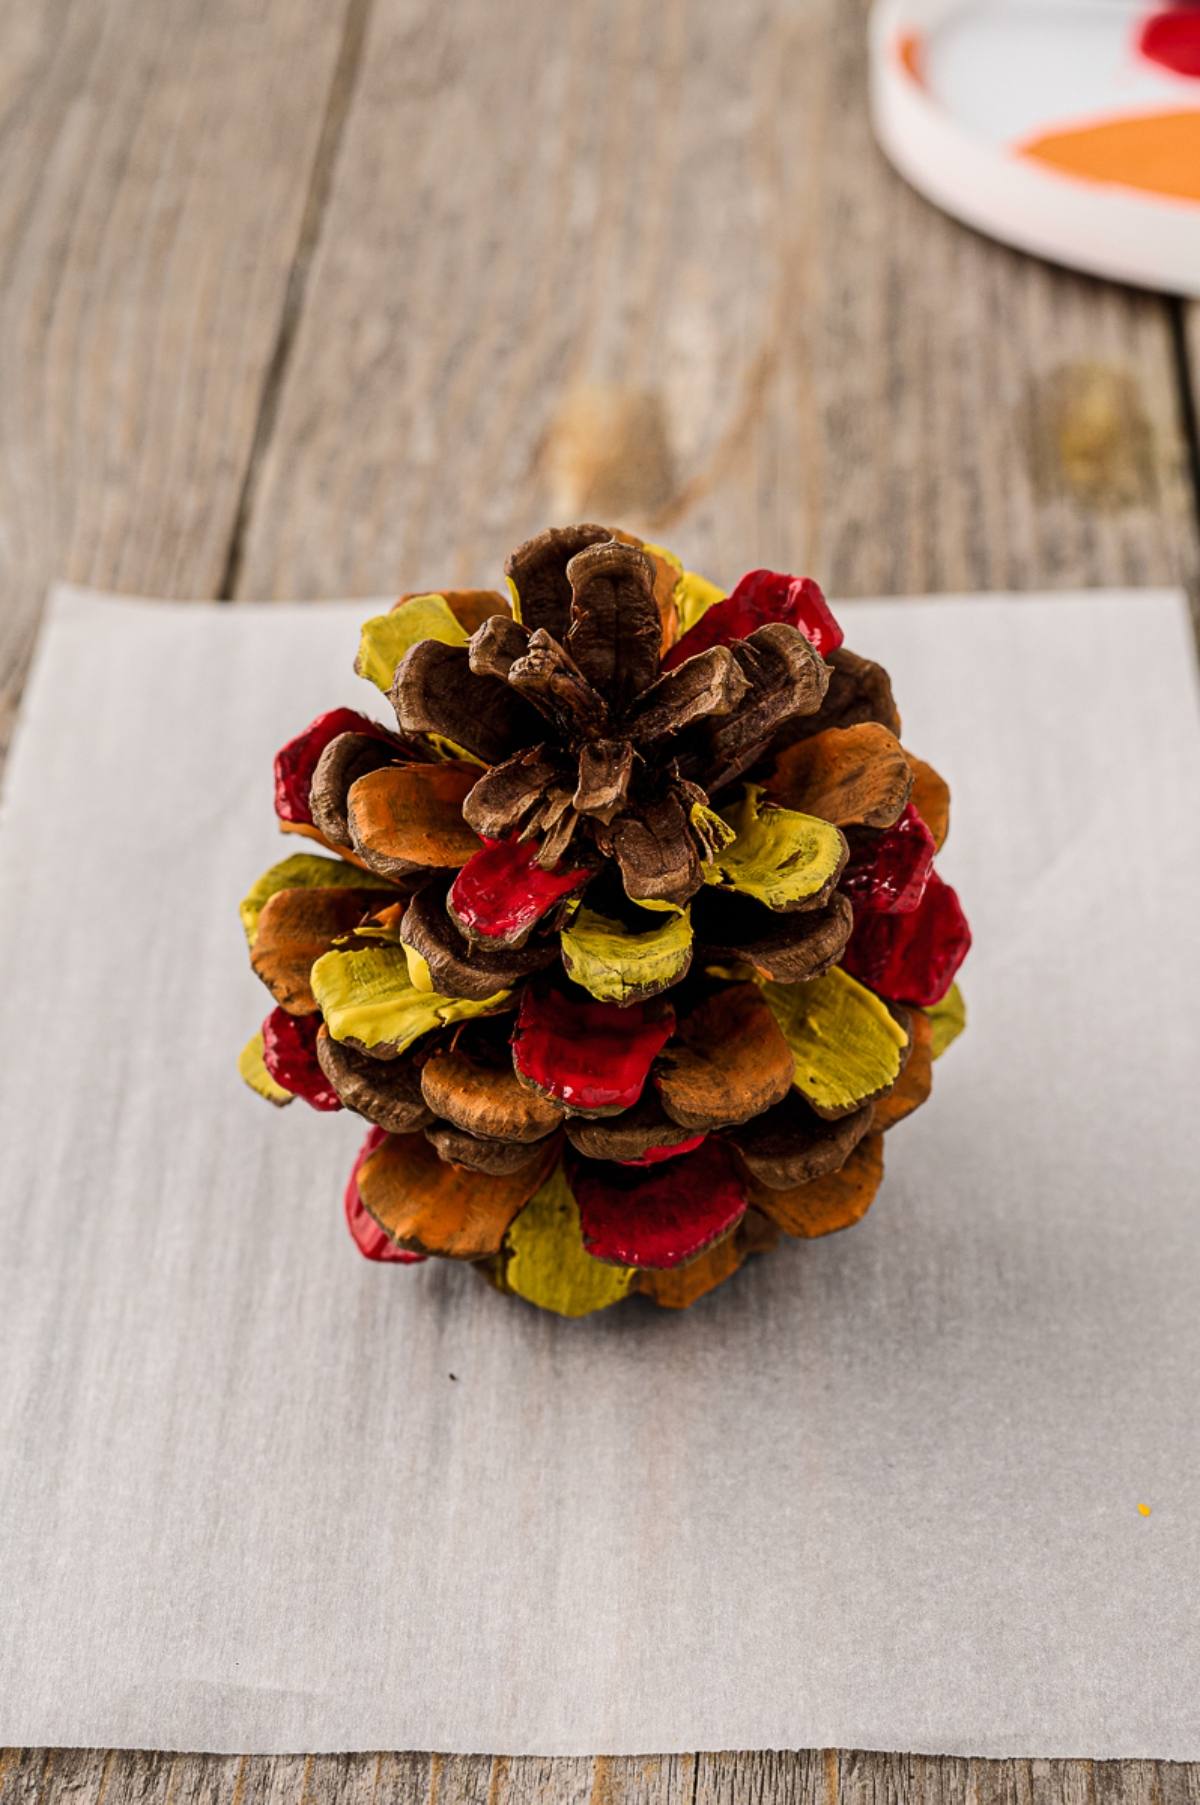
Paint the feathers: Brush paint onto some pinecone tips in orange, yellow and red, leaving a few natural for contrast.
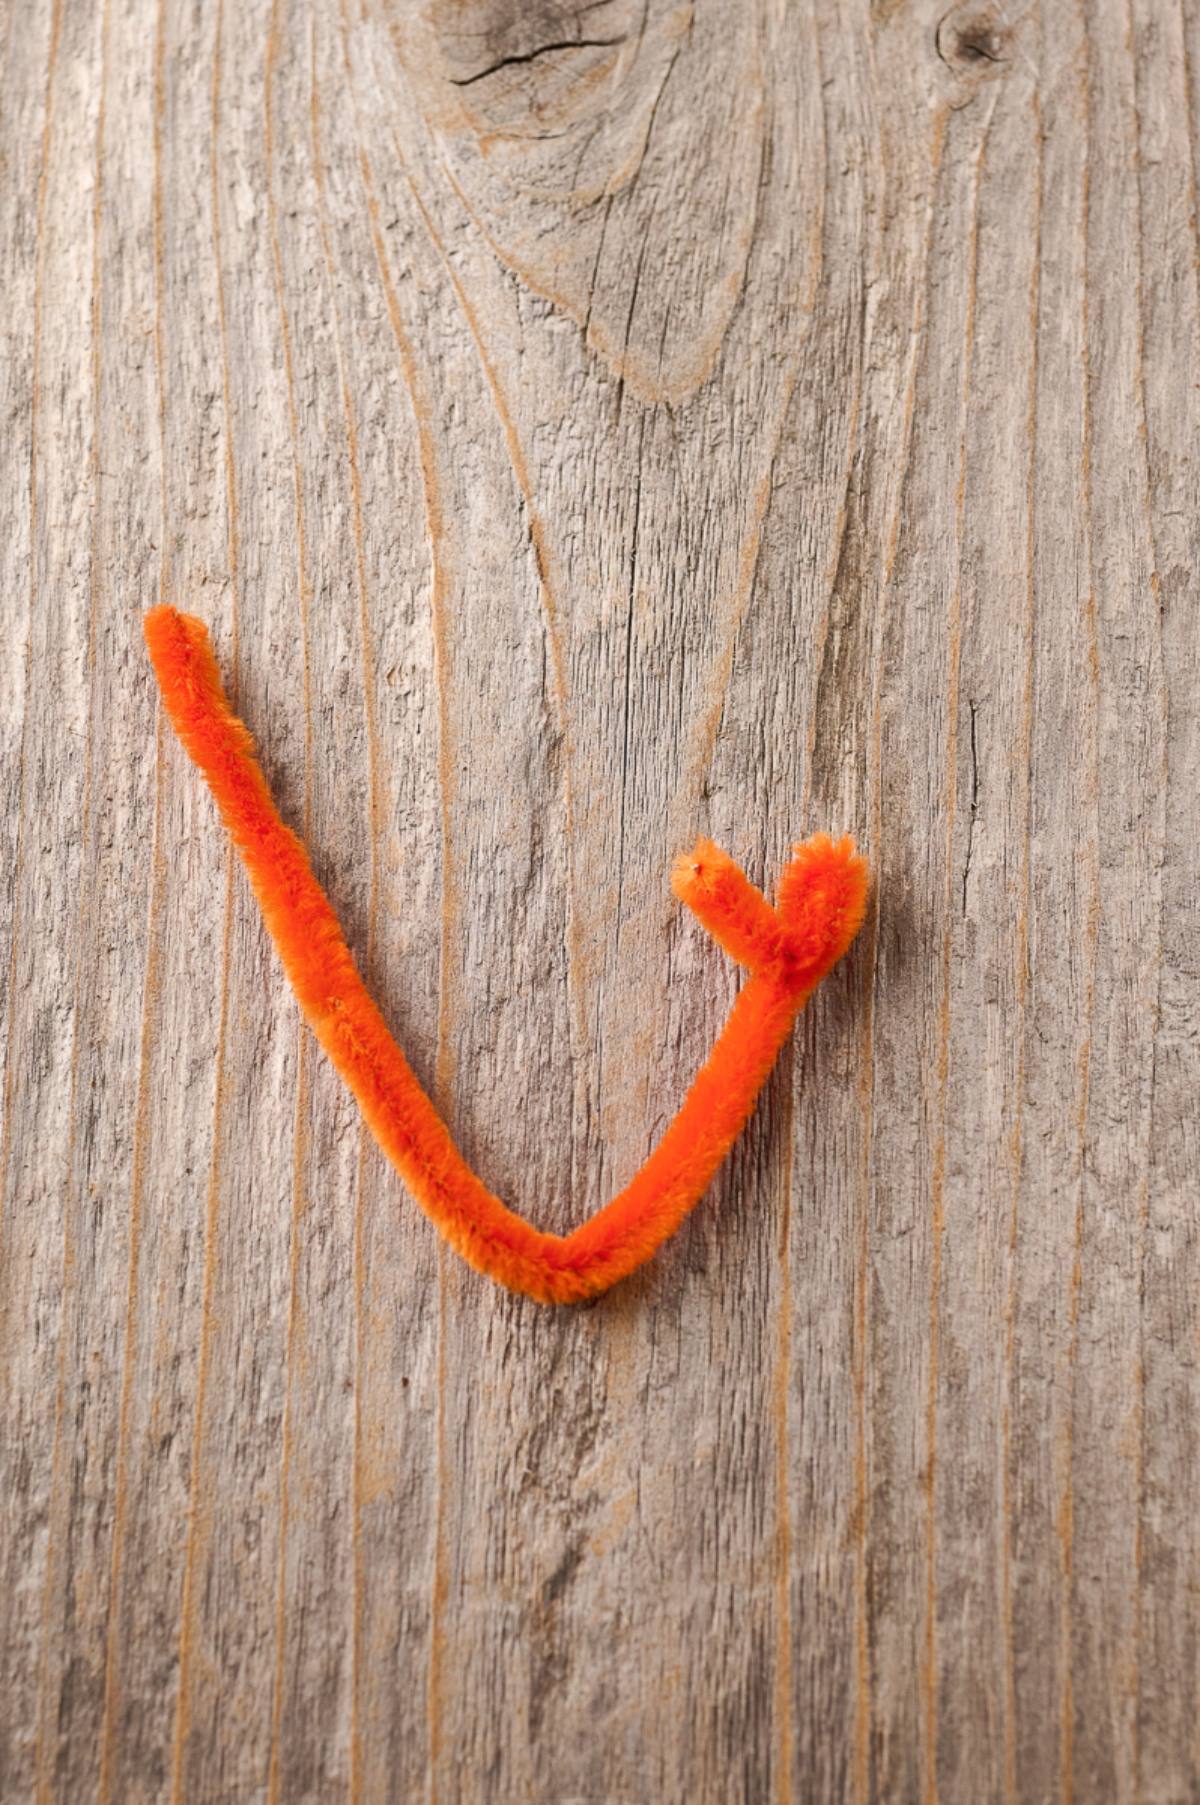
Make the legs: Bend pipe cleaners into U-shapes, create toes and glue to the base.
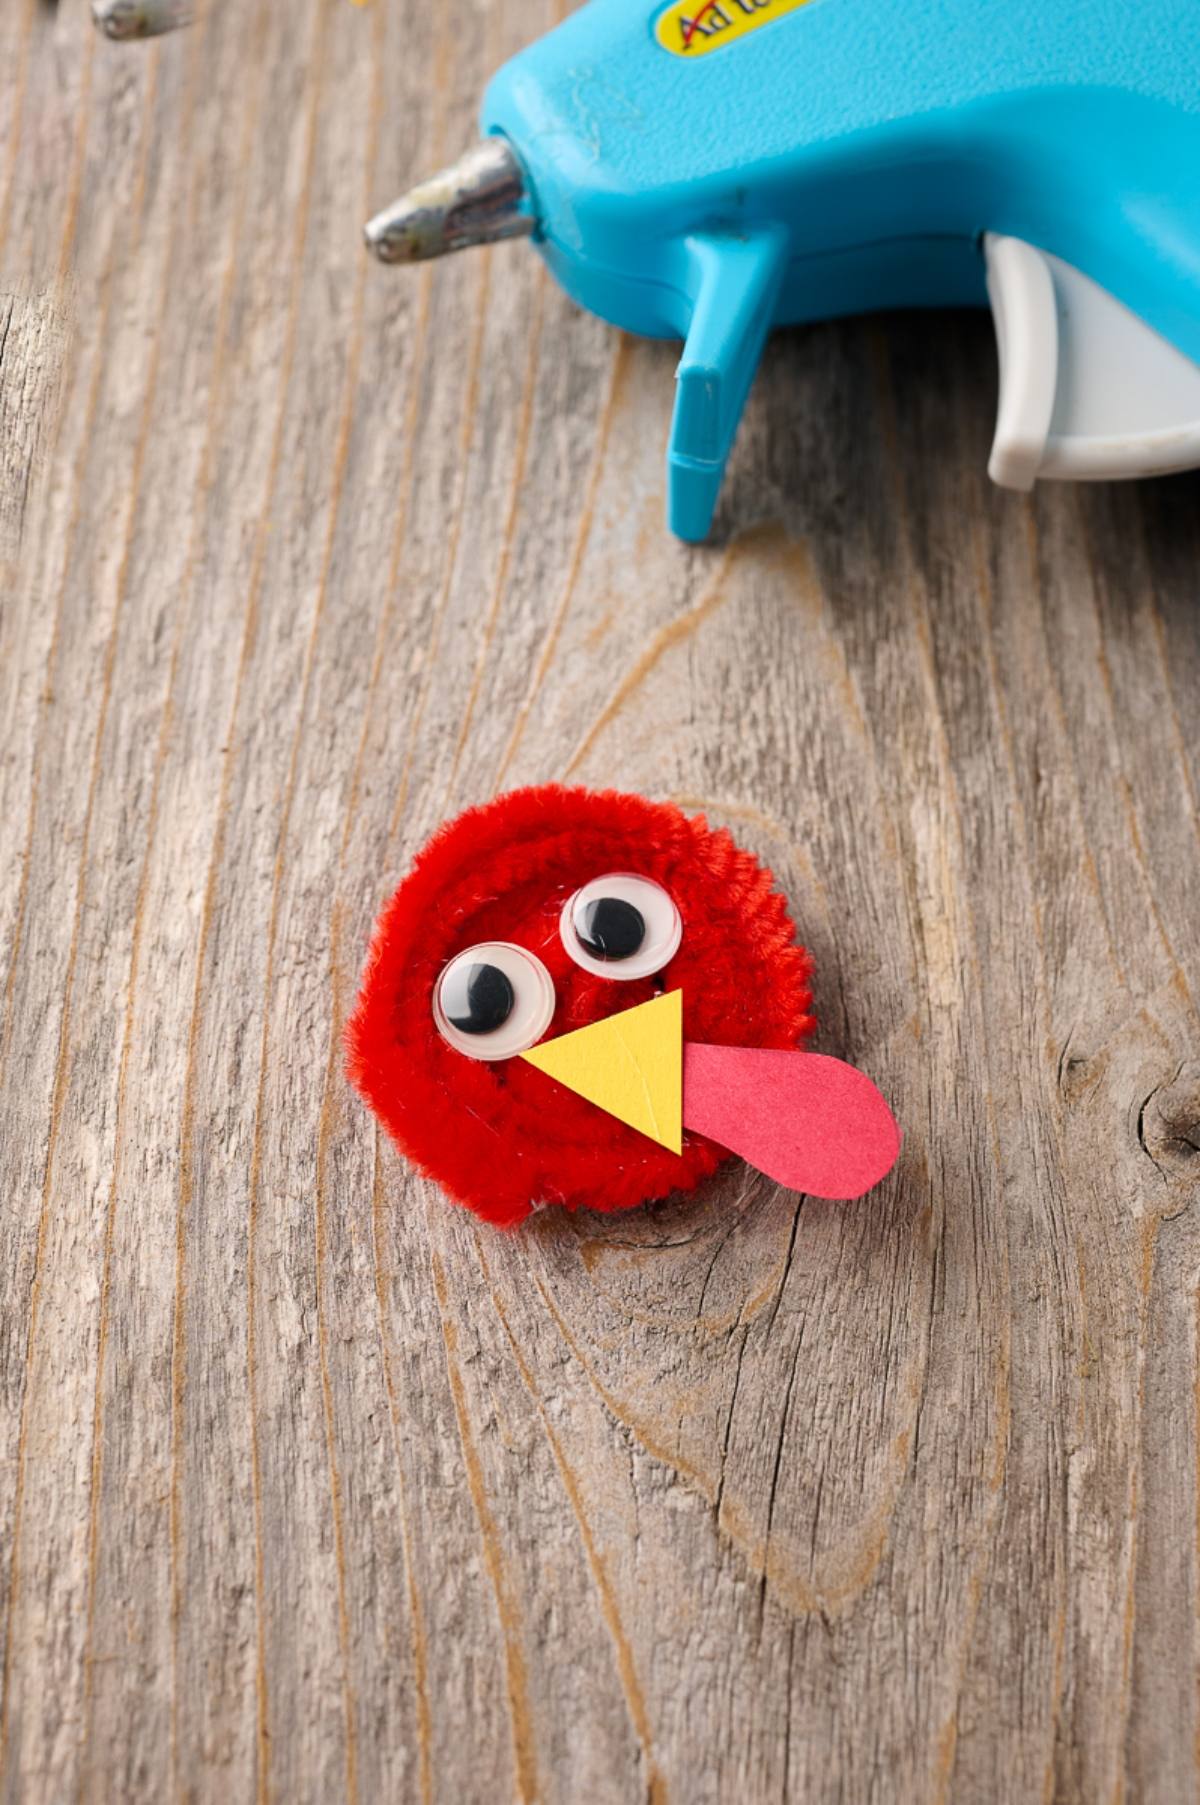
Shape the faces: Curl pipe cleaners, back with paper circles and glue on eyes, beaks and wattles.
Assemble the turkeys: Attach the finished faces to the front of the pinecones with hot glue.
Substitutions and Variations
Paint colors: Try metallic paints for extra sparkle or pastels for spring decor. Let the craft store inspire you.
Paper options: Grab patterned scrapbook paper for a fun and different look.
Googly eyes: Swap for hand-drawn eyes if you prefer.
What to Do with Pine Cone Turkeys
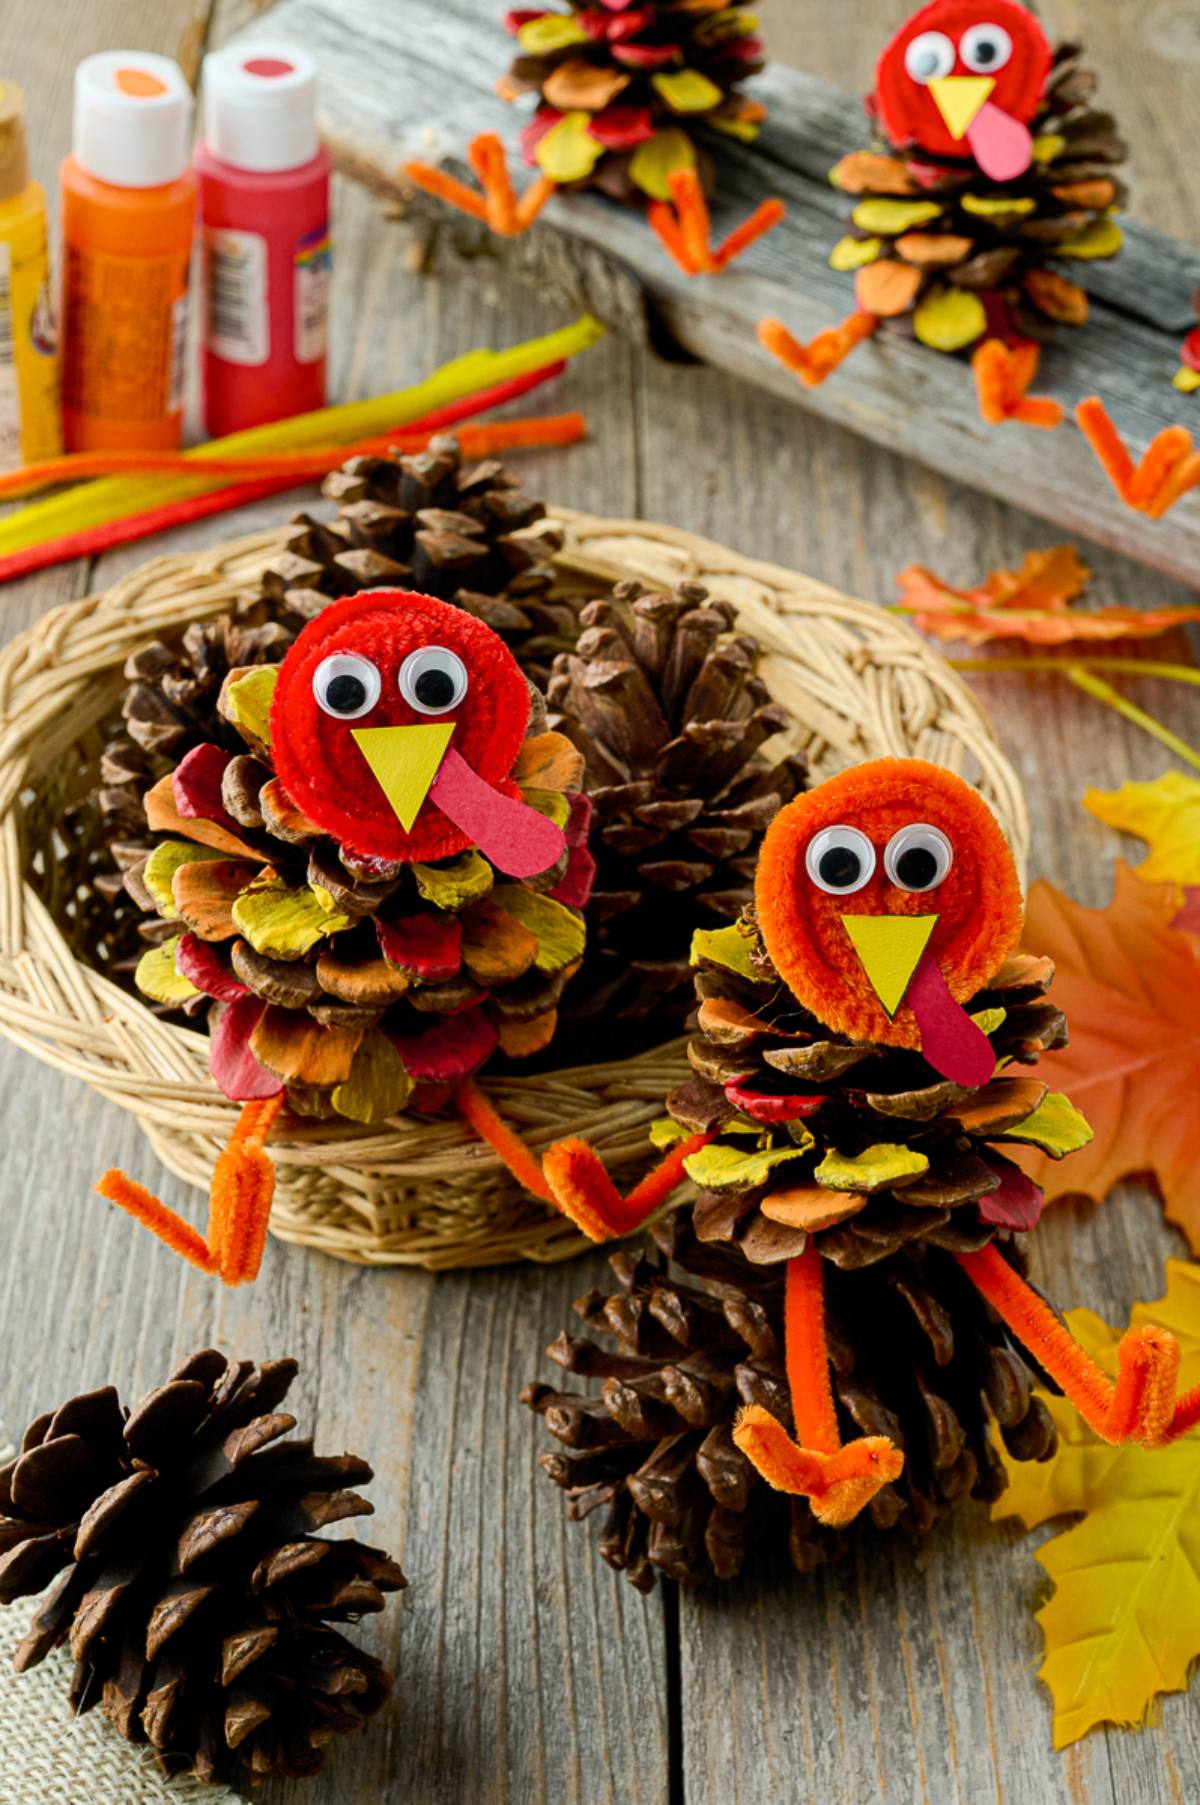
Table centerpieces: Use them to make cute Thanksgiving table centerpieces that bring color and charm to your holiday meal.
Seasonal decorations: Place them along your fireplace mantel for a festive seasonal decoration everyone will notice.
For the kids: Let kids create them in the classroom as fun Thanksgiving crafts or teacher appreciation gifts.
Party favors: Give them as hostess gifts or festive party favors your guests can take home and enjoy.
Add to wreaths: Add them to a fall wreath for a unique touch that makes your door stand out.
Place card holders: Use them as place card holders for holiday dinners so each guest has a personalized turkey.
Entertain the kids: Turn them into a rainy-day craft project to keep kids entertained when the weather’s bad.
Window arrangments: Display them in seasonal window arrangements for a pop of autumn color.
Top Tips
Use dry pinecones: Make sure your pinecones are dry, other the glue won’t stick and they’ll be hard to paint.
Let paint dry: I painted the pine cones one color at a time, letting the paint dry, 15 to 20 minutes, before adding the next color, so as not to mix the colors.
Deeper colors: If you want the colors to be darker, you can add a second coat of paint.
Cut legs shorter: If they’re too long, trim before gluing.
Secure glue: Use enough glue so parts stay attached.
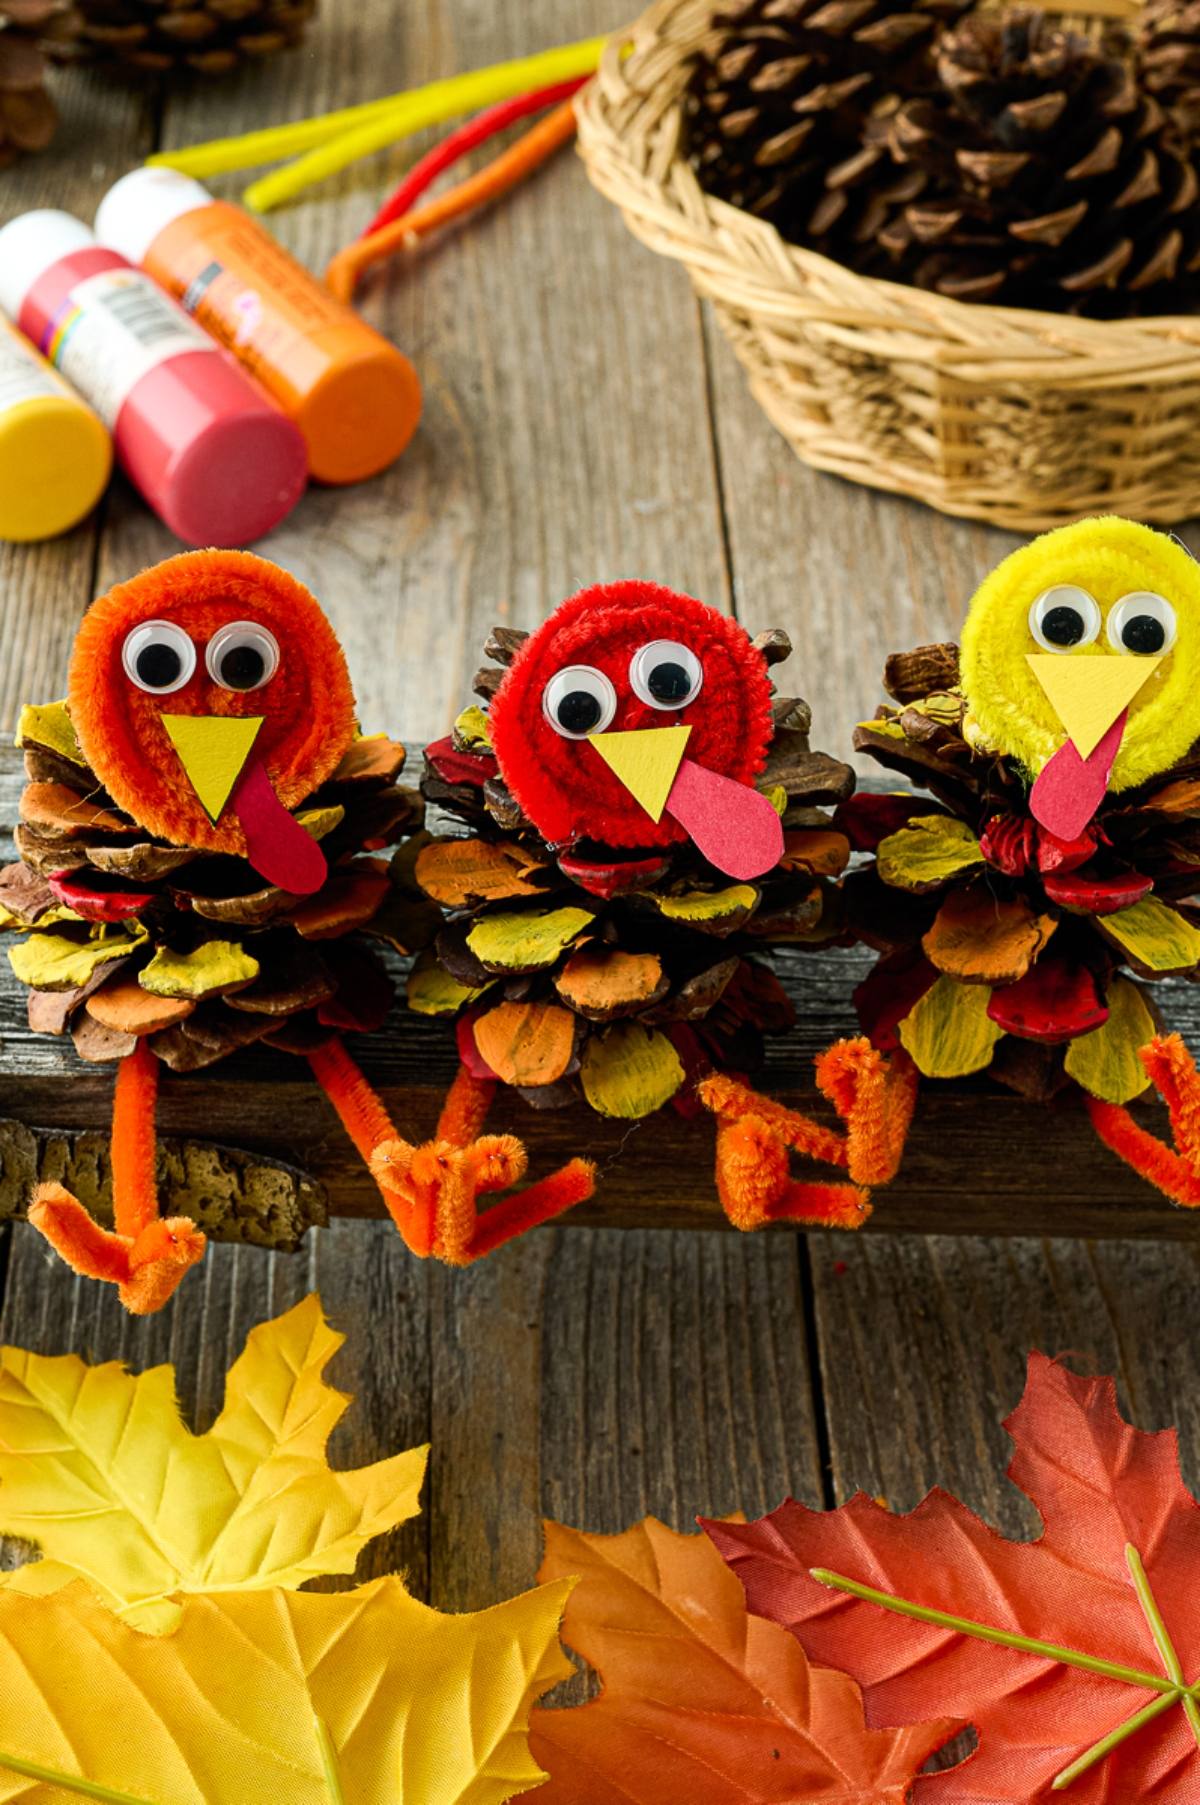
Make them unique: Different beak shapes and colors add personality.
Thanksgiving Pine Cone Turkey Craft FAQs
You can use strips of felt or craft foam cut into similar shapes.
Yes, but adults should handle the hot glue gun for safety.
It’s optional but a clear spray sealer can protect the colors.
Best Pine Cone Turkeys Tutorial
Pine Cone Turkeys
Equipment
Supplies
- pine cones, medium size, about 3 x 3 inches
- matte acrylic craft paint, in orange, yellow and red
- craft paper scraps, in orange, yellow and red
- pipe cleaners, in orange, yellow and red
- googly eyes, 15mm or 0.6-inch
Instructions
- Start by painting some of the tips or scales of the pinecones, orange, yellow and red. These will be the turkey’s feathers. I like to leave some of them unpainted since brown goes so well with the other colors.
- To make the turkey’s legs, grab an orange or yellow pipe cleaner and bend it loosely in half, forming a U-shape.
- Fold each end down about 1 inch.
- Bend the end back up again so that the ends are even, forming a zigzag shape.
- Pinch the ends together, then fold up at a 90 degree angle and spread out the toes. The toes will be pointing up towards the ceiling and spread apart.
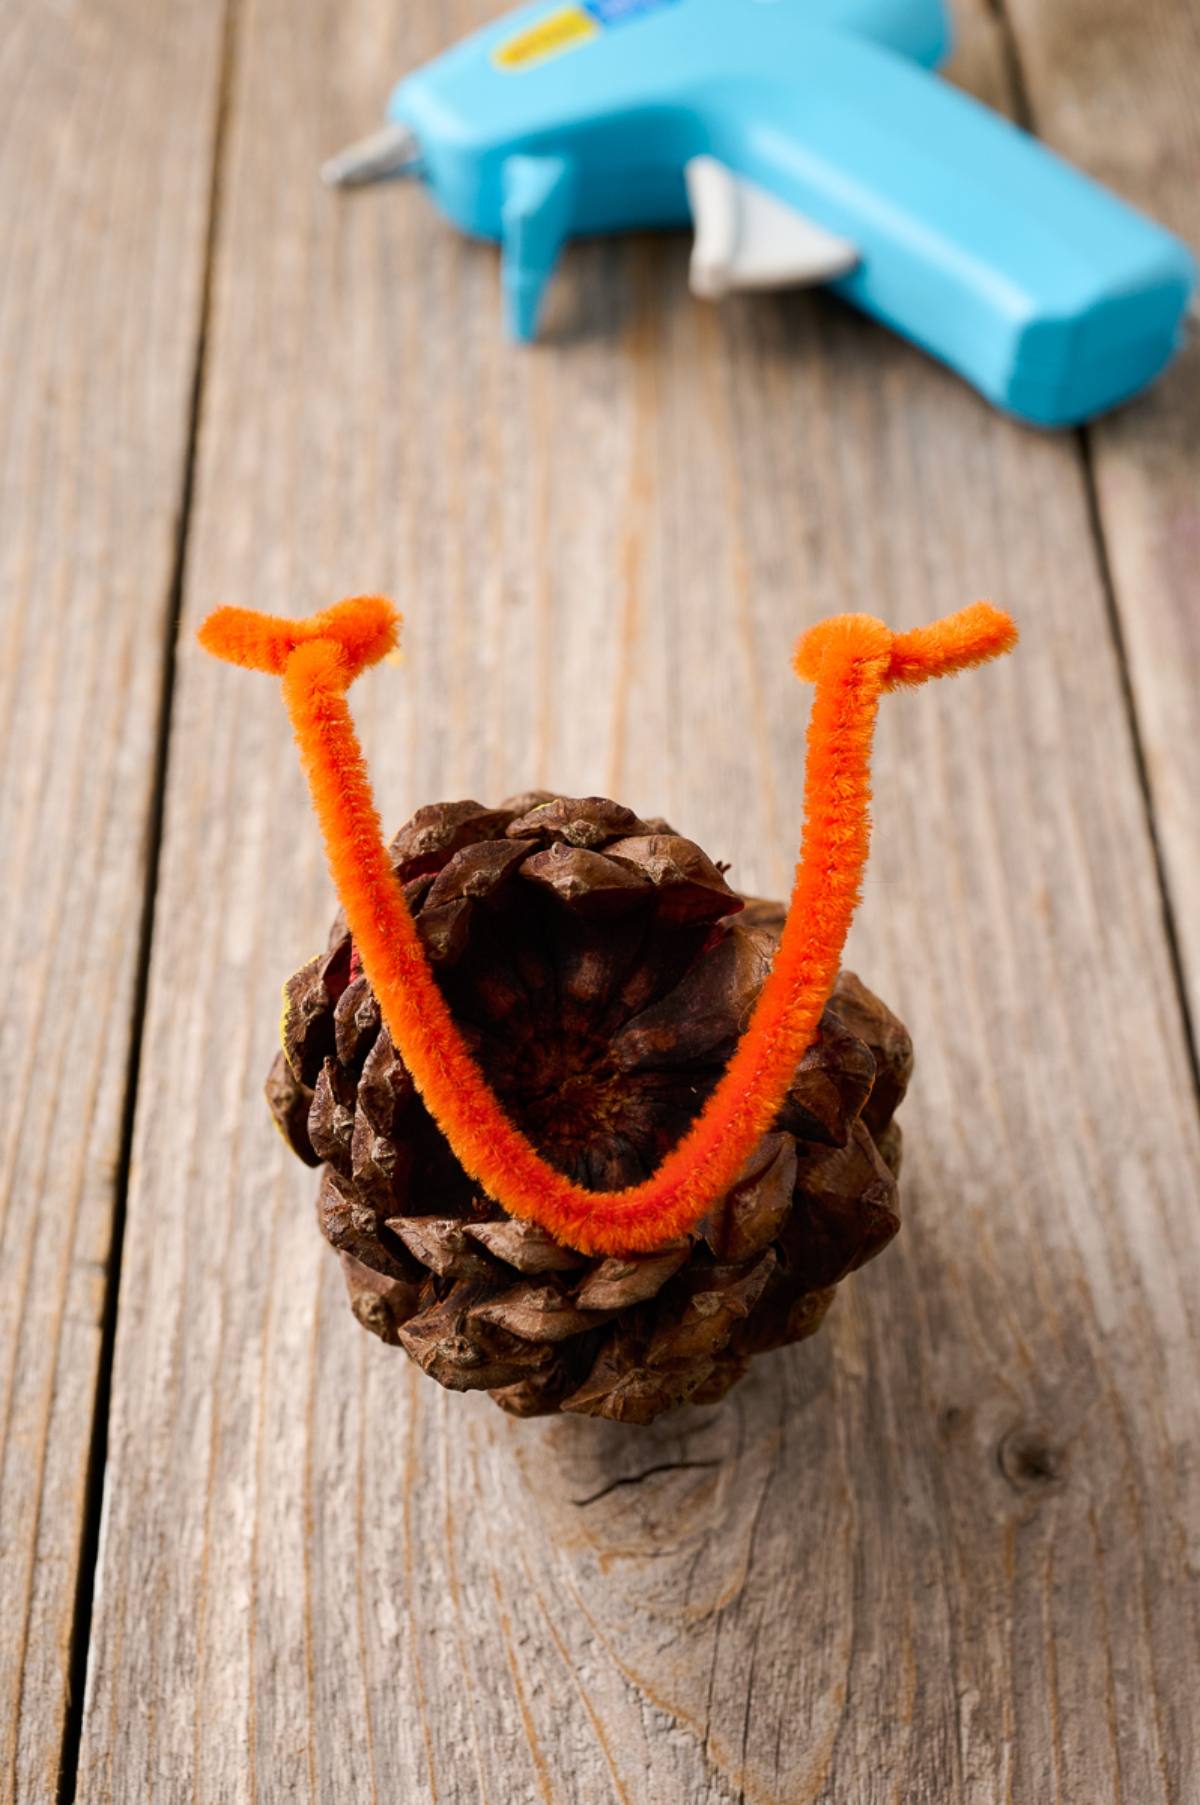
- Decide which side of the pinecone will be the front and then glue the legs to the bottom of each pinecone.
- To make the face, curl a pipe cleaner into a flat spiral and add a drop of hot glue to the end to secure.
- To make the faces more stable, I cut a circle shape out of the corresponding craft paper and glued it to the back of each pipe cleaner spiral.
- Cut small triangles out of yellow craft paper for the beaks and cut the wattles out of red craft paper. Each one will be different and that adds to their charm!
- Now, use your hot glue gun to glue on the googly eyes, yellow triangle and red wattle to the pipe cleaner spiral shape to make the turkey's face. Make sure to glue the wattle on first and then the beak.
- With your pinecone sitting upright, add hot glue to the pinecone where you would like the face and carefully glue it on.
Notes
Let paint dry: I painted the pine cones one color at a time, letting the paint dry, 15 to 20 minutes, before adding the next color, so as not to mix the colors.
Deeper colors: If you want the colors to be darker, you can add a second coat of paint.
Cut legs shorter: If they’re too long, trim before gluing.
Secure glue: Use enough glue so parts stay attached.
Make them unique: Different beak shapes and colors add personality.
These pine cone turkeys are a perfect Thanksgiving project. From the painted feathers to the googly-eyed faces, each one brings a bit of seasonal charm to your home. They’re easy to make using simple materials so everyone can join in the fun. Whether you want a festive centerpiece, a cute classroom activity or a thoughtful gift, handmade pinecone turkeys are sure to bring smiles and a touch of autumn warmth.
Other Crafts to Try

Bella Bucchiotti
Bella Bucchiotti is a Canadian-based syndicated food, travel, and lifestyle writer, photographer, and creator at xoxoBella. She founded xoxoBella in 2015, where she shares her love for food, dogs, sustainability, fitness, crafts, outdoor adventures, travel, and philanthropy to encourage others to run the extra mile, try new recipes, visit unfamiliar places, and stand for a cause. Bella creates stress-free and family-friendly recipes for weeknight dinners and festive feasts.