This post may contain affiliate links, please see the privacy policy for details.
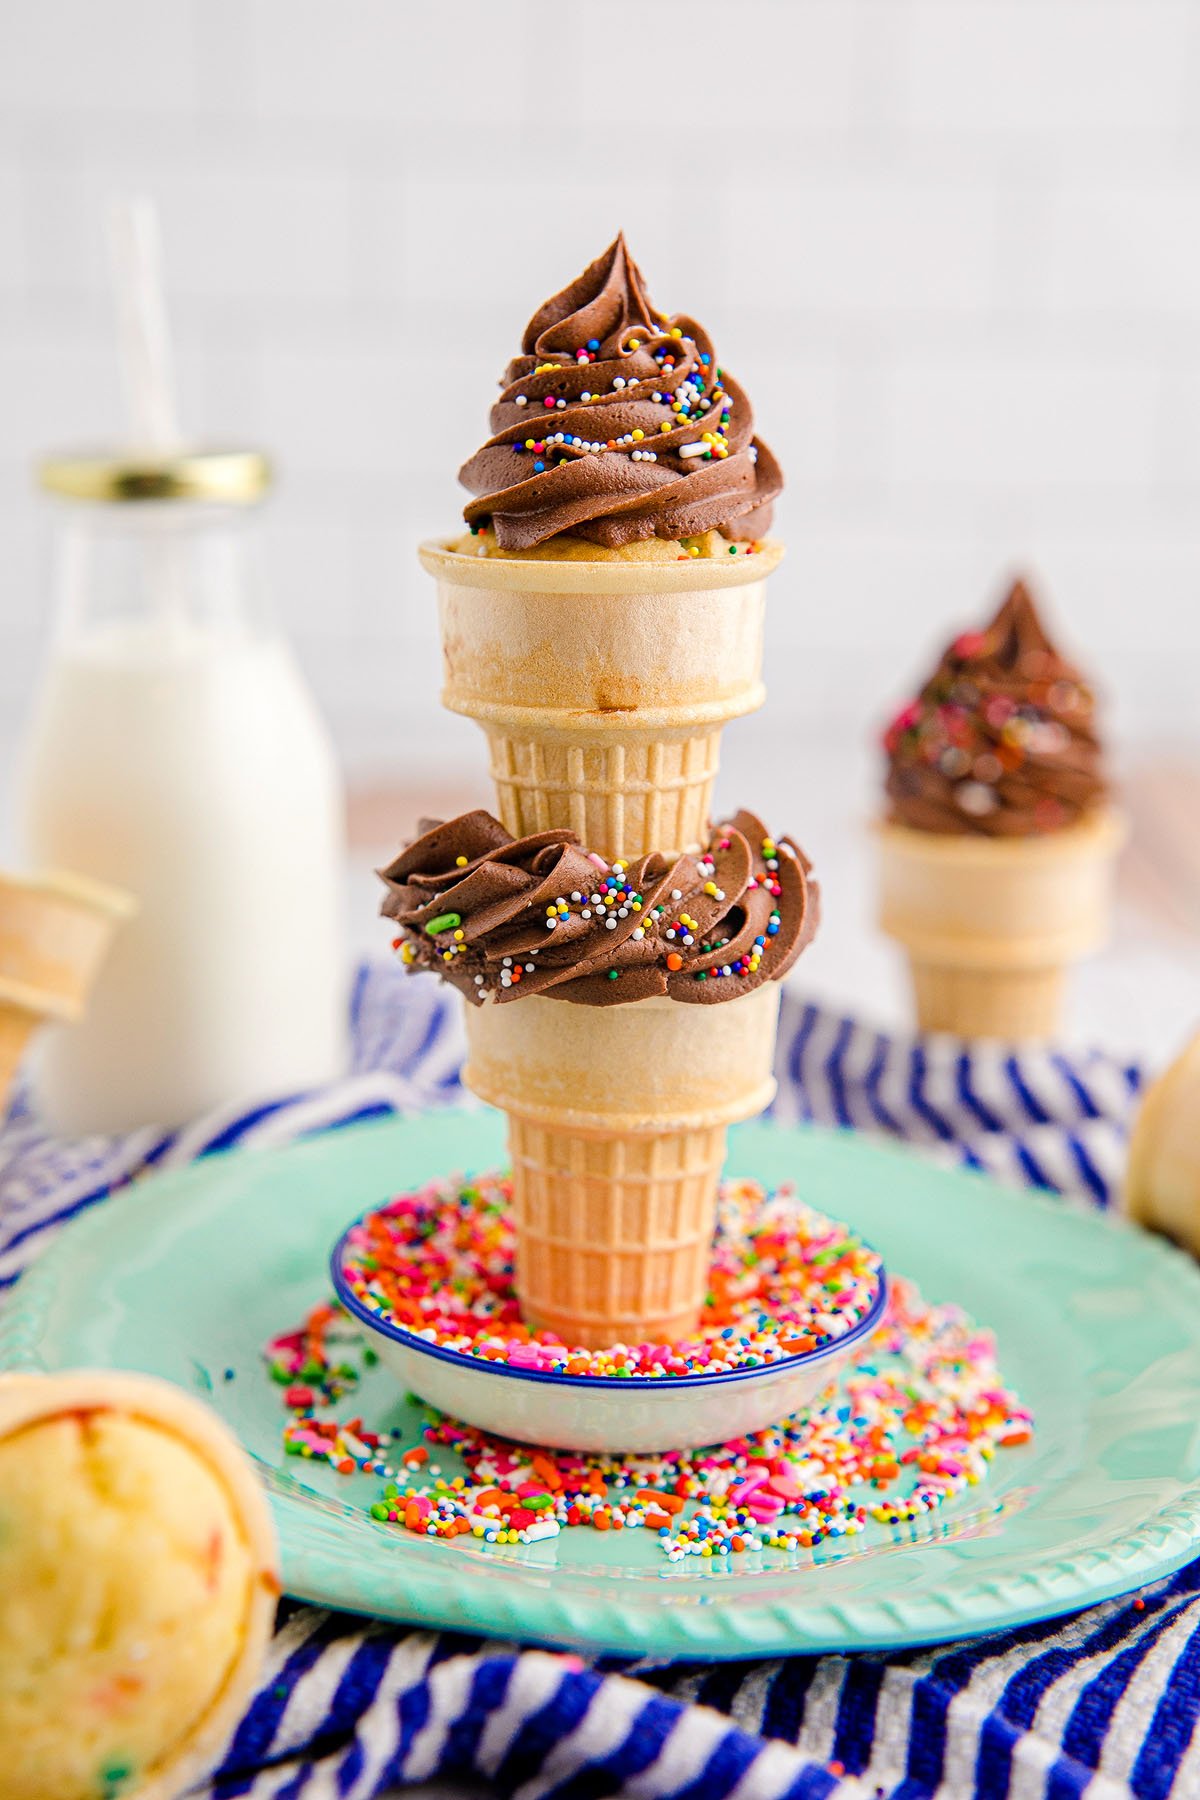
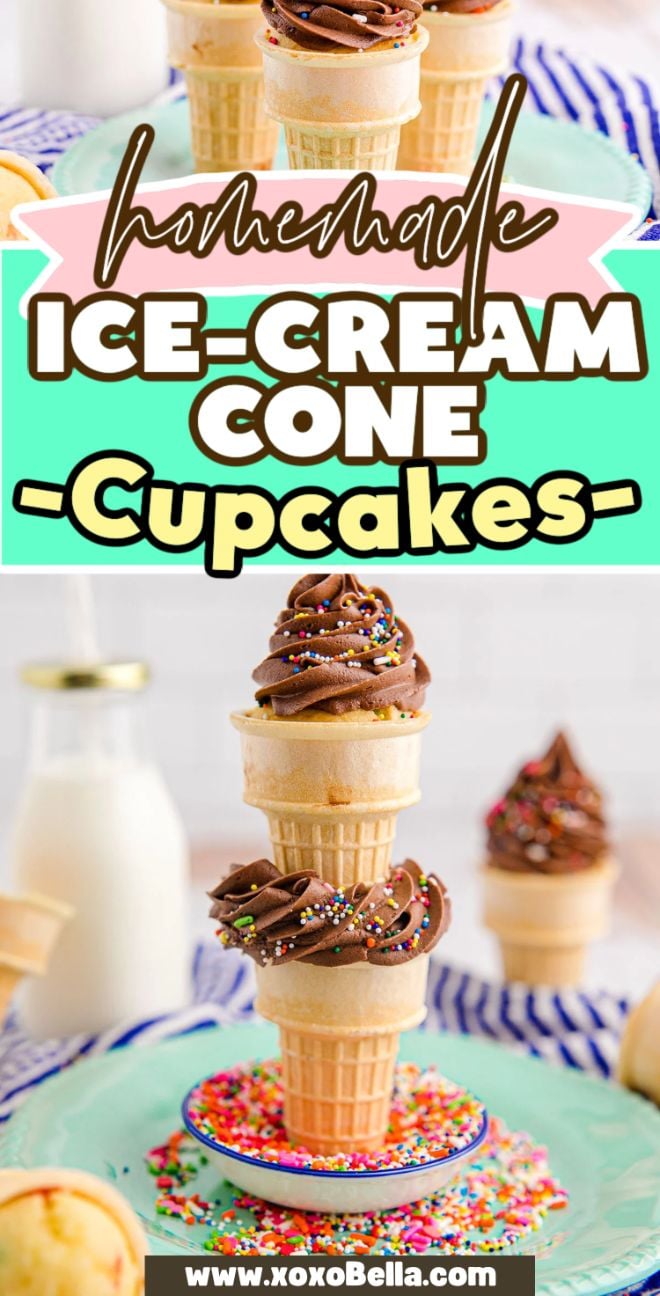
These adorable ice cream cone cupcakes are as fun to make as they are to eat. With soft, fluffy cake baked right into flat-bottomed cones and topped with swirls of colorful buttercream, they’re perfect for birthday parties, school events or any time you want to serve a treat that looks as cute as it tastes. Kids love the presentation, and you’ll love how easy they are to whip up using a cake mix and homemade frosting. They’re festive, creative and totally customizable.

These ice cream cone cupcakes are fun, festive and easy to make with cake mix and homemade buttercream. Perfect for birthdays or any fun celebration.
These chocolate peanut butter cupcakes are so good, or maybe you prefer lemon filled cupcakes, no churn cookie dough ice cream or ice cream sandwiches.
Why You’ll Love It
Easy to make: Uses boxed cake mix and simple buttercream for quick prep.
Kid-approved: The cone shape and colorful frosting are a guaranteed hit.
Customizable: Use different colors, flavors or toppings to match any theme.
Mess-free serving: No cupcake liners or plates needed. Just pick one up and enjoy.

Ice Cream Cone Cupcake Ingredients
A complete list of ingredients and amounts can be found in the recipe card below.
Cake mix: The base for the cupcakes, quick and reliable.
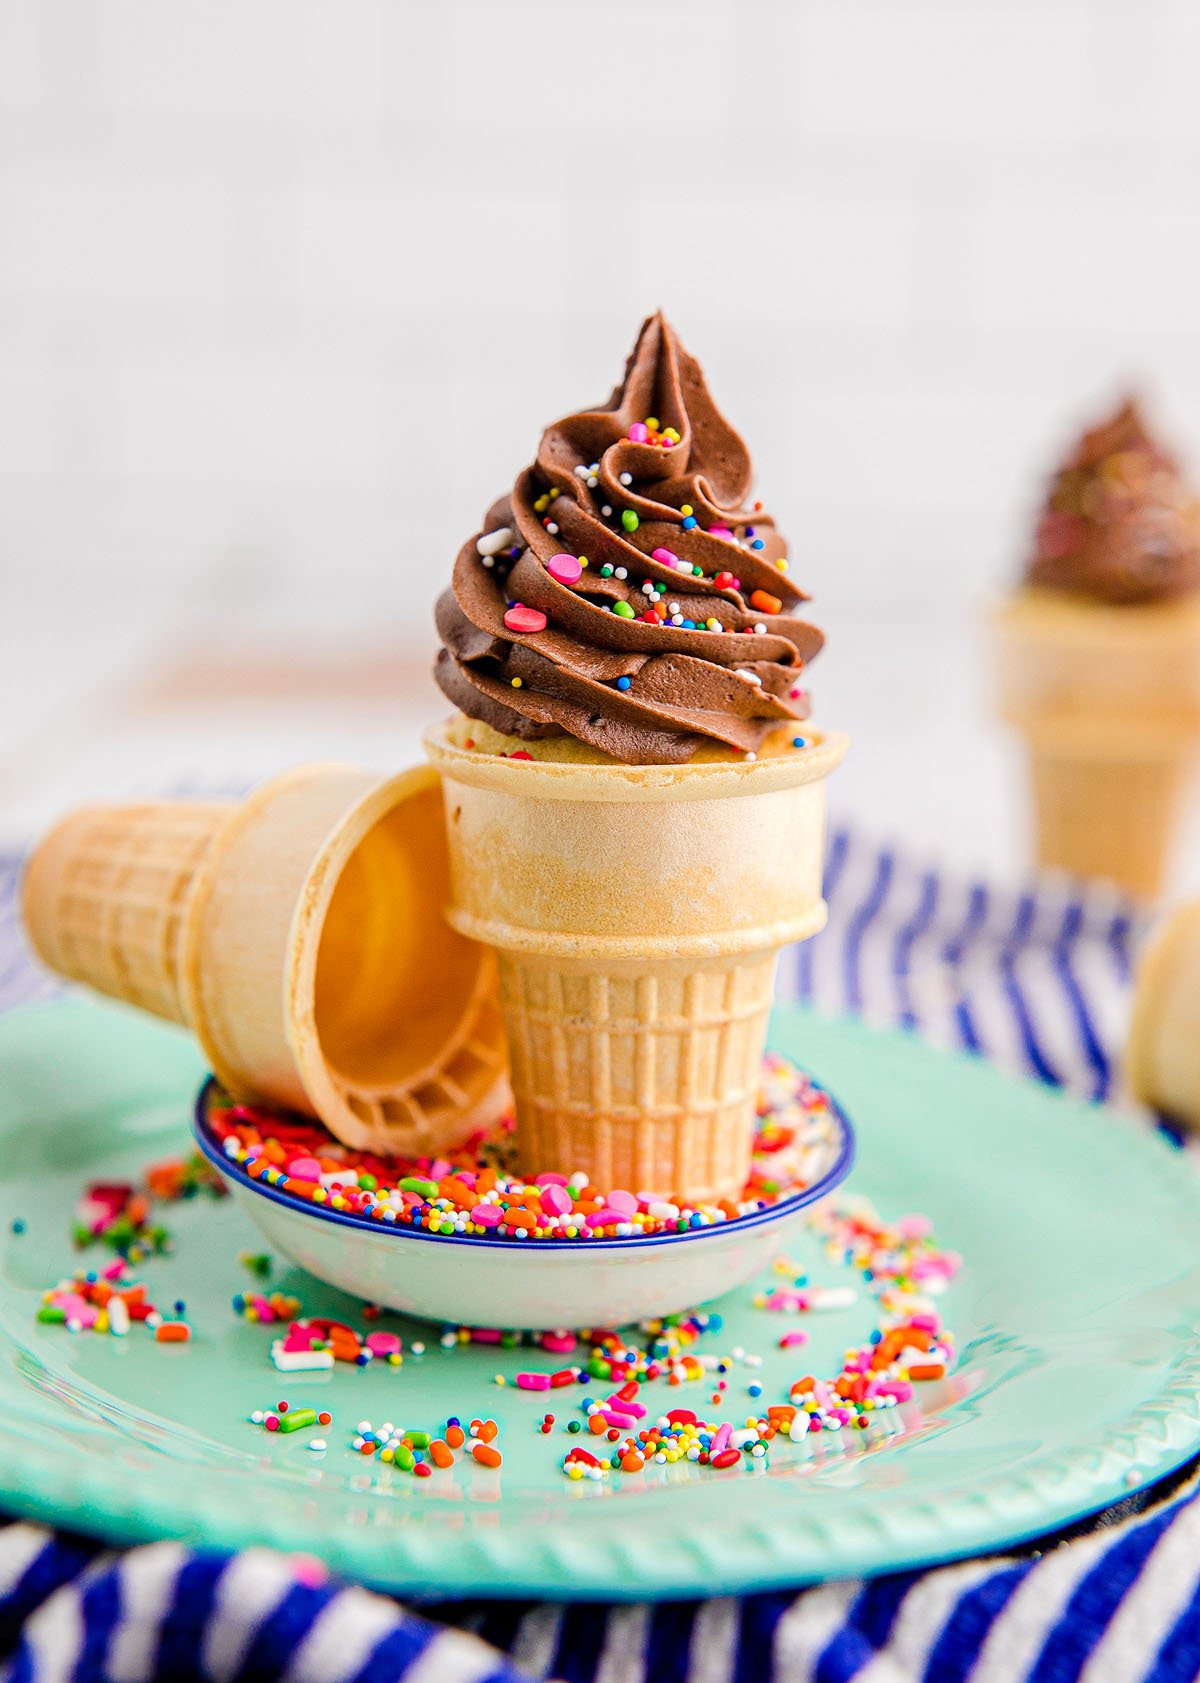
Ice cream cones: Serve as the edible holders and give the cupcakes their signature look.
Unsalted butter: The creamy base for homemade buttercream.
Powdered sugar: Sweetens and thickens the frosting.
Heavy cream: Helps create a smooth, spreadable consistency.
Vanilla extract: Adds sweet, warm flavor to the buttercream.
Salt: Just a pinch, to balance out the sweetness.
Cocoa powder and vanilla extract: For chocolate frosting variations.
Gel food coloring: Adds bright, vibrant colors for fun designs.
Sprinkles: An optional topping that makes them extra festive.

How to Make Ice Cream Cone Cupcakes
For more detailed instructions with weights and measurements, jump to the printable recipe card.
Make the cake batter: Prepare the cake mix as directed on the box.
Fill the cones: Place cones in a cupcake pan and fill each about three-quarters full with batter.
Bake the cupcakes: Bake until a toothpick comes out clean.
Make the buttercream: Beat the butter until creamy, then add powdered sugar, cream, vanilla and salt.
Color or flavor: Divide and tint the buttercream, or add cocoa powder for chocolate.
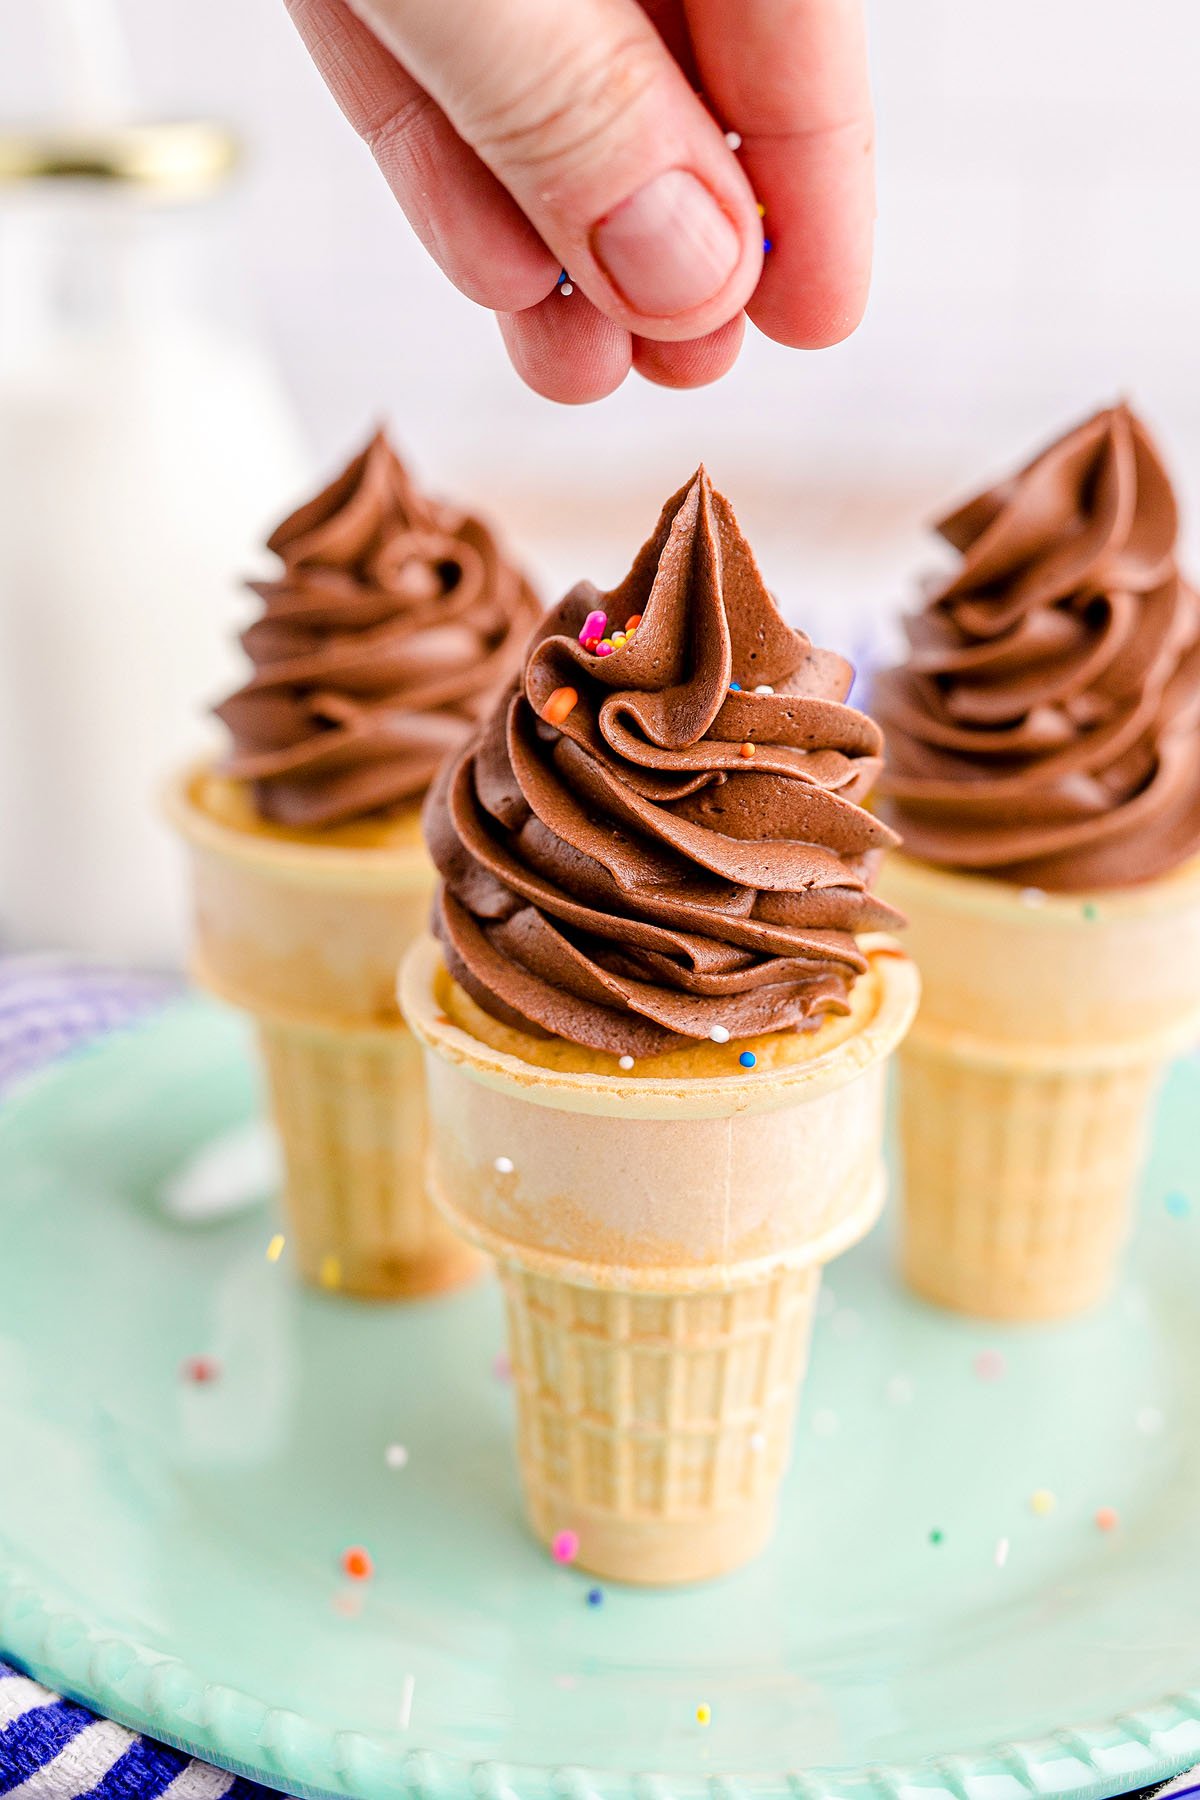
Frost and decorate: Once they’re cool, pipe or spread frosting onto the cooled cupcakes and finish with sprinkles.

Substitutions and Variations
Use different cake flavors: Try chocolate, red velvet, orange, or lemon for variety.
Add fillings: Scoop out a small center and add jam, a candy or frosting inside.
Make mini versions: Use mini cones and a mini muffin pan for bite-size treats.
Optional add-ins: Add mini marshmallows or chocolate chips to the cake batter, just to add more texture and a different flavor. Chopped nuts or raisins would also work.
Serving Suggestions
With other sweet treats: Pair these sweet treats with blueberry pie cookies, tiramisu cupcakes or funfetti cheesecake which is also very cute! Or, if you’re celebrating motherhood, add gender reveal cupcakes to the menu!
With a drink: Serve up homemade strawberry lemonade to the little ones and treat the grownups to a spiked bananas foster eggnog cocktail!

How to Store Homemade Cake Cones
Store: These are best enjoyed the day they’re baked but they will keep a couple of days in an airtight container. Room temperature should be fine unless it’s warm, in which case store them in the refrigerator. I kept mine in this tall cake carrier.
Freeze: They aren’t suitable for freezing because then the cones would get really soggy.

Top Tips
Don’t overfill the cones: Leave space for the batter to rise or it will overflow.
Use a scoop for even filling: A small ice cream scoop helps portion the batter neatly.
Cool completely before frosting: Warm cupcakes will melt your buttercream.
Use a cupcake pan: This helps the cones stay upright while baking.
Funfetti Cupcake Cones FAQs
Don’t add more than 3 tablespoons of batter to each one, else the batter will rise too much, come over the edges of the cones and make them soggy!
Yes, just use your favorite cupcake recipe and portion it into the cones.
Yes, bake and cool them ahead, then frost the day you plan to serve.
Cut holes in a box or use egg cartons to hold them upright in a cake carrier. Oh, and do drive carefully – I’m not sure how well these would survive a sudden swerve!
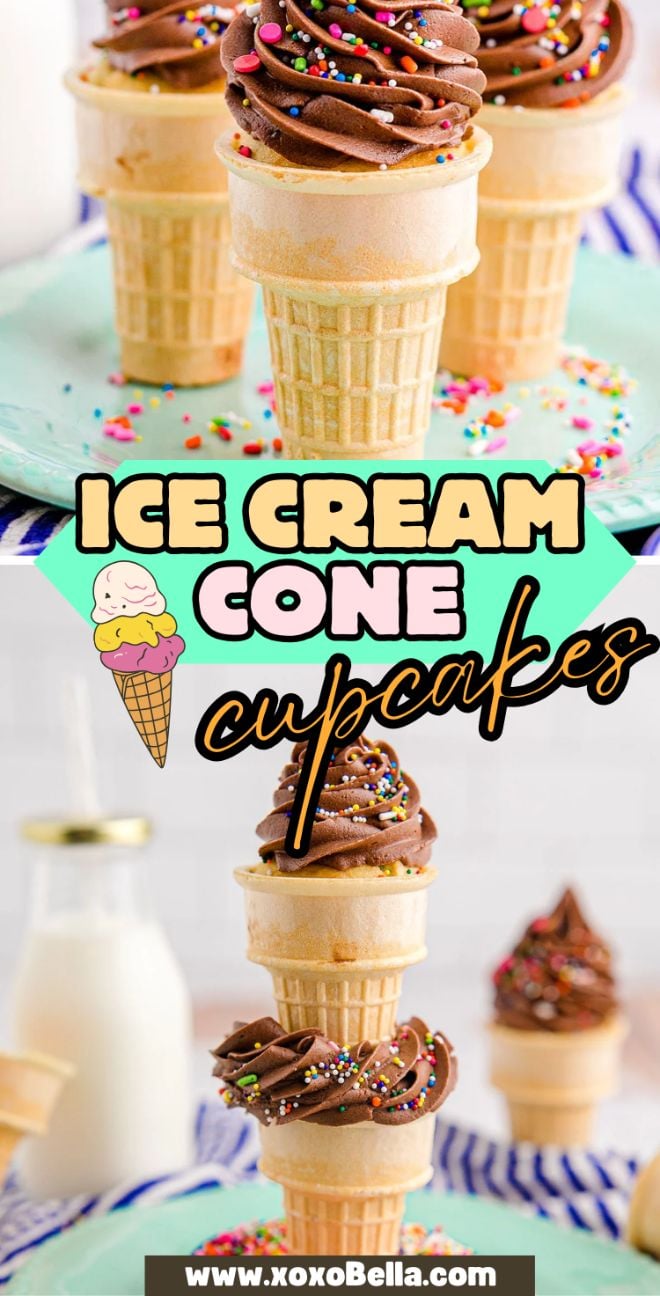
Ice Cream Cone Cupcakes Recipe

Ice Cream Cone Cupcakes
Equipment
- Muffin Pan or Cupcake Pan
- Stand Mixer with Paddle Attachment, or Electric Mixer
- Pastry Bag with Wilton 2D Tip, or Palette Knife
Ingredients
- 1 cake mix, funfetti, make as directed on box – usually adding eggs, water and oil
- 24 ice cream cones, with flat bottoms
For Vanilla Buttercream
- 1 Cup unsalted butter, at room temperature
- 3 to 4 Cups powdered sugar
- 3 to 4 Tablespoons heavy cream
- 1 Tablespoon vanilla extract
- 1 Dash salt
For Chocolate Buttercream (Optional)
- ½ Cup unsweetened cocoa powder
- 2 Tablespoons vanilla extract
For Colorful Buttercream (Optional)
- gel food coloring, a few drops
To Garnish
Instructions
- Preheat the oven to 350 degrees F. Prepare cake mix according to the package.
- Using a 24 holder mini muffin pan or cupcake pan, place your cones in each tin.
- Put about 3 Tablespoons of cake batter into each of the cones, just below the inside rim. You can spoon the batter in or use a small ice cream scoop to be more accurate. Don't overfill. If you do, the batter will spill over while cooking and make the rims of the cones soggy. Each cone may bake up a little differently in shape but they'll look fine frosted.
- Bake for 23 to 25 minutes or until a toothpick releases clean. Allow them to cool completely.
- While the ice cream cone cupcakes are cooling, you can make the buttercream. In a large bowl or stand mixer fitted with a paddle attachment, cream butter on low speed until pale and creamy.
- Slowly add in 3 Cups of powdered sugar and 3 Tablespoons of heavy cream a little at a time, alternating between each, while mixing on low over the course of about 3 minutes.
- If your frosting needs a more stiff consistency, add remaining sugar. If your frosting needs to be thinned out, add the remaining cream.
- Add vanilla and salt. Beat on medium-high for about 2 to 3 minutes until the frosting is light and fluffy.
- If you want to make multiple colors of frosting, just separate your buttercream into individual bowls and use food coloring to make whatever color your heart desires! If you want to make chocolate buttercream, add ½ Cup of unsweetened cocoa powder and 2 Tablespoons of vanilla extract and fold in with a spatula until incorporated.
- You can pipe the frosting into a swirl (using a Wilton 2D tip and piping bag) OR you can quickly just spread your frosting on top of each cupcake with a knife – kiddos will eat them either way!
- Toss some sprinkles on top for a fun decoration.
Notes
Use a scoop for even filling: A small ice cream scoop helps portion the batter neatly.
Cool completely before frosting: Warm cupcakes will melt your buttercream.
Use a cupcake pan: This helps the cones stay upright while baking.
Nutrition


Ice cream cone cupcakes are a fun twist on a classic treat. They’re simple to make with cake mix and a few basic ingredients, and the creative presentation is always a crowd-pleaser. These cupcakes are perfect for birthdays, bake sales or just a fun afternoon project with the kids. You can switch up the colors, flavors or decorations to match any event. With the right frosting swirl and a few sprinkles, these cupcakes are both tasty and show-stopping.
Other Recipes to Try
Bella Bucchiotti
Bella Bucchiotti is a Canadian-based syndicated food, travel, and lifestyle writer, photographer, and creator at xoxoBella. She founded xoxoBella in 2015, where she shares her love for food, dogs, sustainability, fitness, crafts, outdoor adventures, travel, and philanthropy to encourage others to run the extra mile, try new recipes, visit unfamiliar places, and stand for a cause. Bella creates stress-free and family-friendly recipes for weeknight dinners and festive feasts.


I love doing cupcakes in ice cream cones! No need for wrappers!
These look delicious! I will have to make them with my kids.
Ohhh yummy yummy! What a fun twist on a classic dessert. These look so easy to make and oh so pretty, LOVE all the photos!
When I was a kid, we used to make these at my friends house all the time. It was one of my favorite treats!
So darn cute!