This post may contain affiliate links, please see the privacy policy for details.
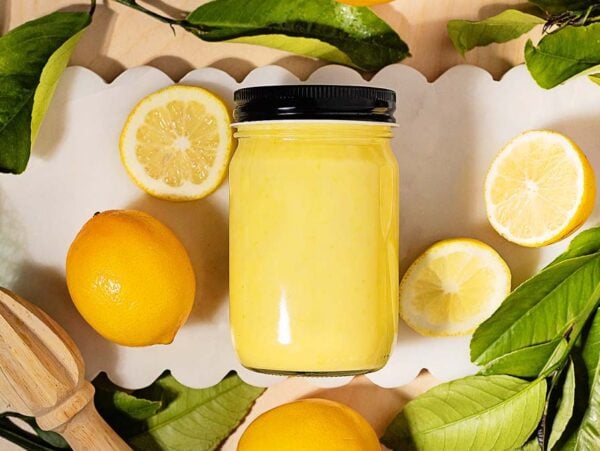
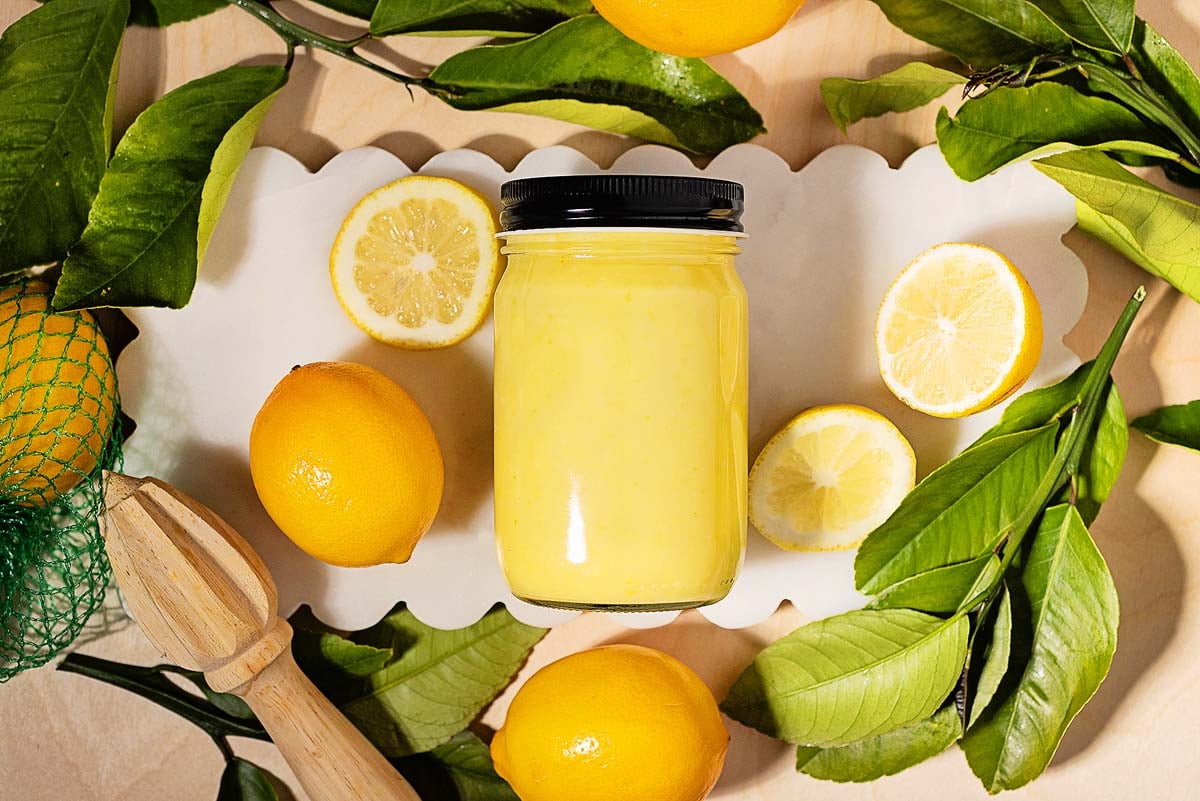
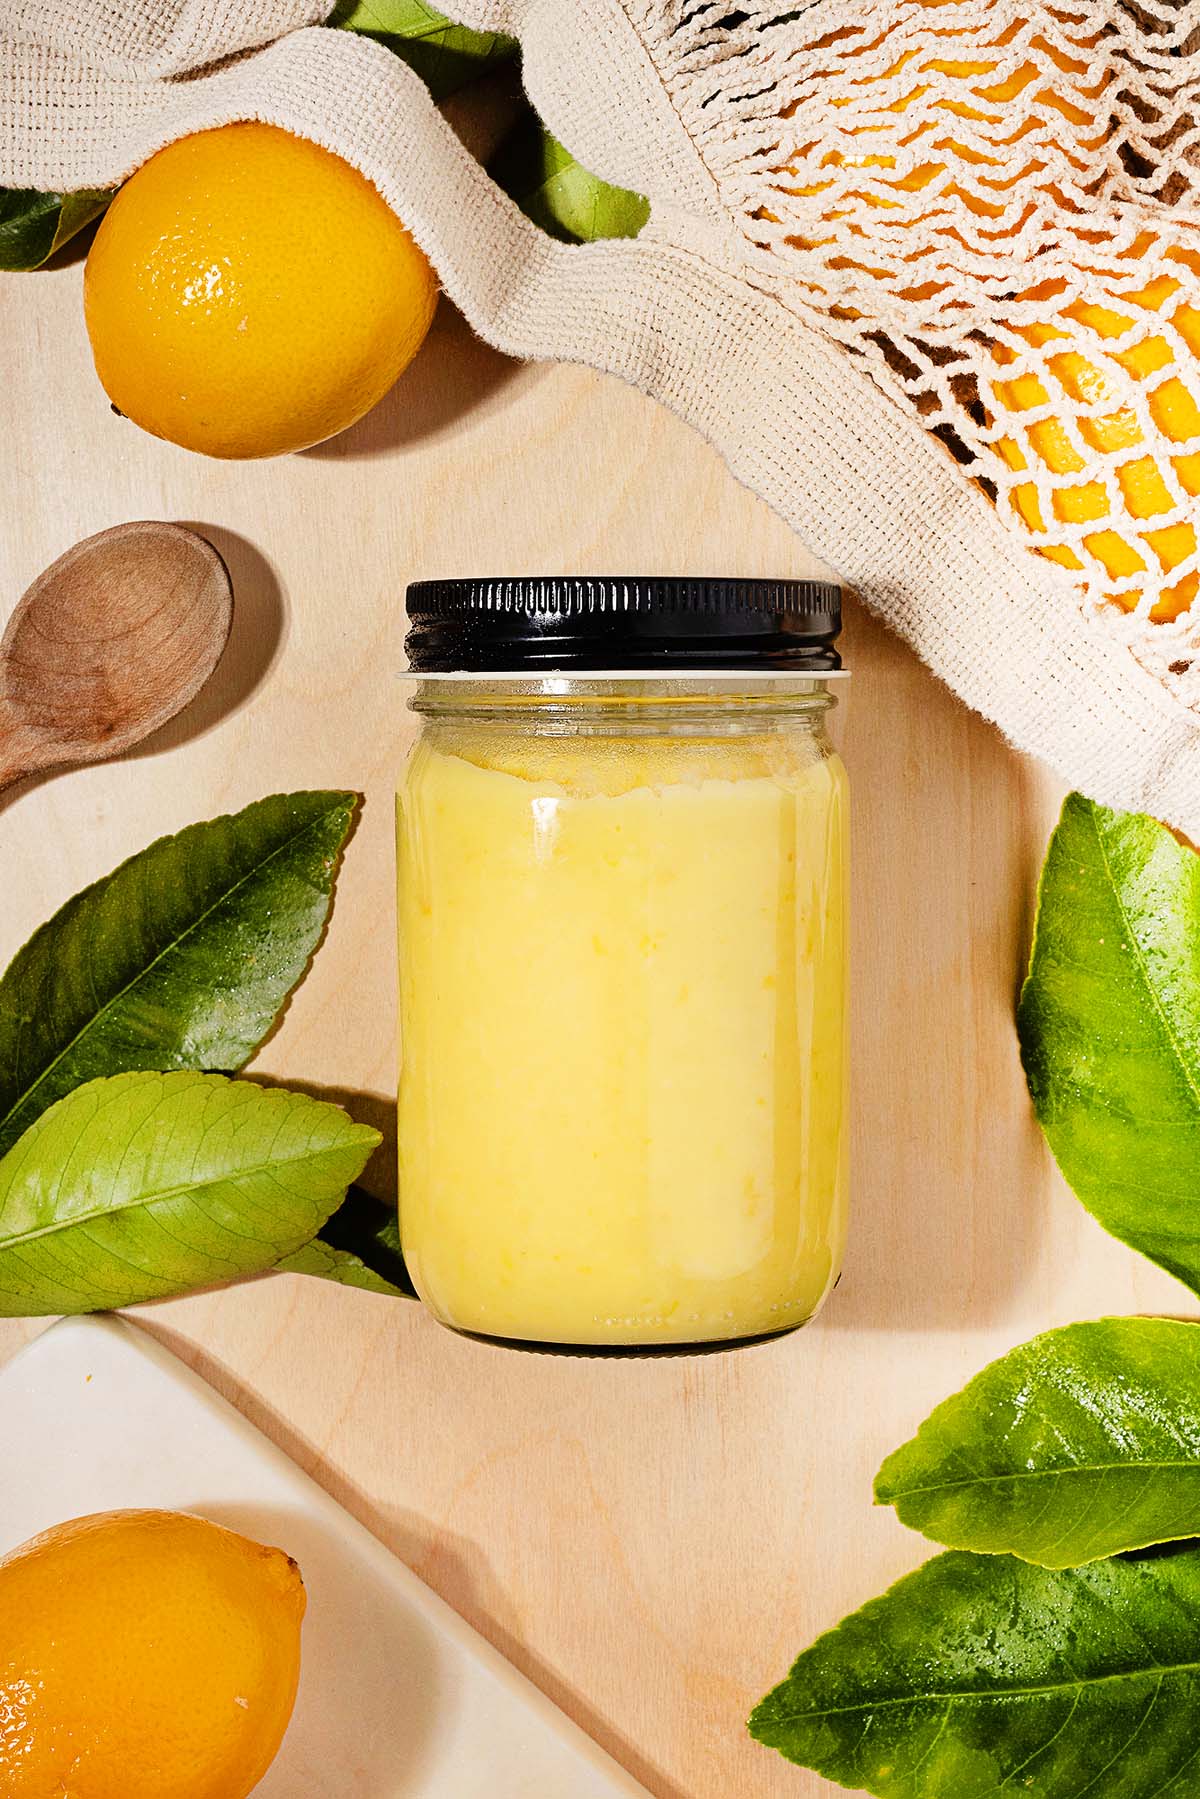
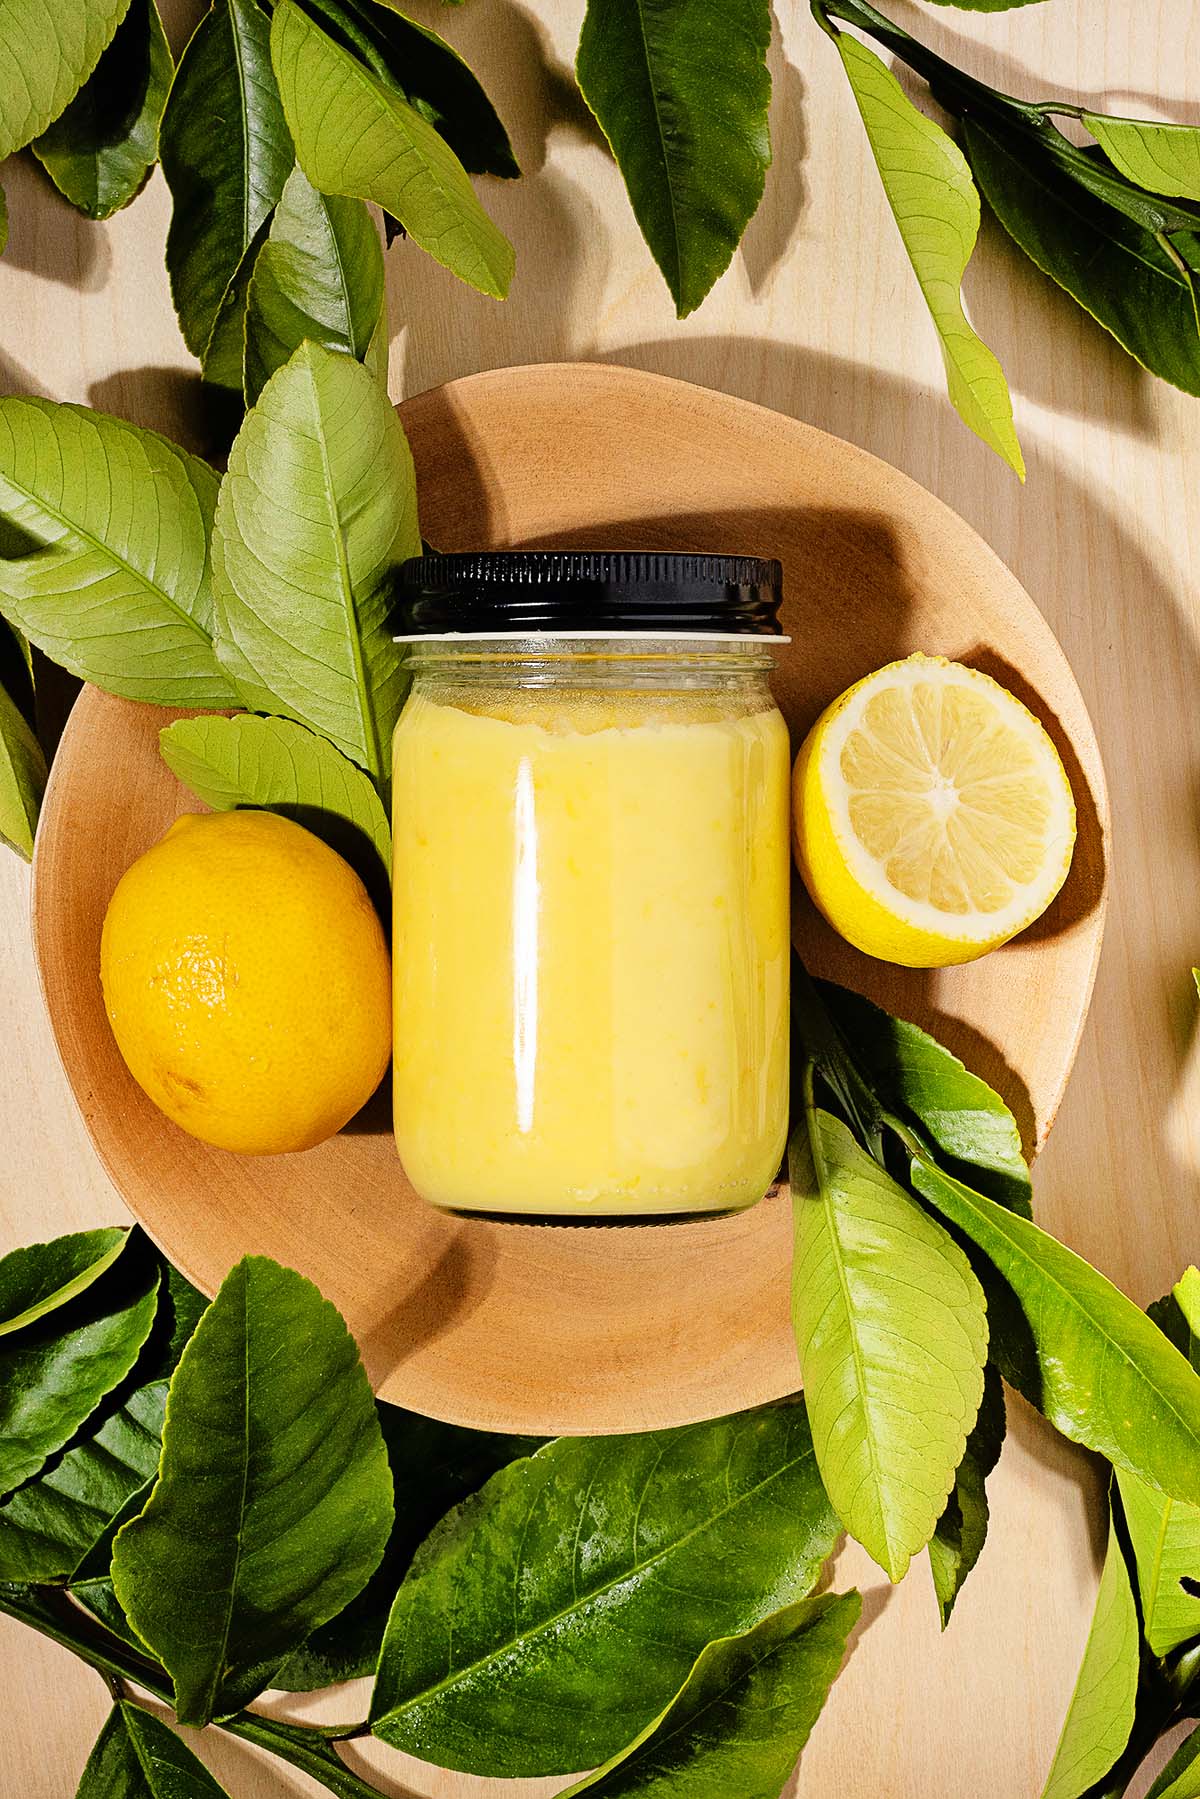
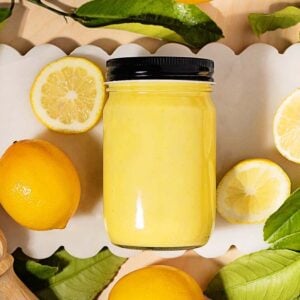
There’s something very special about the rich, citrusy punch of homemade lemon curd. This smooth, glossy spread is easy to make with just a few fresh ingredients and a bit of care. The balance of perfectly tart lemon, creamy butter, and sweet sugar creates a silky smooth curd perfect for everything from breakfast pastries to fancy desserts. Whether you swirl it into yogurt or use it as a tart filling, this classic recipe adds a touch of sunshine to any dish and tastes absolutely wonderful.
Why You’ll Love It

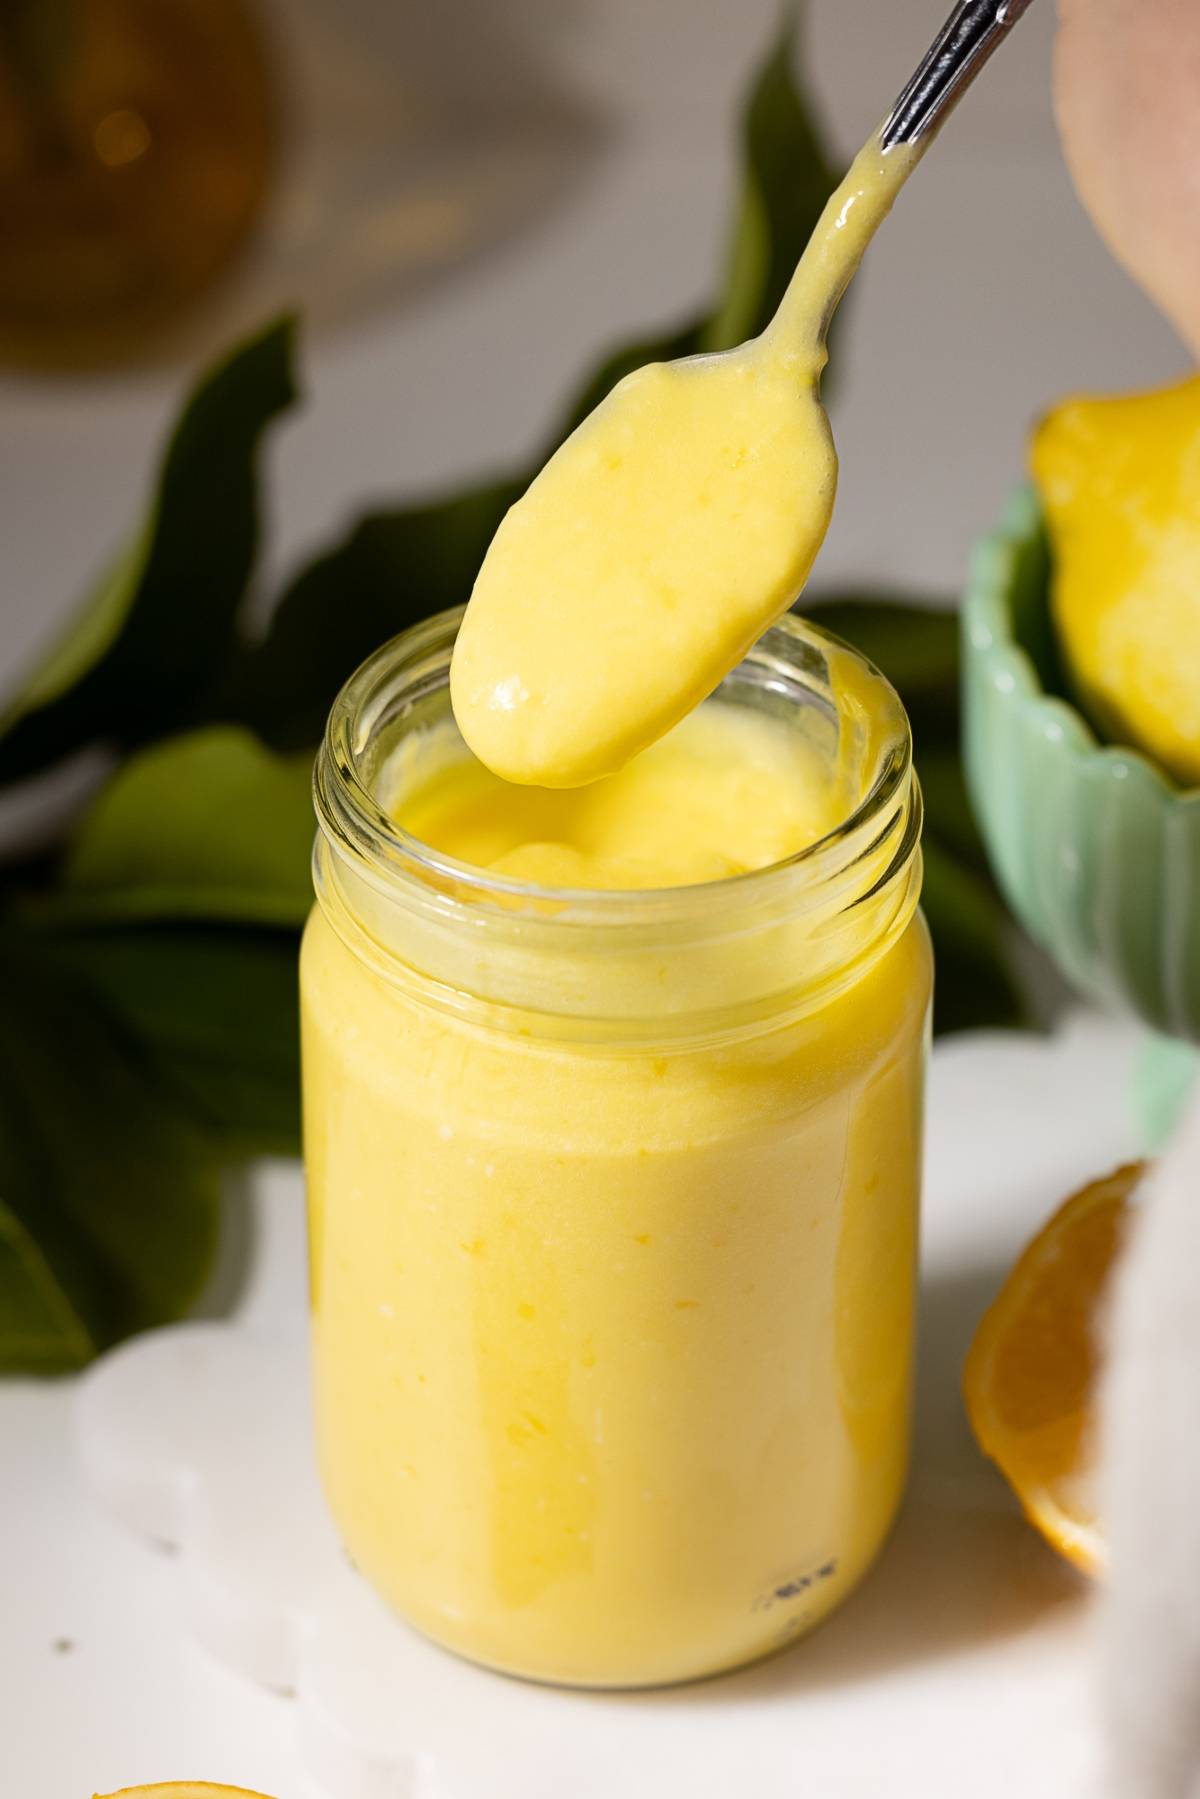
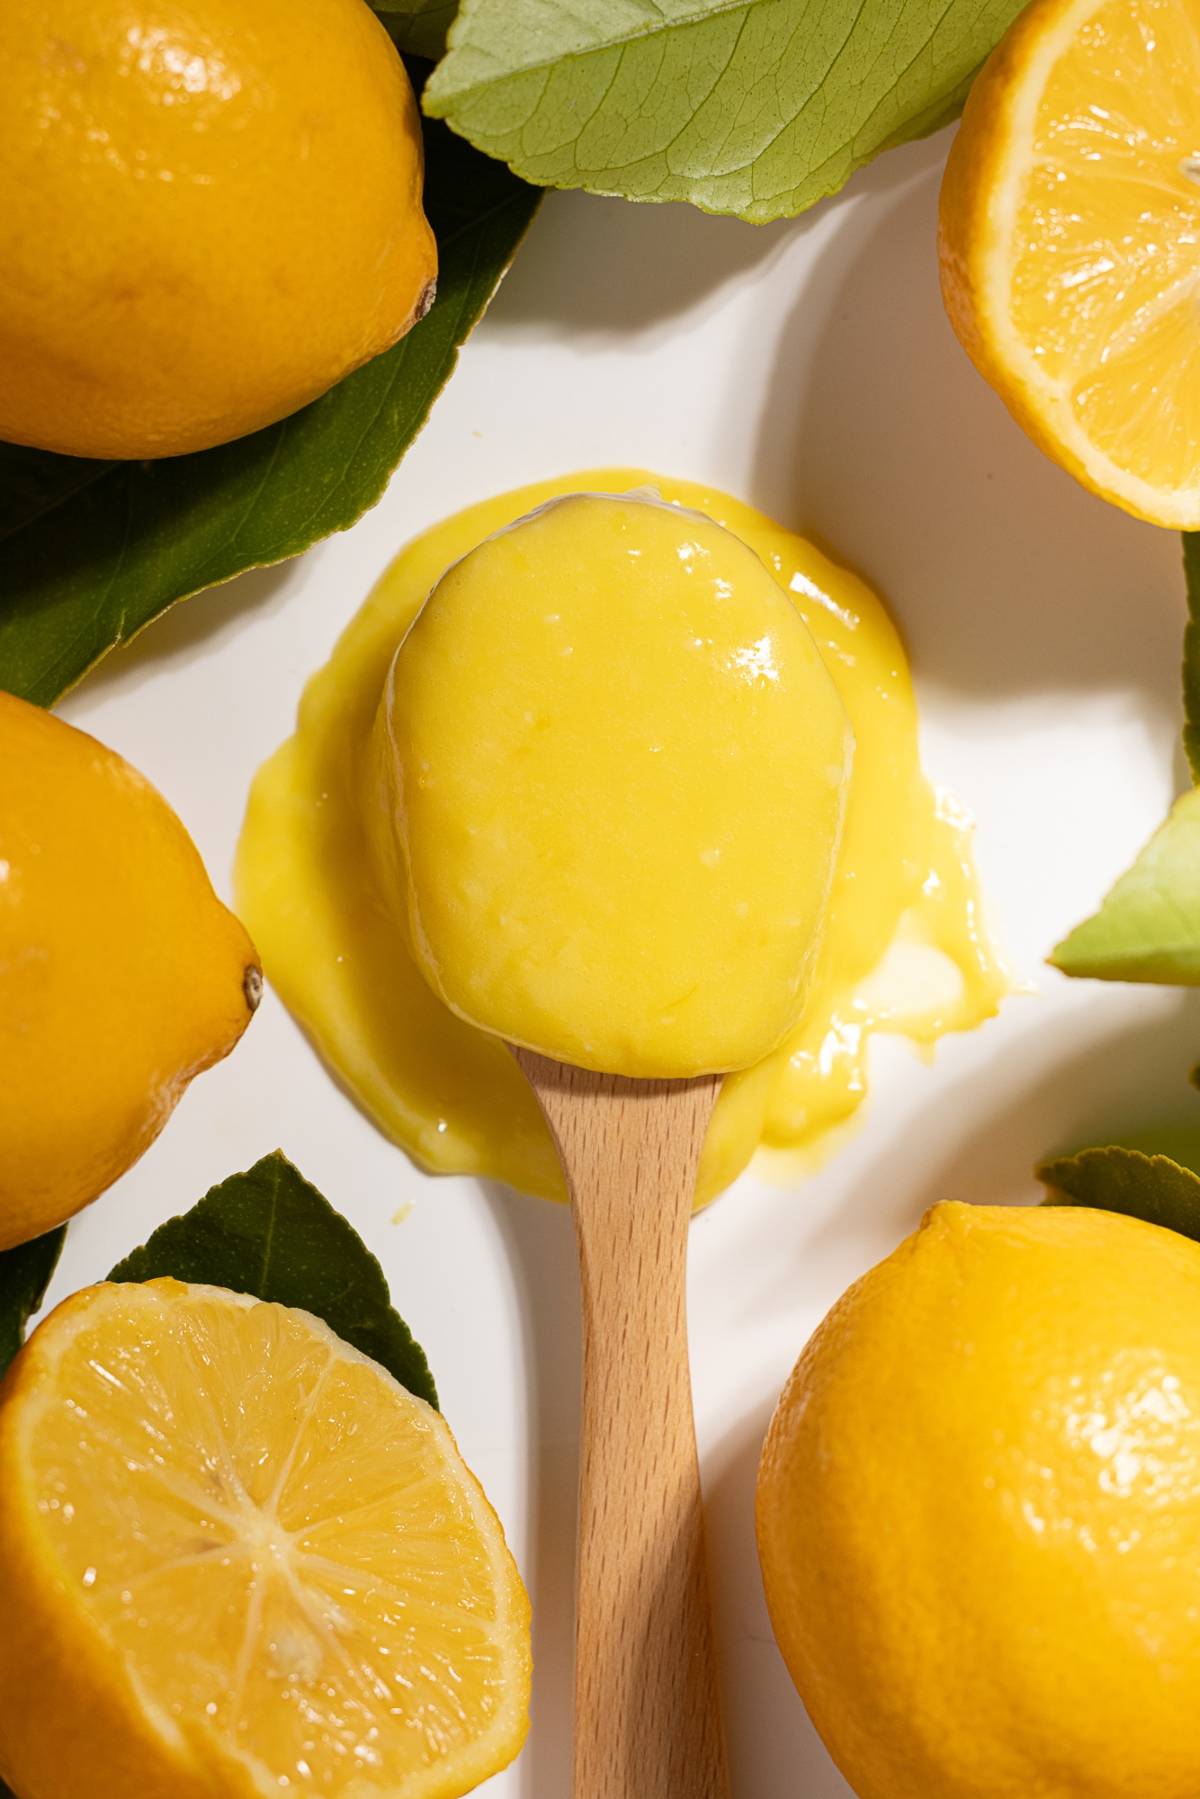
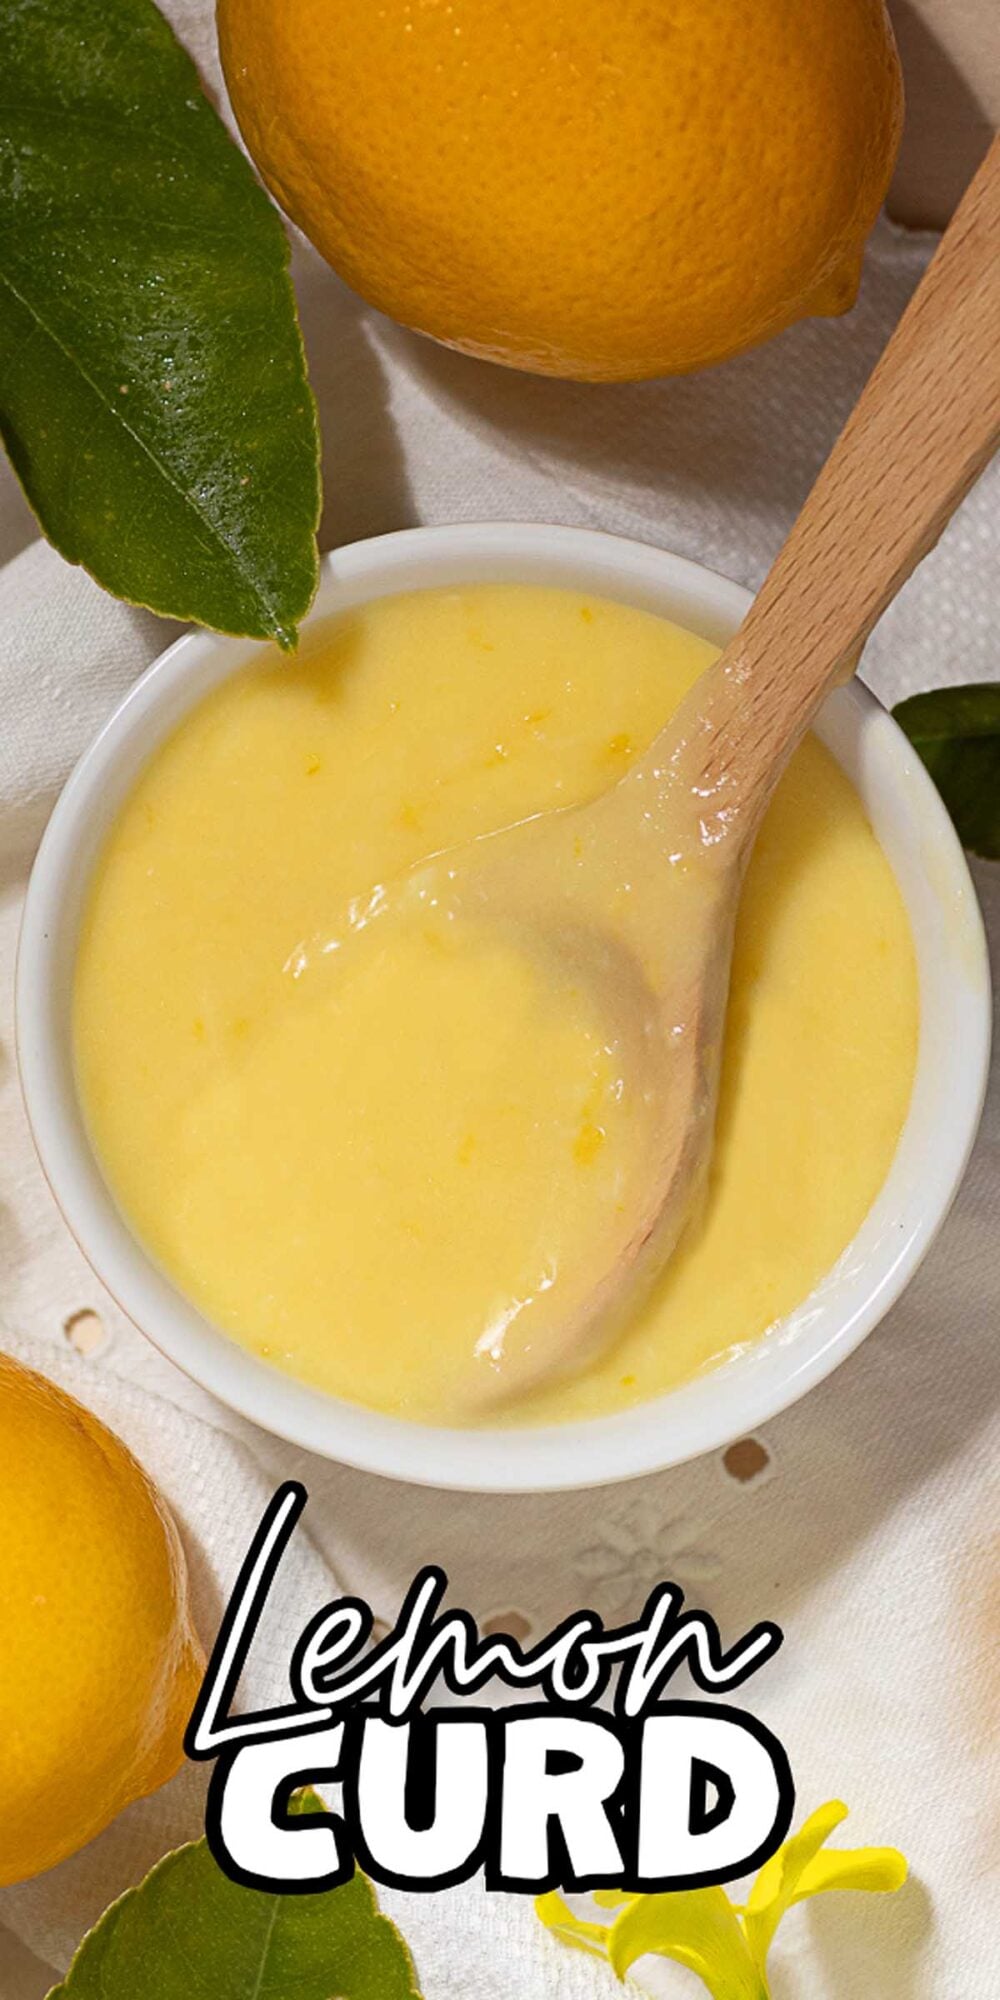
This lemon curd is rich, tangy and ultra-smooth. It makes the perfect topping or filling for toast, tarts, cakes, or cookies, and comes together in minutes.
Bright, bold flavor: This curd delivers the perfect balance of tart citrus and sweet richness.
Simple to make: With short prep time and very few steps, you’ll love how easy making curd is.
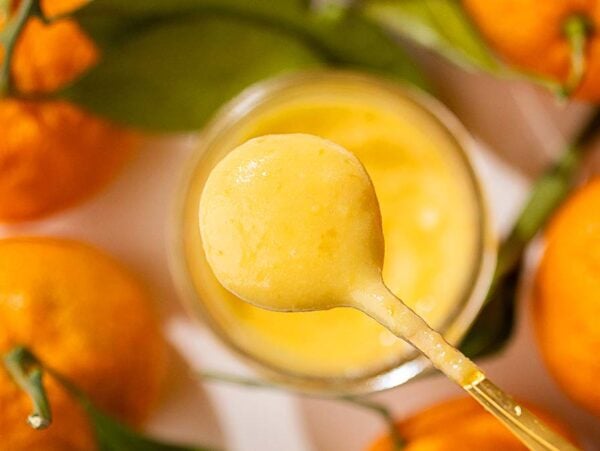
Smooth and silky texture: It’s glossy, thick and spreads beautifully on everything.
Versatile use: Ideal for filling pastries, layering cakes or topping scones and yogurt.
Freezer-friendly: Make ahead and freeze for easy access to homemade curd.
Perfect for gifting: Pack into small jars and share with friends or family.
If you enjoy making condiments, you might also like spiced cranberry orange jam, strawberry jalapeno jam or even this unusual hot honey!
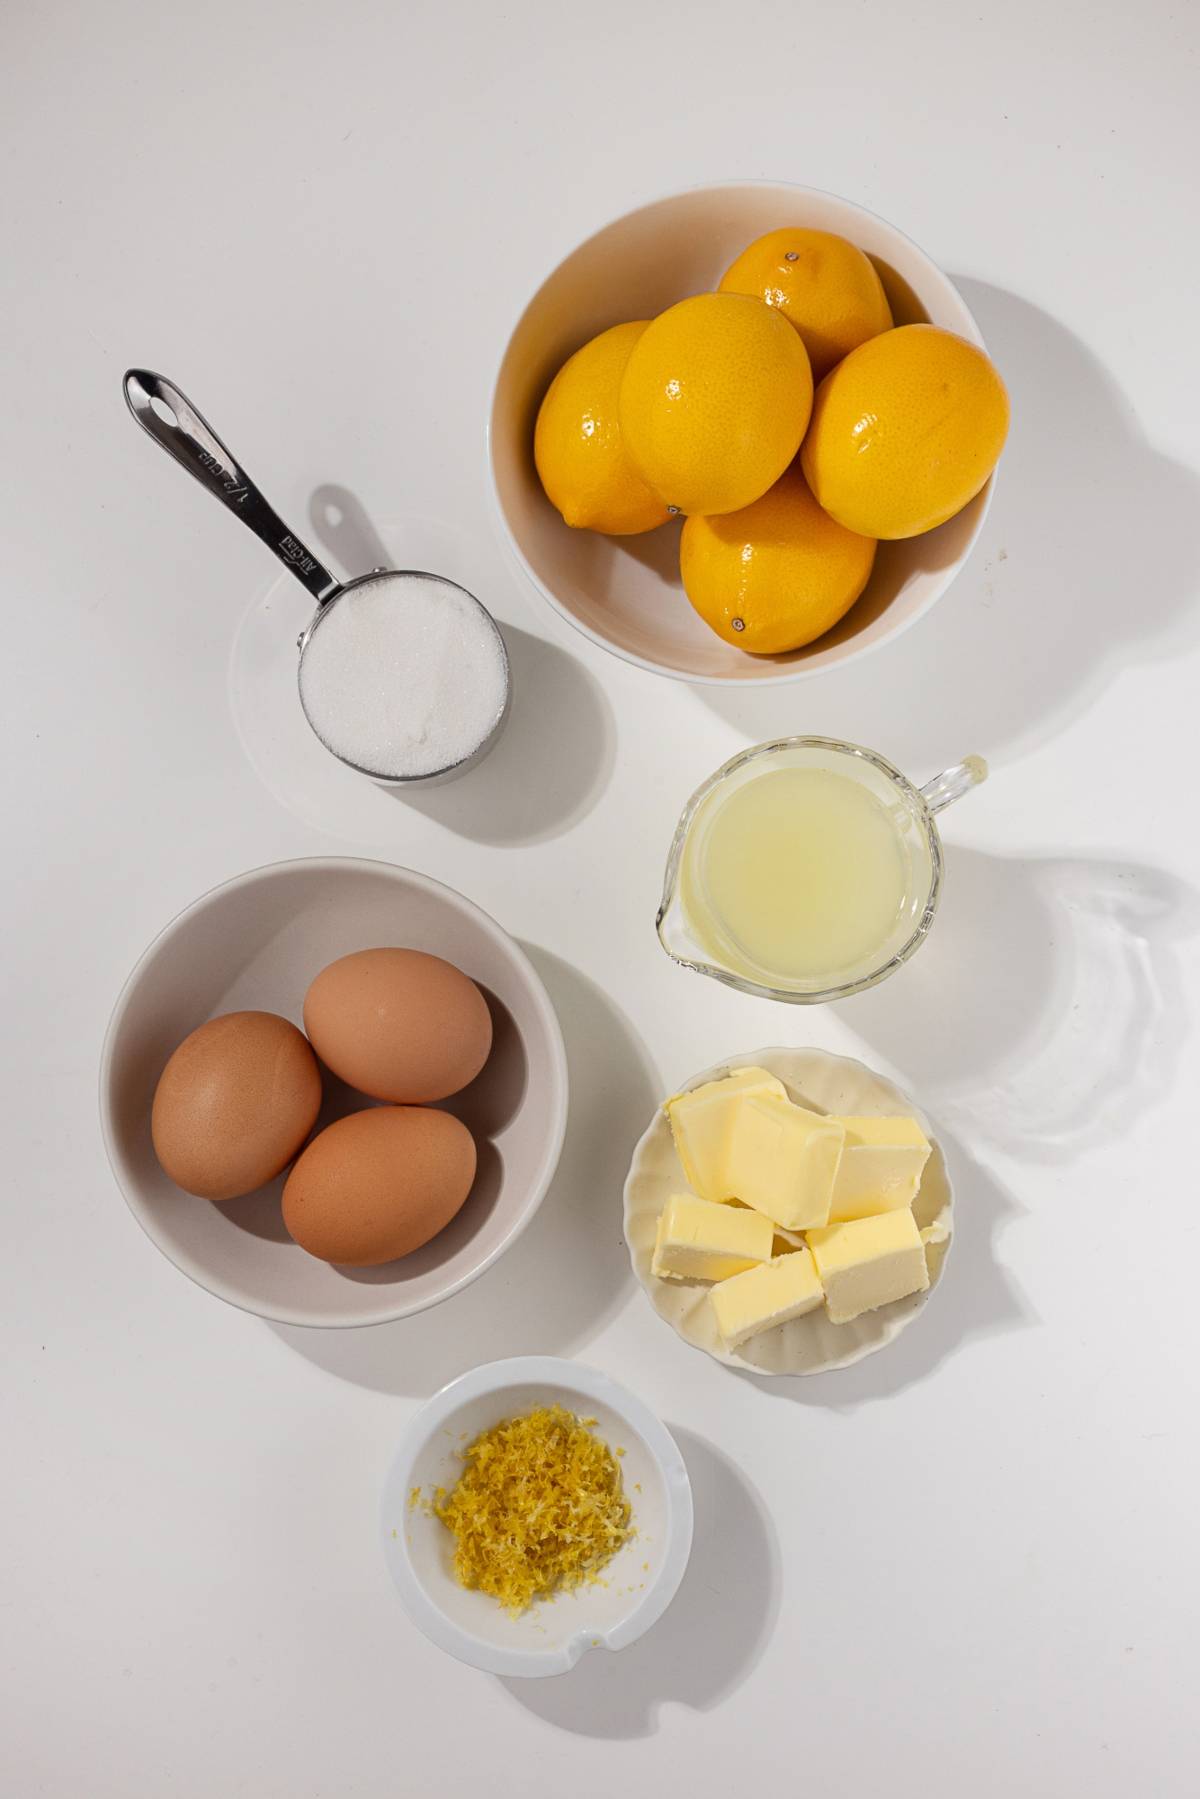
Homemade Lemon Curd Ingredients
A complete list of ingredients and amounts can be found in the recipe card below.
Whole eggs: Egg yolks and egg whites thicken the curd and create a rich, custardy texture.
Lemon juice: Provides bright acidity and bold lemon flavor.
Granulated sugar: Sweetens the curd and balances the tart lemon.
Lemon zest: Adds intense citrus aroma and extra zing.
Unsalted butter: Gives the curd a creamy finish and glossy texture.
How to Make Lemon Curd
For more detailed instructions with weights and measurements, jump to the printable recipe card.
Prep the jars: Wash and dry your jars and lids.
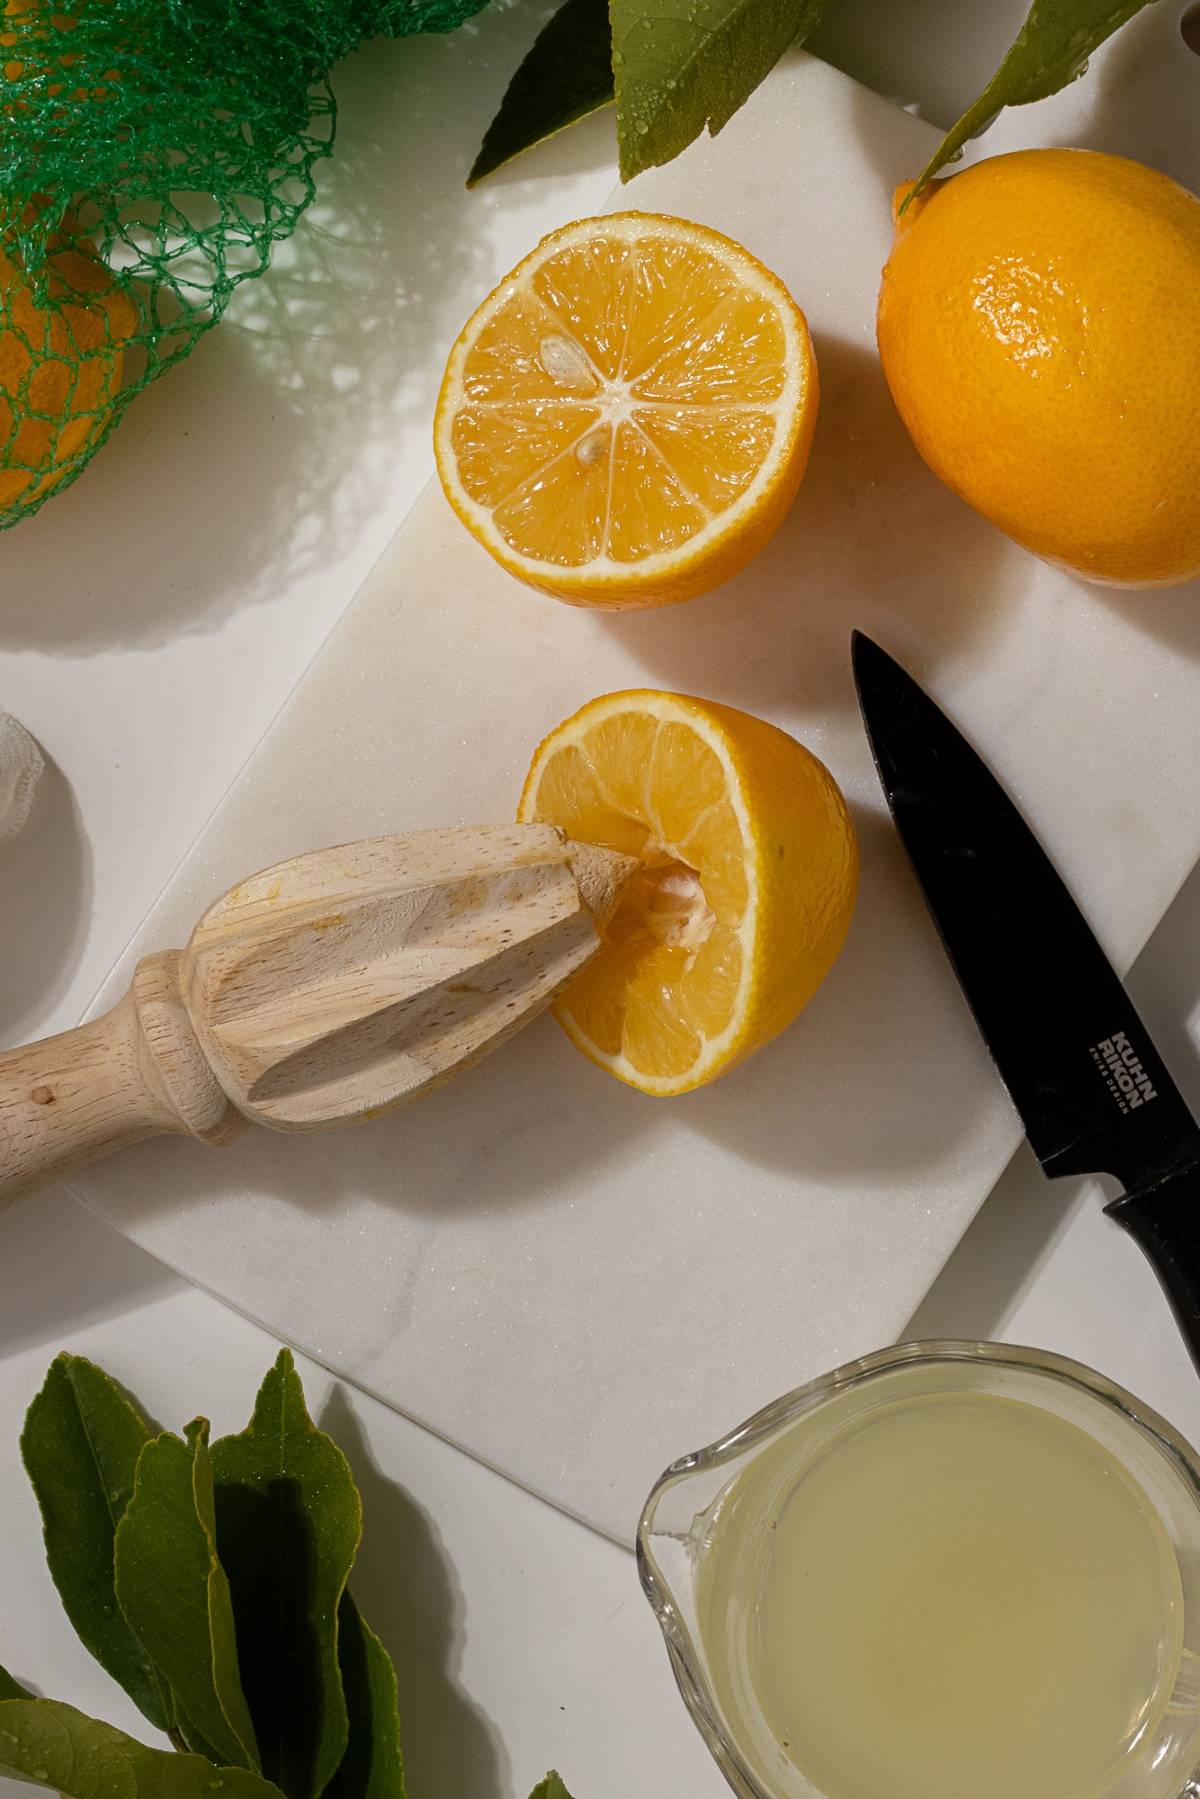
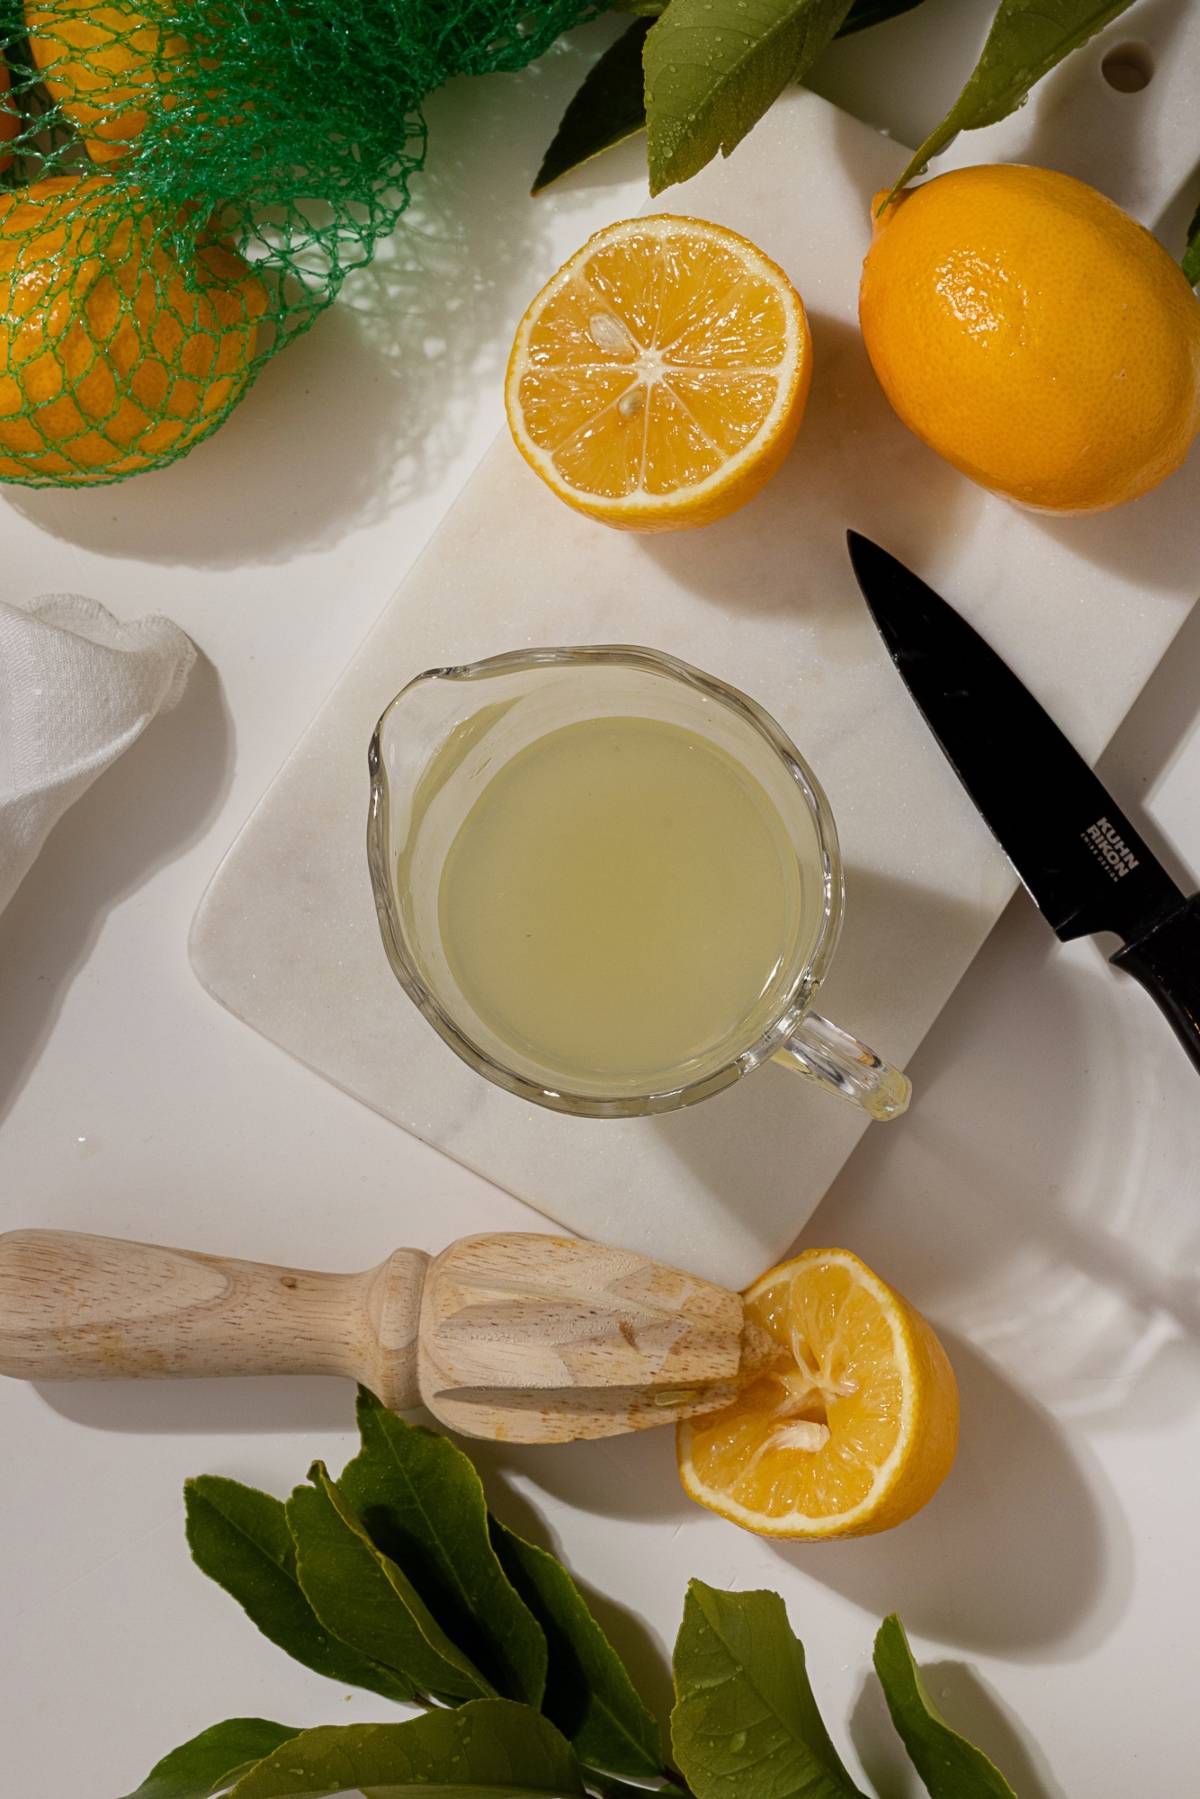
Zest and juice: Zest the lemons until you have one tablespoon, then juice them until you have half a cup.
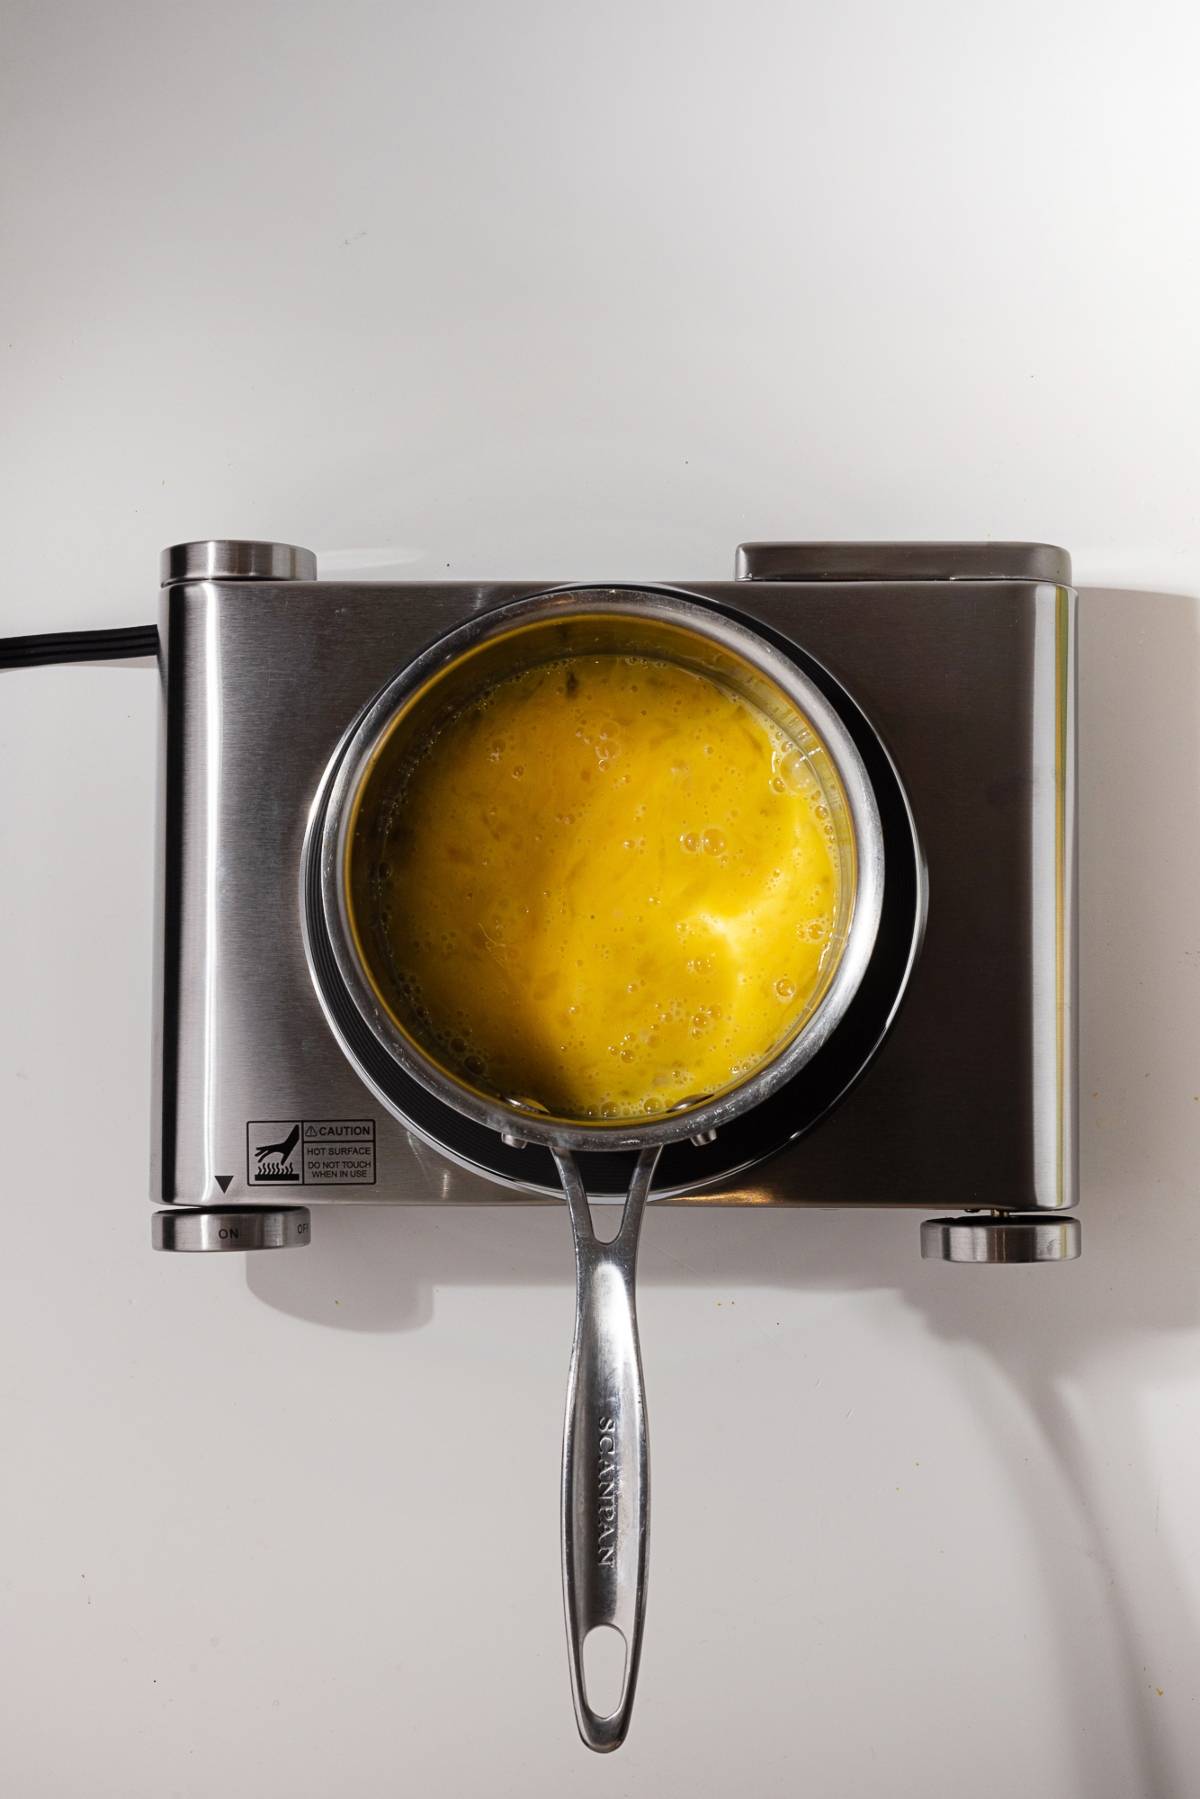
Mix the base: Combine sugar and zest, whisk eggs in a saucepan, then stir in the zest mixture and juice.
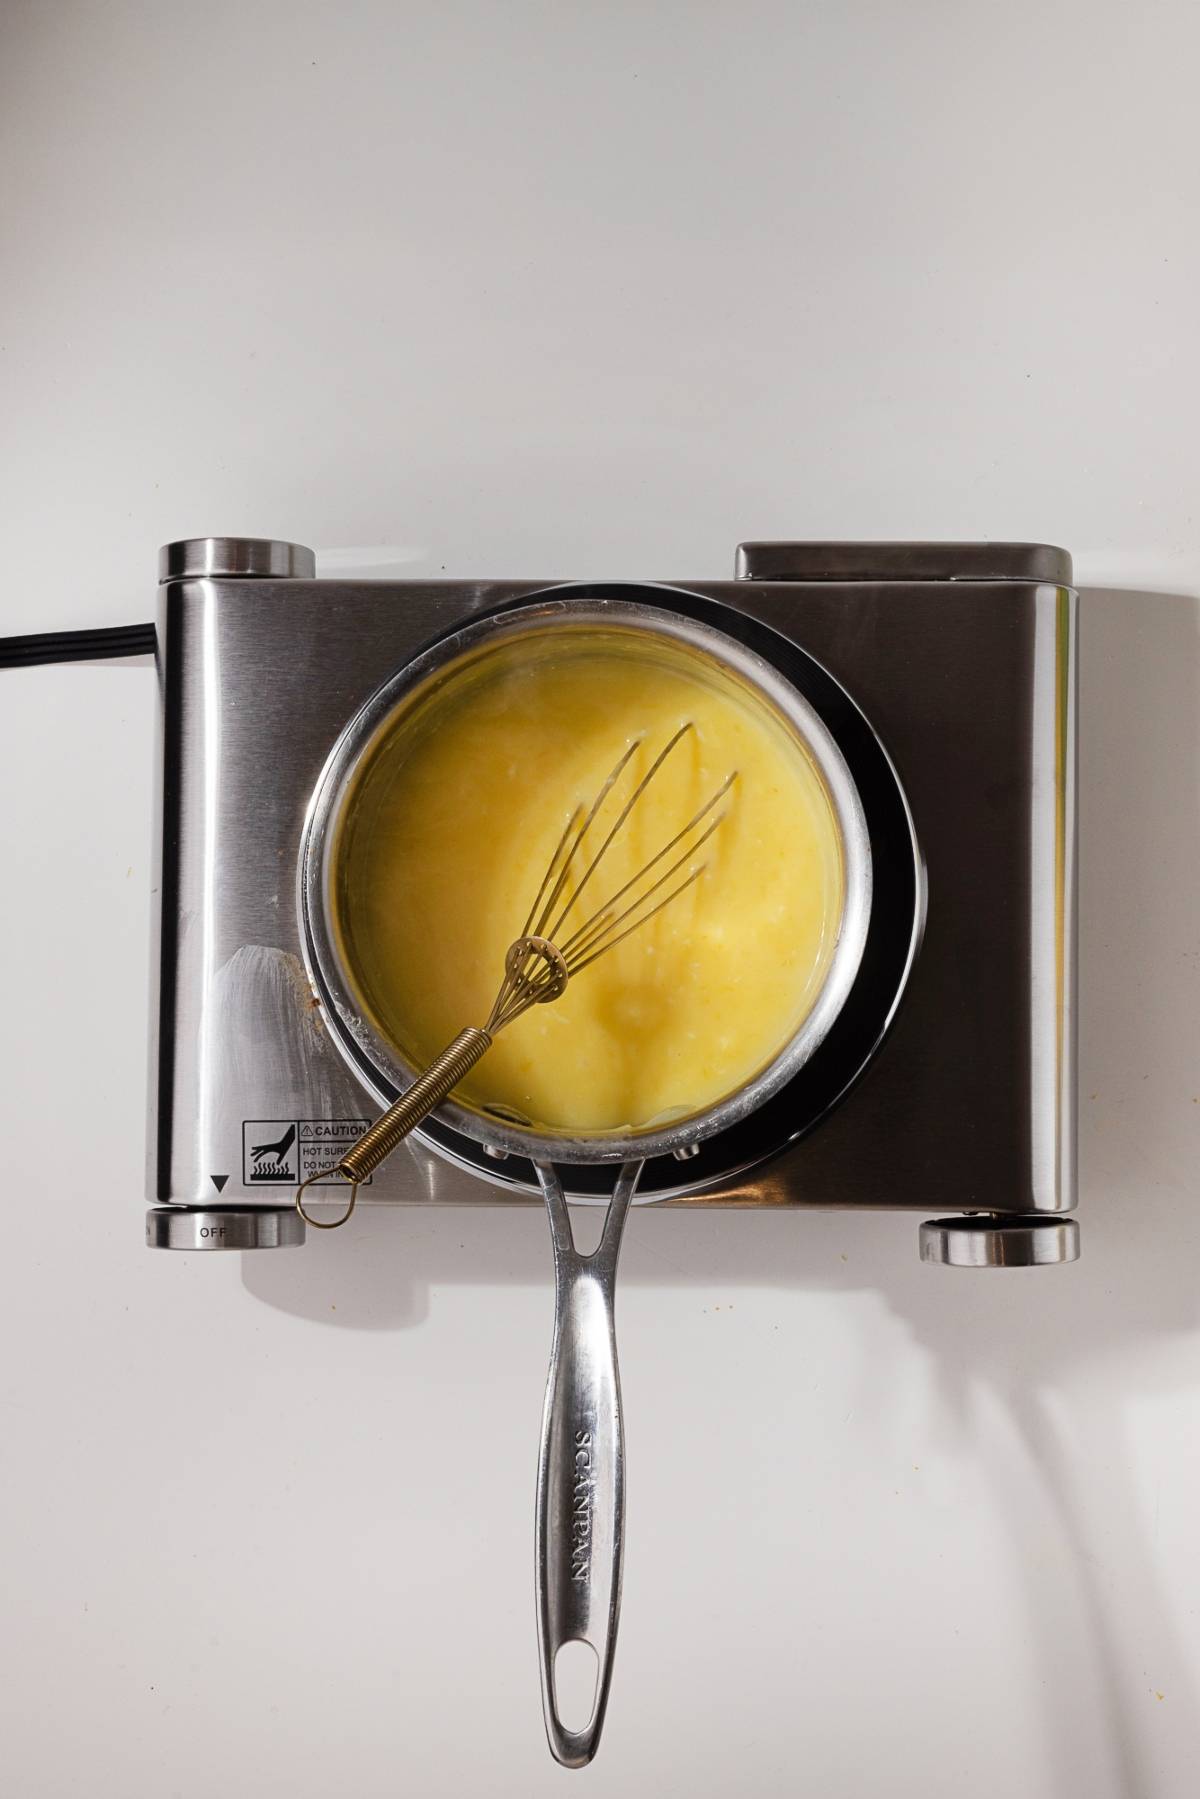
Cook the curd: Heat the lemon mixture over low temperature and constantly whisk until thickened and about 170°F.
Add butter: Remove from heat and stir in butter pieces until smooth and completely blended. Remove any solids with a fine mesh sieve if needed.
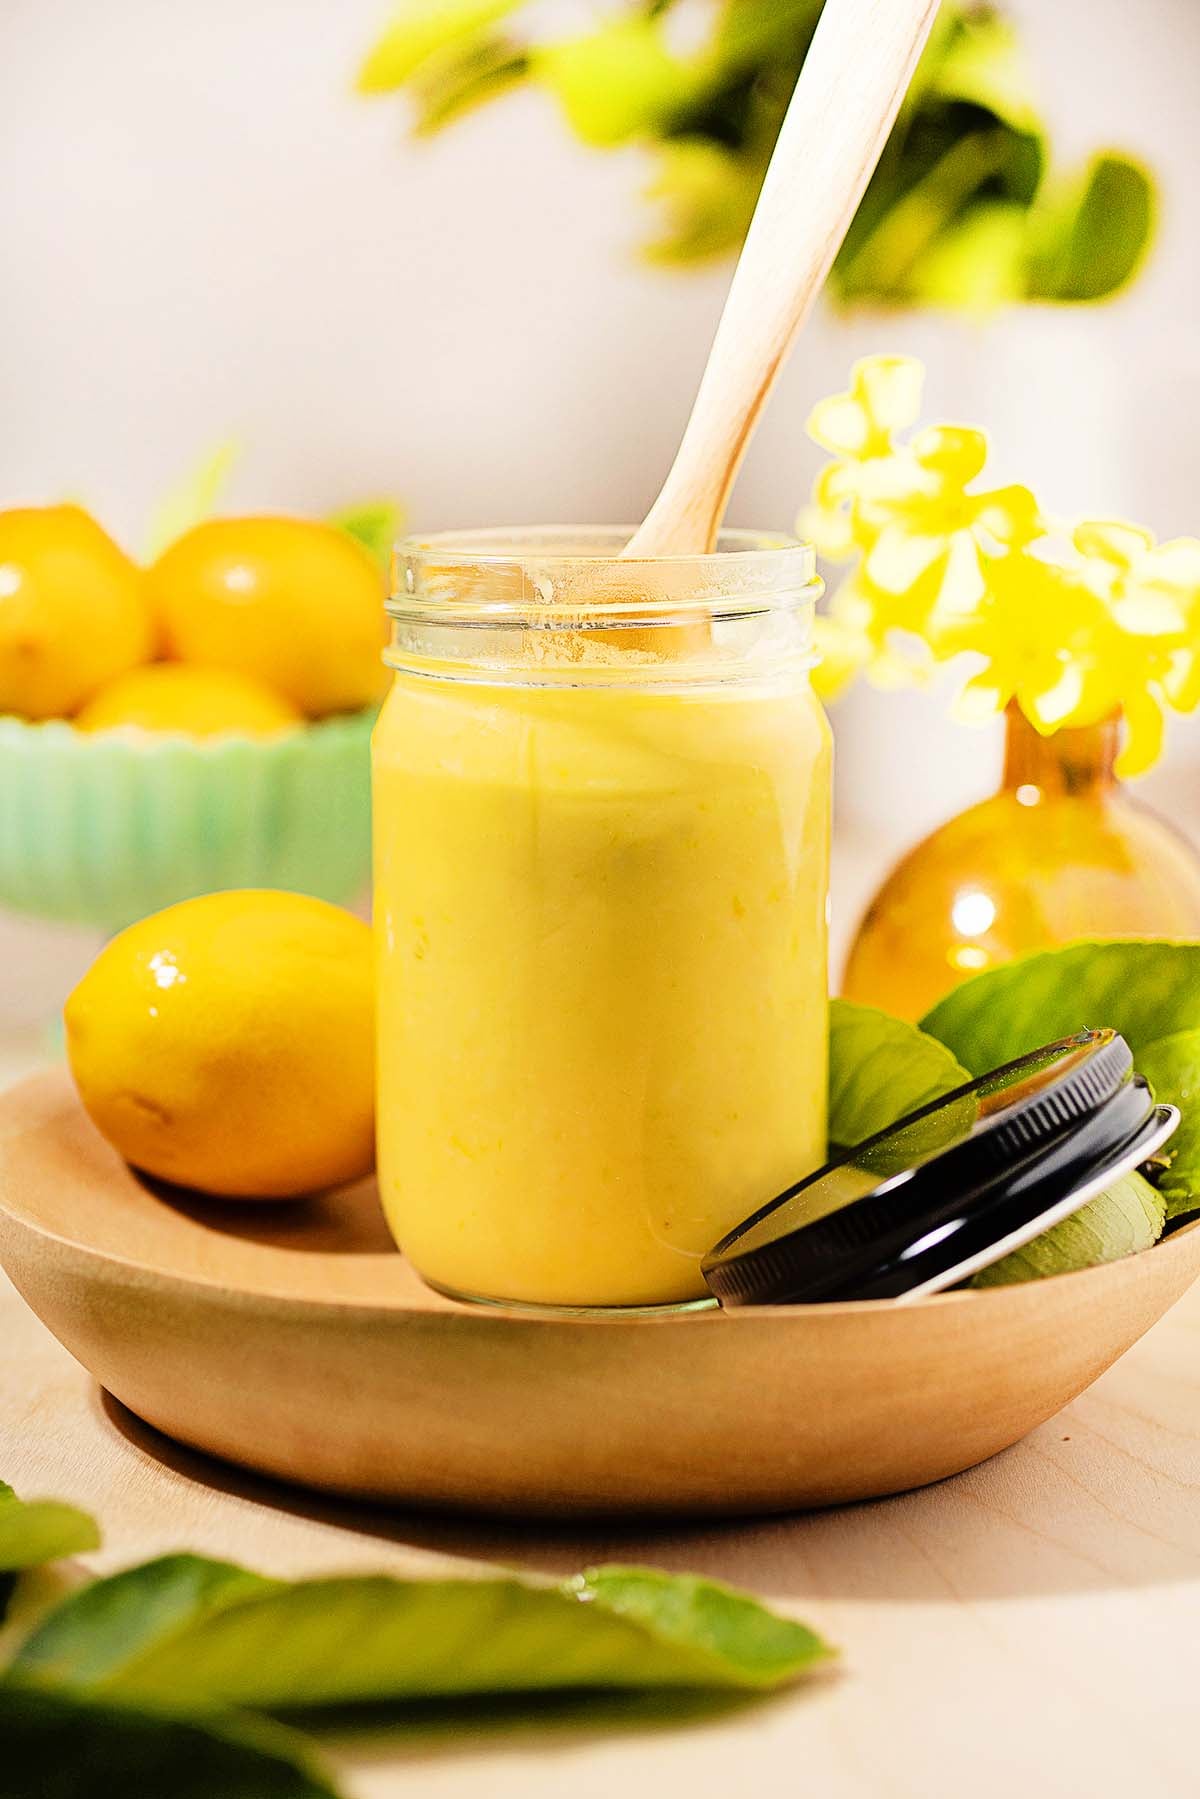
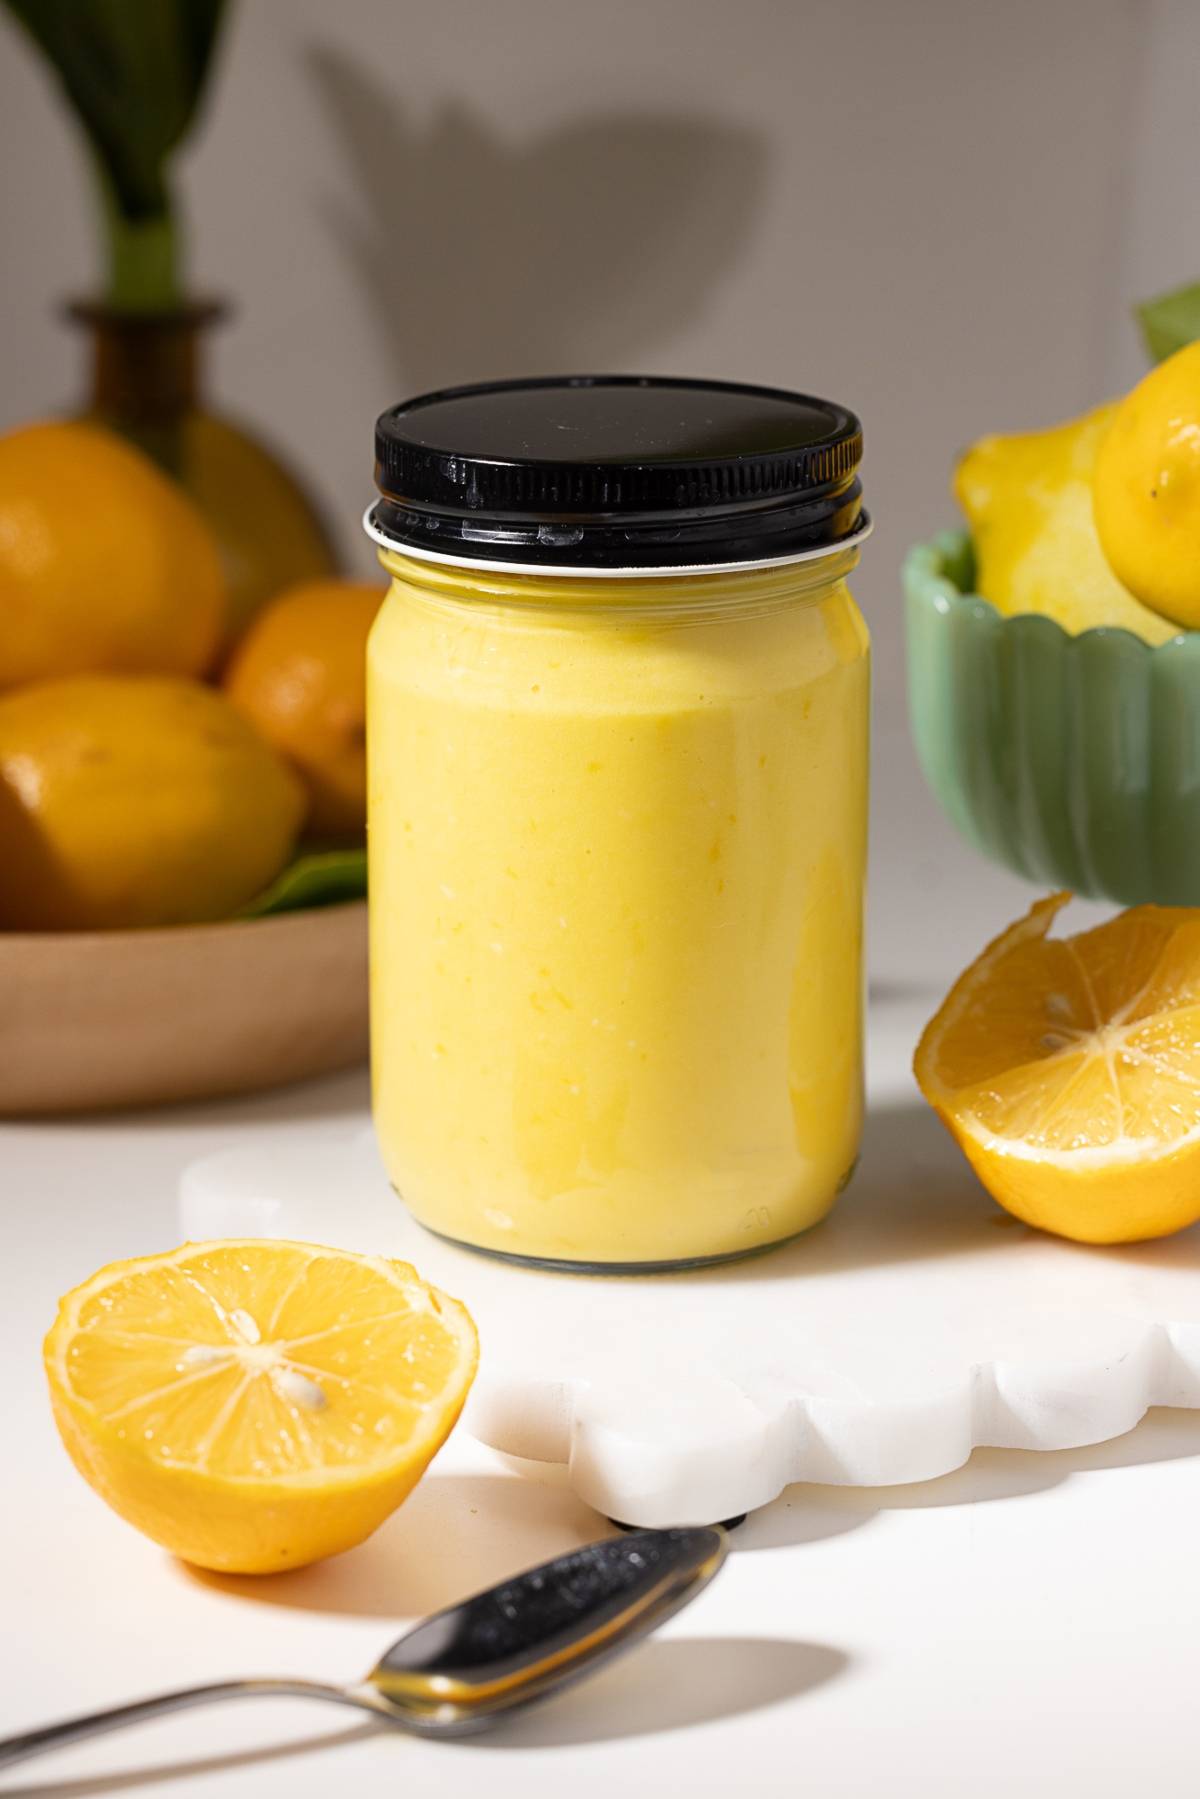
Fill jars: Pour the curd into jars, leave lids loose, and cool to room temperature.
Refrigerate: Tighten lids and refrigerate until ready to use.
Substitutions and Variations
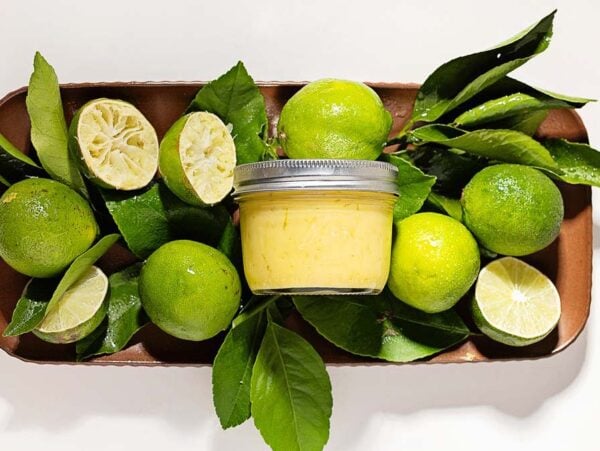
Use Meyer lemons: For a slightly sweeter and floral version of the curd. I find Meyer lemons give the very best lemon flavor.
Swap butter: Try coconut oil for a dairy-free variation.
Add herbs: Infuse with a sprig of rosemary or thyme for a gourmet twist.
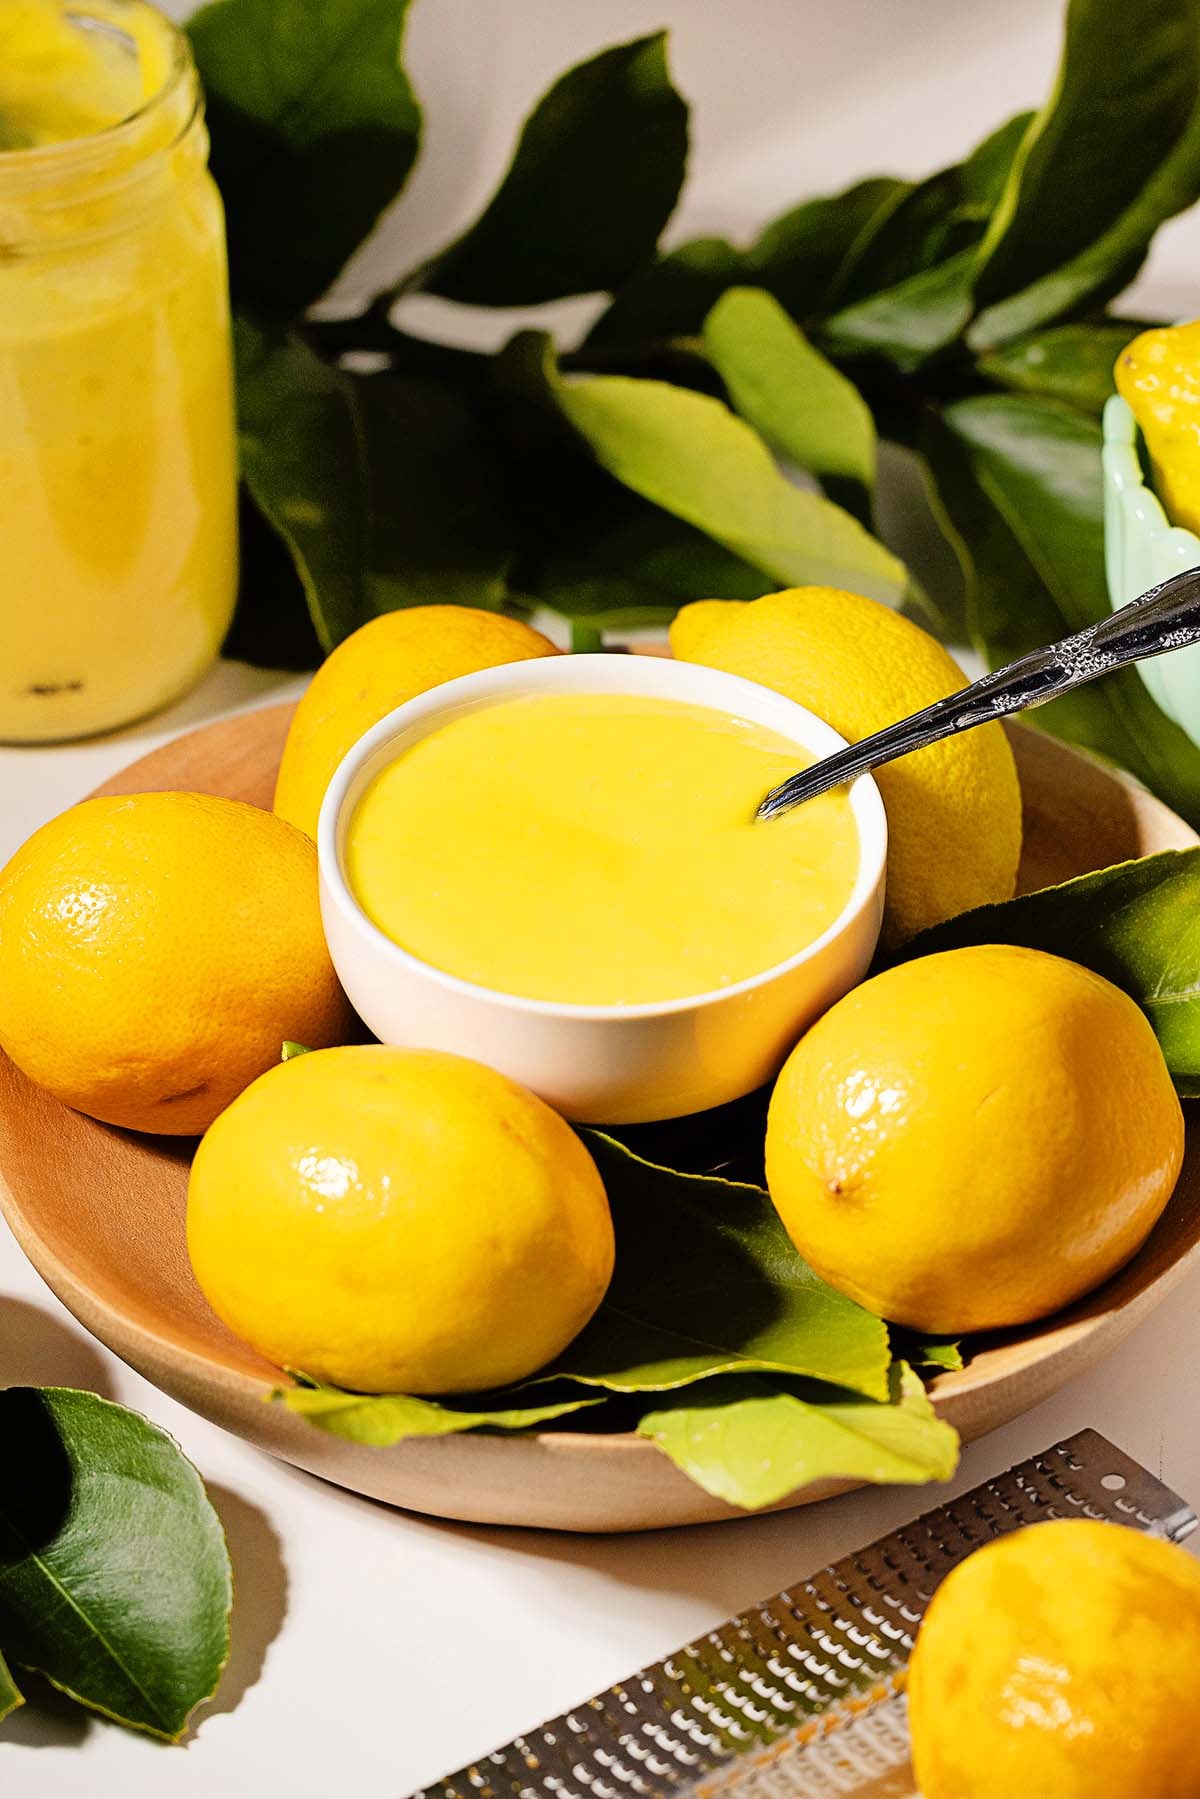
Serving Suggestions
With brunch: Spread lemon curd (and maybe a little cream cheese or some fresh berries too) over your breakfast or brunch toast, muffins, French toast, or scones.
With ice cream: Swirl some into a bowl of ice cream, lemon sorbet or yogurt.
In tarts and cakes: Enjoy lemon curd in tarts and layer cakes, use it in lemon bars, have it with angel food cake or add it on top of cupcakes with a little whipped cream. It’s also delicious in homemade lemon meringue pie or mini berry pavlovas.
In cookies: Use it to make your own lemon thumbprint cookies.
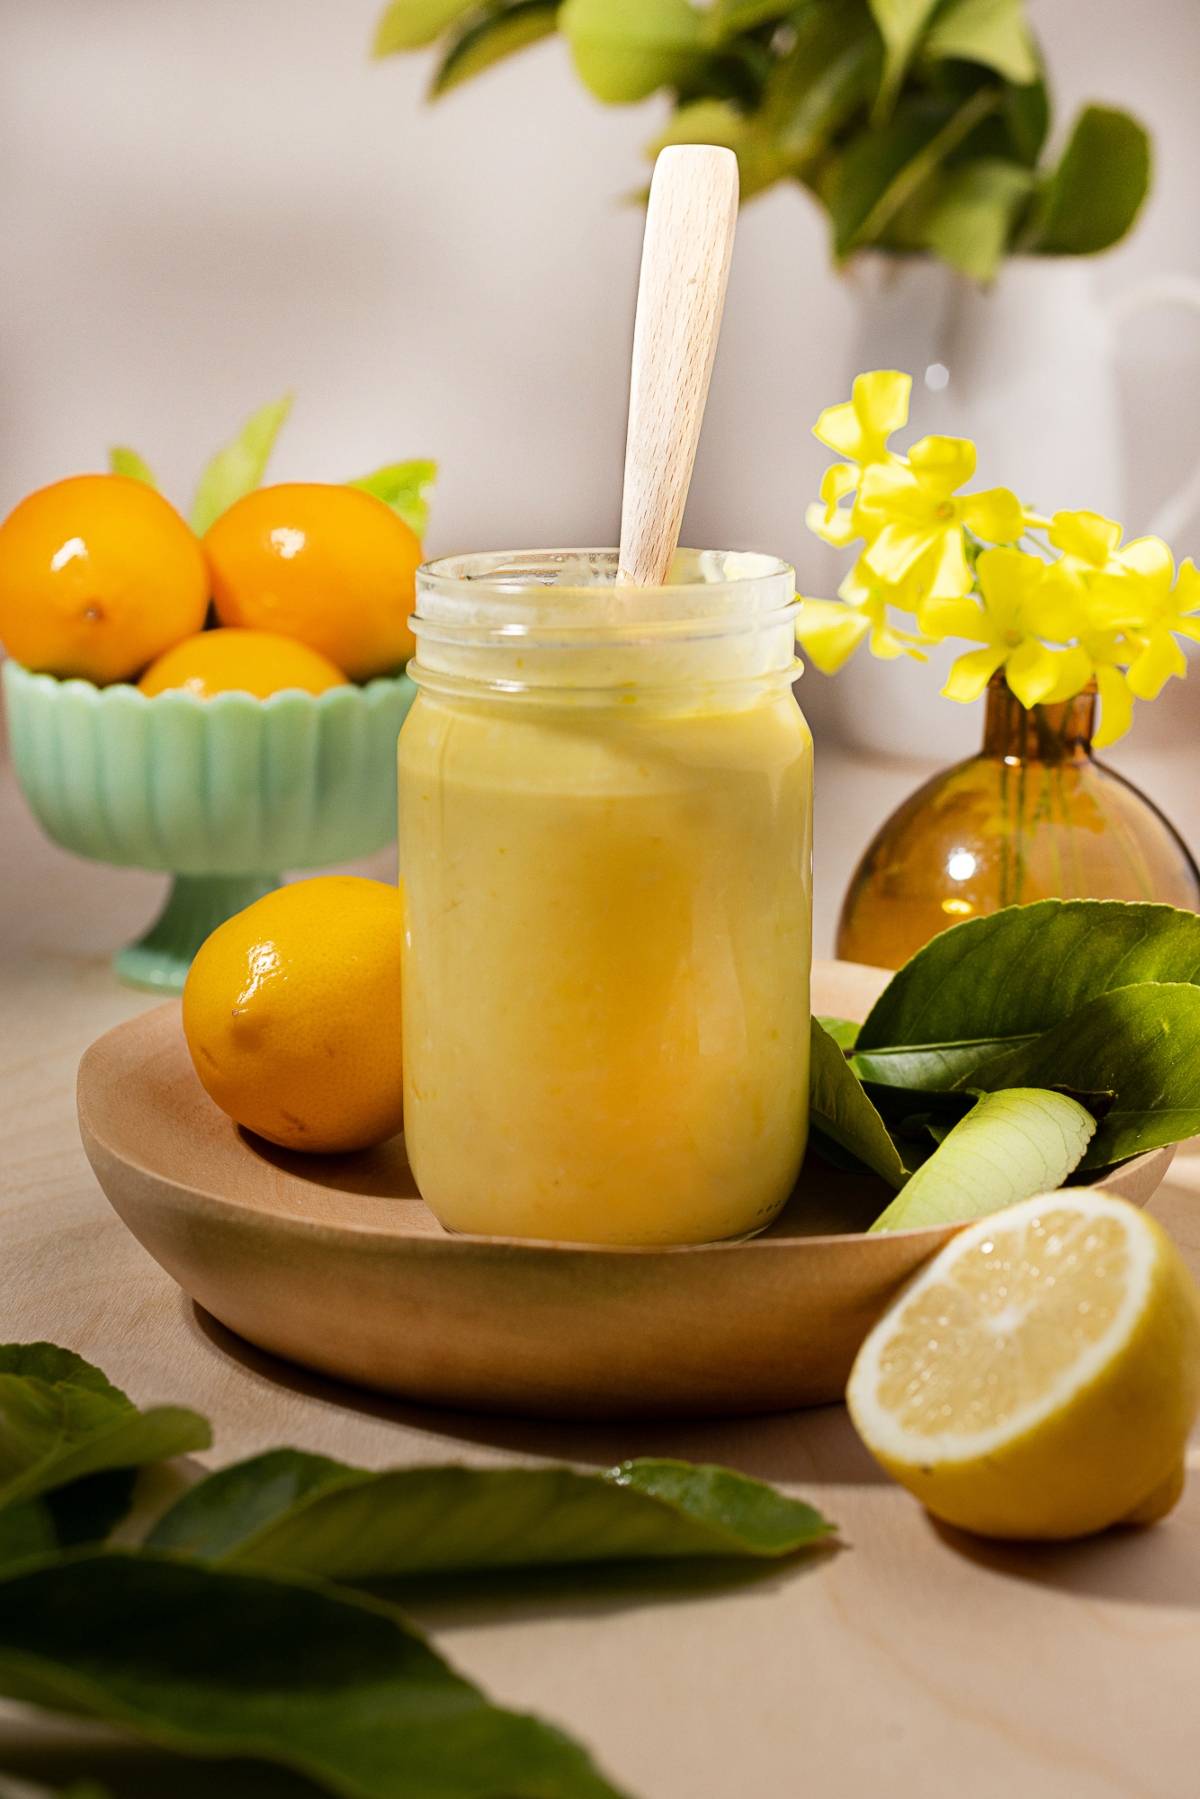
How to Store
Store: Store lemon curd in the refrigerator and eat within a week.
Freeze: You can freeze it in an airtight container for up to a year.
Thaw: Defrost it in the refrigerator overnight or at room temperature for a few hours.

Top Tips
Keep the temperature low: Slow, gentle cooking over a low heat as the lemon curd cooks prevents the eggs from scrambling as the mixture thickens.
Stir constantly: Use a silicone whisk to mix the lemon curd continuously. This helps the curd thicken evenly without lumps.
Strain if needed: Use a fine mesh strainer to remove any small cooked egg bits.
Smaller jars for gifting: Use smaller jars if you want to gift some of your homemade lemon curd.
Lemon Curd FAQs
Fresh lemon juice is best for flavor, but bottled can work in a pinch.
I find constant whisking prevents lumps but it’s also important to watch the heat in case it’s uneven or up too high. Straining it through a sieve can help.
It usually thickens in about 6 minutes once the mixture reaches around 170°F. Use an instant read thermometer to check.
Easy Lemon Curd Recipe
Lemon Curd
Equipment
- Canning Jars and Rings
- Whisk Silicon
Ingredients
- 3 eggs, whole
- ½ Cup lemon juice, from 4 to 6 lemons
- ½ Cup sugar
- 1 Tablespoon lemon zest
- 6 Tablespoons butter
Instructions
- Wash and dry your jars.
- Wash the lemons to remove any pesticides and zest them until you have 1 tablespoon.
- Add the lemon zest to the sugar and combine.
- Juice the lemons, until you have ½ cup of juice.
- In a saucepan, whisk eggs then add the sugar, zest mixture and juice.
- Place pan on the burner and cook over low heat, taking care to heat the mixture slowly, avoiding curdling of the eggs while whisking continuously until the mixture reaches approximately 170°F or until the mixture coats the back of a spoon, about 6 minutes.
- Remove from heat and stir in butter until incorporated.
- Fill prepared jars with the curd and loosely place lids.
- Allow to come to room temperature for about an hour. Tighten lid rings and keep refrigerated.
Notes
Stir constantly: Use a silicone whisk to mix the lemon curd continuously. This helps the curd thicken evenly without lumps.
Strain if needed: Use a fine mesh strainer to remove any small cooked egg bits.
Smaller jars for gifting: Use smaller jars if you want to gift some of your homemade lemon curd.
Nutrition
This beautiful lemon curd is a must-have for citrus lovers, bringing a burst of flavor and creamy texture to so many recipes. Whether you’re topping toast, filling pastries or swirling it into yogurt, this quick and easy curd is worth every step. Homemade lemon curd tastes far better than store-bought and can be frozen for future use or packaged as a thoughtful gift. Once you try this great recipe, you’ll want to keep a jar in the fridge at all times. It tastes amazing without being overly sweet and is ridiculously delicious!
Other Recipes to Try

Bella Bucchiotti
Bella Bucchiotti is a Canadian-based syndicated food, travel, and lifestyle writer, photographer, and creator at xoxoBella. She founded xoxoBella in 2015, where she shares her love for food, dogs, sustainability, fitness, crafts, outdoor adventures, travel, and philanthropy to encourage others to run the extra mile, try new recipes, visit unfamiliar places, and stand for a cause. Bella creates stress-free and family-friendly recipes for weeknight dinners and festive feasts.