This post may contain affiliate links, please see the privacy policy for details.
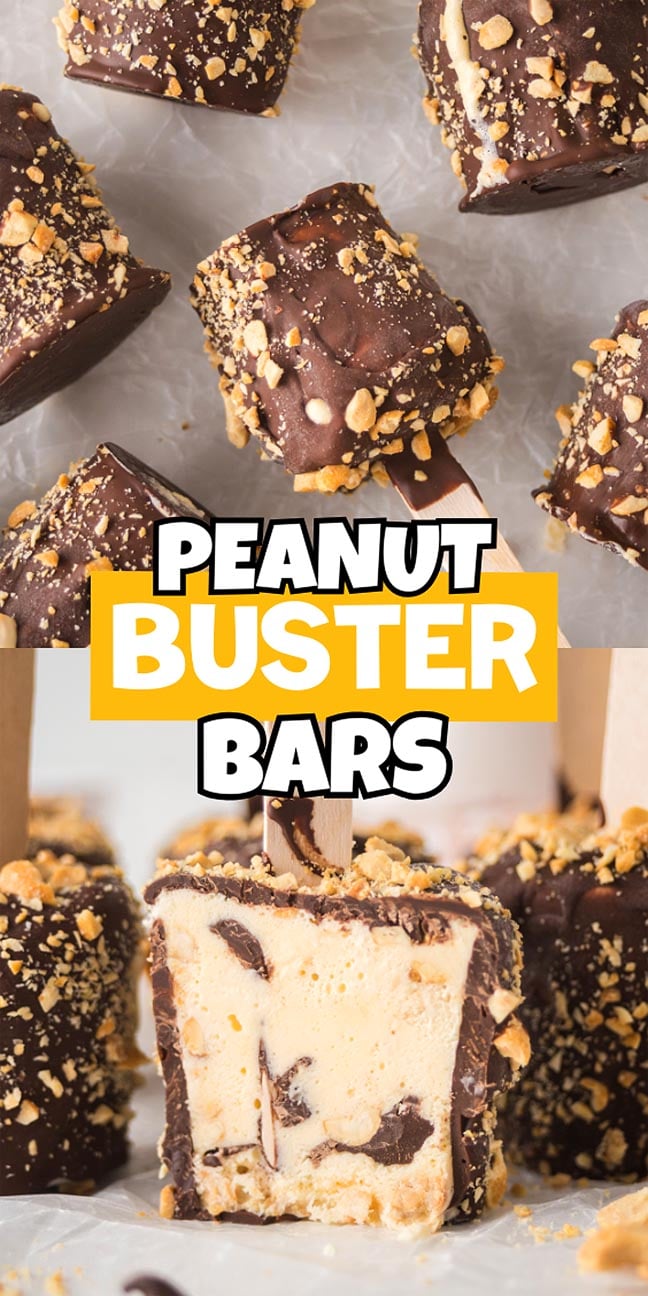
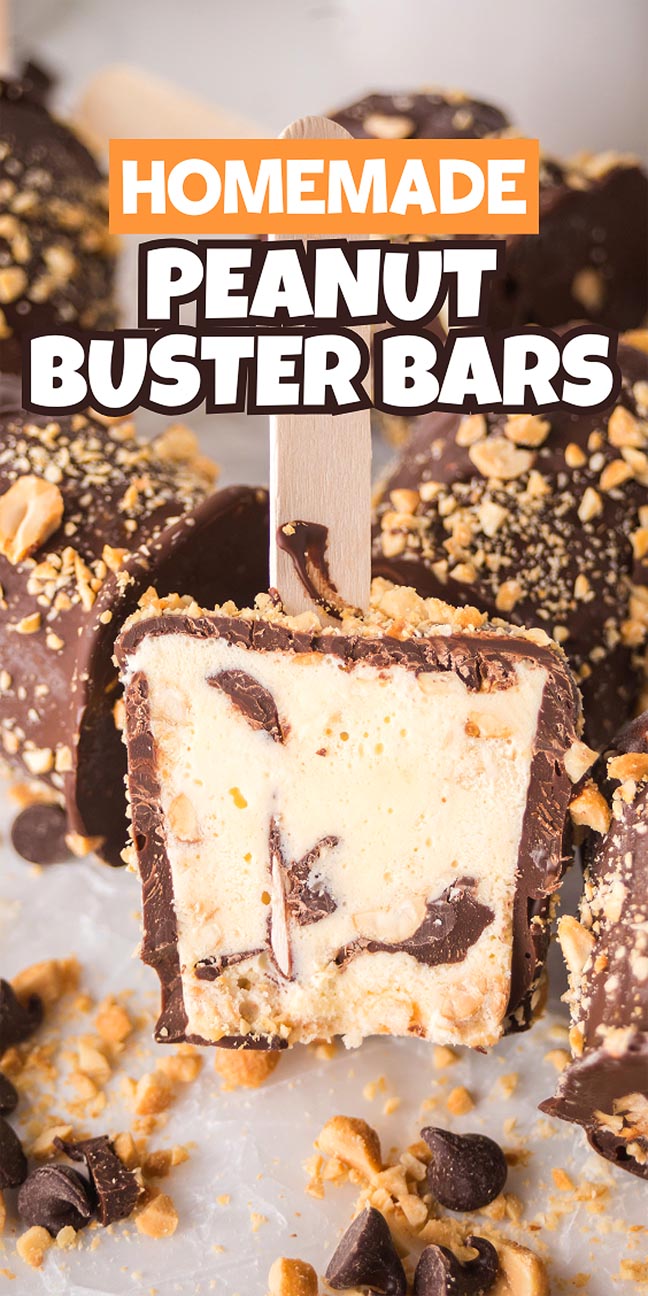
These homemade peanut buster bars bring all the magic of the Dairy Queen classic straight to your freezer—no drive-thru required! With creamy vanilla ice cream, crunchy roasted peanuts, and a rich chocolate shell, every bite is the perfect mix of smooth, sweet, and salty. Plus, they’re ridiculously easy to make with just a few simple ingredients. Whether you’re stocking up for summer or just need a chocolate-peanut fix, these bars are guaranteed to hit the spot. Once you taste them, you’ll wonder why you didn’t start making them at home sooner.

Why You’ll Love It

Skip the line at Dairy Queen and whip up your own flavor-packed homemade peanut buster bars with ice cream, chocolate and peanuts.
Tasty Dairy Queen flavors: Homemade peanut buster bars allows you to experience that wonderful sweet, crunchy treat you know and love without having to visit the restaurant.
A portable snack: Peanut buster bars are served on sticks, making them a great option for yourself or the family to grab when you’re on the go.
Easy to make: You’ll love how simple these buster bars are to whip up!

You could also cool down with chocolate-dipped strawberry popsicles, watermelon boba popsicles, or blueberry lemonade popsicles.

Copycat Buster Bars Ingredients
A complete list of ingredients and amounts can be found in the recipe card below.
Vanilla ice cream: Use your favorite brand.
Roasted peanuts: Chopped peanuts add a wonderful crunch.
Chocolate chips: To coat the ice cream treats.
Coconut oil: To “temper” the chocolate chips (this results in a glossier finish).

How to Make Peanut Buster Bars
For more detailed instructions with weights and measurements, jump to the printable recipe card.
Melt the chocolate: Put the chocolate chips and coconut oil in a microwave safe bowl and melt.
Assemble the bars: Add some of the peanuts to plastic cups and top with some ice cream and some melted chocolate. Repeat the layers and add a popsicle stick to each.
Freeze to set: Freeze them for about 45 minutes. Remove the bars from the cups and space them out on a baking sheet. Freeze again.
Add the chocolate coating: Melt the chocolate chips again and dip each buster bar in the melted chocolate to coat.
Chill once more: Pop them back in the freezer to set before serving.

Substitutions and Variations
Peanuts: You can use salted or unsalted peanuts. I like the contrast between the rich chocolate and salty peanuts, but feel free to use whatever you prefer. You could substitute almonds, pistachios or another nut if preferred.
Ice cream: These bars are traditionally made with vanilla ice cream, but you can use any kind of ice cream. Chocolate or rocky road ice cream would be good.
Chocolate chips: Substitute dark chocolate or milk chocolate if preferred.
Coconut oil: You can omit this ingredient for a slightly less glossy finish.

Serving Suggestions
Appetizers: Enjoy salmon sliders to begin.
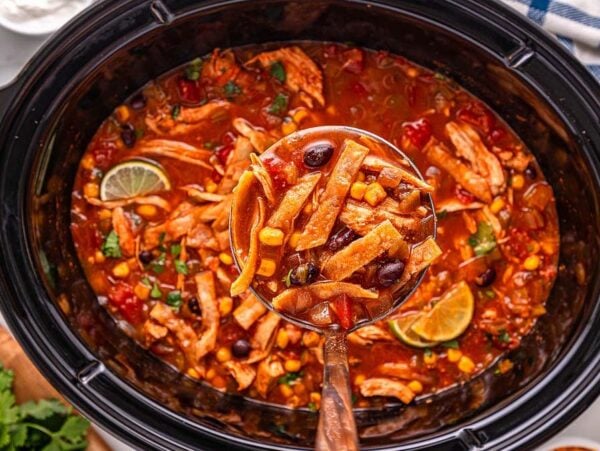
Main dishes: Next up, serve up this tasty Italian beef stew or some Mediterranean chicken pasta with an iceberg wedge salad and onion rings.
Desserts: Finish with a delicious peanut buster bar.

How to Store
Freeze: You can store these ice cream bars in the freezer for up to 2 months. Make sure they are kept in an airtight container. Once your peanut buster parfait bars are fully set, they won’t stick together at all and should be pretty sturdy.

Top Tips
Removing the cups: Don’t run your cup under warm water for too long. You just want to loosen the ice cream enough to get it out of the cup and not melt so much that it won’t hold its shape when returned to the baking sheet.
Adding popsicle sticks: Your chocolate sauce is going to set pretty much as soon as it hits the ice cream. You can either insert your popsicle sticks before you start layering your bars, or you can insert them at the end and just break through the chocolate sauce layers. I prefer the latter so I don’t have to worry about getting ice cream and chocolate all over the popsicle sticks.
Re-melt the chocolate: Your chocolate mixture might set a little bit between the first and second time you’ll need to use it. If it does, you can just microwave the chocolate for 30 seconds at a time until melted again.

Copycat Buster Bars FAQs
I used 8-ounce cups to make these bars, but you can use any size cup. Even with the 8-ounce cups I didn’t fill them all the way. With that being said, the smaller your cup is, the easier it will be to layer your bars cleanly.
Sure. You won’t have the crunch or the nutty flavor but they’re your bars so you can make them your way.

Copycat Dairy Queen Buster Bars Recipe

Homemade Peanut Buster Bars
Equipment
- 12 8-Ounce Plastic Cups 8-Ounce
Ingredients
- 1 Quart vanilla ice cream
- 1 Cup roasted peanuts, roughly chopped
- 3 Cups chocolate chips, semi-sweet
- 1 Tablespoon coconut oil
Instructions
- Melt the chocolate chips and coconut oil in a microwave safe bowl for 45 seconds.
- Stir the chocolate and continue heating it for 45 seconds at a time until completely melted.
- Fill the bottom of your cups with peanuts and then top them with a few spoonfuls of ice cream and a drizzle of chocolate sauce.
- Repeat these layers one more time and then stick a popsicle stick into the center of each cup.
- Place your cups in the freezer and let them chill for 45 minutes.
- Run your cups under warm water for a few seconds and then gently pull on the popsicle stick to remove each bar from the cup.
- Space out your bars on a baking sheet and let them chill for another 45 minutes.
- Dip each peanut buster bar in the melted chocolate, ensuring they are completely covered.
- Let them chill in the freezer for 30 more minutes before serving.
Notes
Adding popsicle sticks: Your chocolate sauce is going to set pretty much as soon as it hits the ice cream. You can either insert your popsicle sticks before you start layering your bars, or you can insert them at the end and just break through the chocolate sauce layers. I prefer the latter so I don’t have to worry about getting ice cream and chocolate all over the popsicle sticks.
Re-melt the chocolate: Your chocolate mixture might set a little bit between the first and second time you’ll need to use it. If it does, you can just microwave the chocolate for 30 seconds at a time until melted again.
Nutrition


Chocolate ice cream bars make such a tasty and refreshing sweet treat. Smooth, creamy vanilla ice cream contrasts so well with the crunchy peanuts and yummy chocolate chip coating. There’s chocolate fudge sauce between each vanilla ice cream layer and a chocolate coating enclosing all that crunchy nut and vanilla goodness inside. This easy buster bar dessert makes a lovely sweet treat whatever the weather.
Other Recipes to Try
Bella Bucchiotti
Bella Bucchiotti is a Canadian-based syndicated food, travel, and lifestyle writer, photographer, and creator at xoxoBella. She founded xoxoBella in 2015, where she shares her love for food, dogs, sustainability, fitness, crafts, outdoor adventures, travel, and philanthropy to encourage others to run the extra mile, try new recipes, visit unfamiliar places, and stand for a cause. Bella creates stress-free and family-friendly recipes for weeknight dinners and festive feasts.


I couldn’t believe how easy they were to make—these will be a summer staple for sure. The crunchy peanuts and chocolate shell over creamy vanilla ice cream were perfect.
I made these over the weekend, and wow, they brought me straight back to childhood trips to Dairy Queen. The combo of creamy ice cream and that crunchy chocolate shell is just addictive!
These taste just like the ones I loved as a kid!