This post may contain affiliate links, please see the privacy policy for details.
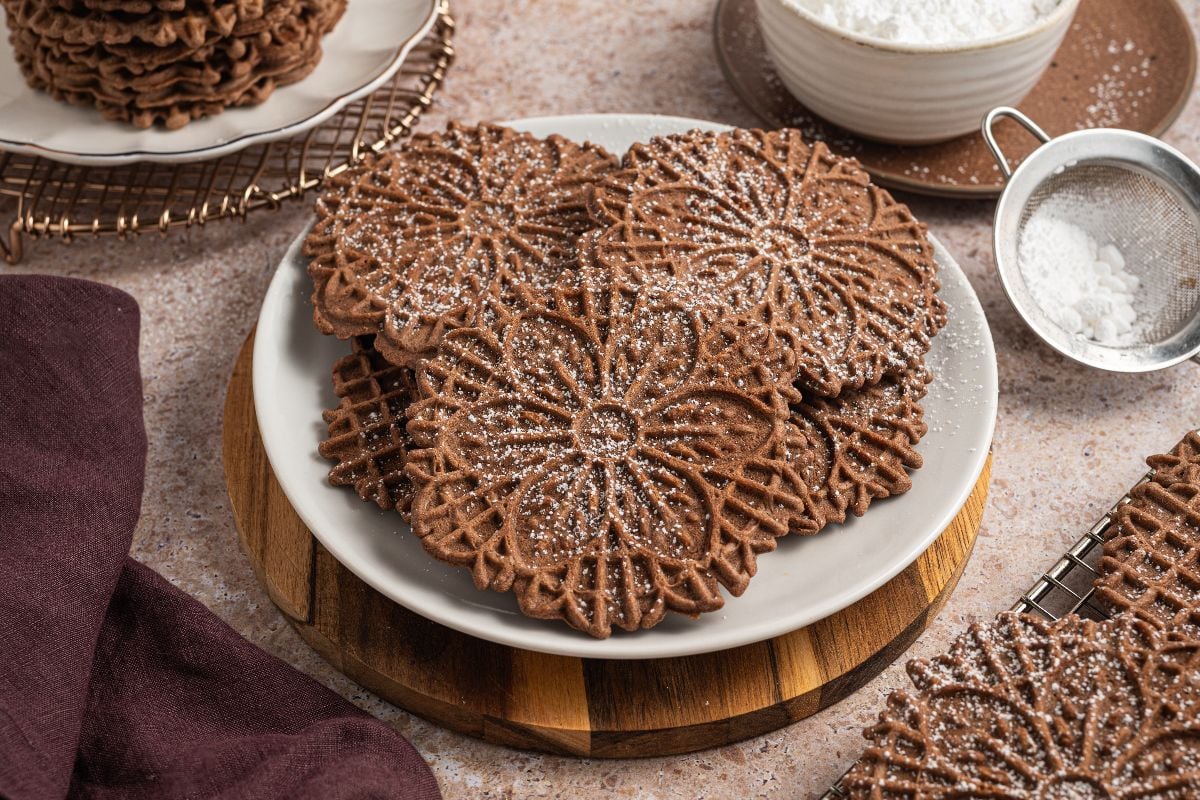
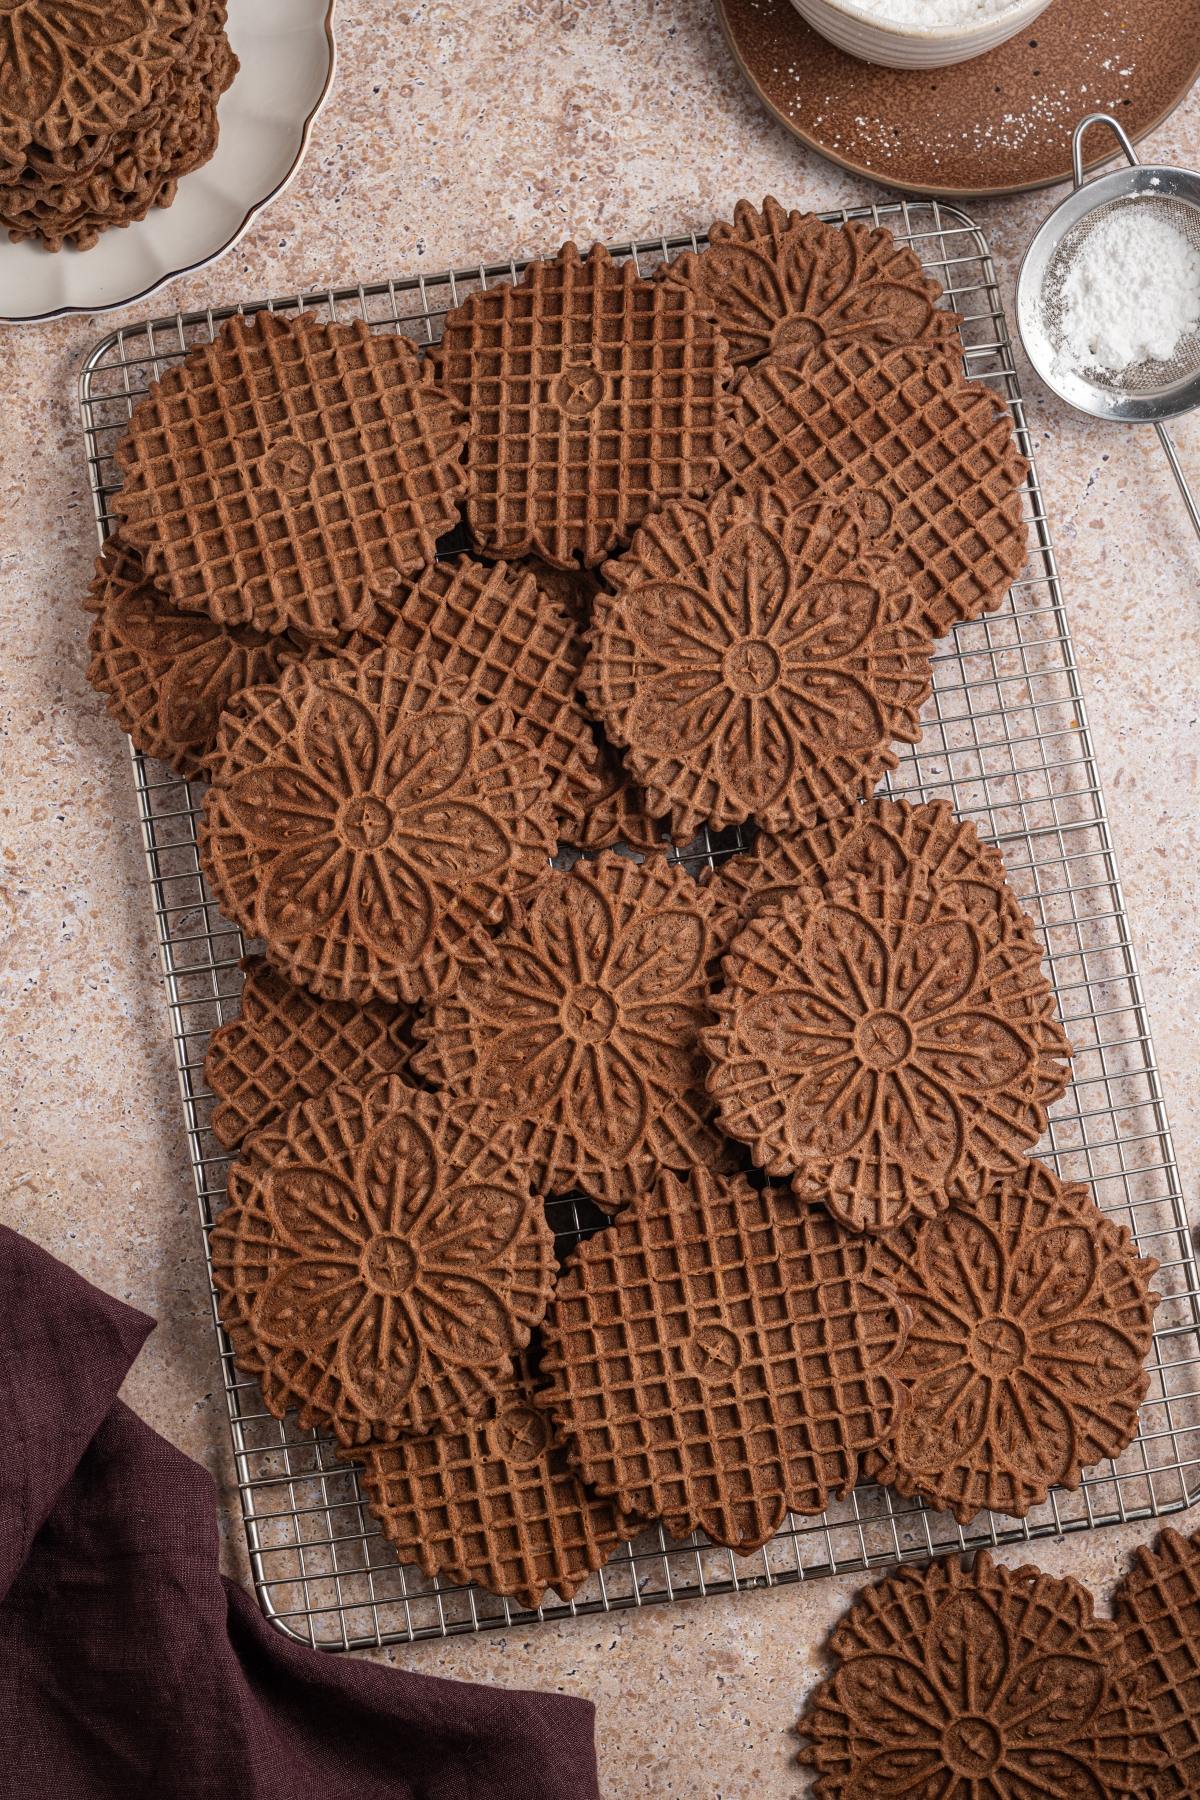
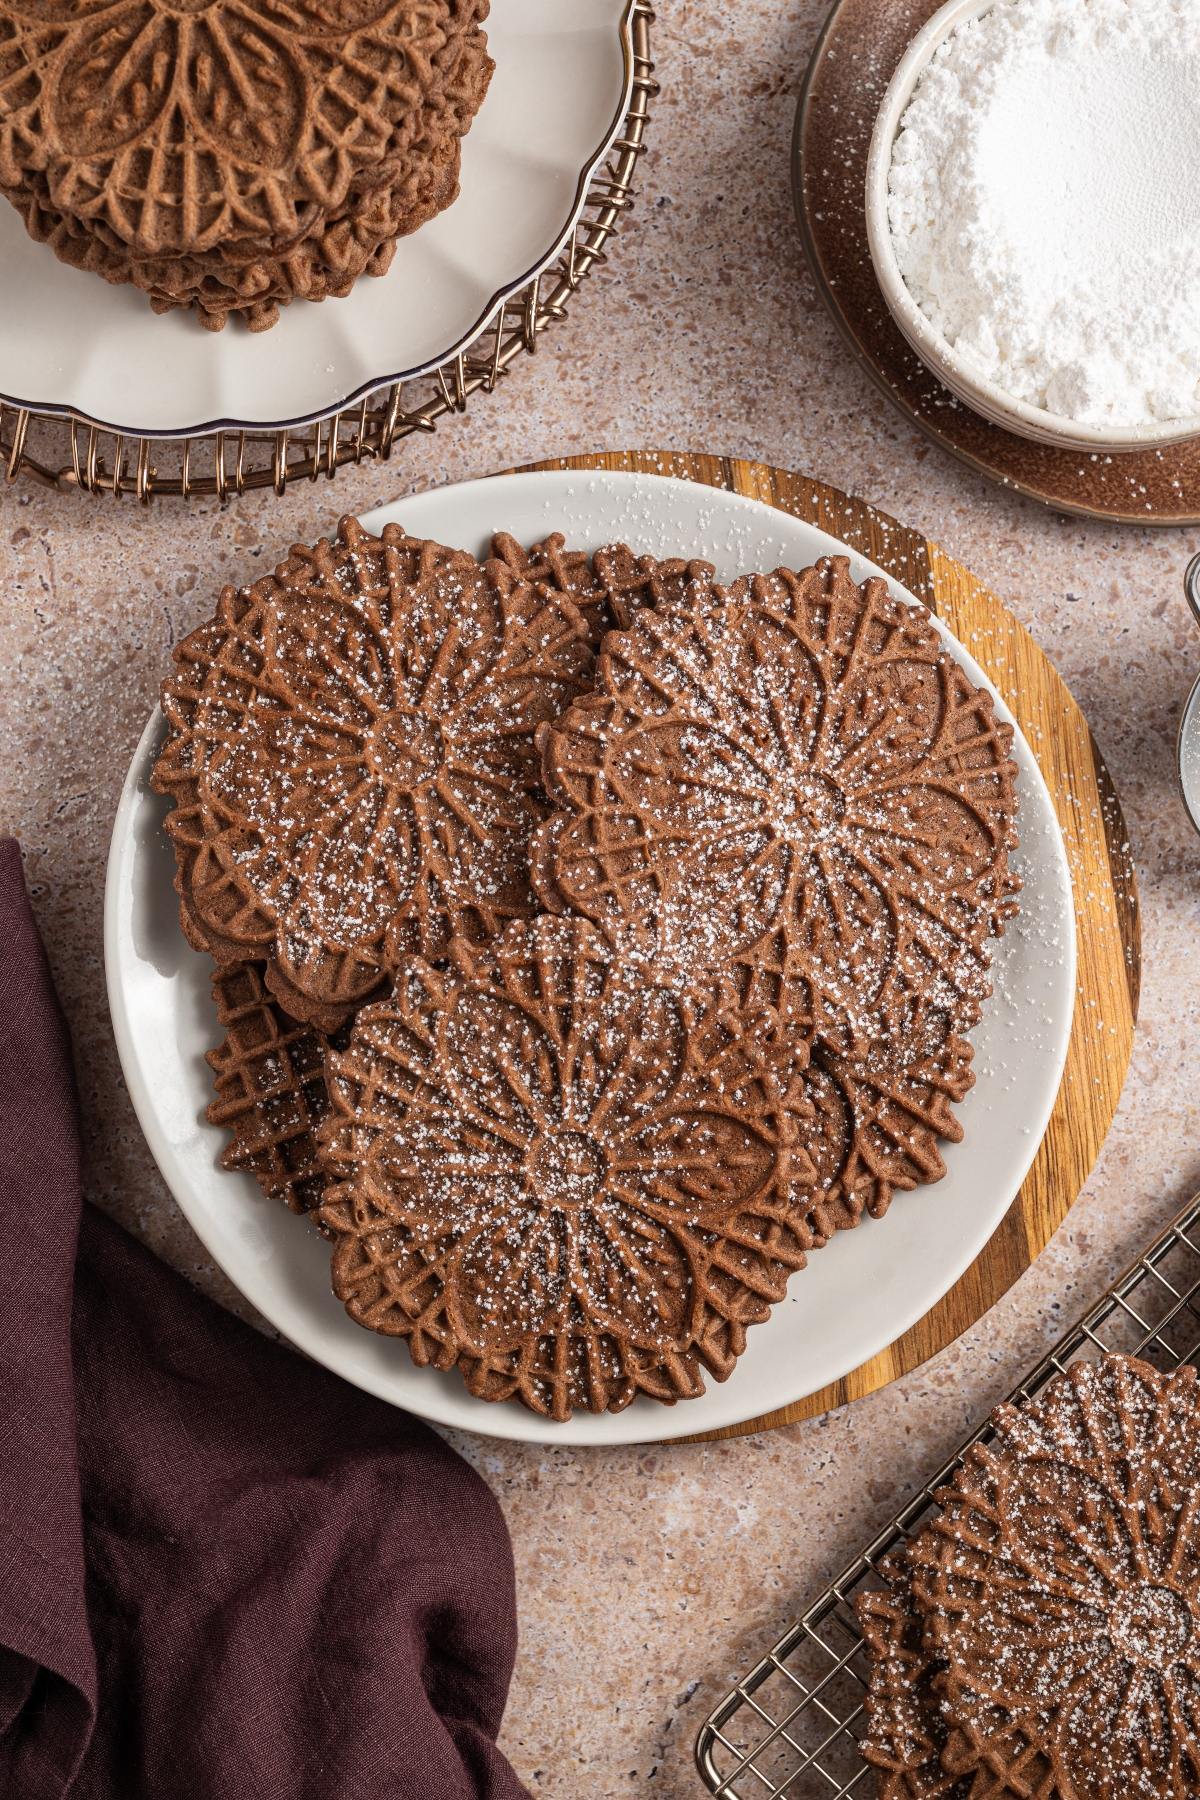
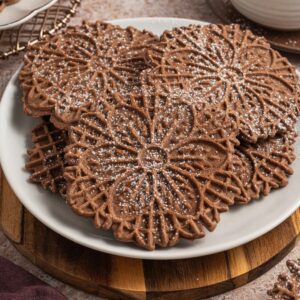
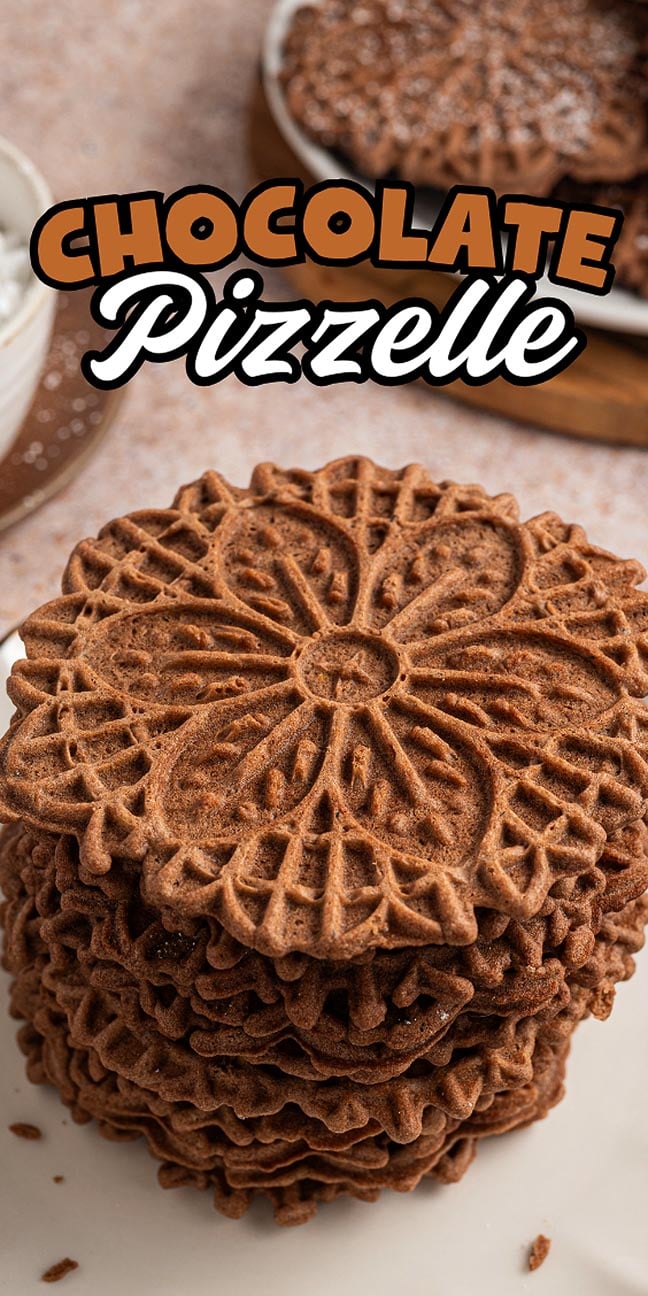
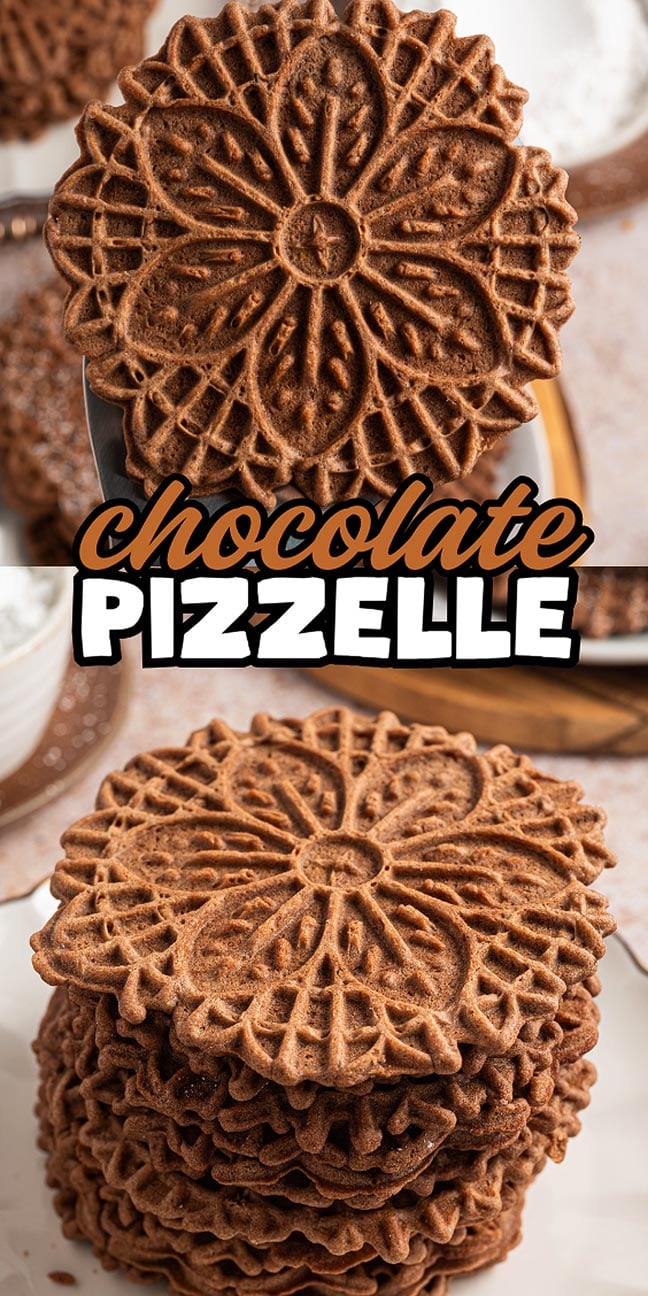
Chocolate pizzelle are traditional Italian waffle cookies made in a patterned iron, known for their delicate snap and light chocolate flavor. Chocolate pizzelle come together fast with a simple batter that mixes by hand and cooks in minutes. There’s no chilling or resting time, which keeps the process moving from bowl to iron without delays. As they cook, the batter spreads into detailed rounds that release easily once done. Pizzelle start soft but firm up as they cool, giving you crisp edges and a clean bite. A light dusting of powdered sugar is optional but traditional.
Why You’ll Love It

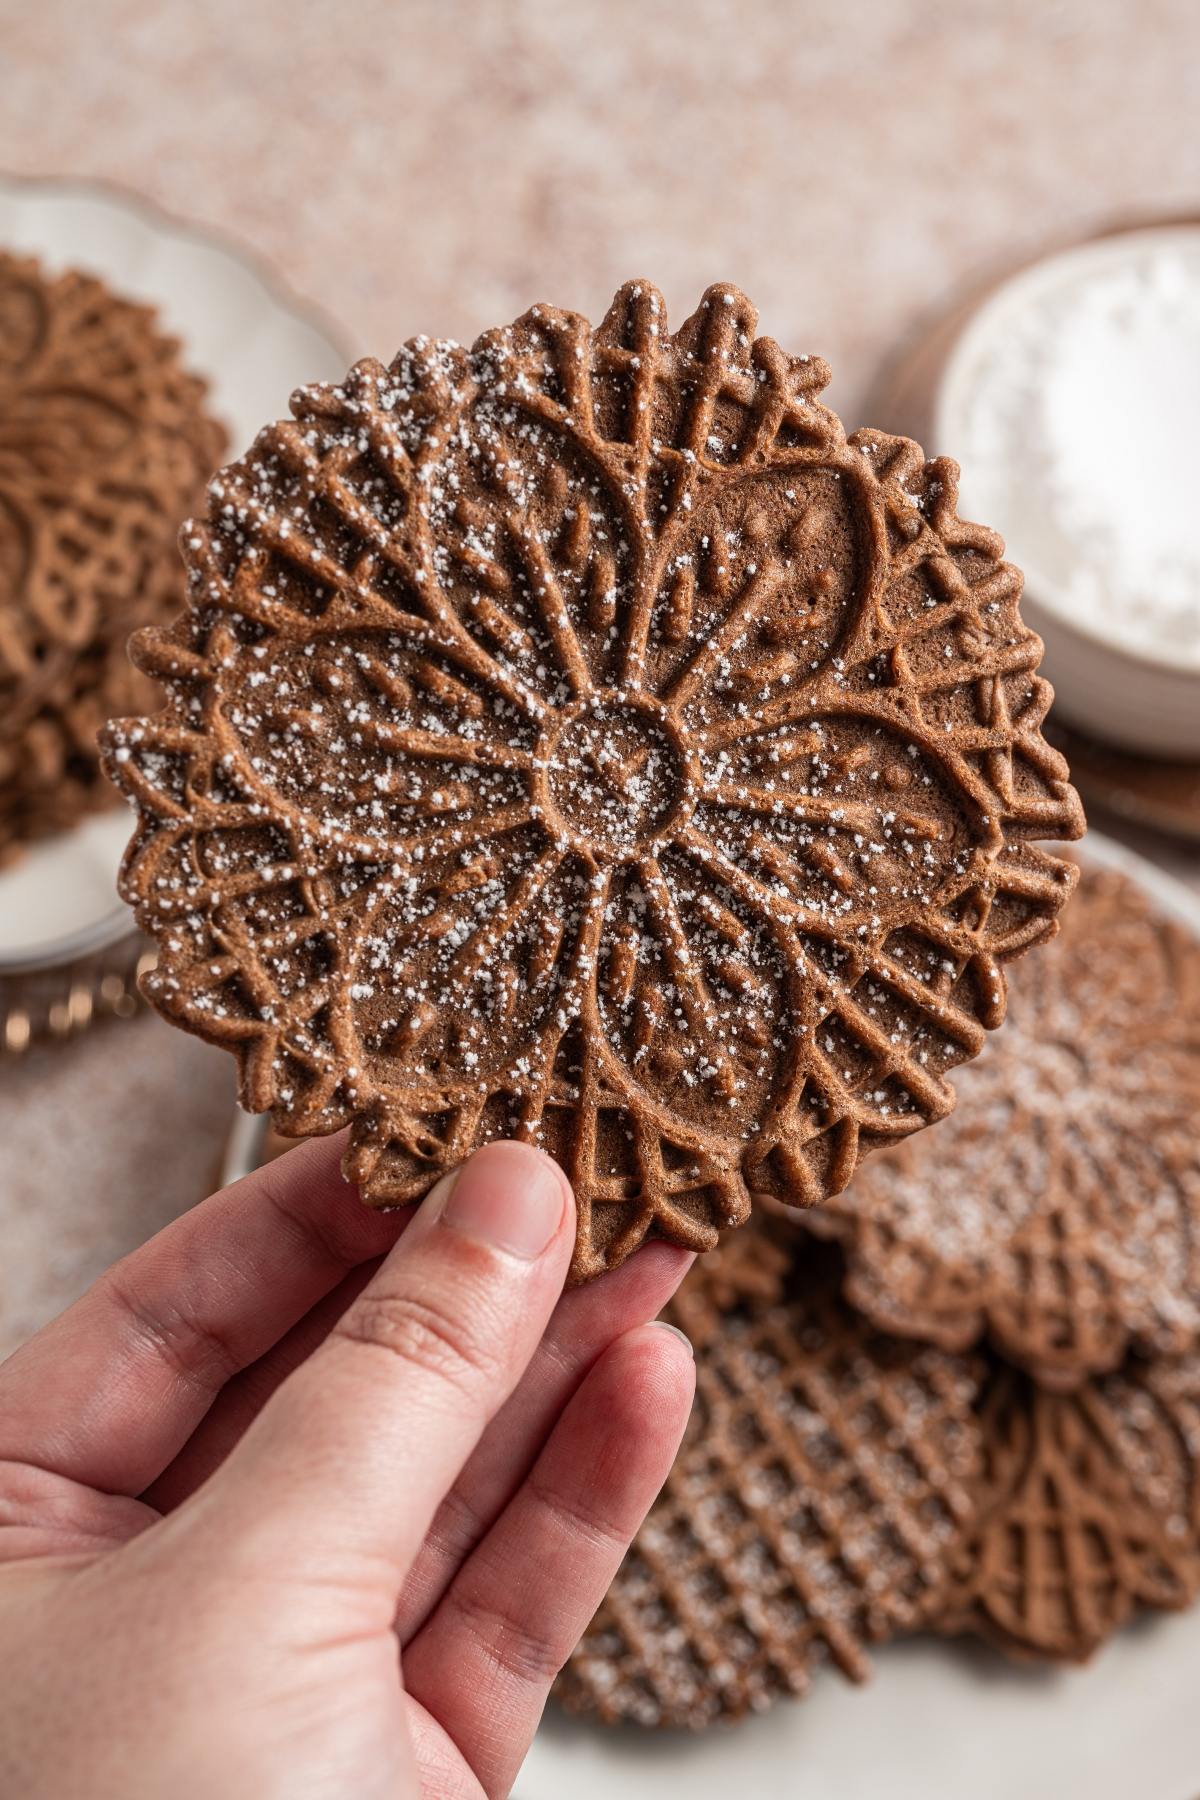
Chocolate pizzelle are thin cocoa cookies baked in a patterned iron, turning crisp as they cool with a light chocolate flavor and classic snowflake design.
Quick and easy: They’re easy to make and the cooking time for each is short.
Light chocolate flavor: Cocoa adds depth without overpowering the delicate cookie base.
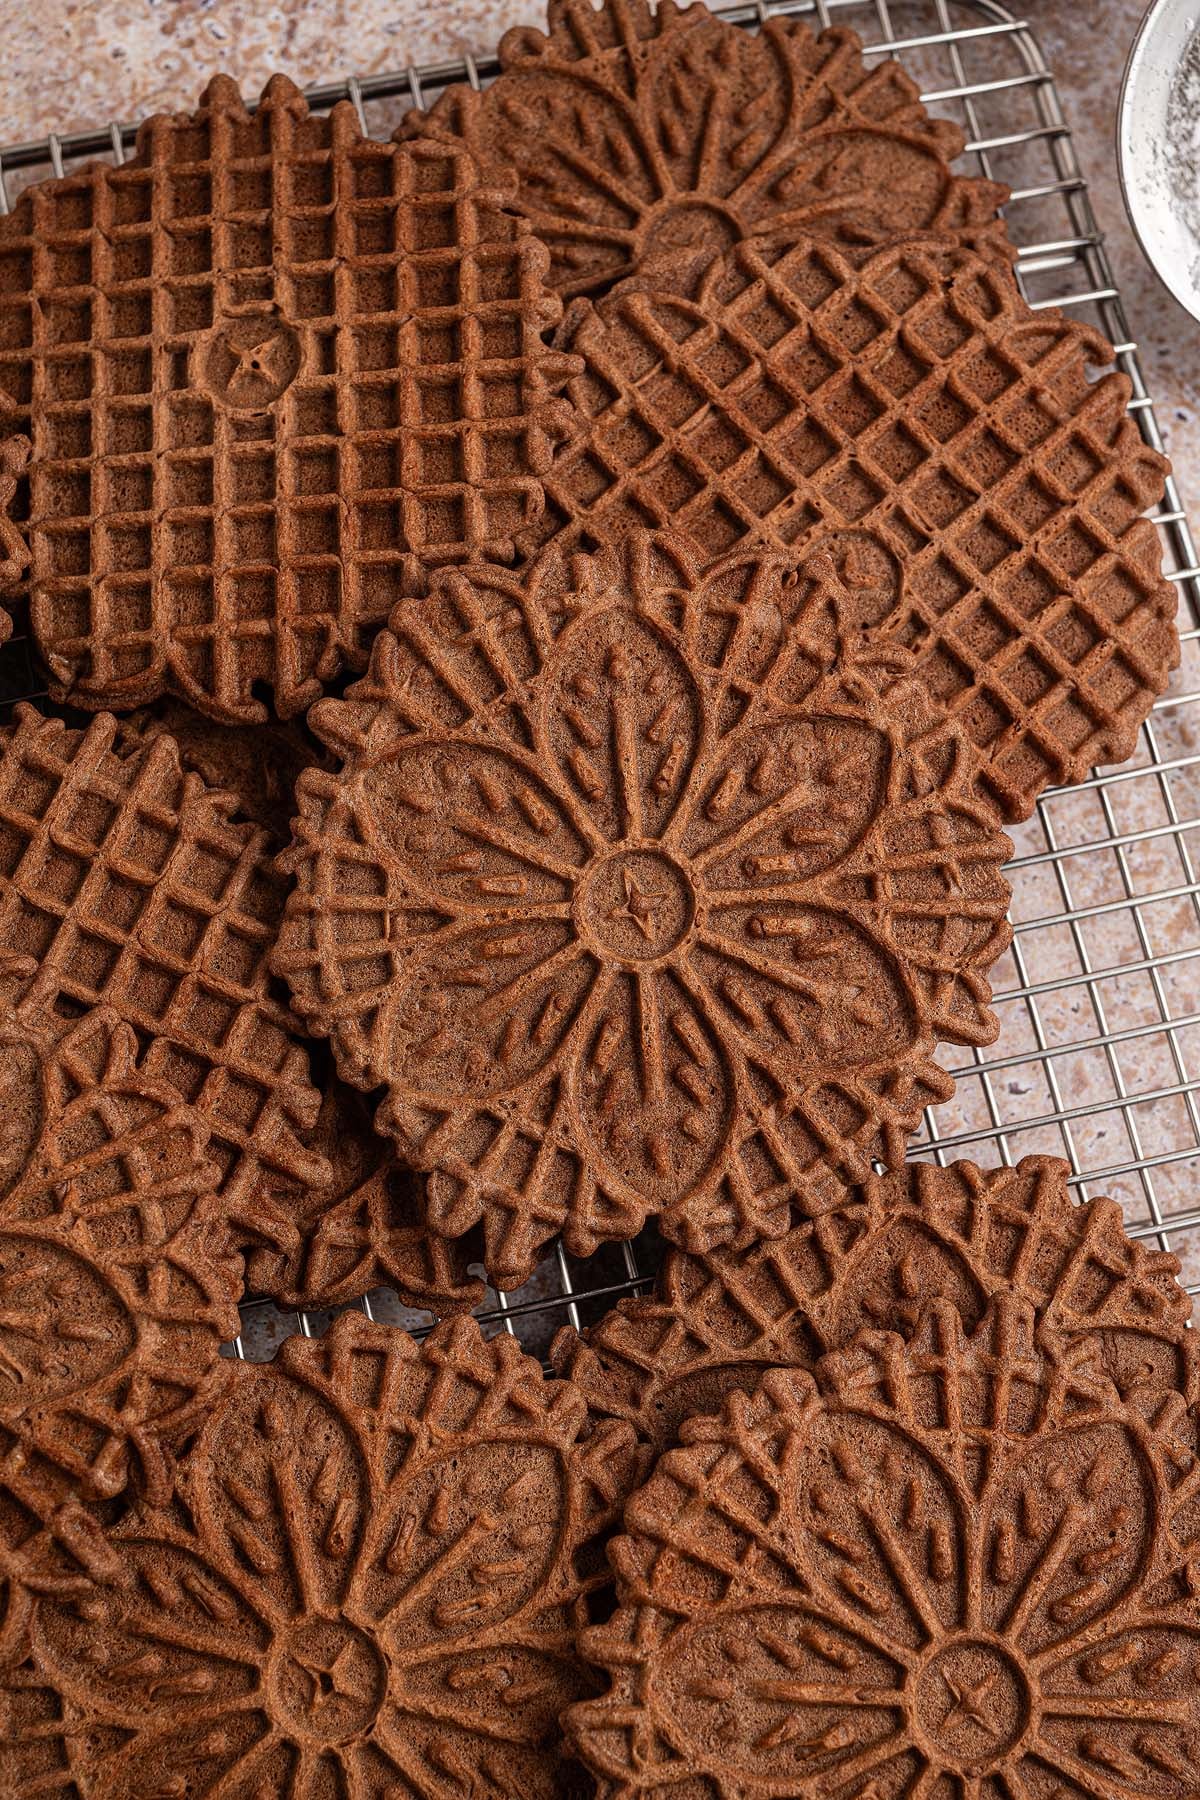
Naturally crisp: The cookies firm up as they cool, giving that classic pizzelle bite.
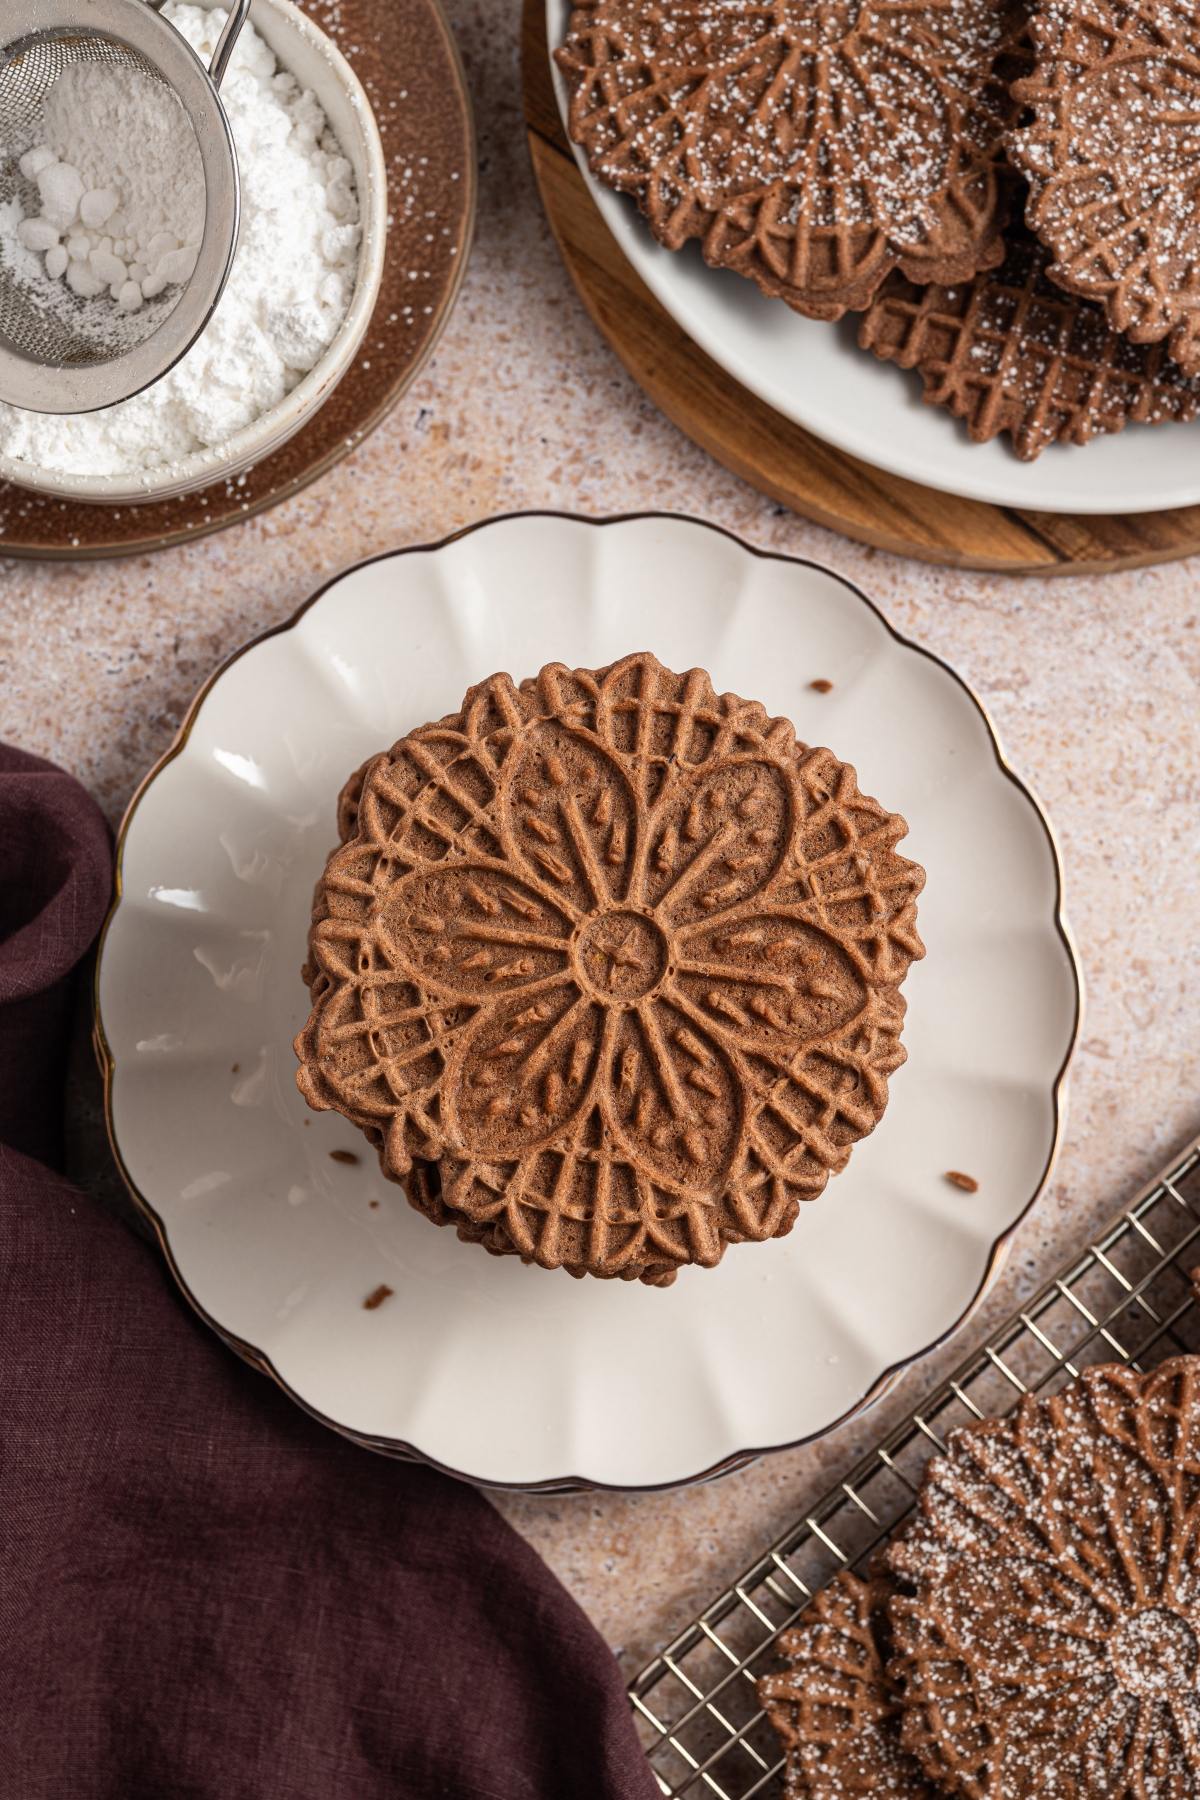
Decorative finish: The iron creates detailed patterns on each classic Italian cookie with no extra effort.
You might also like lemon pizzelle, gingerbread pizzelle, classic pizzelle, lemon cheesecake bars and blueberry cheesecake bars.
Chocolate Pizzelle Cookies Ingredients
A complete list of ingredients and amounts can be found in the recipe card below.
Eggs: Provide structure and help the batter spread evenly in the iron. Use room temperature or cold eggs, whichever you have.
Sugar: Sweetens the cookies and supports browning. I recommend fine granulated sugar.
Neutral oil: Keeps the cookies crisp once cooled.
Vanilla extract: Softens the cocoa flavor with warmth.
All-purpose flour: Forms the base of the batter.
Unsweetened cocoa powder: Gives the cookies a rich chocolate flavor and color.
Baking powder: Helps the batter cook evenly in the iron and crisp up.
Powdered sugar: Used for dusting on top if you like.
Salt: Just a pinch to bring out the chocolate flavor. Table salt is fine.

How to Make Chocolate Pizzelle
For more detailed instructions with weights and measurements, jump to the printable recipe card.
Heat the iron: Preheat the pizzelle iron according to the manufacturer instructions.
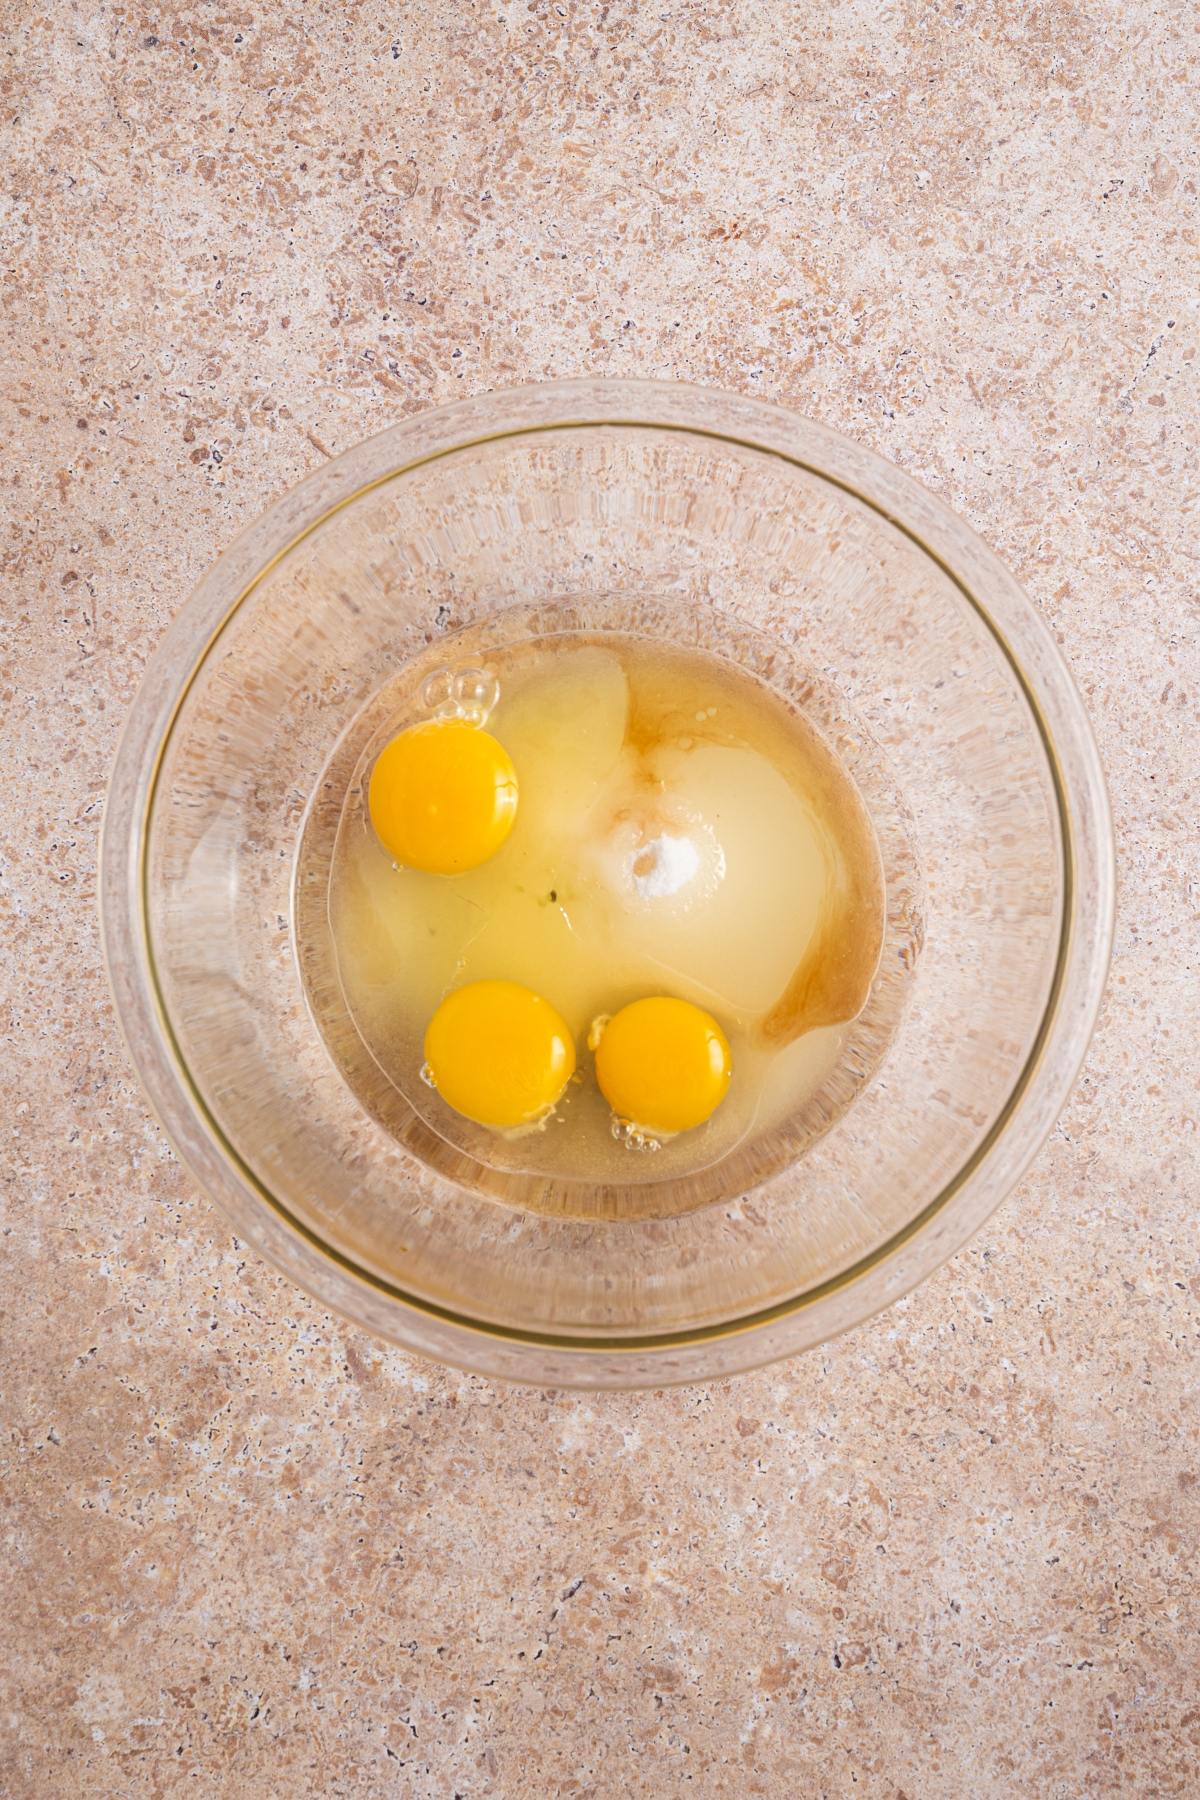
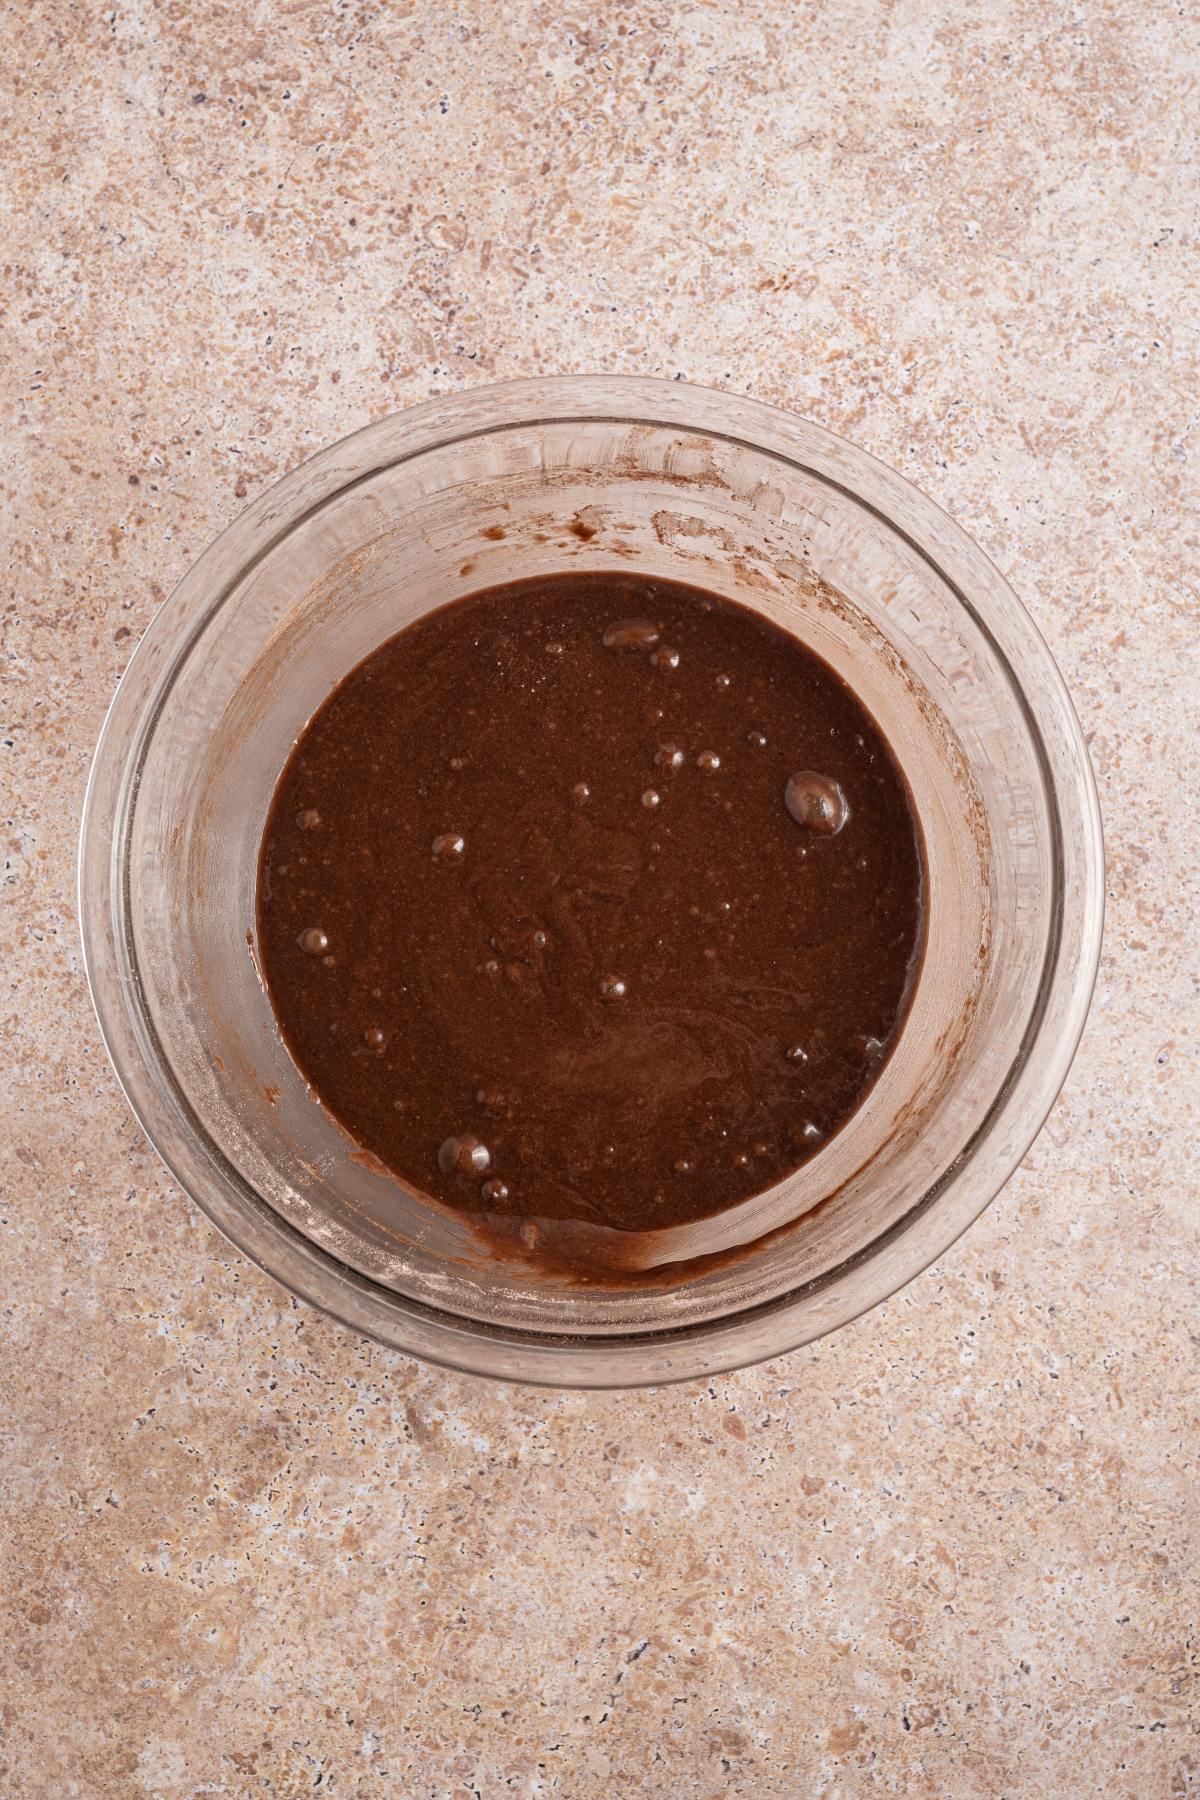
Whisk wet ingredients: Combine eggs, sugar, oil and vanilla in a large bowl until smooth.
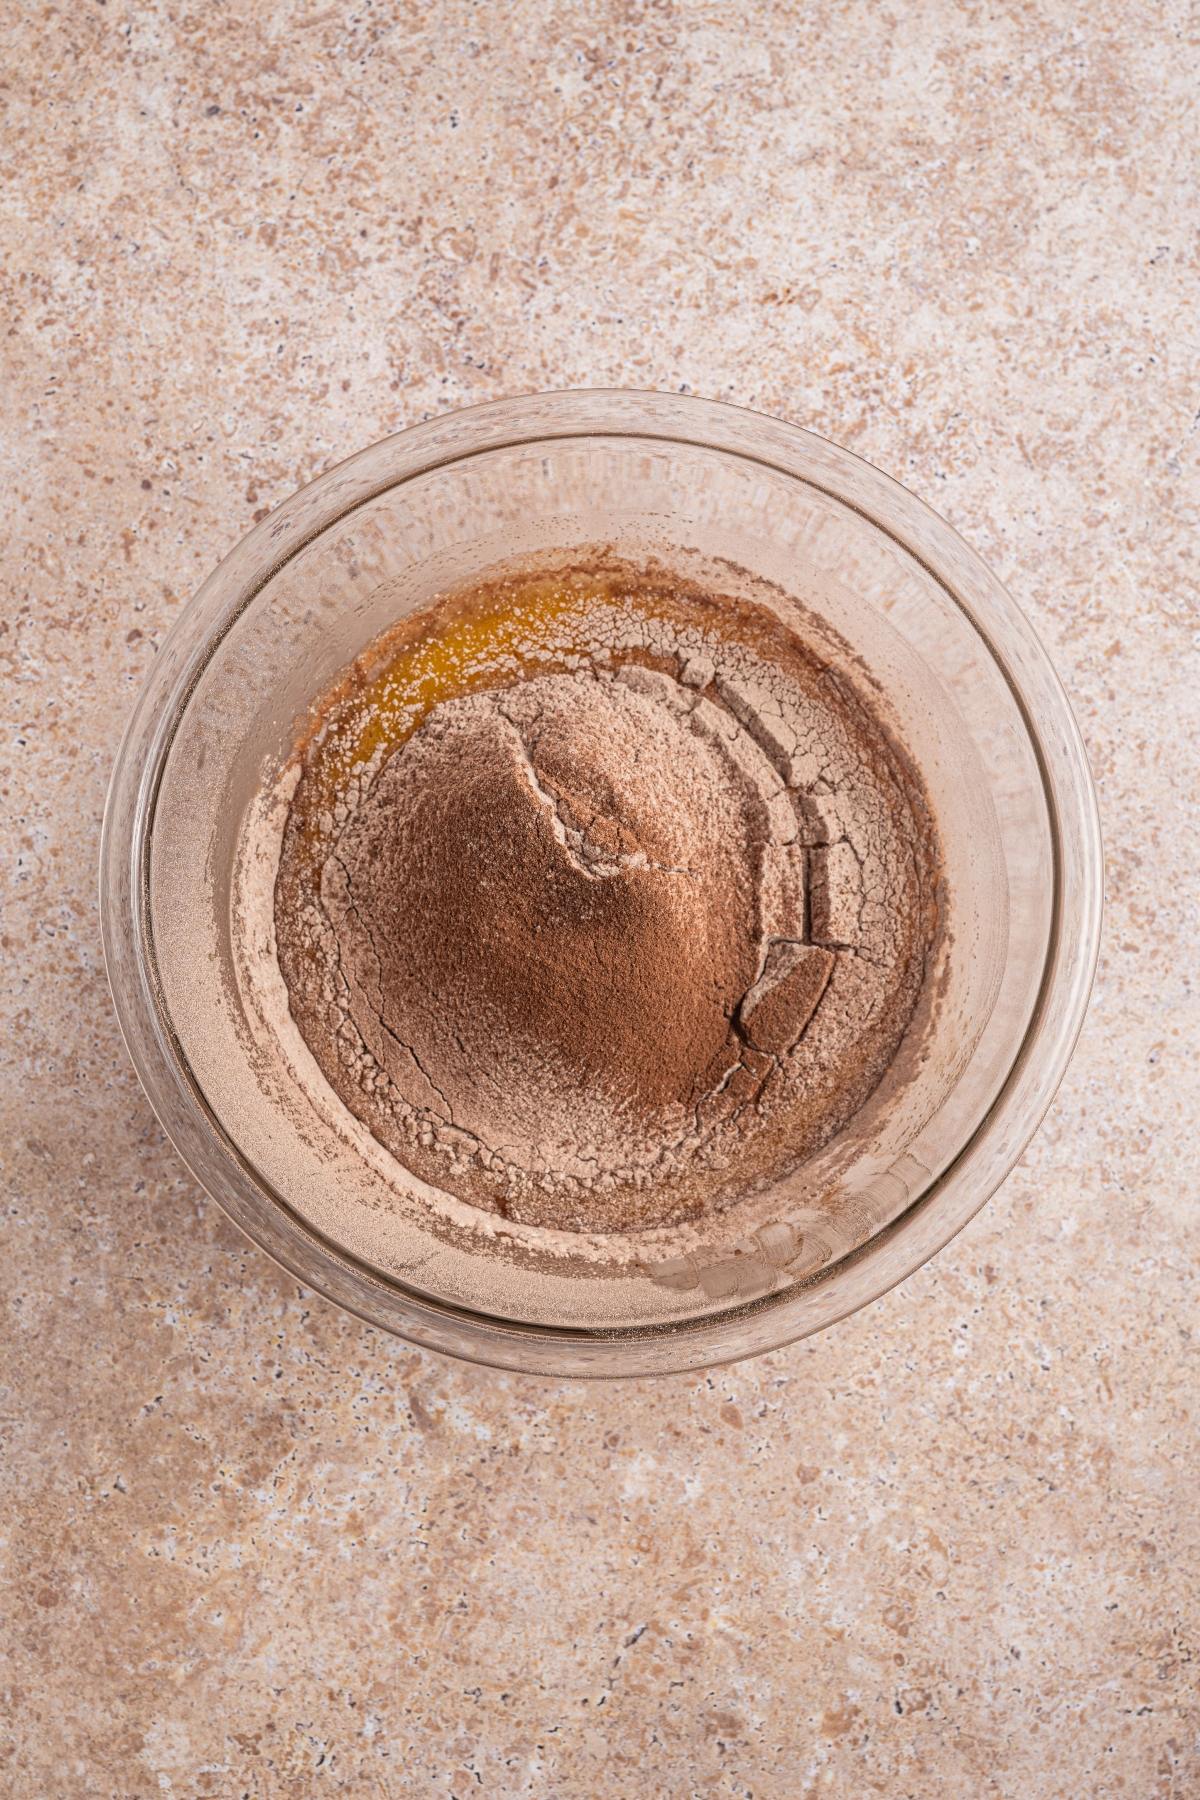
Mix dry ingredients: Whisk flour, cocoa powder and baking powder in a separate bowl.
Combine batter: Fold the dry mixture into the wet ingredients until the batter looks even and pourable.
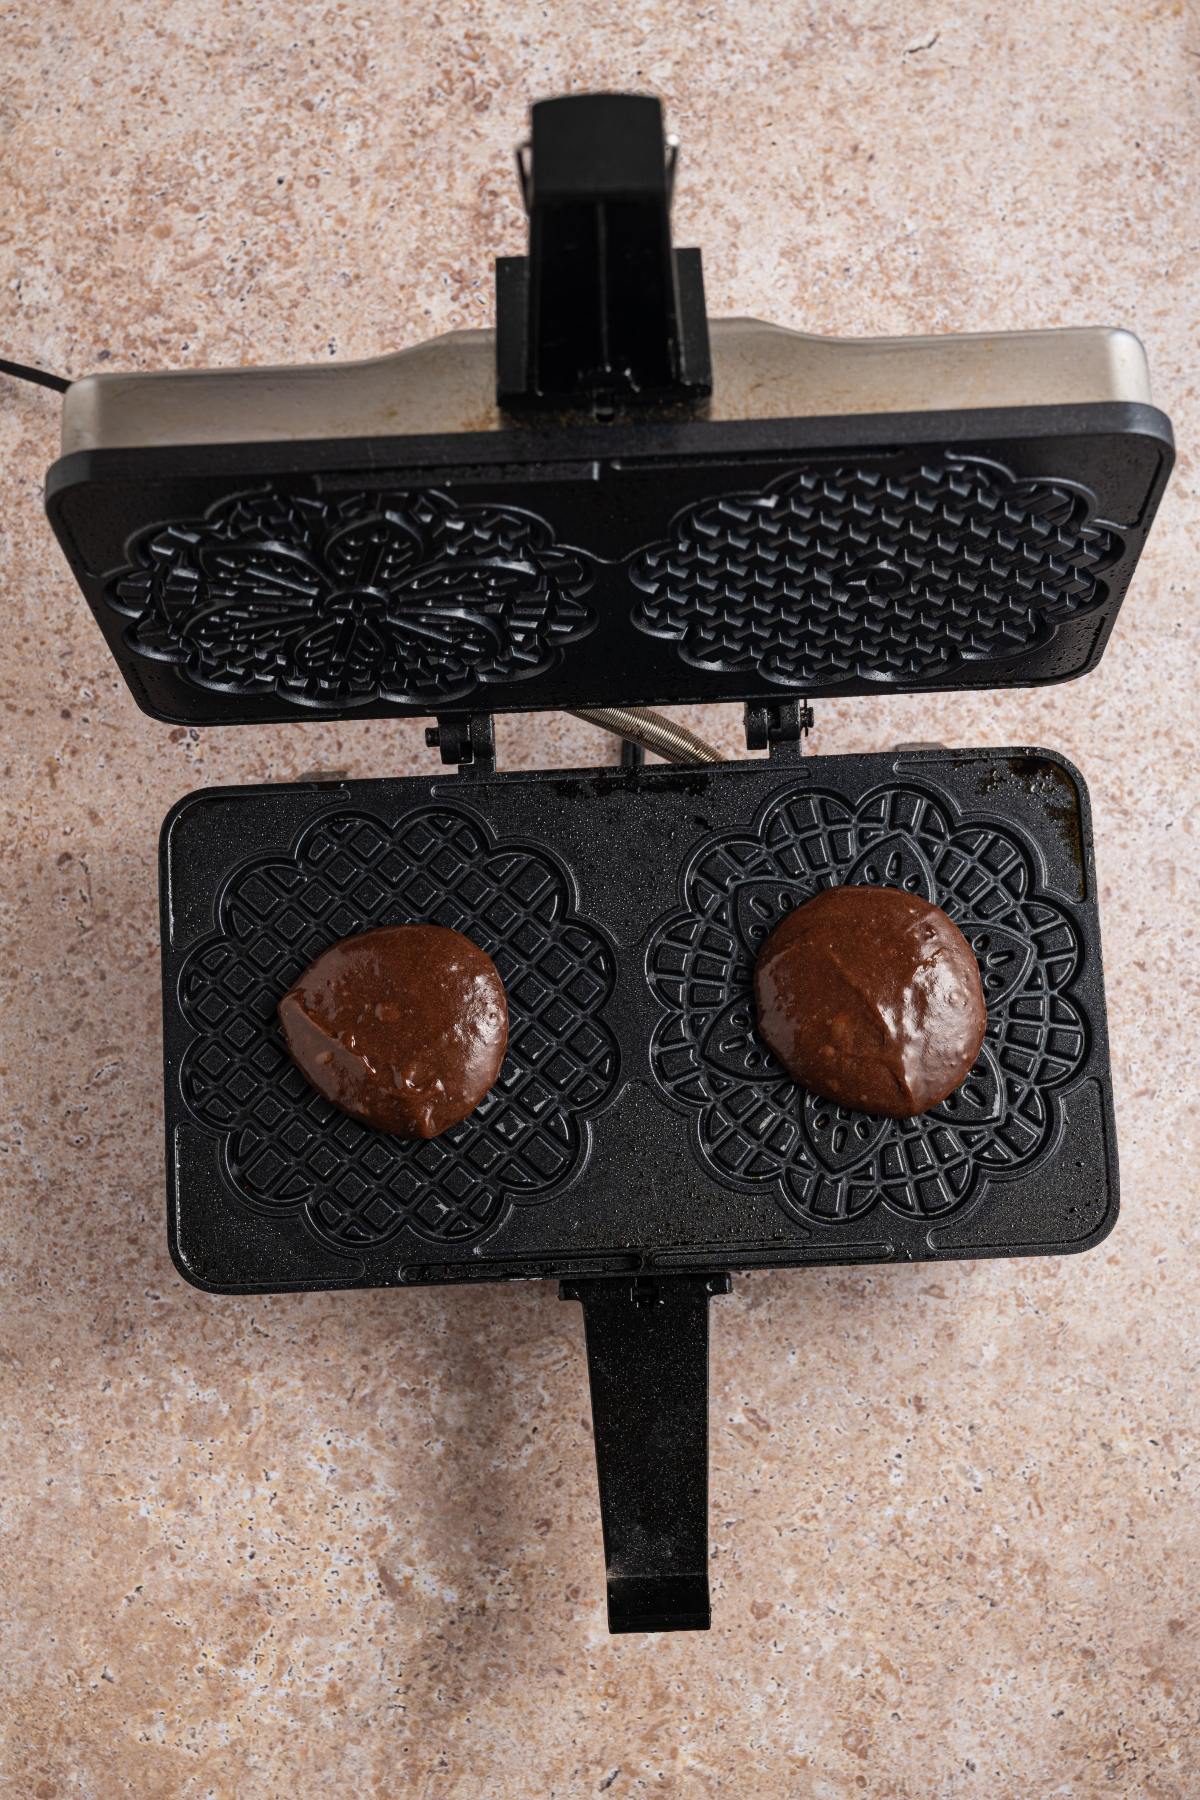
Grease lightly: Brush or spray the pizzelle press before the first round of cookies.
Portion batter: Drop pizzelle batter onto each design area and close the iron.
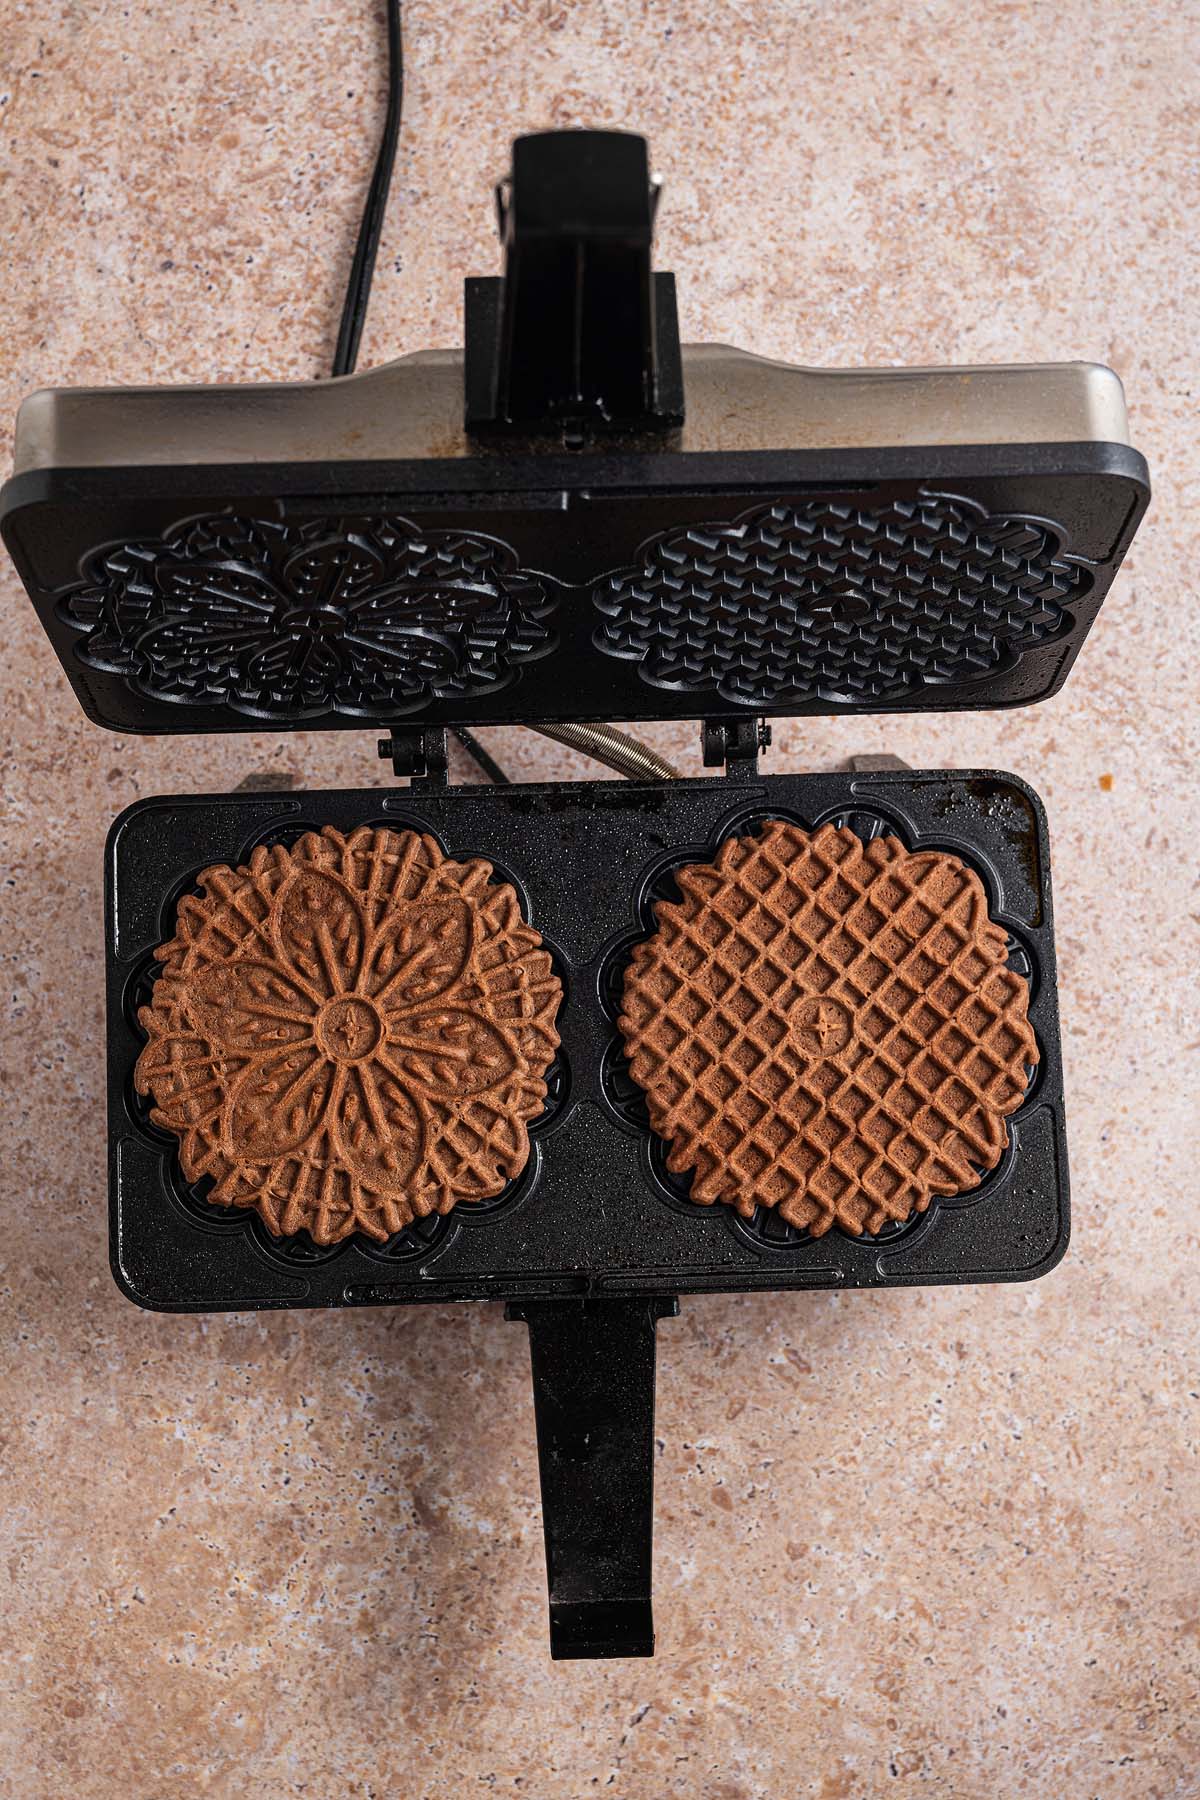
Bake: Cook until the pizzelle deepen slightly in color and release cleanly.
Cool cookies: Transfer from the pizzelle maker to a wire rack to cool (they will crisp up as they cool).
Repeat: Continue until all the batter is used.
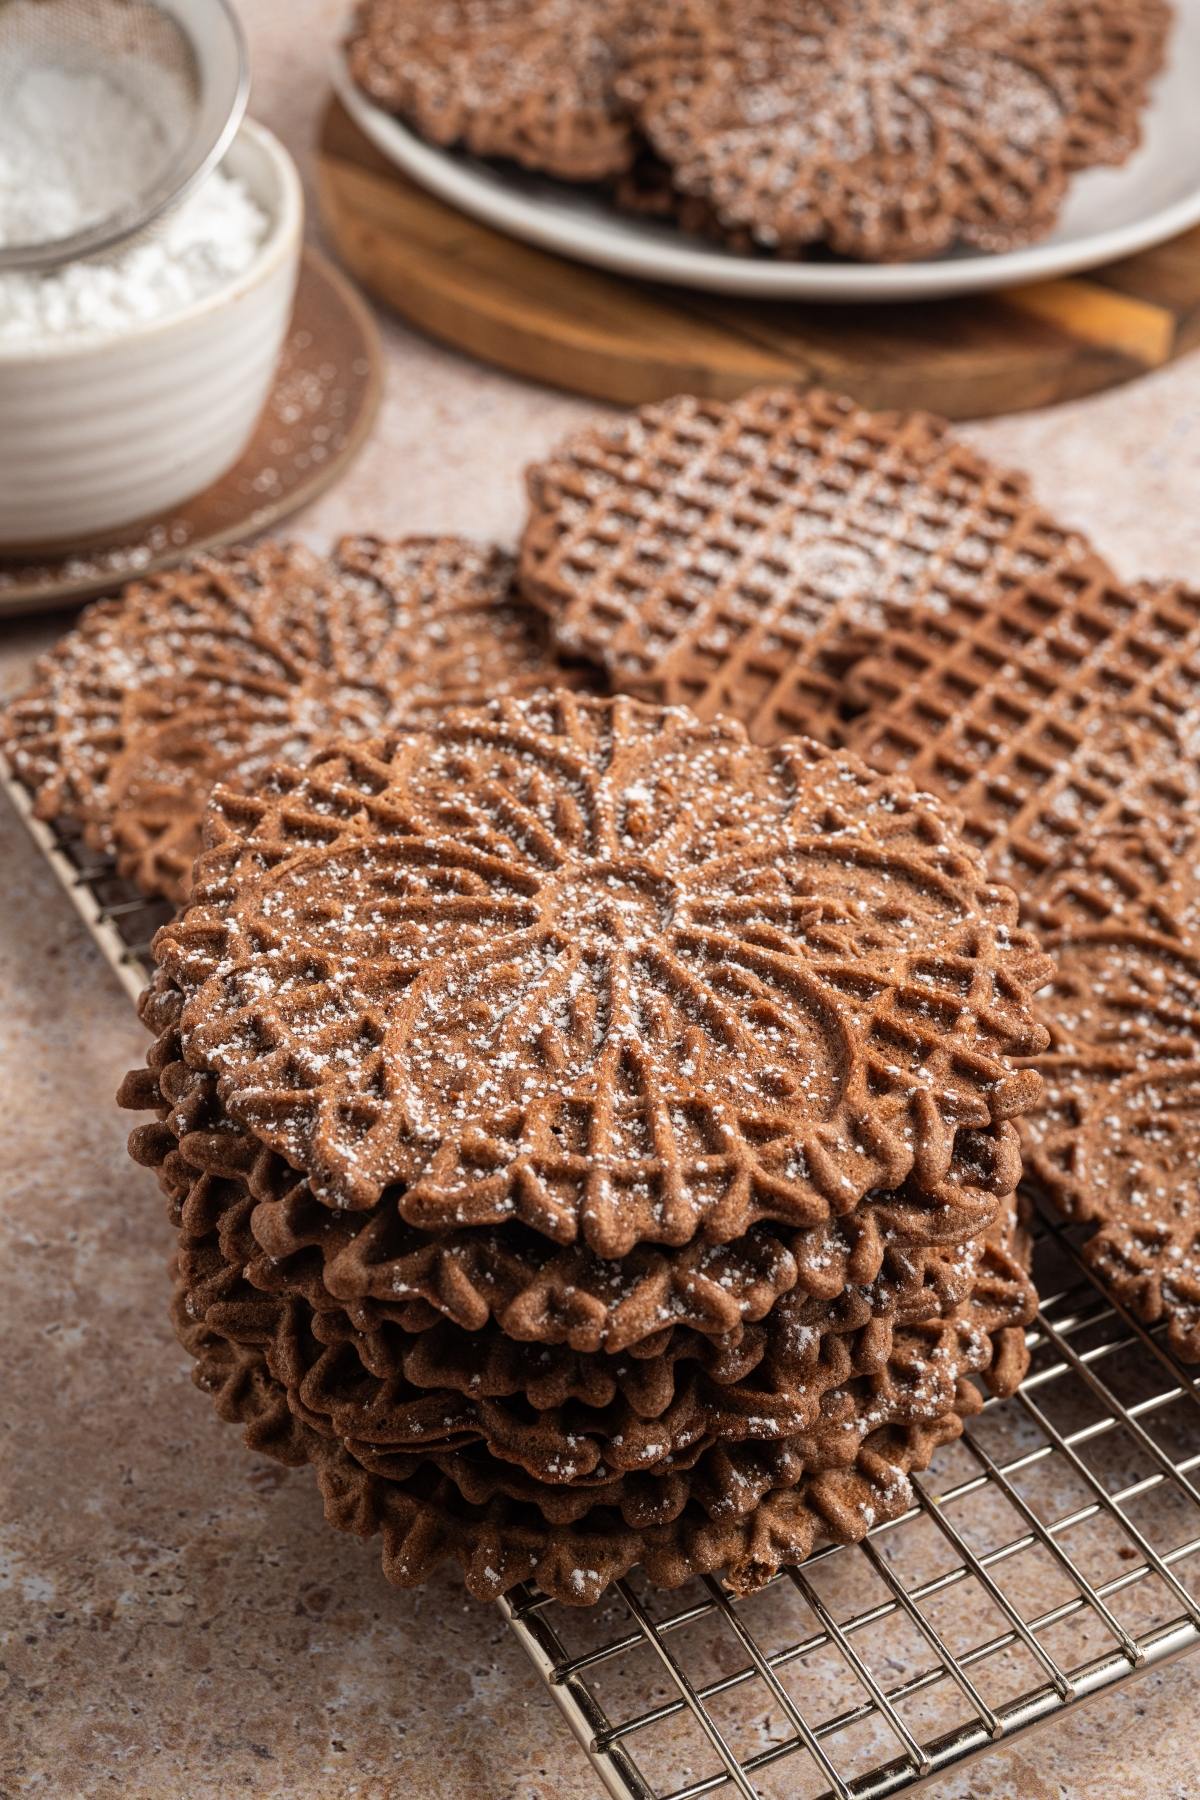
Finish: Dust with powdered sugar once completely cooled completely, if you like.
Substitutions and Variations
Oil swap: Canola, vegetable or light olive oil all work well here. Or you can use melted butter if you don’t mind the cookies coming out less crisp.
Gluten-free version: Use a cup for cup gluten-free flour blend designed for baking.
Flavor change: Almond extract can replace vanilla for a different twist.
Dark chocolate pizzelle: Switch the regular cocoa powder for Dutch processed dark cocoa. Keep the sugar the same so the cookies stay crisp, and slightly increase the vanilla to round out the stronger chocolate flavor. If you want an extra boost, a small pinch of instant espresso powder will deepen the cocoa taste without adding coffee flavor. Check the first cookie early, since darker cocoa can cause the pizzelle to brown faster.
Chocolate anise pizzelle: Replace some of the vanilla with anise extract or anise oil or use finely ground anise seed mixed into the dry ingredients. Keep the cocoa amount the same so the chocolate still comes through.
Chocolate orange pizzelle: Add a little orange zest to the batter for orange chocolate ones.
Halve the cook time: Use a double pizzelle iron to cook two at once or speed things up even more with a quad pizzelle iron!
Serving Suggestions
Appetizers: Begin your Italian inspired meal with an antipasto platter or minestrone verde soup.
Main course: Tuck into chicken puttanesca, ravioli lasagna or margherita pizza.
Dessert: Enjoy crispy chocolate pizzelle with a glass of homemade limoncello or pistachio latte. Another idea is to make an ice cream sandwich.
As a gift: Homemade cookies always make a great gift and you can make them as Christmas cookies for a holiday cookie box or else tuck some into a Valentine’s Day homemade treat box.
How to Store
Store: Store chocolate pizzelle in an airtight container at room temperature for up to 5 days.
Freeze: Freeze in a sealed container for up to 3 months.
Thaw: Let thaw at room temperature before serving.
Top Tips
Iron timing: Check the first cookies closely since pizzelle irons can vary.
Crisper result: Oil works better than butter for keeping the cookies crisp.
Consistent size: A scoop helps portion the batter evenly.
Cooling space: Leave space between cookies so air can circulate.

Chocolate Pizzelle Cookies FAQs
Yes, the texture and pattern depend on using a pizzelle iron.
Yes, the cookies are lightly sweet on their own.
Don’t worry, they firm up as they cool on the rack.
Chocolate Pizzelle Recipe
Chocolate Pizzelle
Equipment
- Sieve Large
- Pastry Brush Optional
- Cookie Scoop 1 ½-Tablespoon
Ingredients
- 3 eggs, large
- ¾ Cup fine granulated sugar, 150 Grams
- ½ Cup canola oil, or vegetable oil
- 1 Teaspoon vanilla extract
- 1 ½ Cups all-purpose flour, 180 Grams, spooned and leveled
- 3 Tablespoons unsweetened cocoa powder
- 1 Teaspoon baking powder
- ¼ Teaspoon salt
- nonstick cooking spray or oil, for greasing
Optional Topping
Instructions
- Preheat your pizzelle iron according to the manufacturer’s instructions. I used a double pizzelle iron that makes 4 ½-inch pizzelles.
Make the Pizzelle Batter
- In a large bowl whisk together the eggs, sugar, oil, and vanilla extract until combined. Set aside.
- In a separate medium or small mixing bowl, whisk together the flour, cocoa powder, baking powder, and salt.
- Sift the dry ingredients over the wet ingredients using a large sieve.
- Fold the dry ingredients into the wet ingredients until the combined and the batter resembles pancake batter.
Cook the Pizzelles
- Spray the pizzelle iron with cooking spray lightly or brush with a little bit of canola or vegetable oil before you start your first pizzelles.
- Drop 1 ½ Tablespoons of batter onto the each pizzelle design. I used a medium cookie scoop for easy scooping and dropping.
- Close the iron and bake the cookies for about 1 minute and 20 seconds or until the pizzelles start to get a little bit darker in the middle.
Let Them Cool
- Use a spatula to transfer the pizzelles to a wire rack to cool. They will be quite soft but they will crisp up as they cool.
- Continue making the pizzelle until all the batter has been used.
- Dust them with powdered sugar if liked.
Notes
Crisper result: Oil works better than butter for keeping the cookies crisp.
Consistent size: A scoop helps portion the batter evenly.
Cooling space: Leave space between cookies so air can circulate.
Nutrition
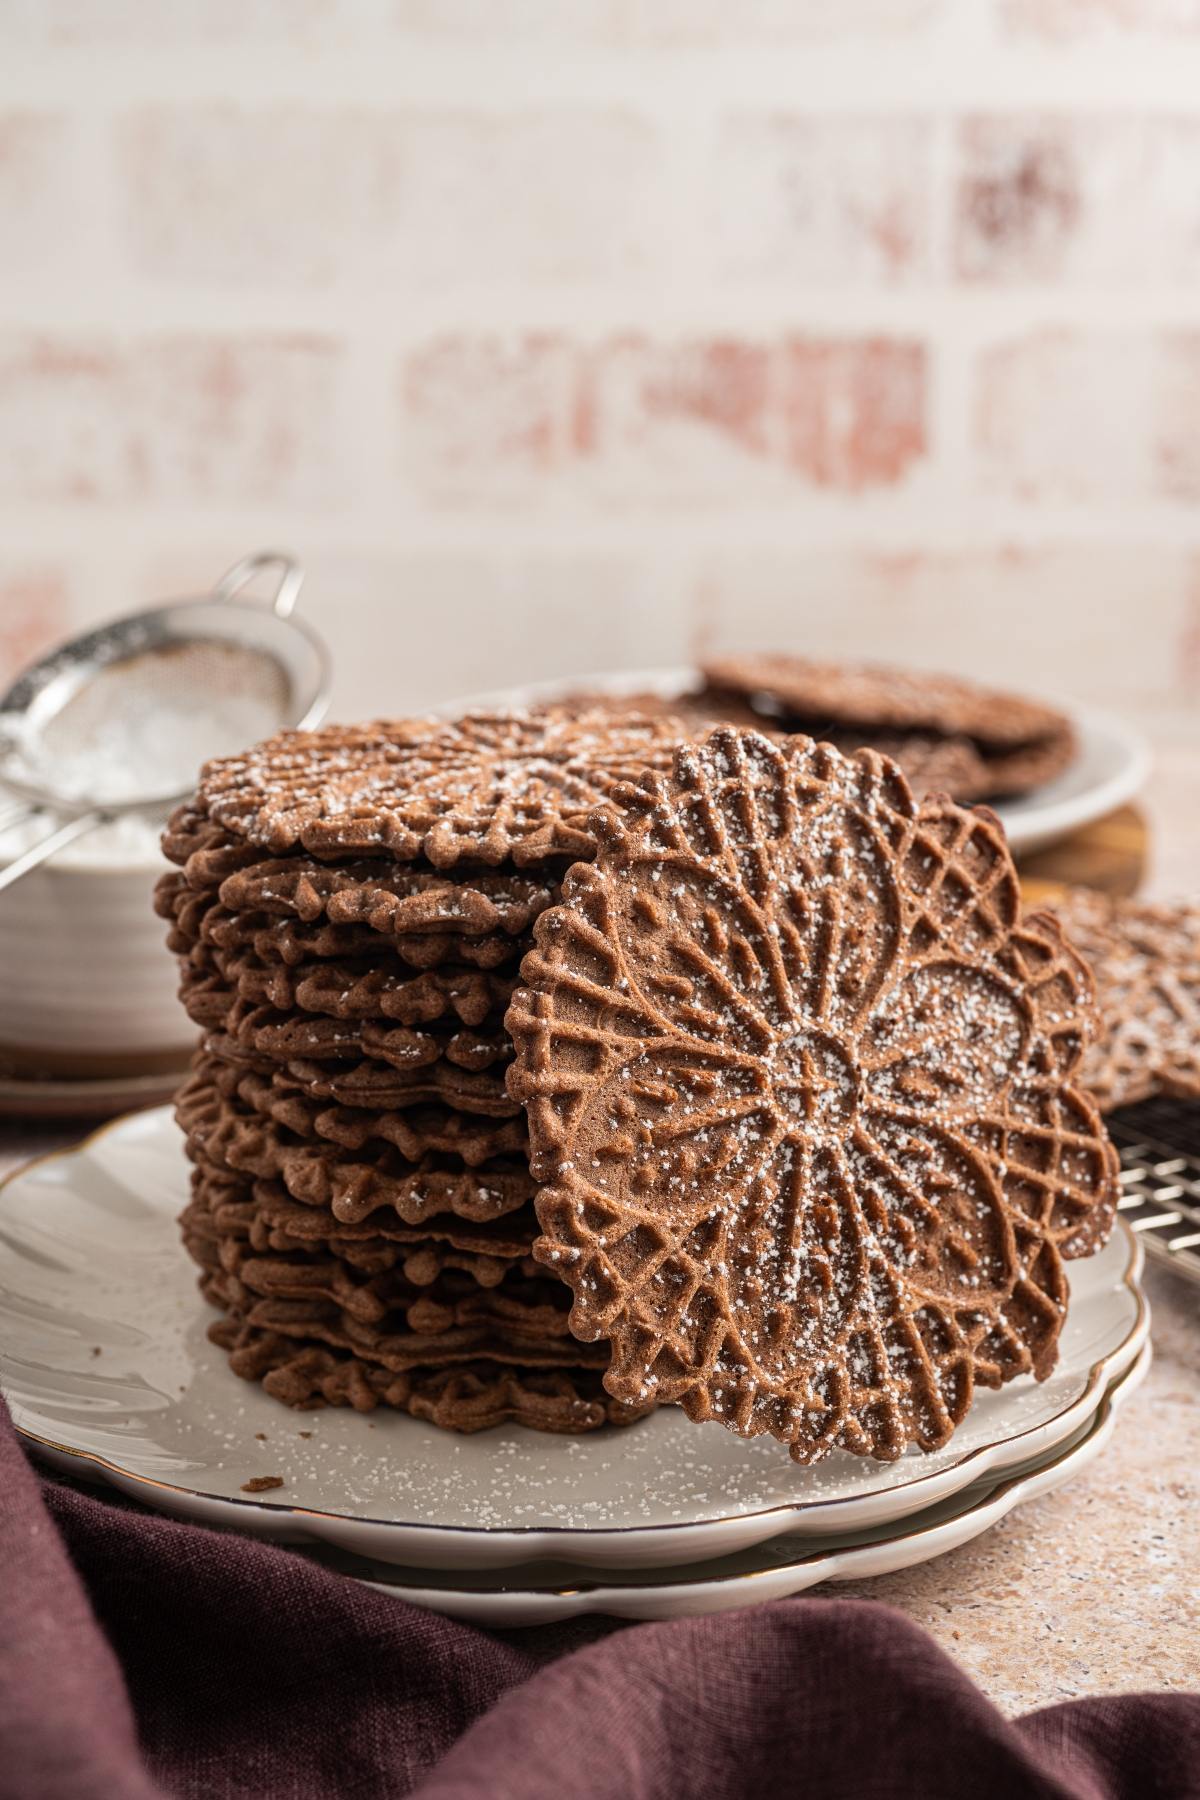
Chocolate pizzelle are a quiet classic, focused on crisp texture and a delicious chocolate flavor that’s subtle and not too sweet. The batter is straightforward to prepare, the baking moves quickly and the results are consistent once you learn your pizzelle iron. They’re the kind of cookie you can make on a whim and let people grab as they pass. A stack of chocolate pizzelle always gets attention! If you enjoy thin cookies with a clean snap, these fit right in.
Other Recipes to Try
Bella Bucchiotti
Bella Bucchiotti is a Canadian-based syndicated food, travel, and lifestyle writer, photographer, and creator at xoxoBella. She founded xoxoBella in 2015, where she shares her love for food, dogs, sustainability, fitness, crafts, outdoor adventures, travel, and philanthropy to encourage others to run the extra mile, try new recipes, visit unfamiliar places, and stand for a cause. Bella creates stress-free and family-friendly recipes for weeknight dinners and festive feasts.