This post may contain affiliate links, please see the privacy policy for details.
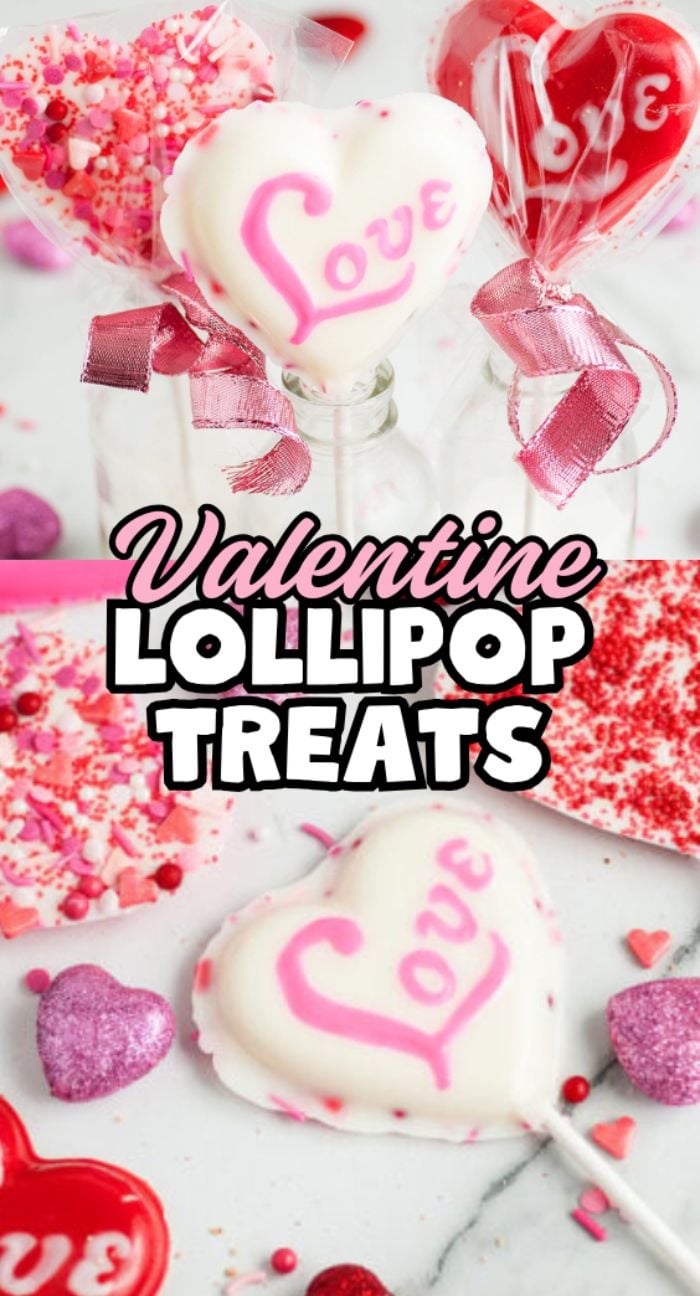
Valentine lollipop treats bring instant charm to any Valentine’s Day celebration. You’ll pour melted chocolate into heart molds, paint little details and add sprinkles for sparkle. Use one color or mix shades for a layered look that feels custom without extra effort. The process is quick, kid-friendly and perfect for a crafty afternoon. With simple tools and some melting chocolate, you’ll have glossy hearts on sticks that look boutique and taste rich. No candy thermometer required!

Make Valentine lollipop treats with glossy chocolate hearts in pink, red and white. Use simple mold steps, add sprinkles and create a cute gift that looks pro.
Also try stained glass heart cookies, s’mores brownie bites, strawberry cream Rice Krispies, hidden heart cake and cherry pie cookies.

Why You’ll Love It
Fast project: Melts and molds mean quick wins with big payoff.
Looks professional: Clean lines and shiny finishes feel shop made.
Kid-friendly: Simple steps are easy for helpers to handle.
Custom colors: Keep it classic with pink and red or use any colors you want.

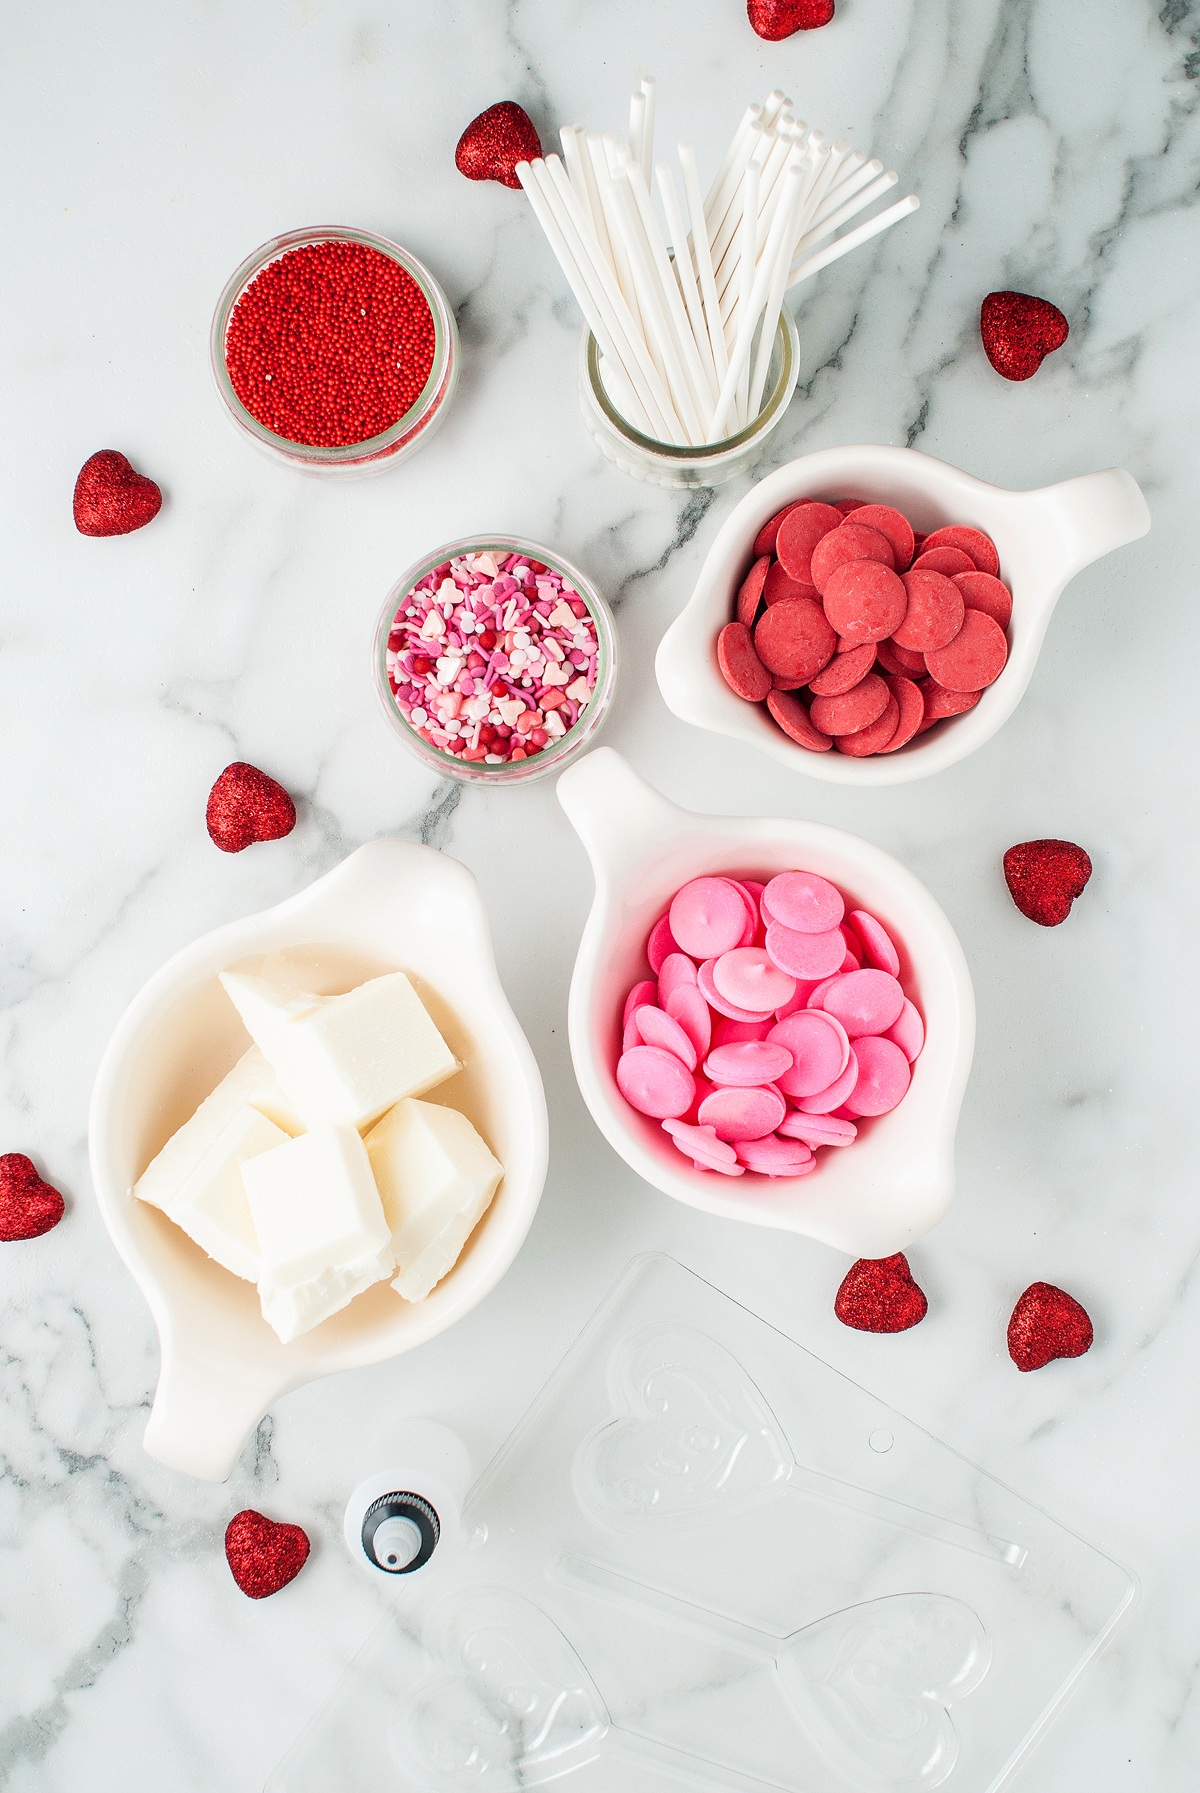
Chocolate Heart Lollipops Ingredients
A complete list of ingredients and amounts can be found in the recipe card below.
Almond bark or white chocolate chips: Smooth base that melts easily and sets glossy.
Pink melting chocolate: Adds a soft pastel tone that reads instantly Valentine.
Red melting chocolate: Brings bold color and strong contrast against white.
Sprinkles: Add sparkle, texture and a tidy finish without extra work.
How to Make Valentine Heart Shape Lollipops
For more detailed instructions with weights and measurements, jump to the printable recipe card.
Wash and dry molds: Make sure cavities and stick channels are clean and moisture-free.
Melt detail color: Warm one chocolate color in short bursts until smooth.
Paint details: Use a toothpick or piping bottle to fill letters and outlines.
Melt base color: Warm the main color until fluid and glossy.
Fill molds halfway: Spoon chocolate over details to mid-depth.
Release bubbles: Lift and tap the mold to settle chocolate and pop air pockets.
Set sticks: Place a lollipop stick into each channel.
Top off molds: Add more chocolate to cover sticks without overfilling.
Tap again: Level the surface so edges stay clean.
Add sprinkles: Decorate while the chocolate is still fluid.
Chill until firm: Refrigerate until the lollipops release cleanly.

Substitutions and Variations
Gluten-free option: Use chocolate labeled gluten free and certified gluten-free sprinkles. Keep tools separate to avoid cross-contact.
Vegan option: Choose dairy-free melting wafers and vegan sprinkles.
Flavor boost: Stir in a drop of peppermint oil or orange oil for a twist.
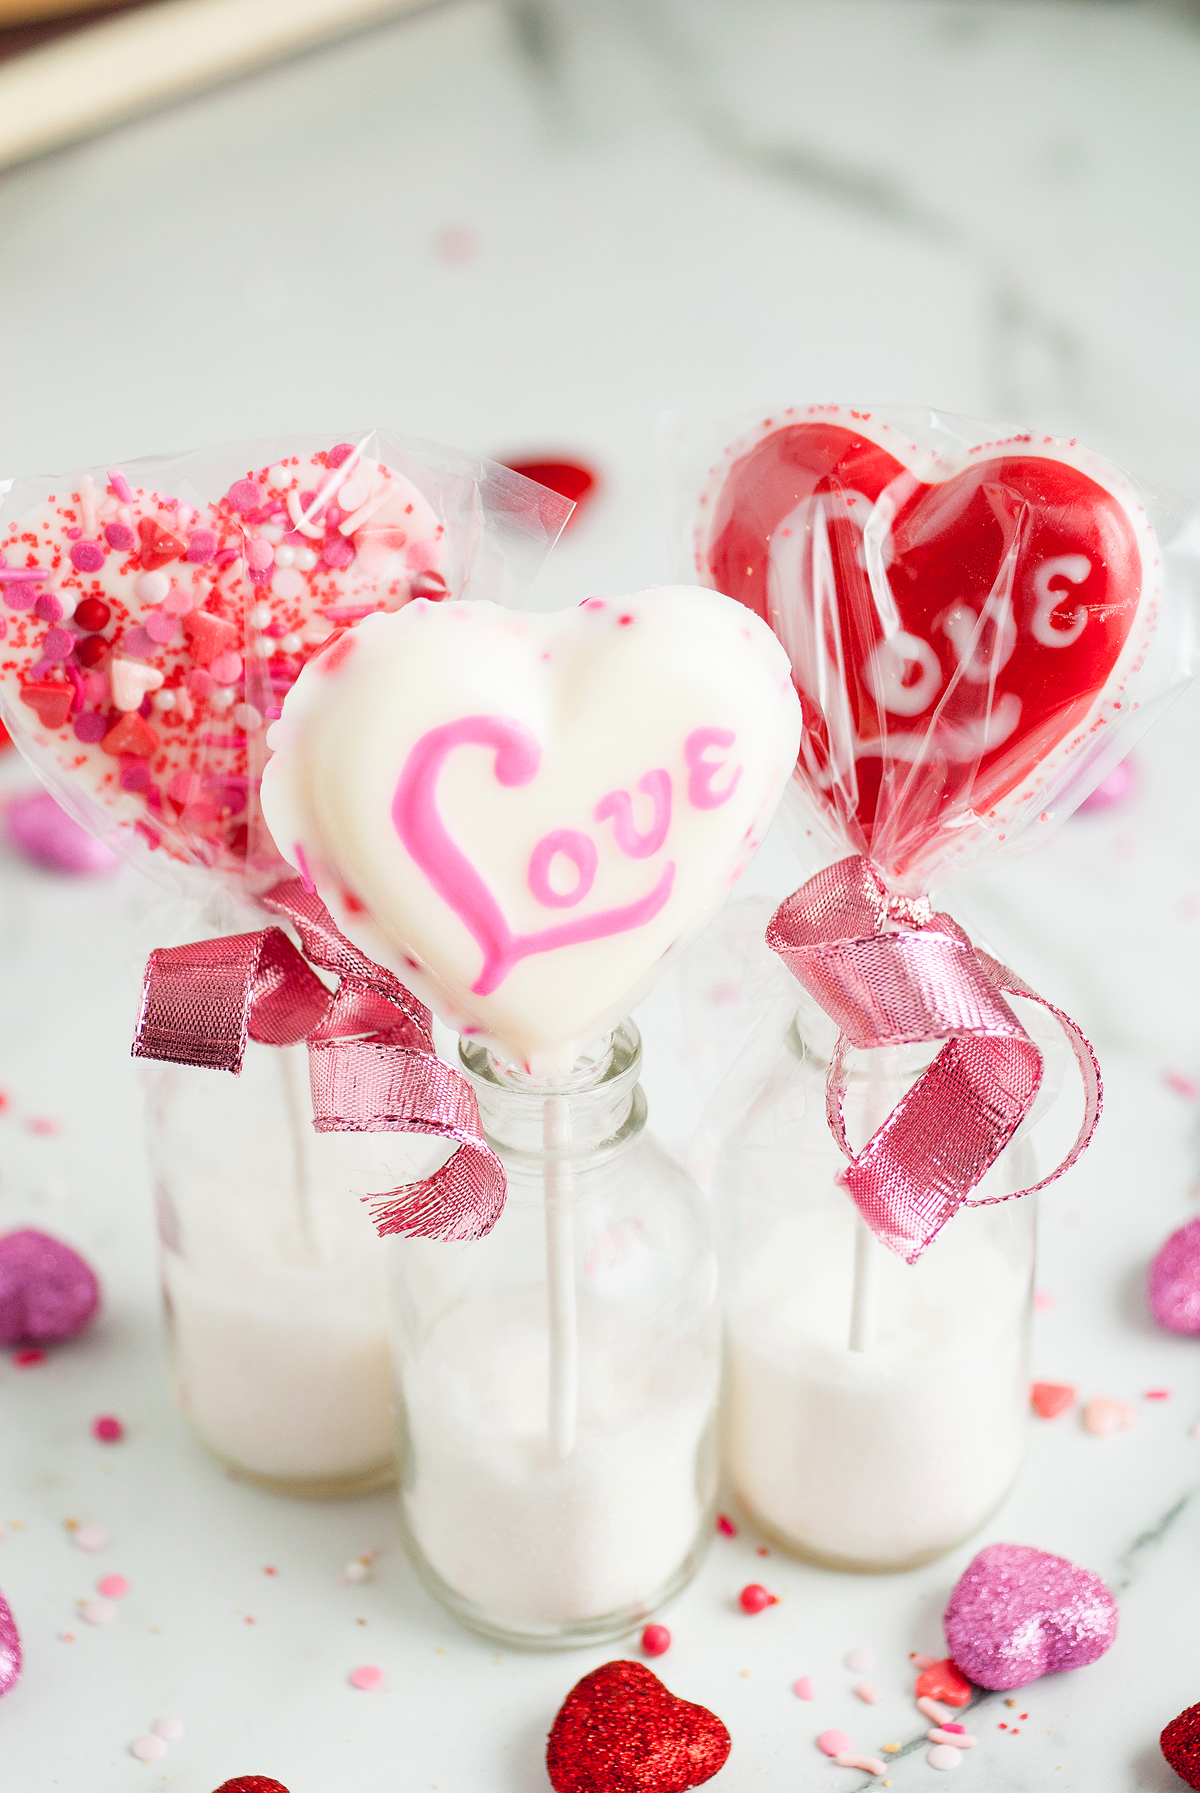
Two-tone look: Swirl pink and white or add a red drizzle after unmolding.

Serving Suggestions
With a Valentine’s Day drink: Enjoy a strawberry sour candy cocktail or a Hawaiian lava flow cocktail with your lollipops.
With more sweet treats: Try strawberry lemon cake mix cookies, heart-shaped donut holes or strawberry kiss cookies.
How to Store Valentine Lollipops
Store: Keep in a cool, dry place in a covered container away from heat and sunlight for up to 1 week. I recommend putting parchment paper between the layers so stop them sticking.
Freeze: I don’t recommend freezing these.
Top Tips
Keep tools dry: Even a little water can seize melted chocolate.
Thin if needed: A tiny bit of coconut oil can smooth thick melts.
Work in batches: Fill a few cavities at a time so details stay neat.
Delicate work: If you’re filling small details or letters, it’s easier to use a toothpick to make sure the shapes are filled with the melted chocolate.
Tap then tap again: Removing bubbles gives that glassy finish.
Neat presentation: Use a paring knife to clean the edges after unmolding.

Valentine’s Day Lollipop FAQs
Don’t overheat the chocolate and stir gently so you don’t trap air.
Yes, pour one color, let it start to set, then add a second color for a layered effect.

Heart Shaped Chocolate Valentine Lollipop Treats Recipe

Valentine Lollipop Treats
Equipment
- Squeeze Bottle or Piping Bag
Ingredients
- 1 Package white almond bark, or white chocolate chips
- 1 Package melting chocolate, pink
- 1 Package melting chocolate, red
- sprinkles
Instructions
- Wash and dry your mold thoroughly before using.
- Decide which color you would like the words/details to be and pour a small amount of that color melting chocolate into a microwave safe container. Microwave in 15 second intervals until melted.
- Using a toothpick or squeeze bottle/piping bag. Carefully fill the details/words of the mold cavities with your chosen color.
- Once all the detail work has been completed, choose which color you'd like the main part of the lollipop to be. Pour some of that color melting chocolate or almond bark into a microwave safe container and microwave in 15 second intervals until melted.
- Carefully spoon the melted chocolate into the mold on top of the detail work, filling the mold about half way.
- Very gently lift the mold about an inch off of the counter and drop it back down onto the country. Do this a few times to ensure there are no air bubbles or gaps.
- Gently lay a lollipop stick onto each lollipop.
- Using the same color or a new color of melted chocolate fill the molds up the rest of the way, being sure to cover the lollipop stick but not overfill the mold cavity.
- Carefully tap the mold again to make sure the air bubbles are released and the chocolate lays evenly.
- Sprinkle with sprinkles if desired.
- Place the mold in the fridge to cool for 10 minutes (or longer if needed) until solid.
Notes
Thin if needed: A tiny bit of coconut oil can smooth thick melts.
Work in batches: Fill a few cavities at a time so details stay neat.
Delicate work: If you’re filling small details or letters, it’s easier to use a toothpick to make sure the shapes are filled with the melted chocolate.
Tap then tap again: Removing bubbles gives that glassy finish.
Neat presentation: Use a paring knife to clean the edges after unmolding.
Nutrition


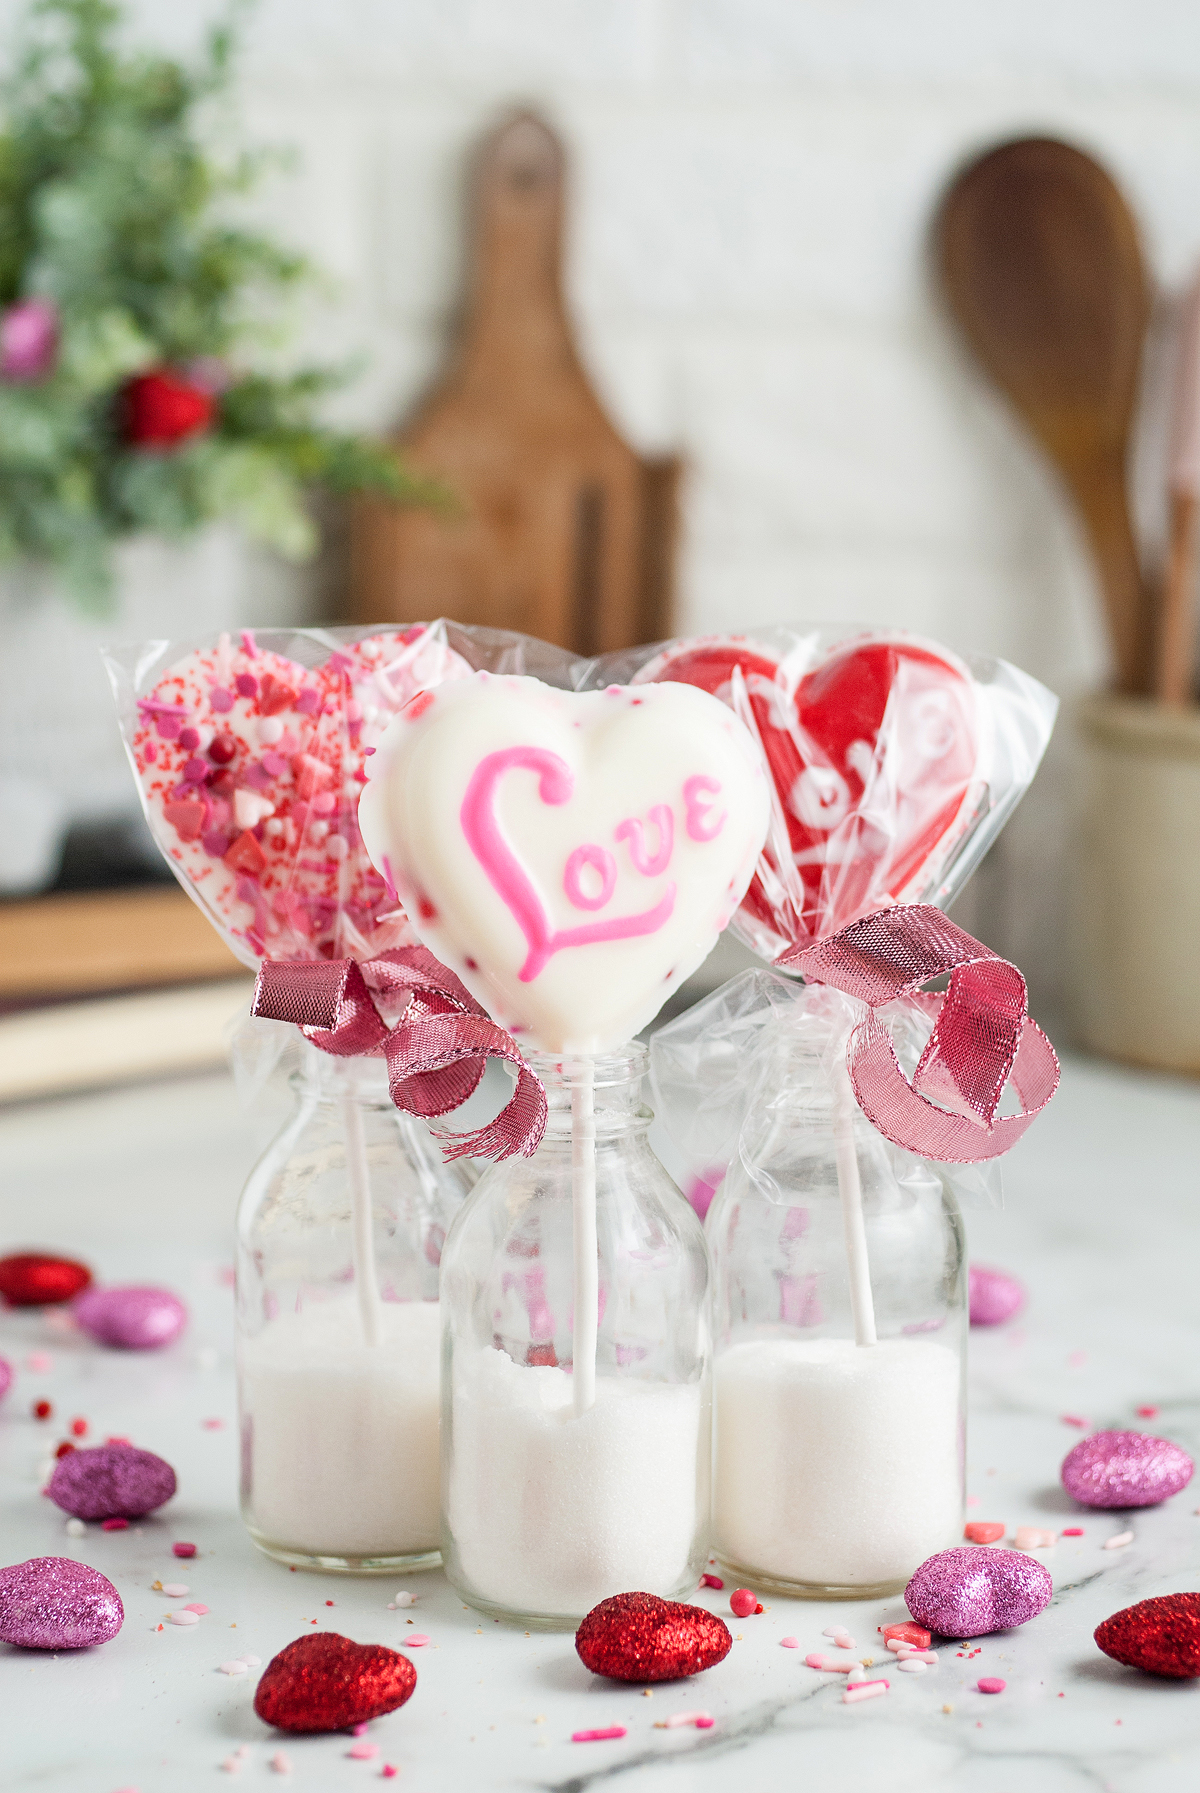
Make Valentine lollipop treats when you want a fast, crafty bake that still looks boutique. The steps are simple, the colors are easy to customize and the finish shines in every light. Paint small details, tap out bubbles and chill until firm for clean edges that hold their shape. Share them with classmates or coworkers, or keep a few for your own sweet break.
Other Recipes to Try


Bella Bucchiotti
Bella Bucchiotti is a Canadian-based syndicated food, travel, and lifestyle writer, photographer, and creator at xoxoBella. She founded xoxoBella in 2015, where she shares her love for food, dogs, sustainability, fitness, crafts, outdoor adventures, travel, and philanthropy to encourage others to run the extra mile, try new recipes, visit unfamiliar places, and stand for a cause. Bella creates stress-free and family-friendly recipes for weeknight dinners and festive feasts.


These look so yummy and perfect for a Valentines Day Celebration
My twins loved this so much! What a fun thing to make for Valentine’s Day!
These are so super cute for Valentines Day treats!
I’d love these. I am all about chocolate. They are so pretty!
I love these! We make things like this for Valentine’s every year!
what a great idea!