This post may contain affiliate links, please see the privacy policy for details.
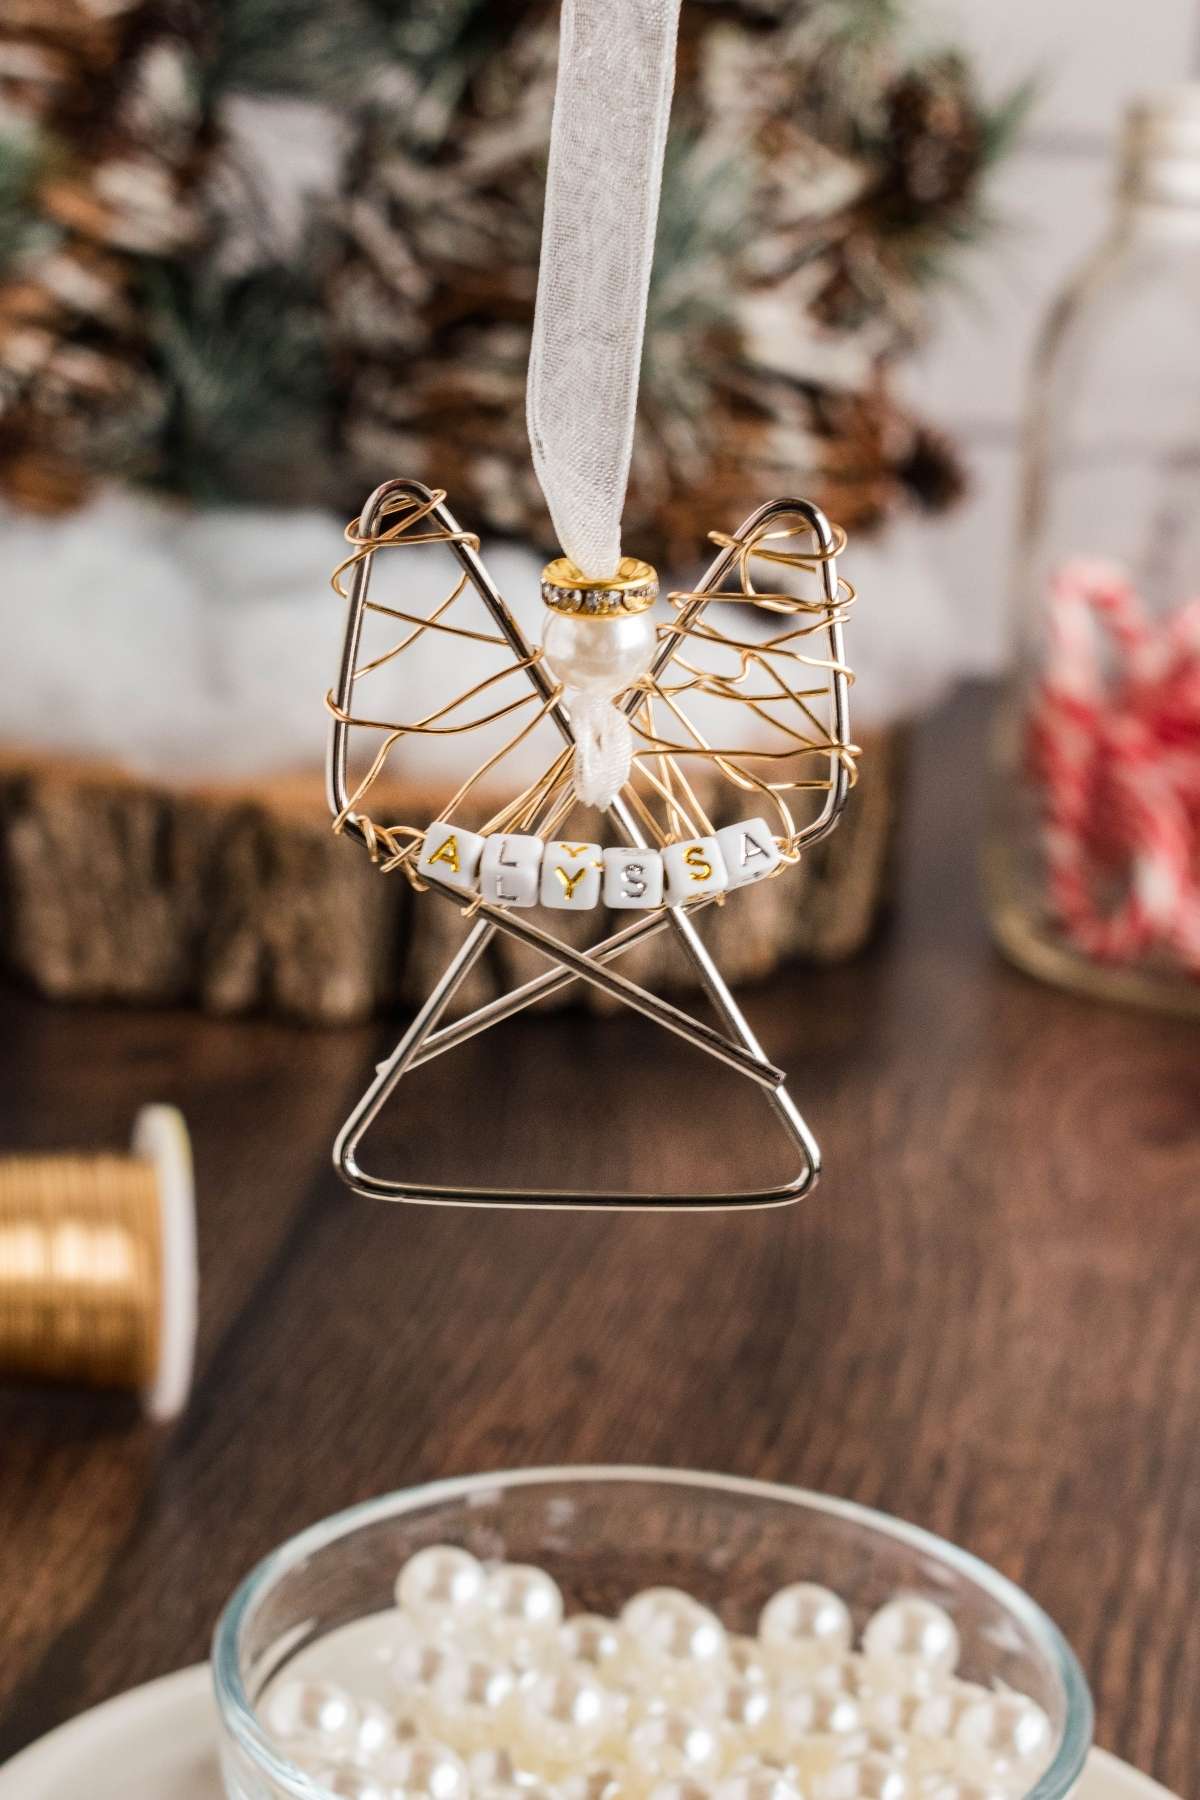
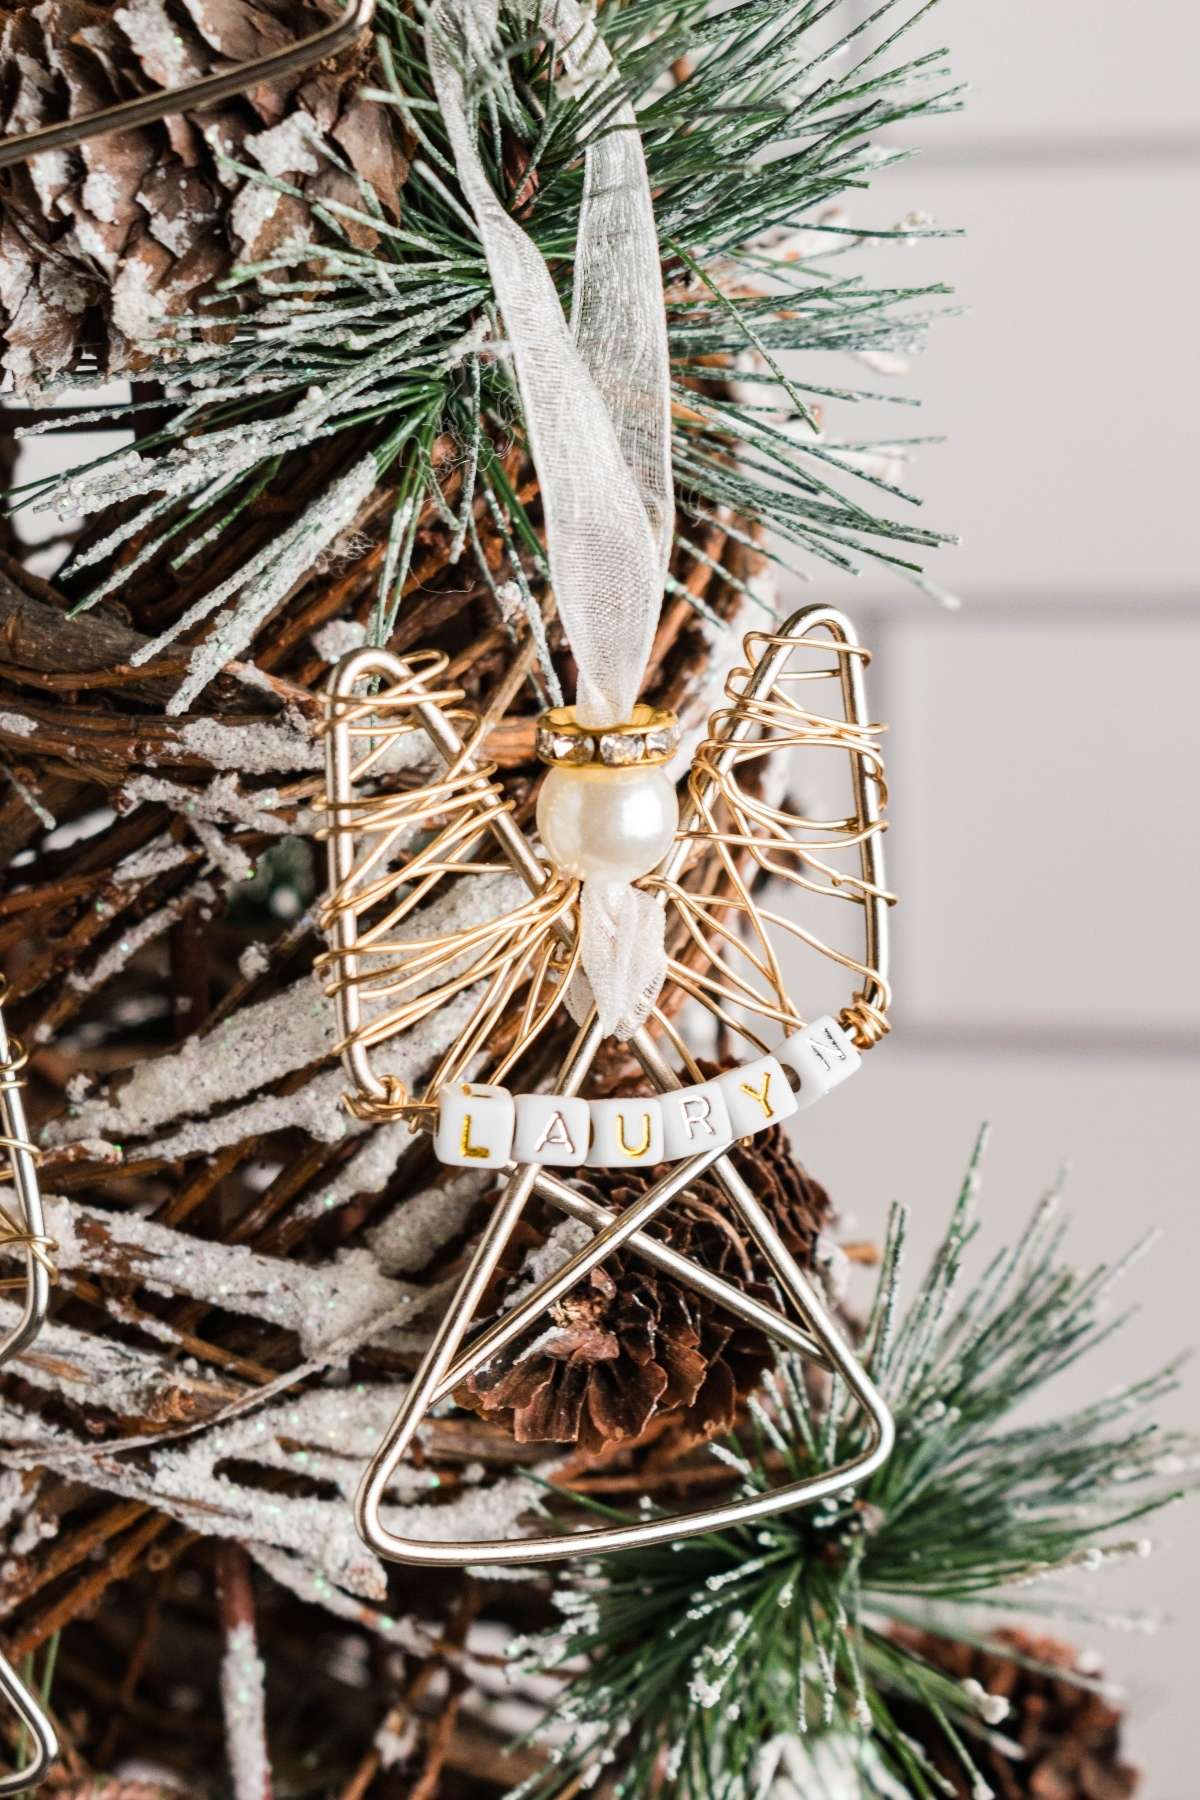
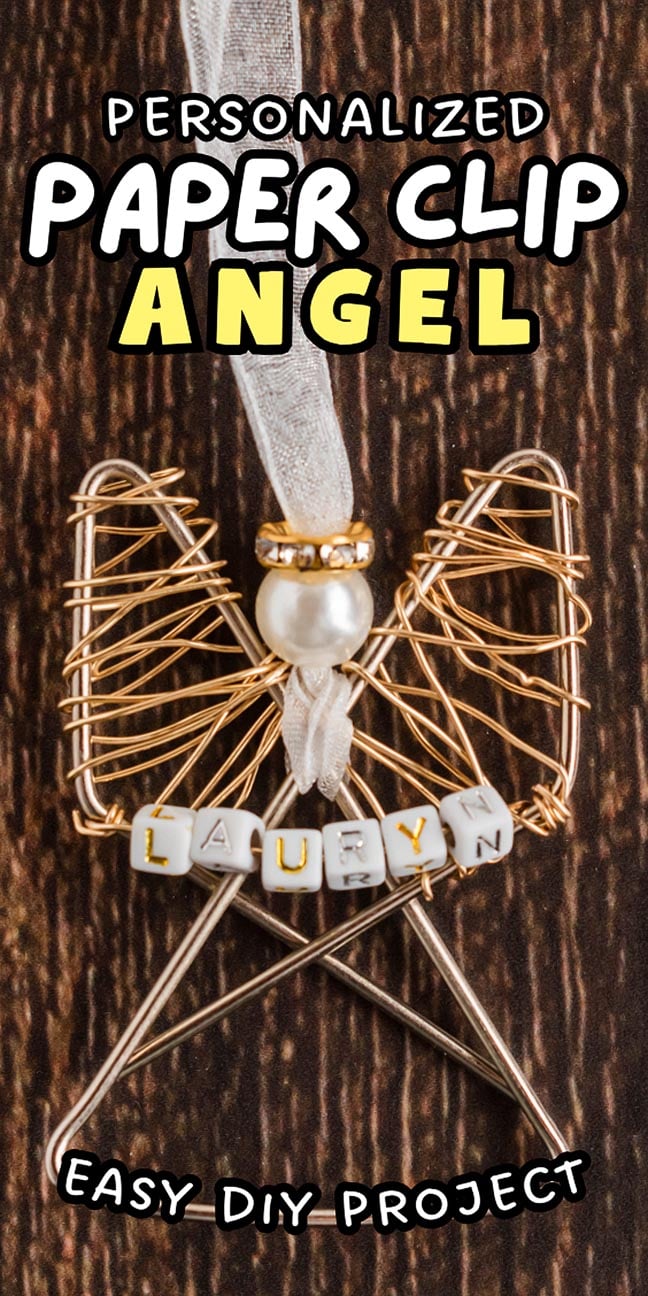
Looking for something super-simple as well as cute to make for the holidays? This easy personalized paper clip angel is an easy craft idea which you can definitely have fun with. You don’t need many materials to make these fun Christmas gifts and you can find all the supplies easily. So, why not make a paperclip angel ornament as a last-minute Christmas gift or decor item?
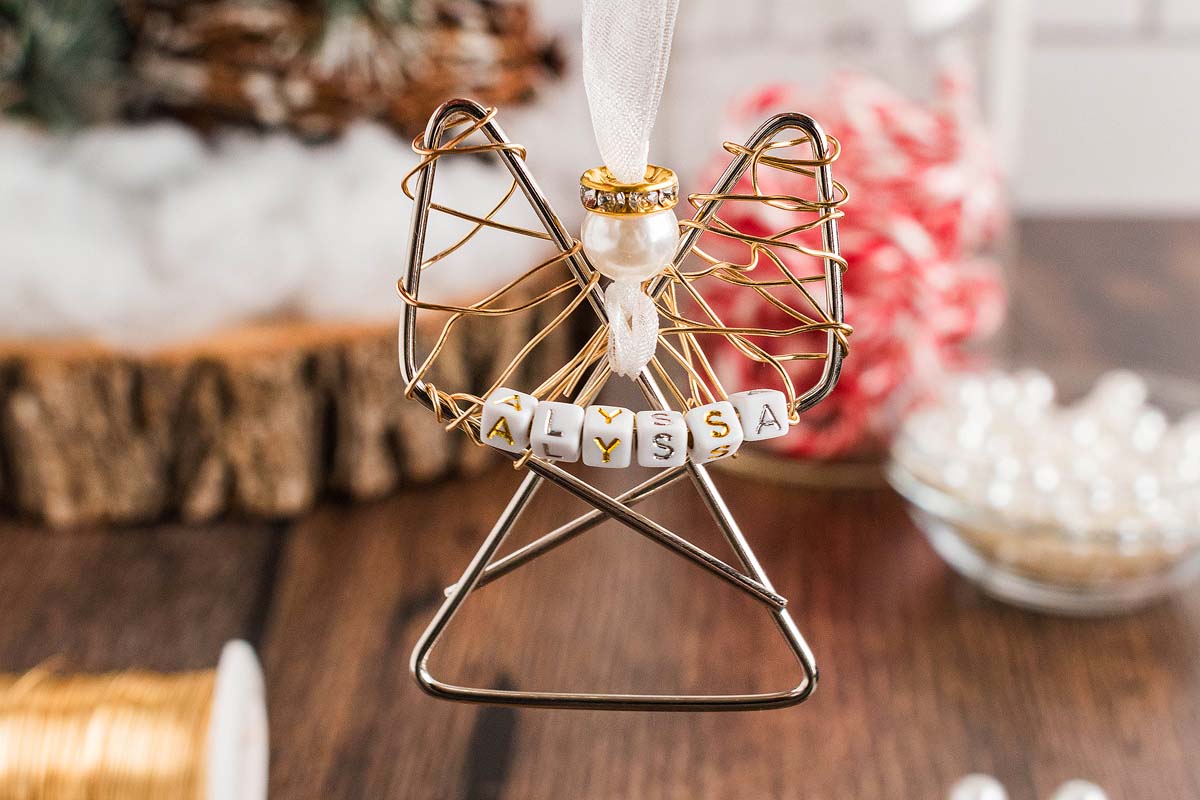
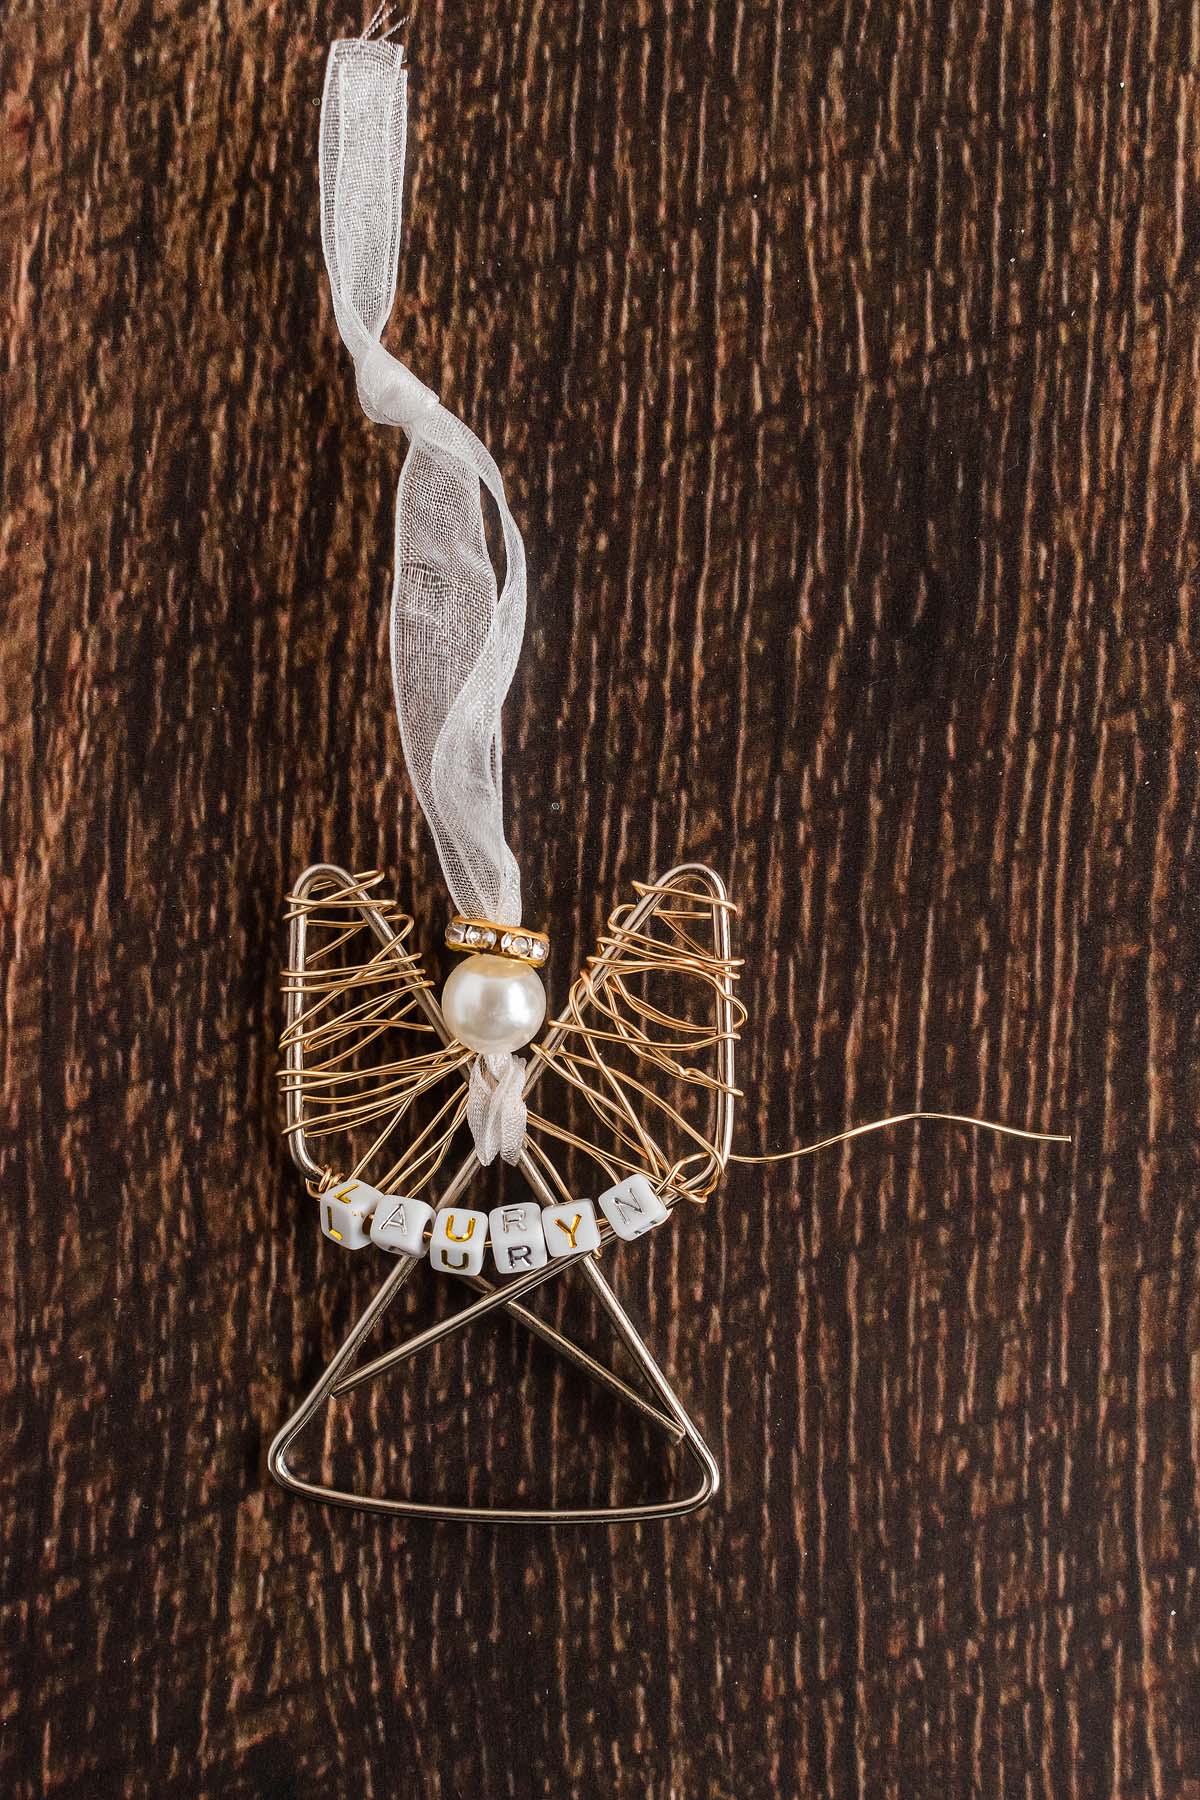
Craft an adorable paper clip angel to enhance your holiday decor. This easy step-by-step tutorial brings a personal touch to your festive celebrations.
You might also like to make Christmas gift card holders, a salt dough gingerbread man garland or this dried orange garland.
Why You’ll Love It
Easy to make: Even a complete crafting beginner will find this fun craft with butterfly paper clips simple to create.
So cute: You can’t deny these mini angels are adorable!
So creative: You can have fun using different colors of beads and adding your own embellishments to these.

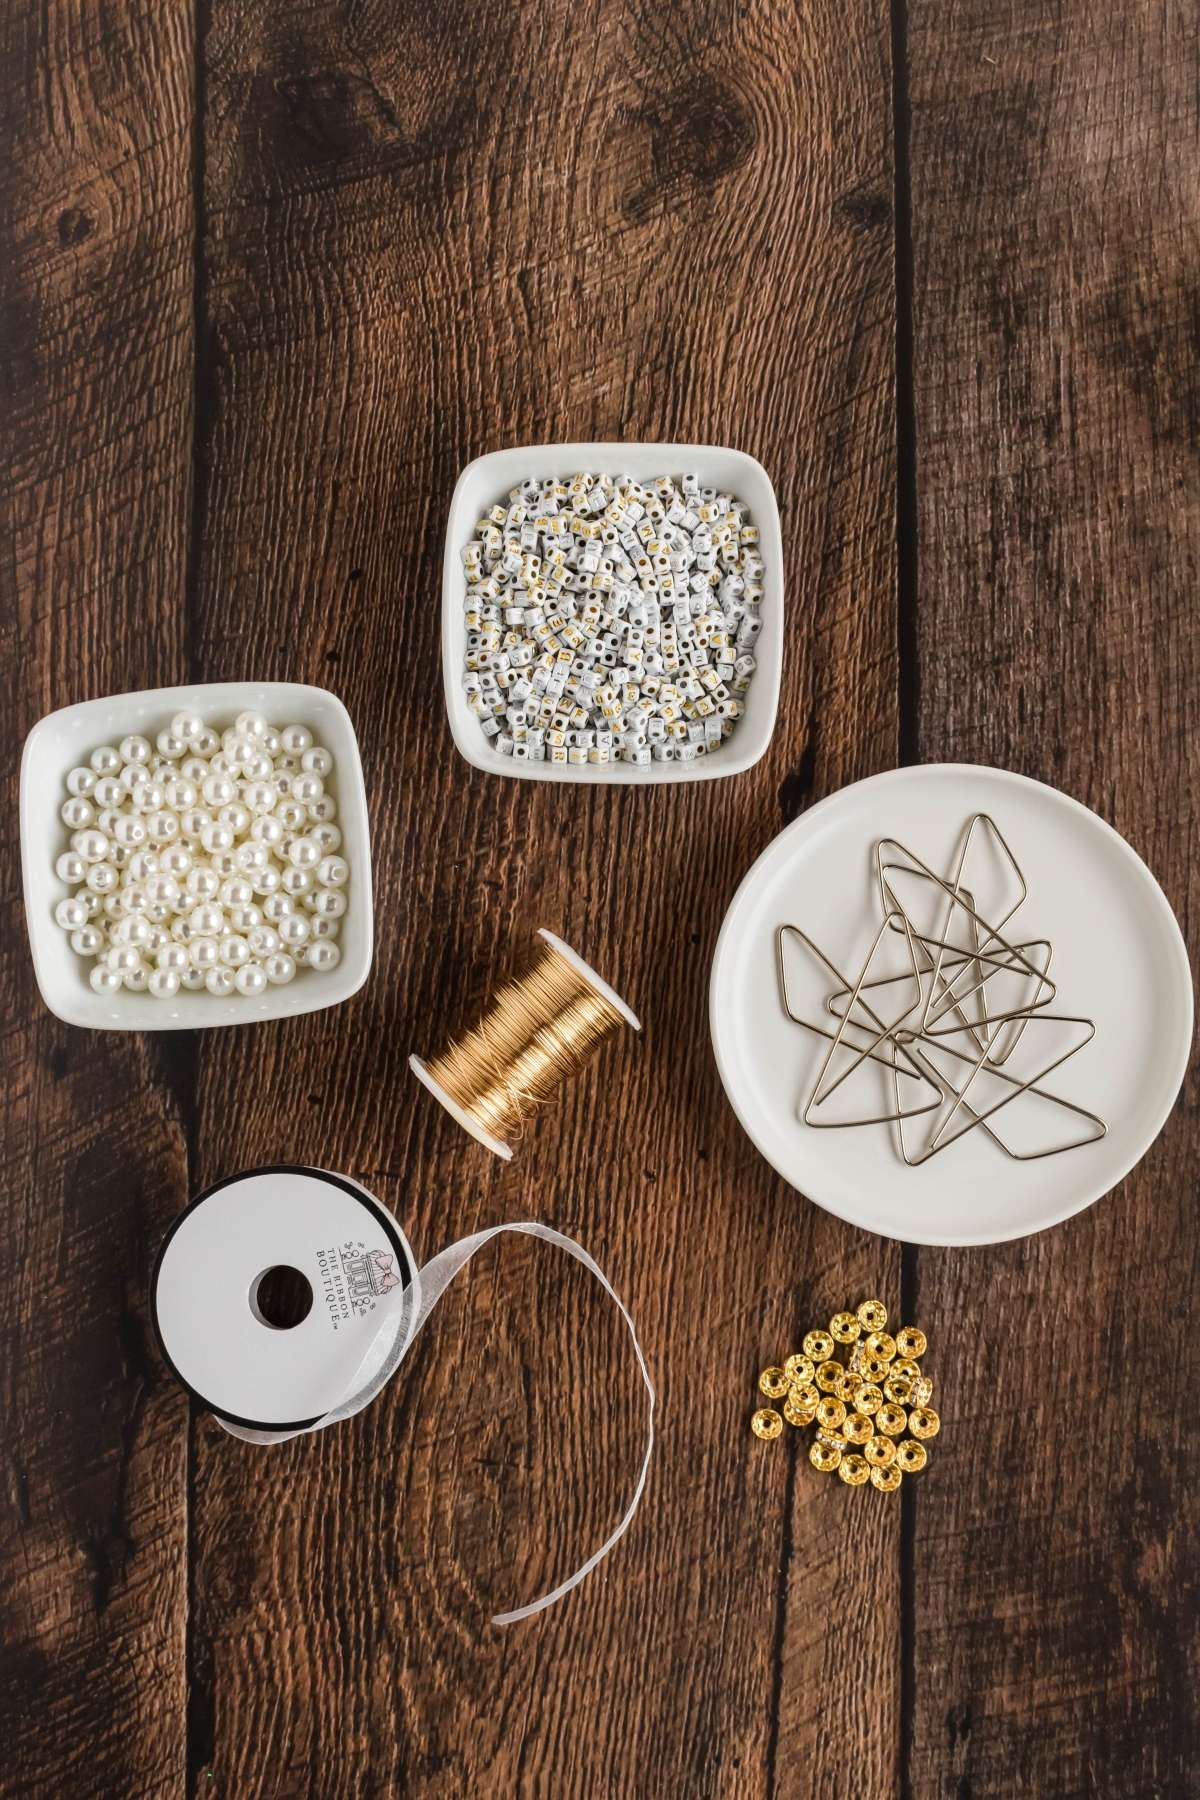
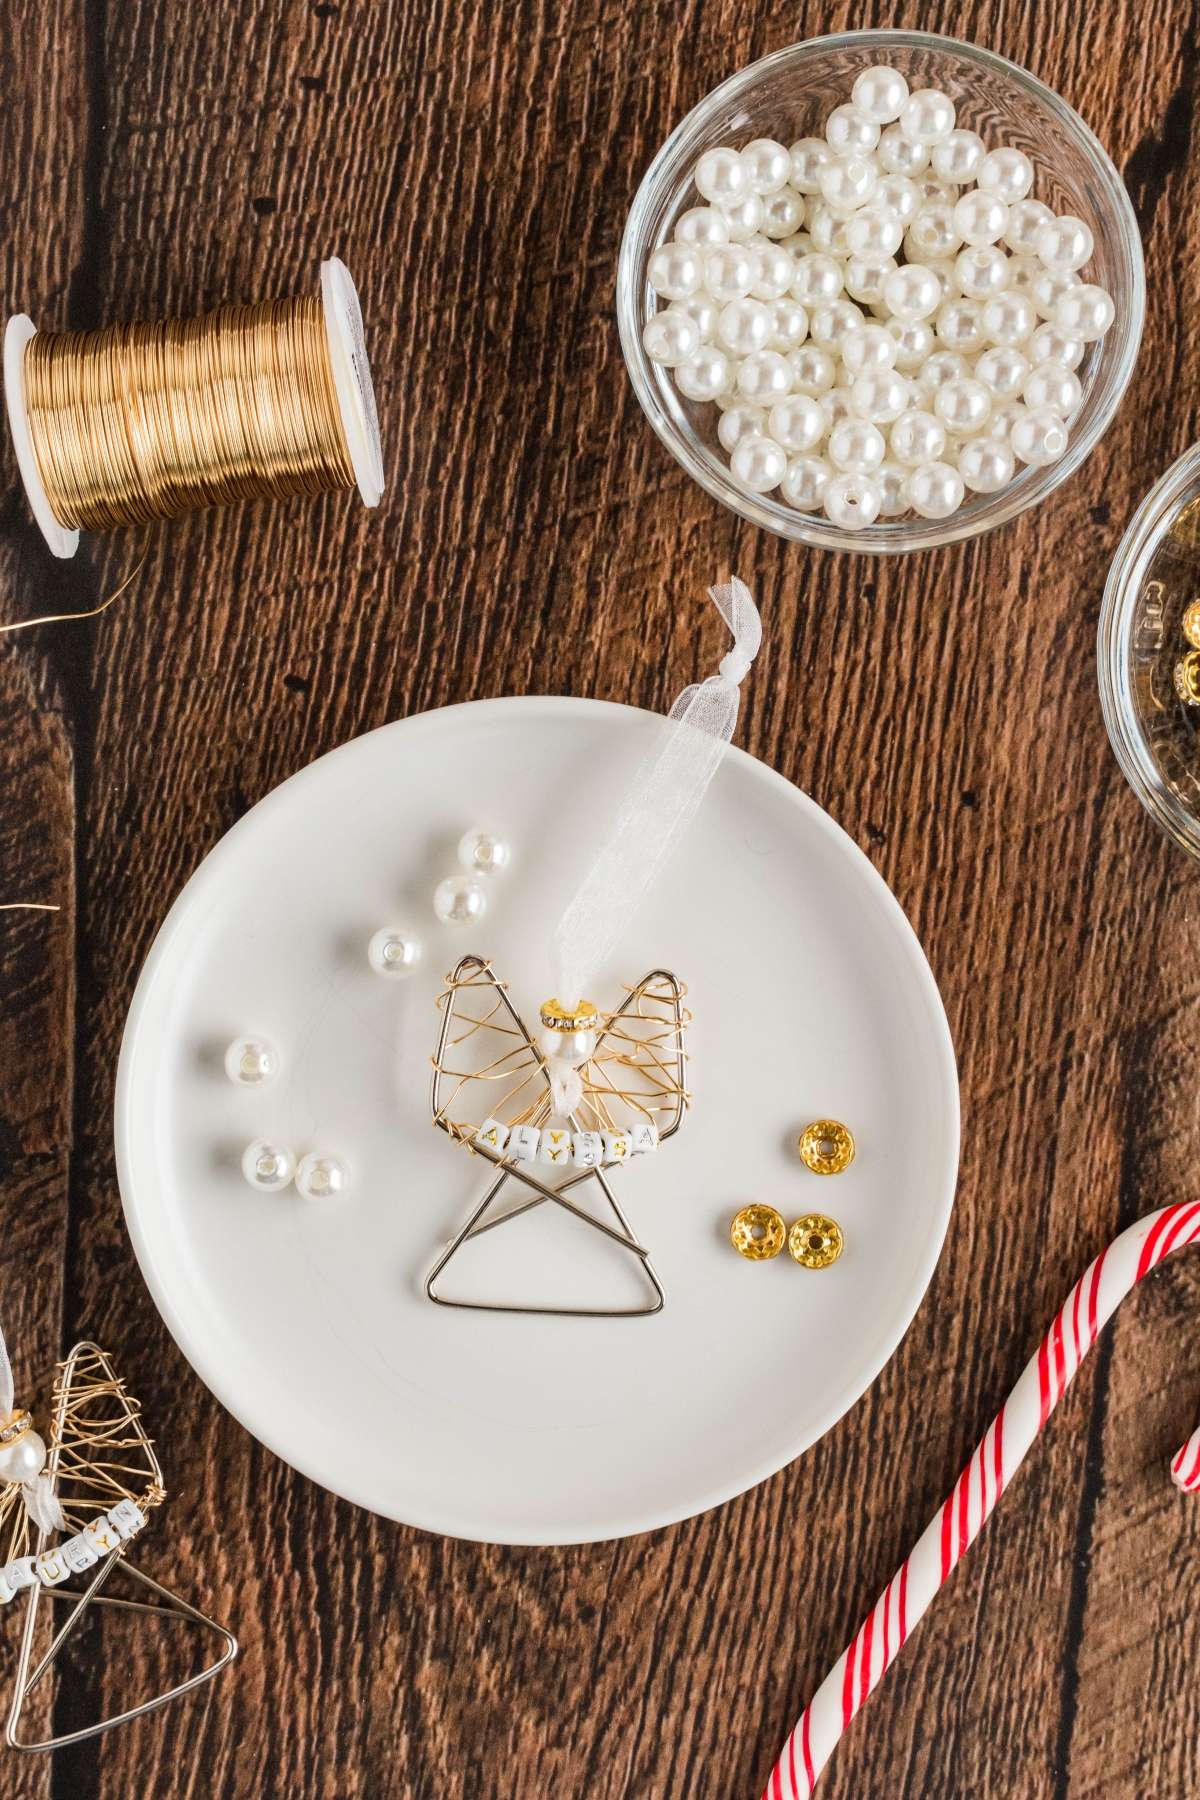
DIY Paper Clip Angel Ornament Materials
A complete list of materials and amounts can be found in the tutorial card below.
Jumbo butterfly paperclips: Get these at office supply stores, Dollar Tree or online (I used these!)
Beads: You need pearl beads and disc spacer beads.
Gold wire: I used this 22-guage gold wire to make mine!
White nylon ribbon: To hang them up.
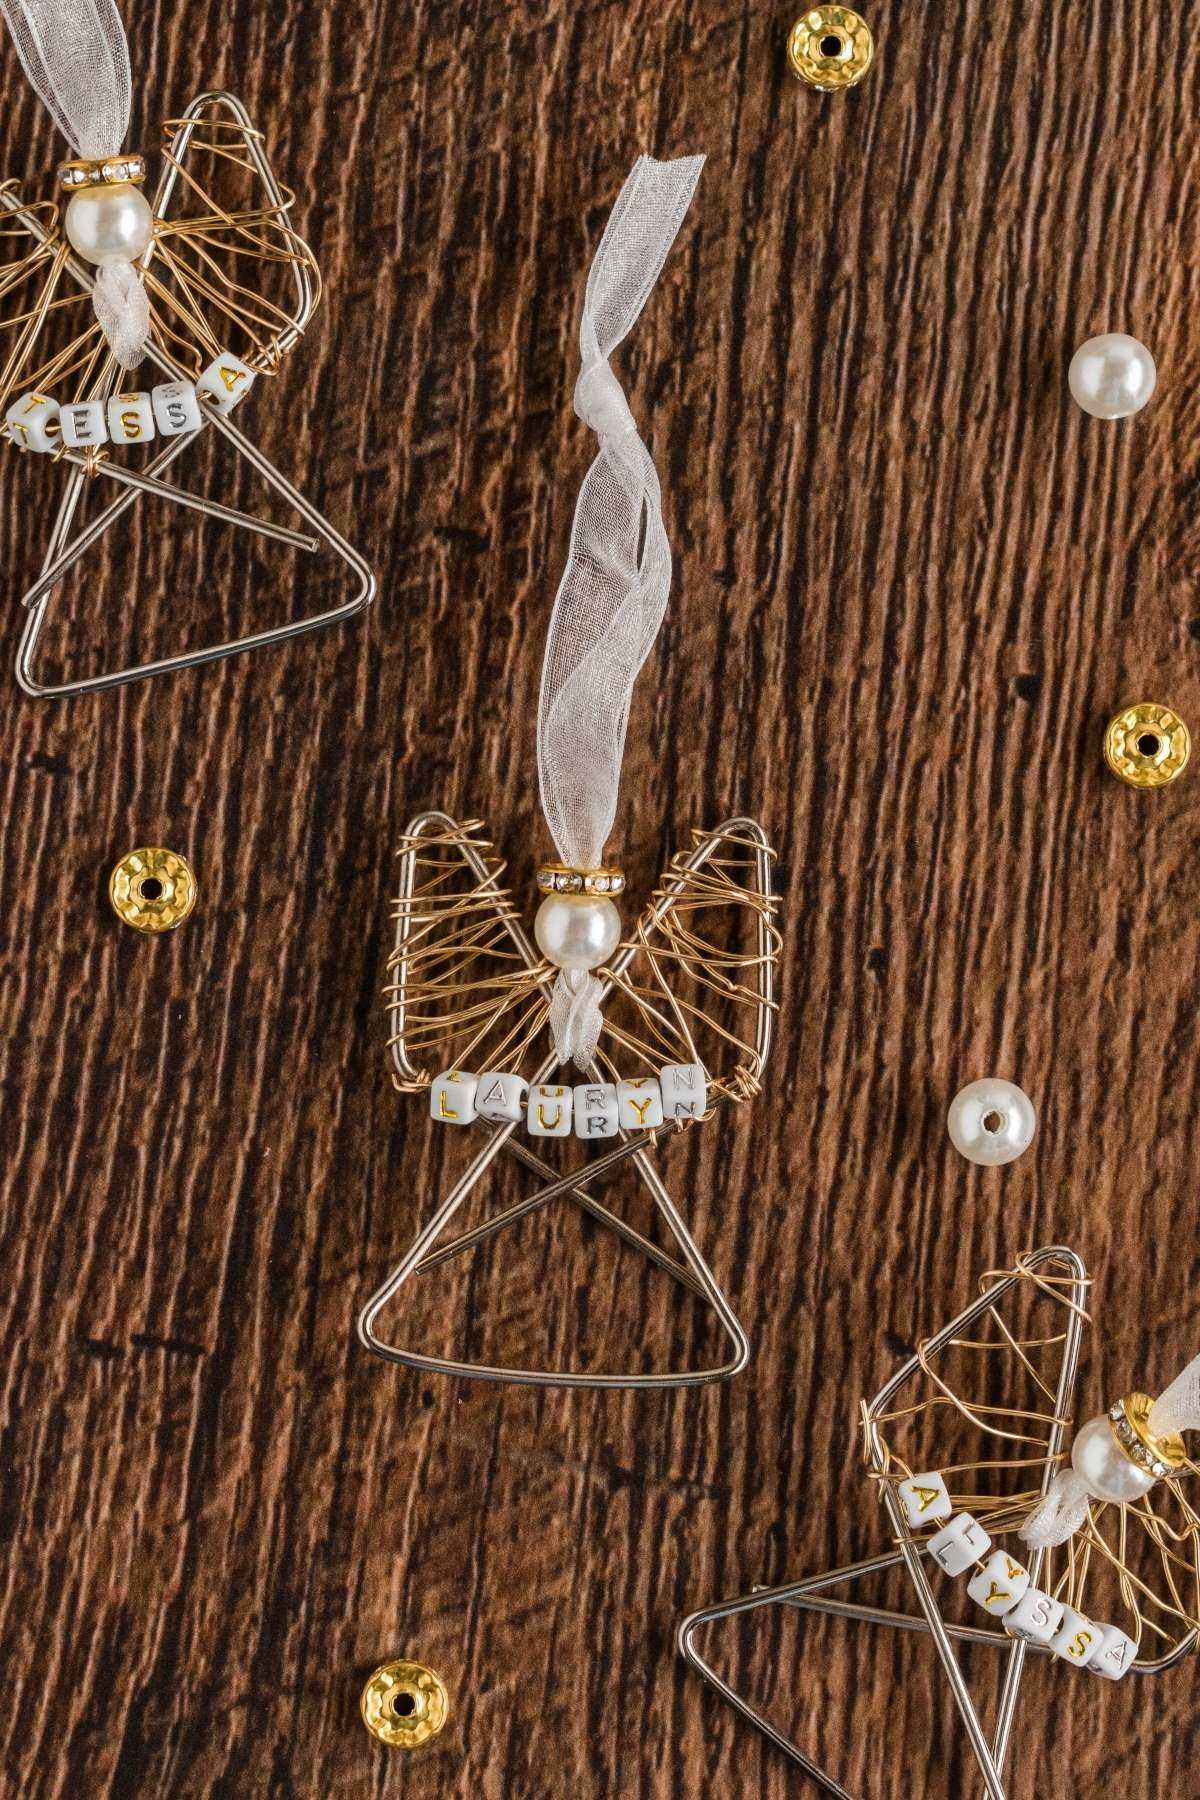
Letter beads: Gold and silver letter beads personalize your angel ornament with a name.
How to Make a Personalized Paper Clip Angel Ornament
For more detailed instructions, jump to the printable tutorial card.
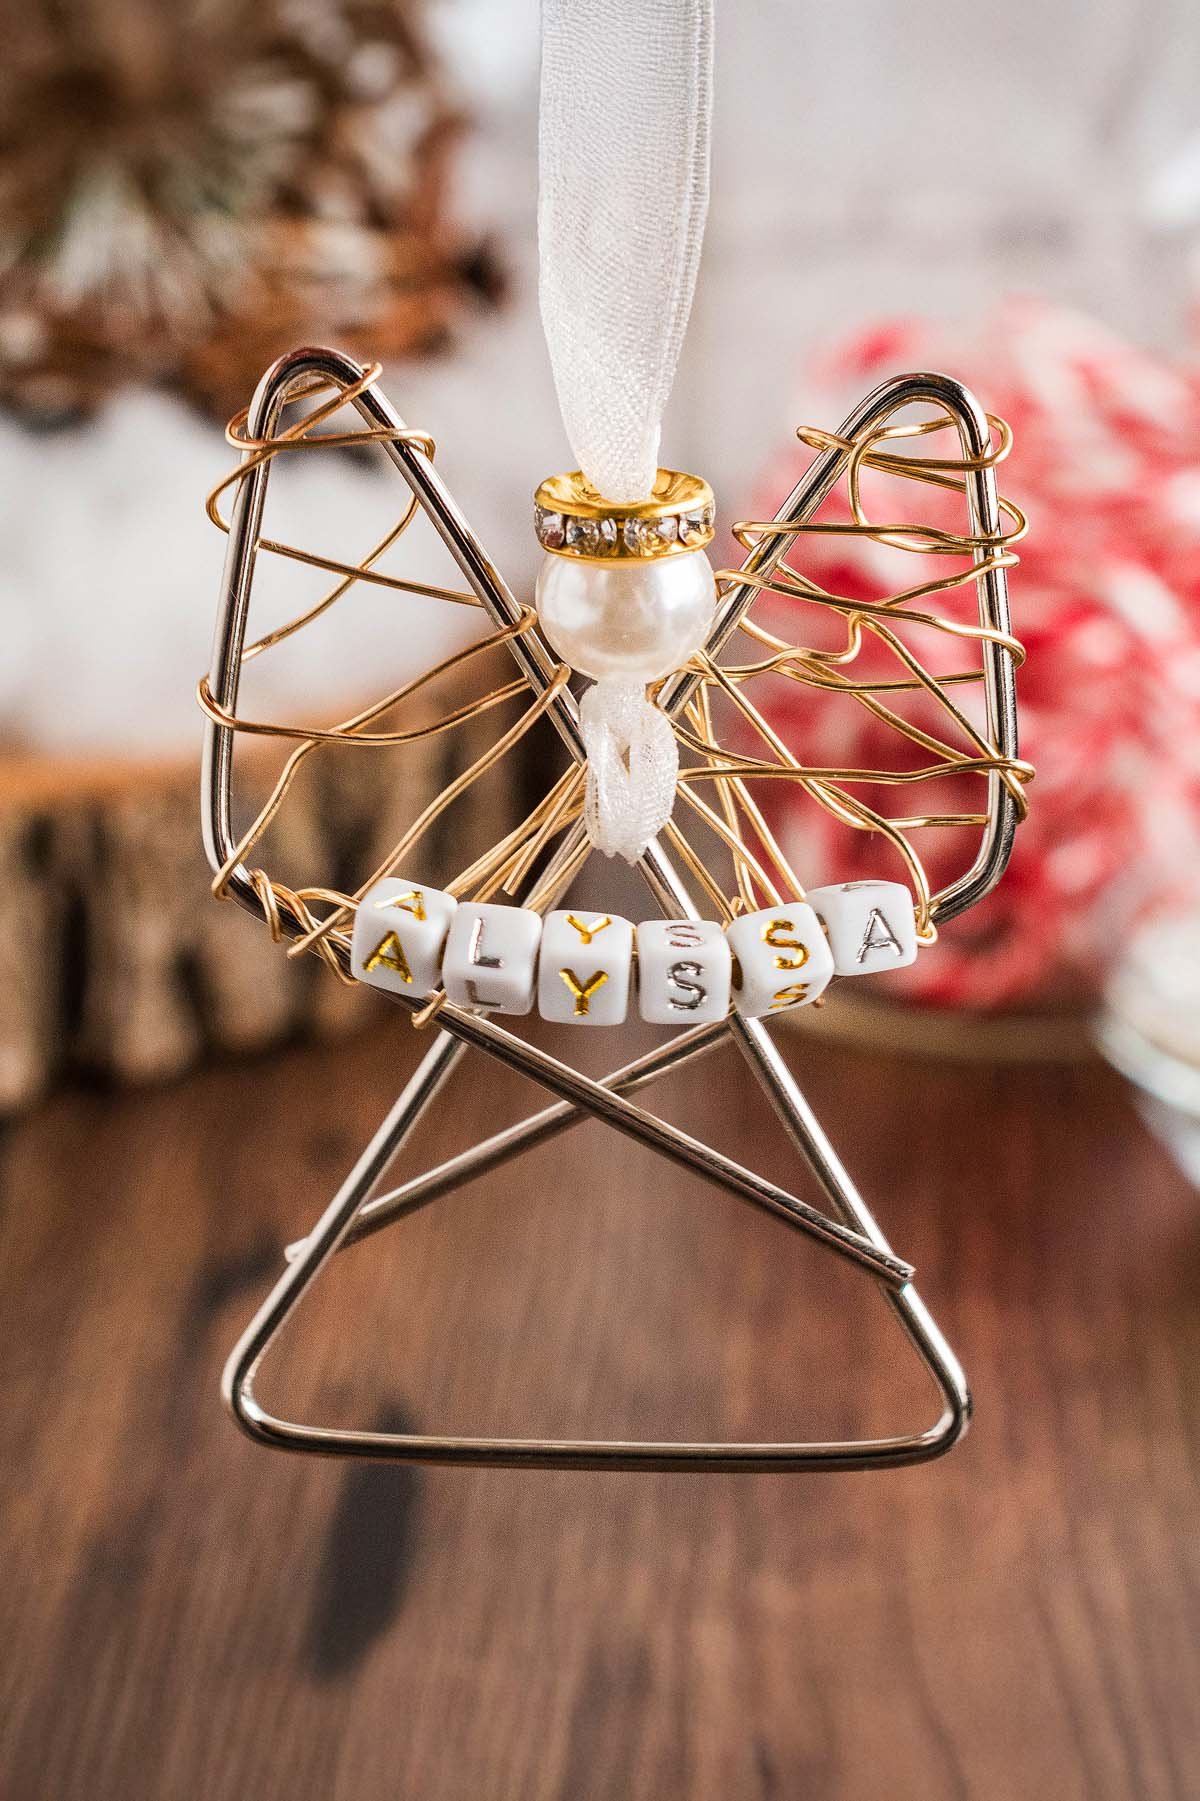
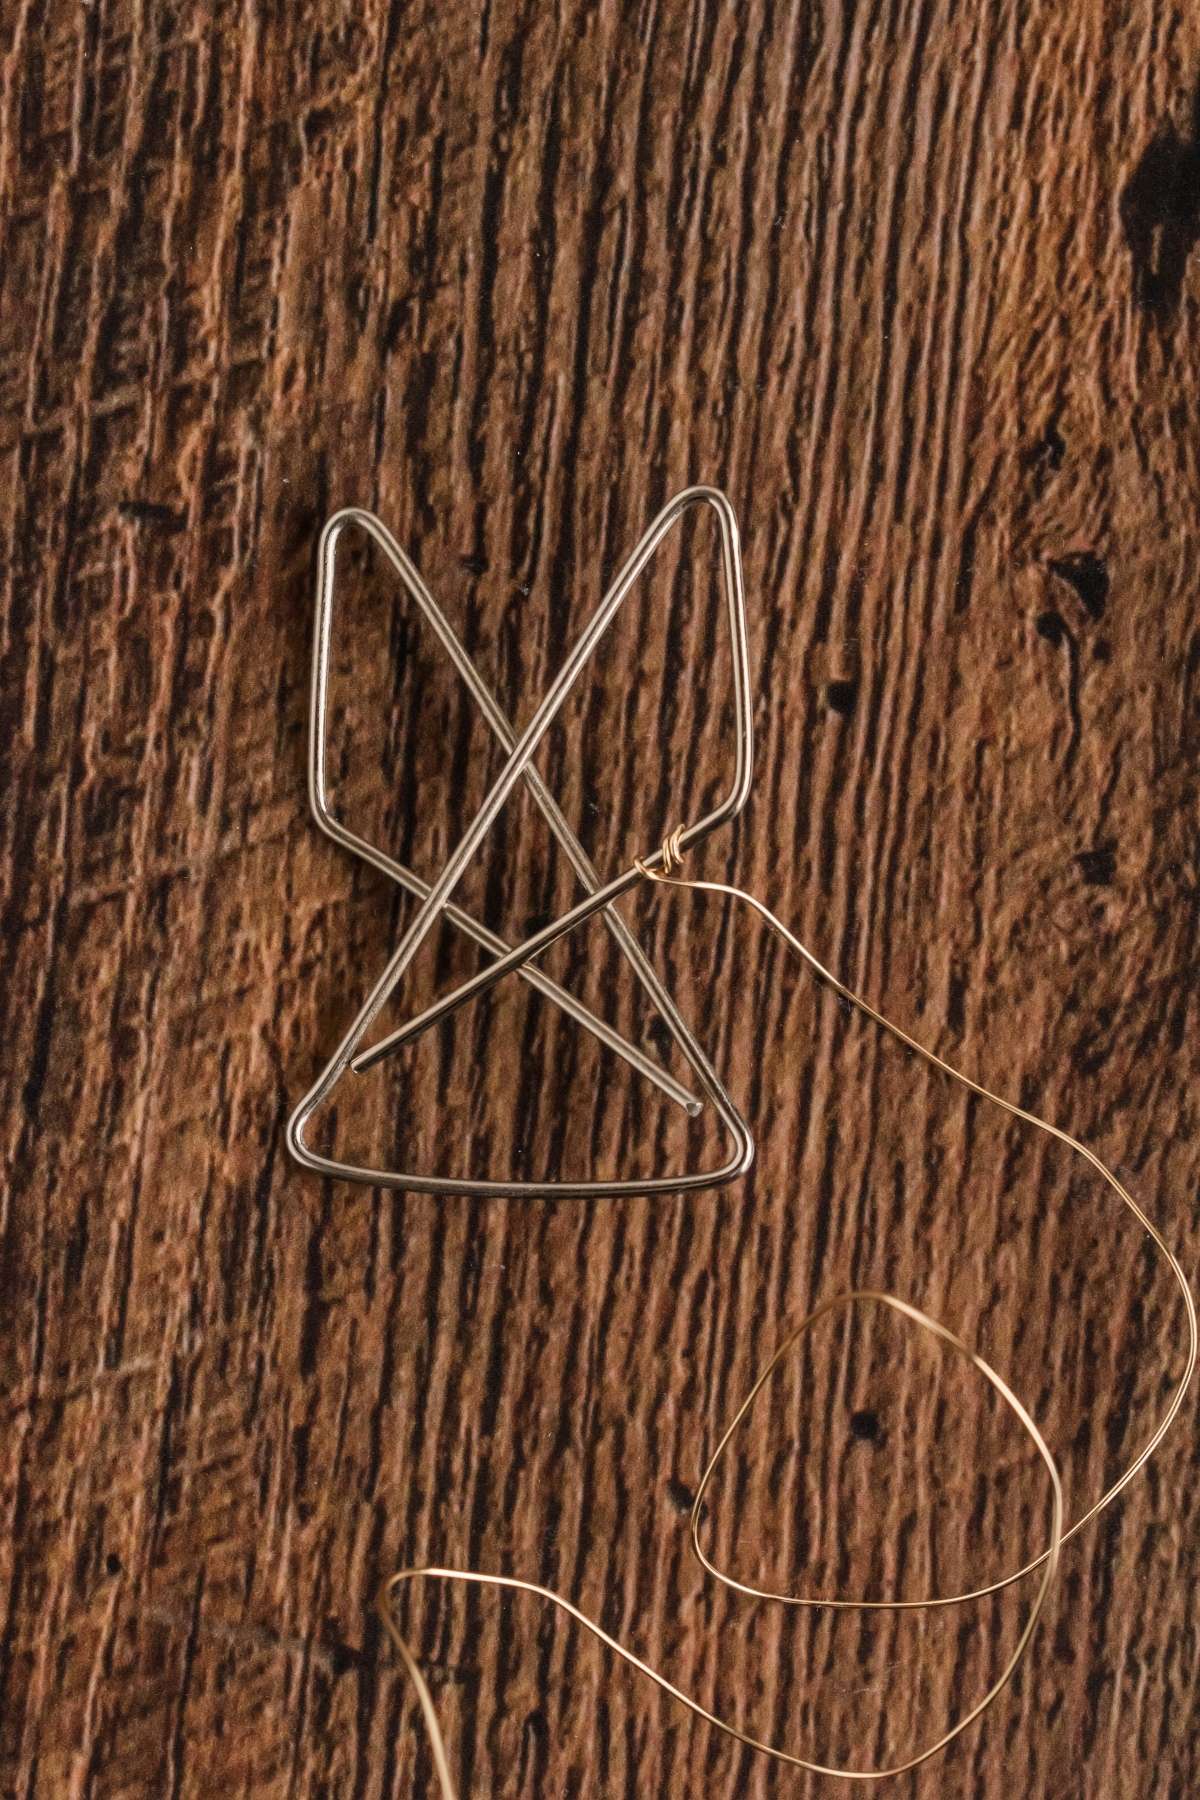
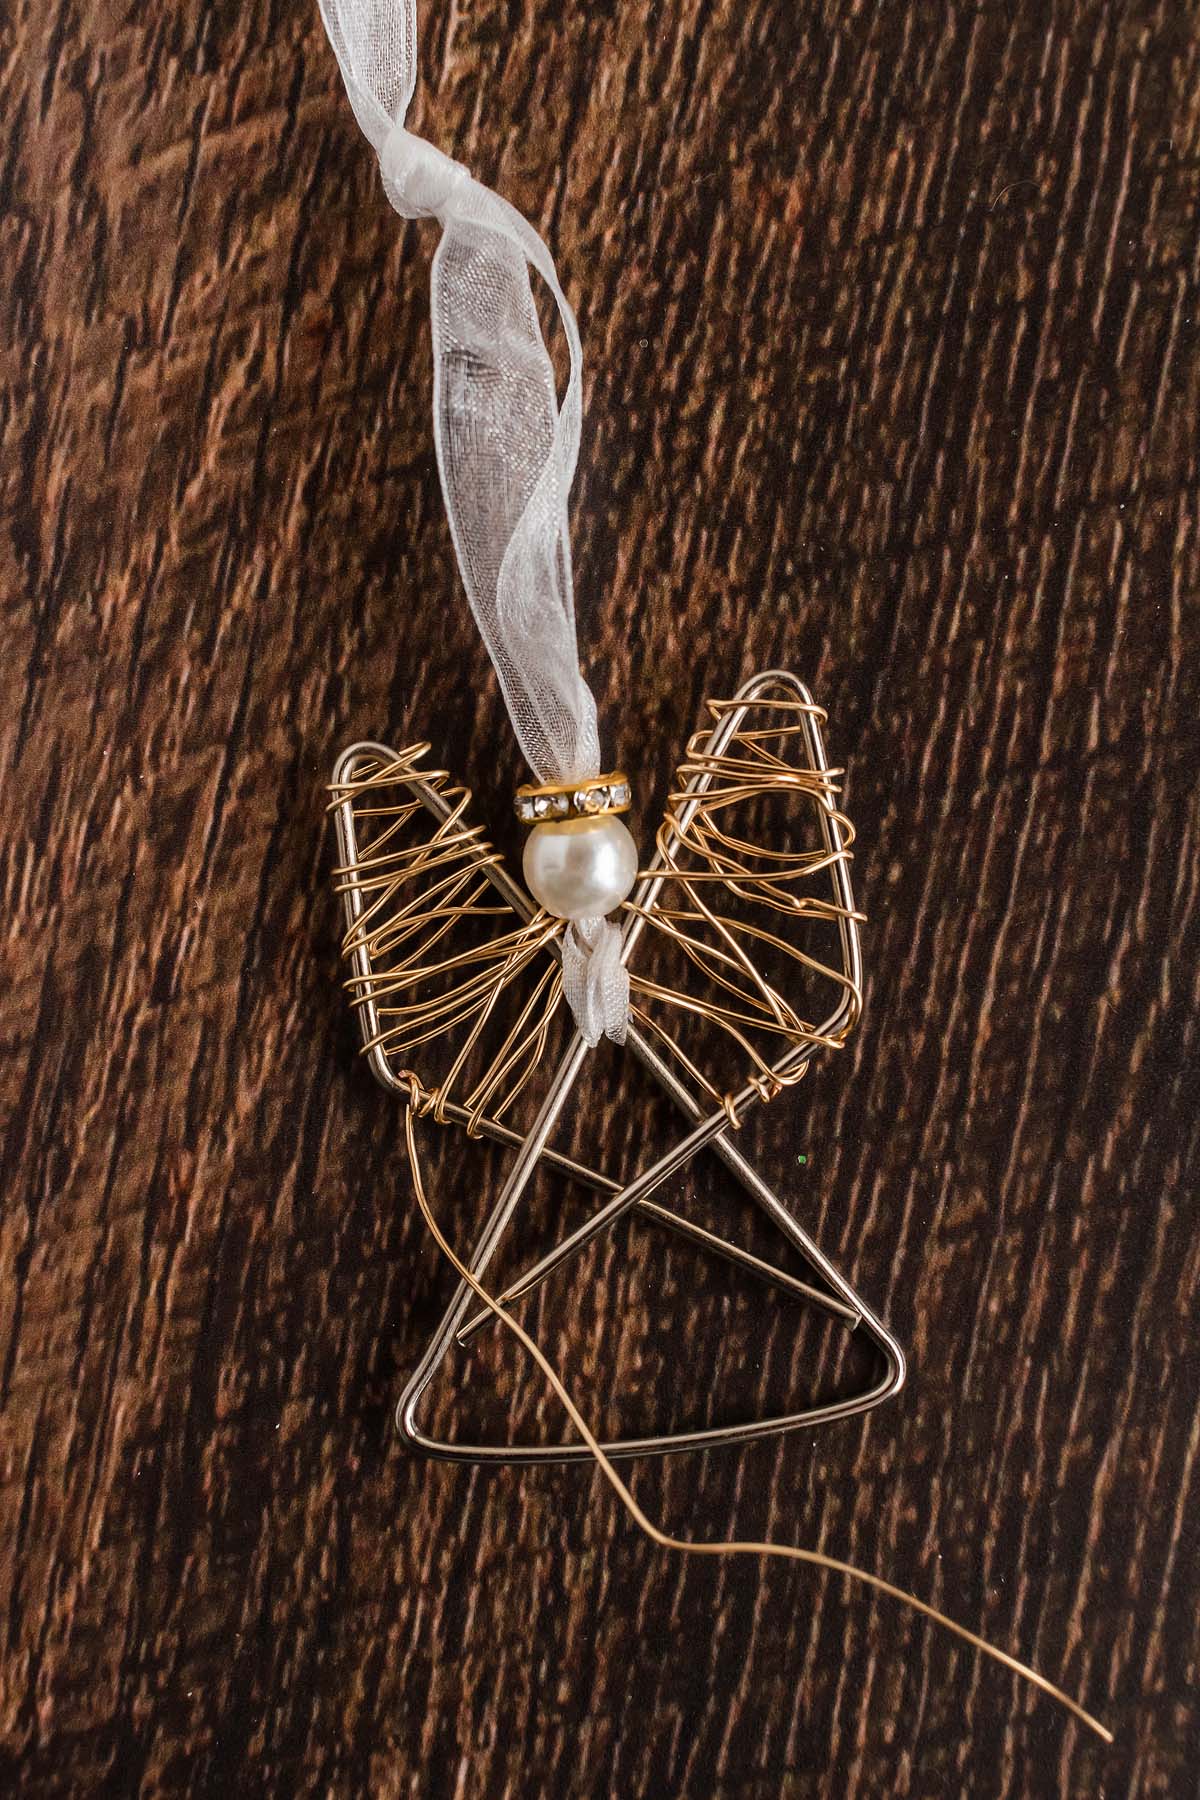
Make the wings: Wrap the gold wire up and down the paper clip shaped into wings, pinching the ends with needle nosed pliers.
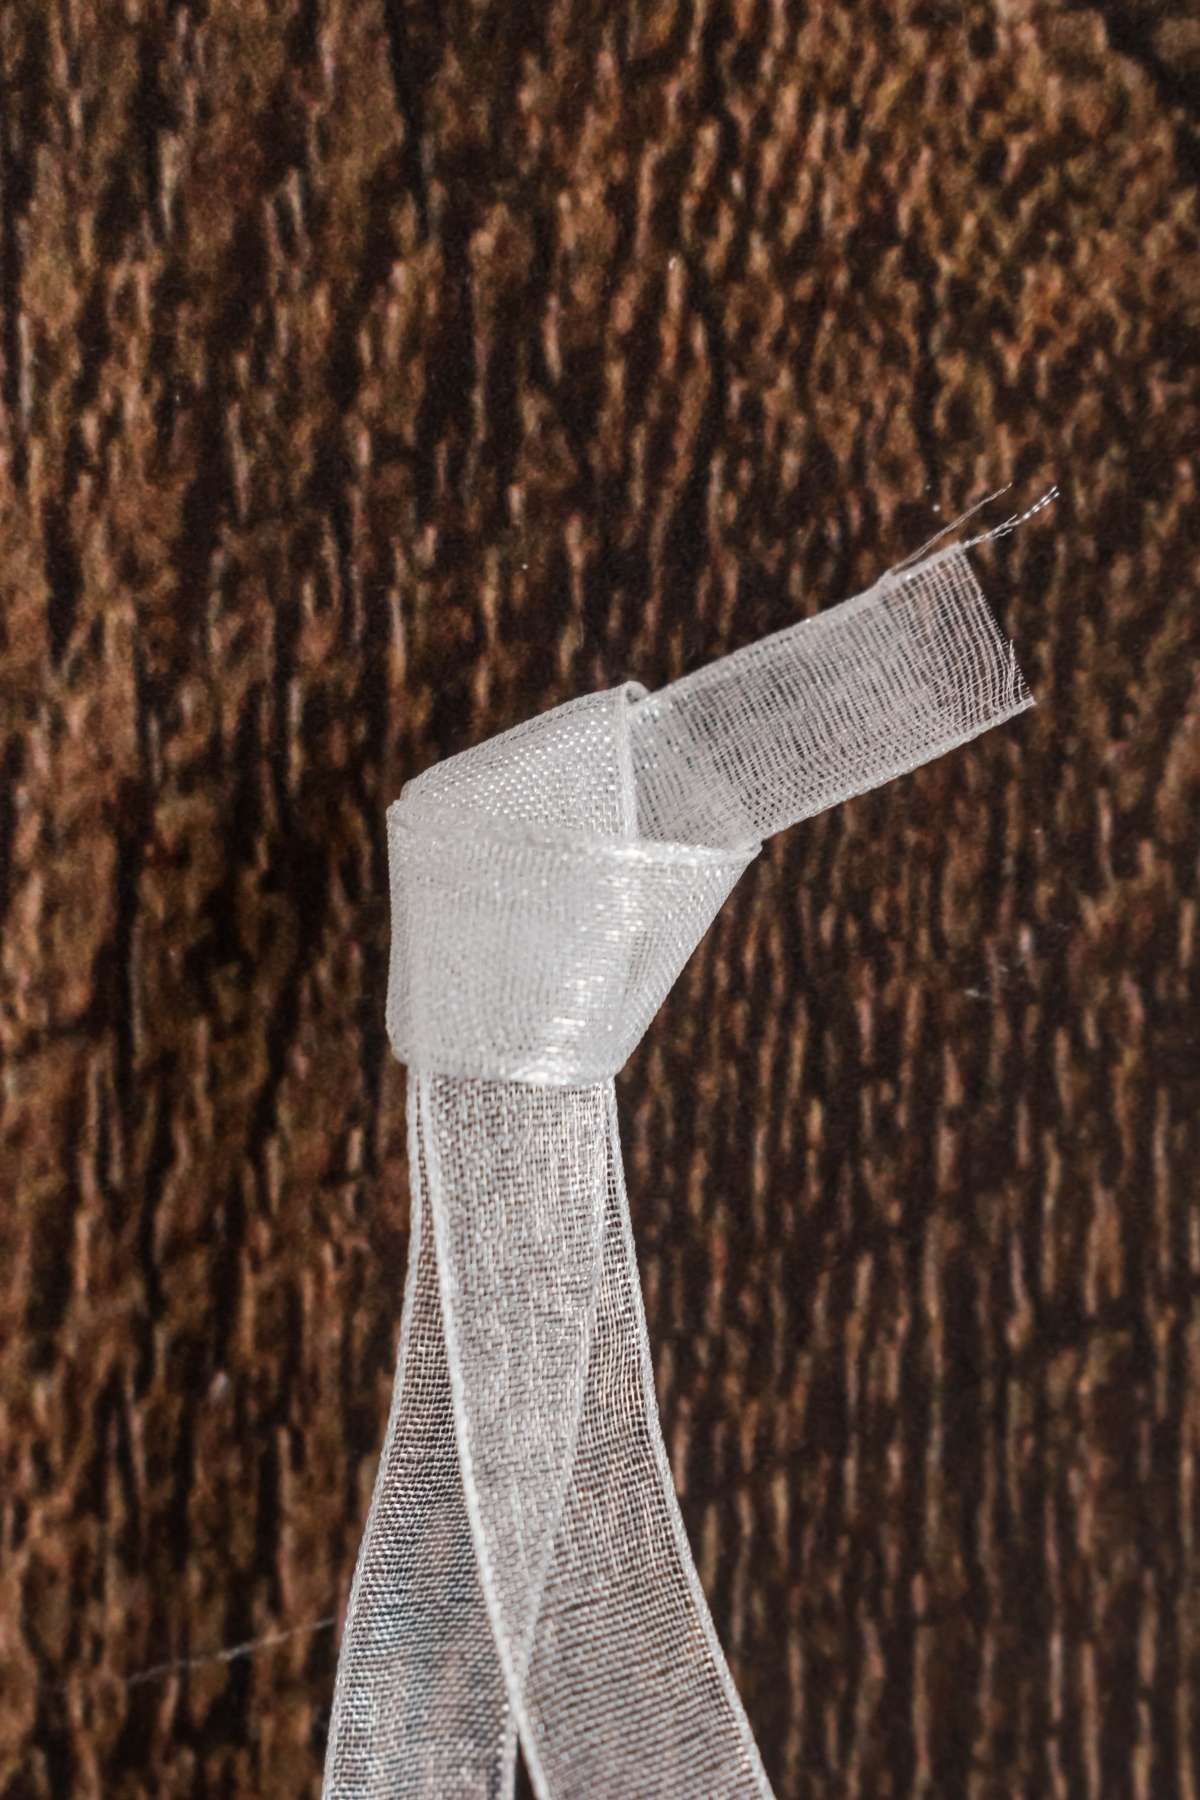
Add the ribbon: Make a loop end knot or similar with the ribbon so you can hang the angel ornament up.
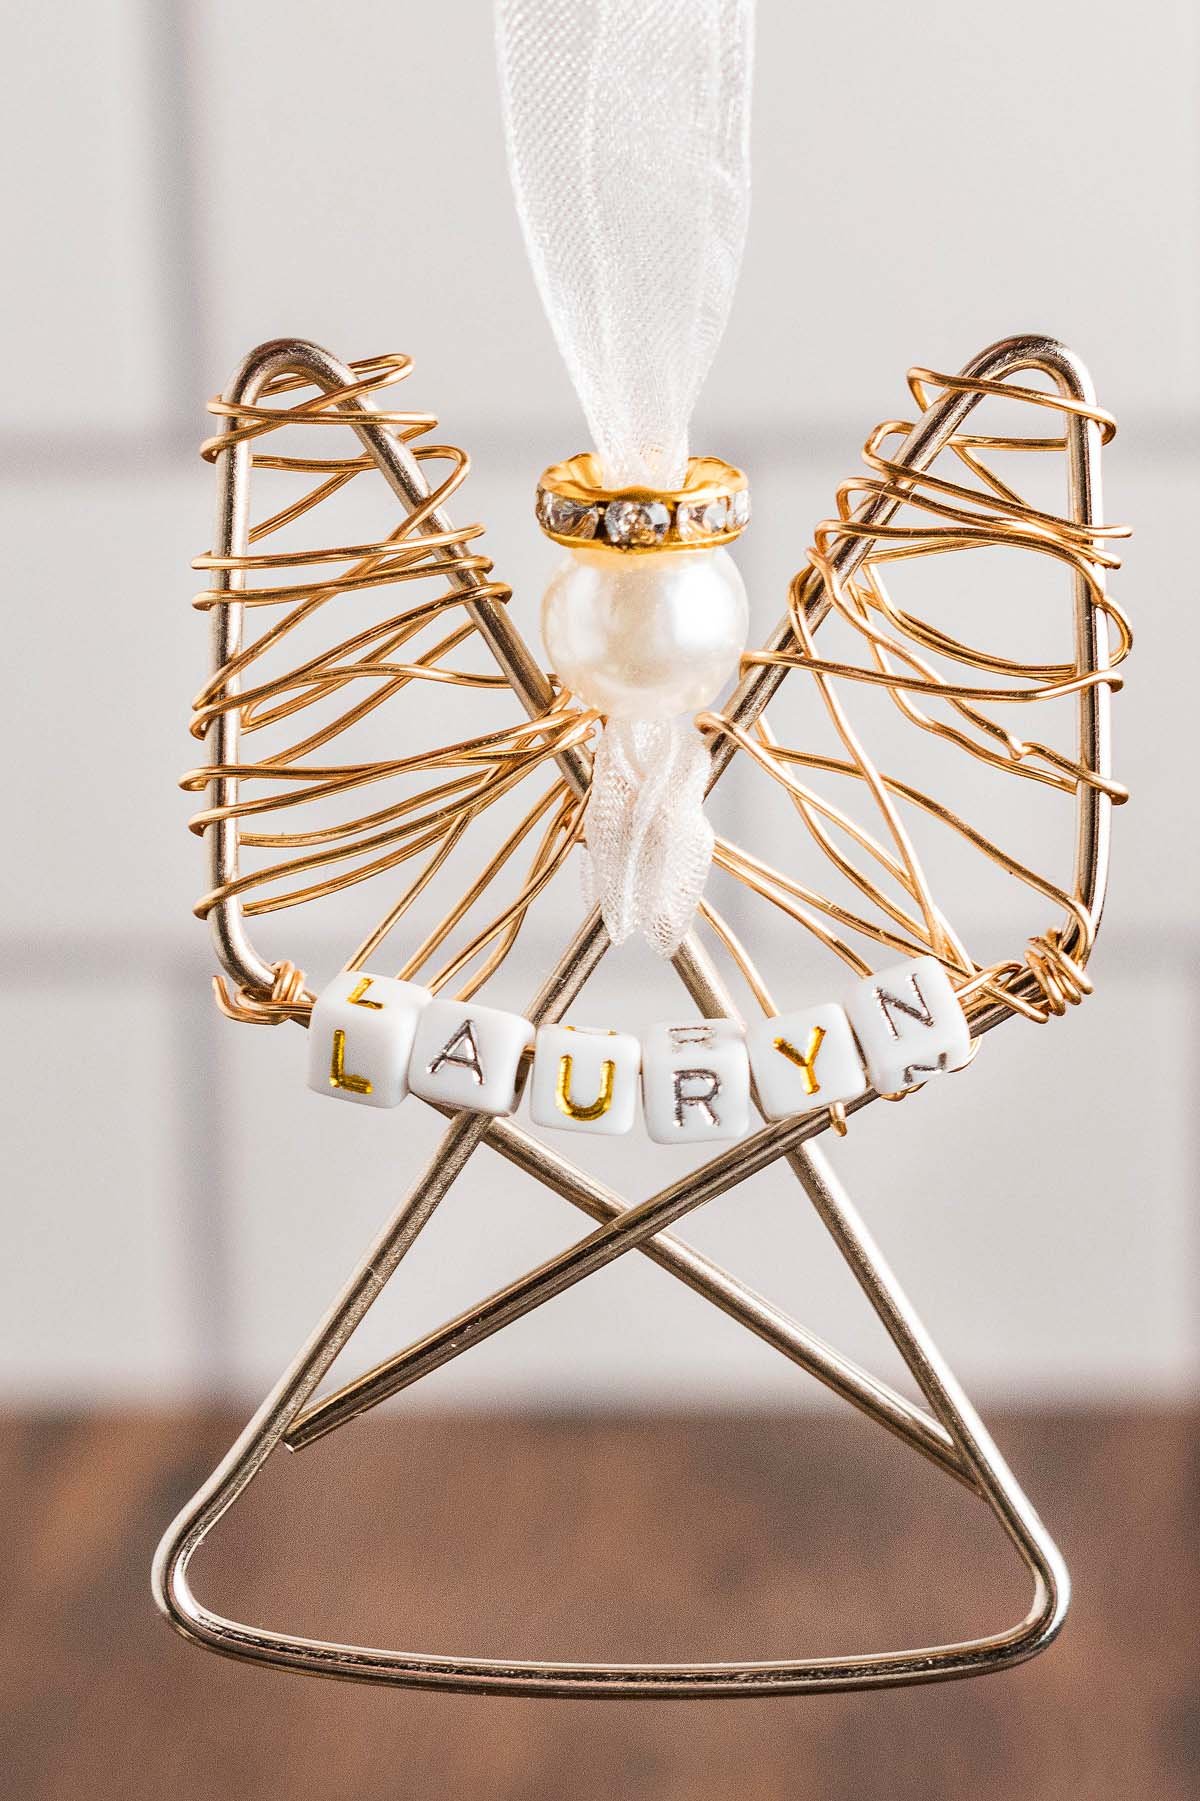
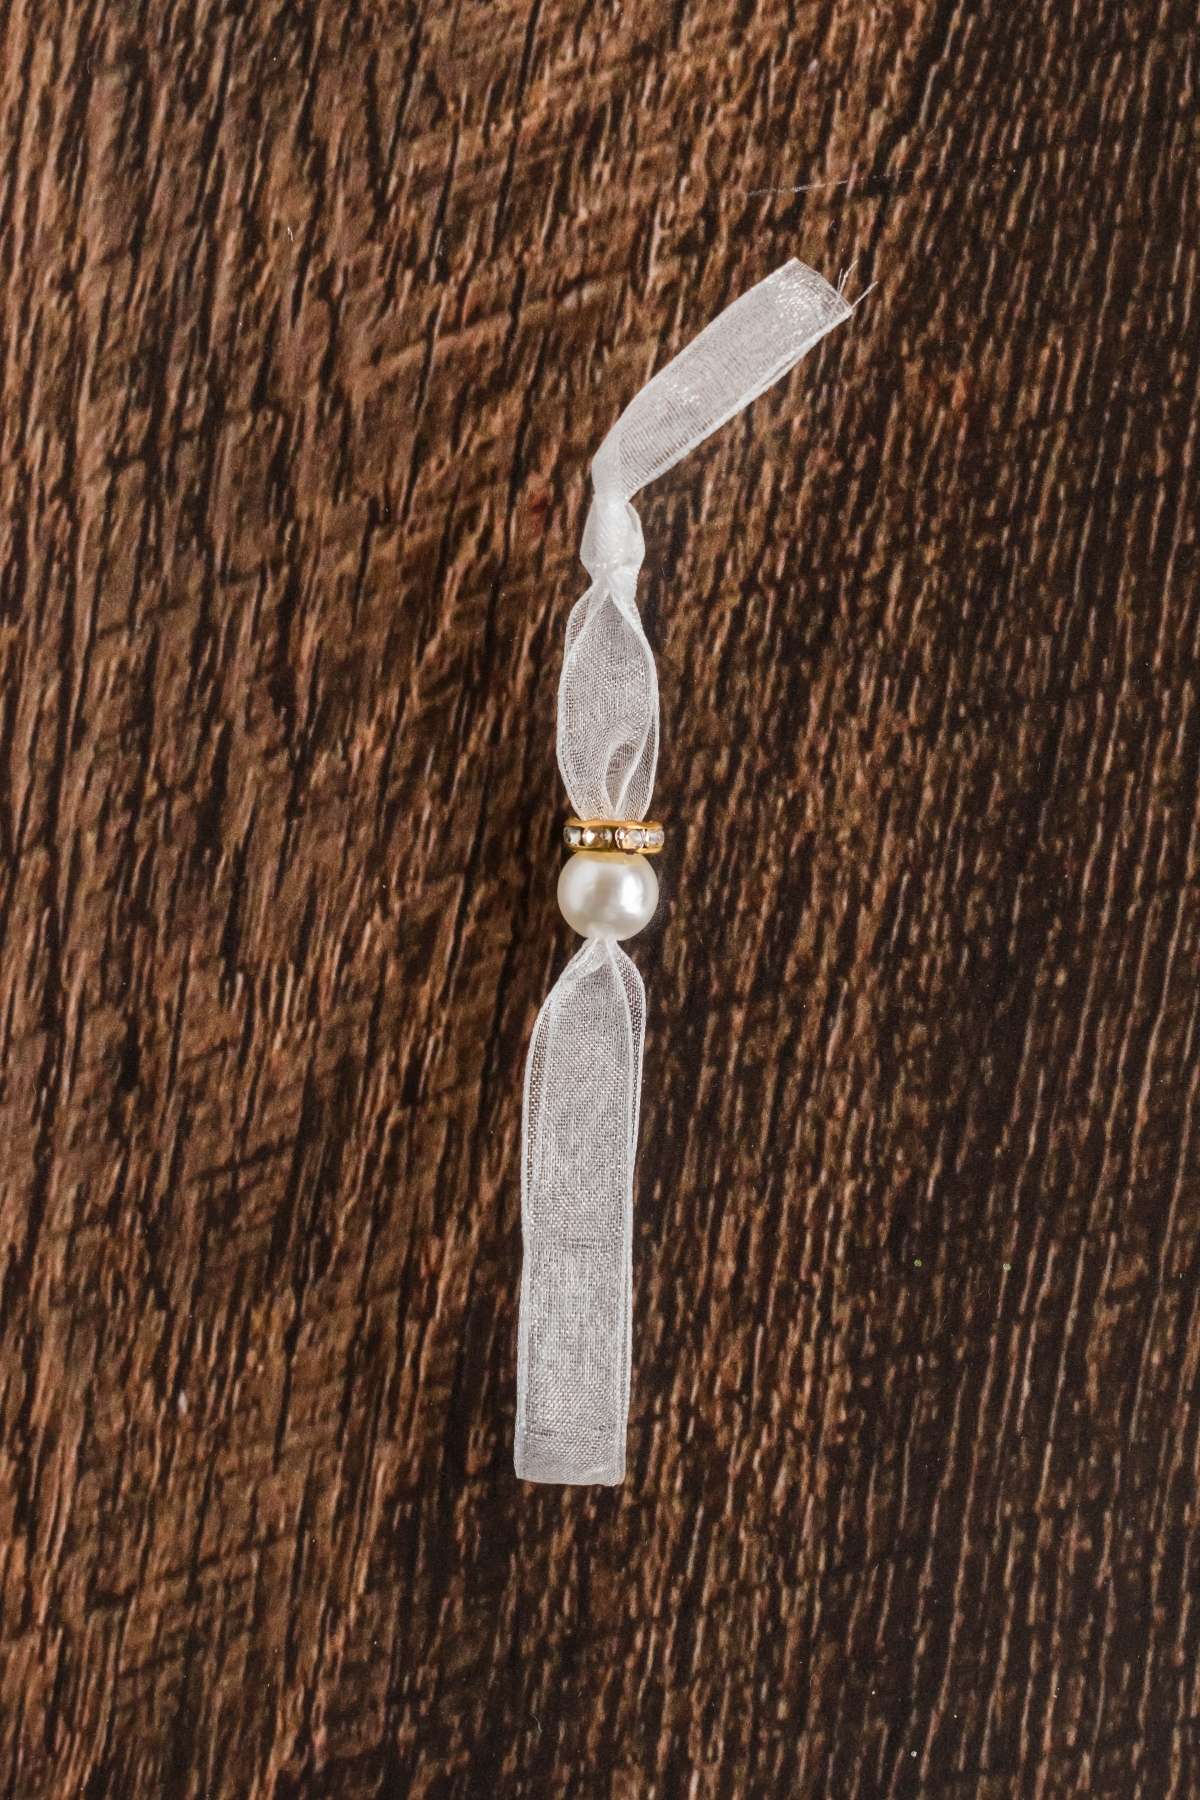
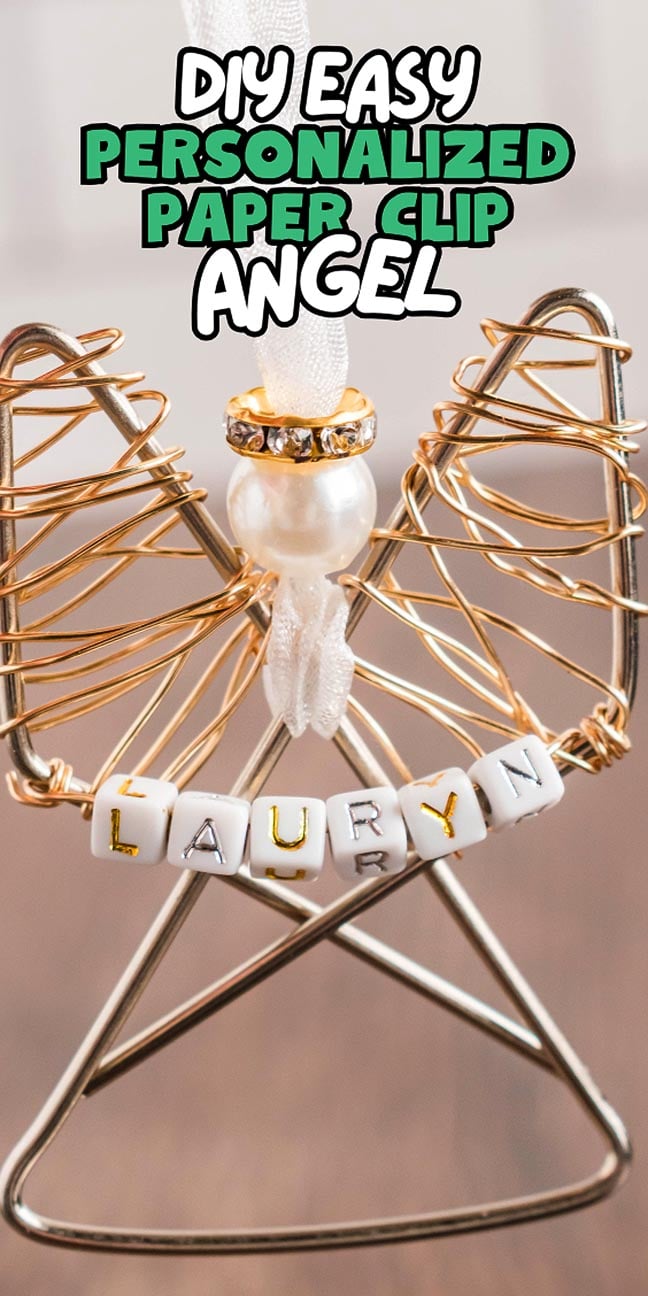
Add the crown and head: Slide the spacer bead on to the ribbon and then add the pearl bead, using wire to help push it through if needed.
Secure the beads: Pull the ribbon ends through the paper clip, loop it over the ribbon and pull tight. Push the beads down to sit above the paper clip.
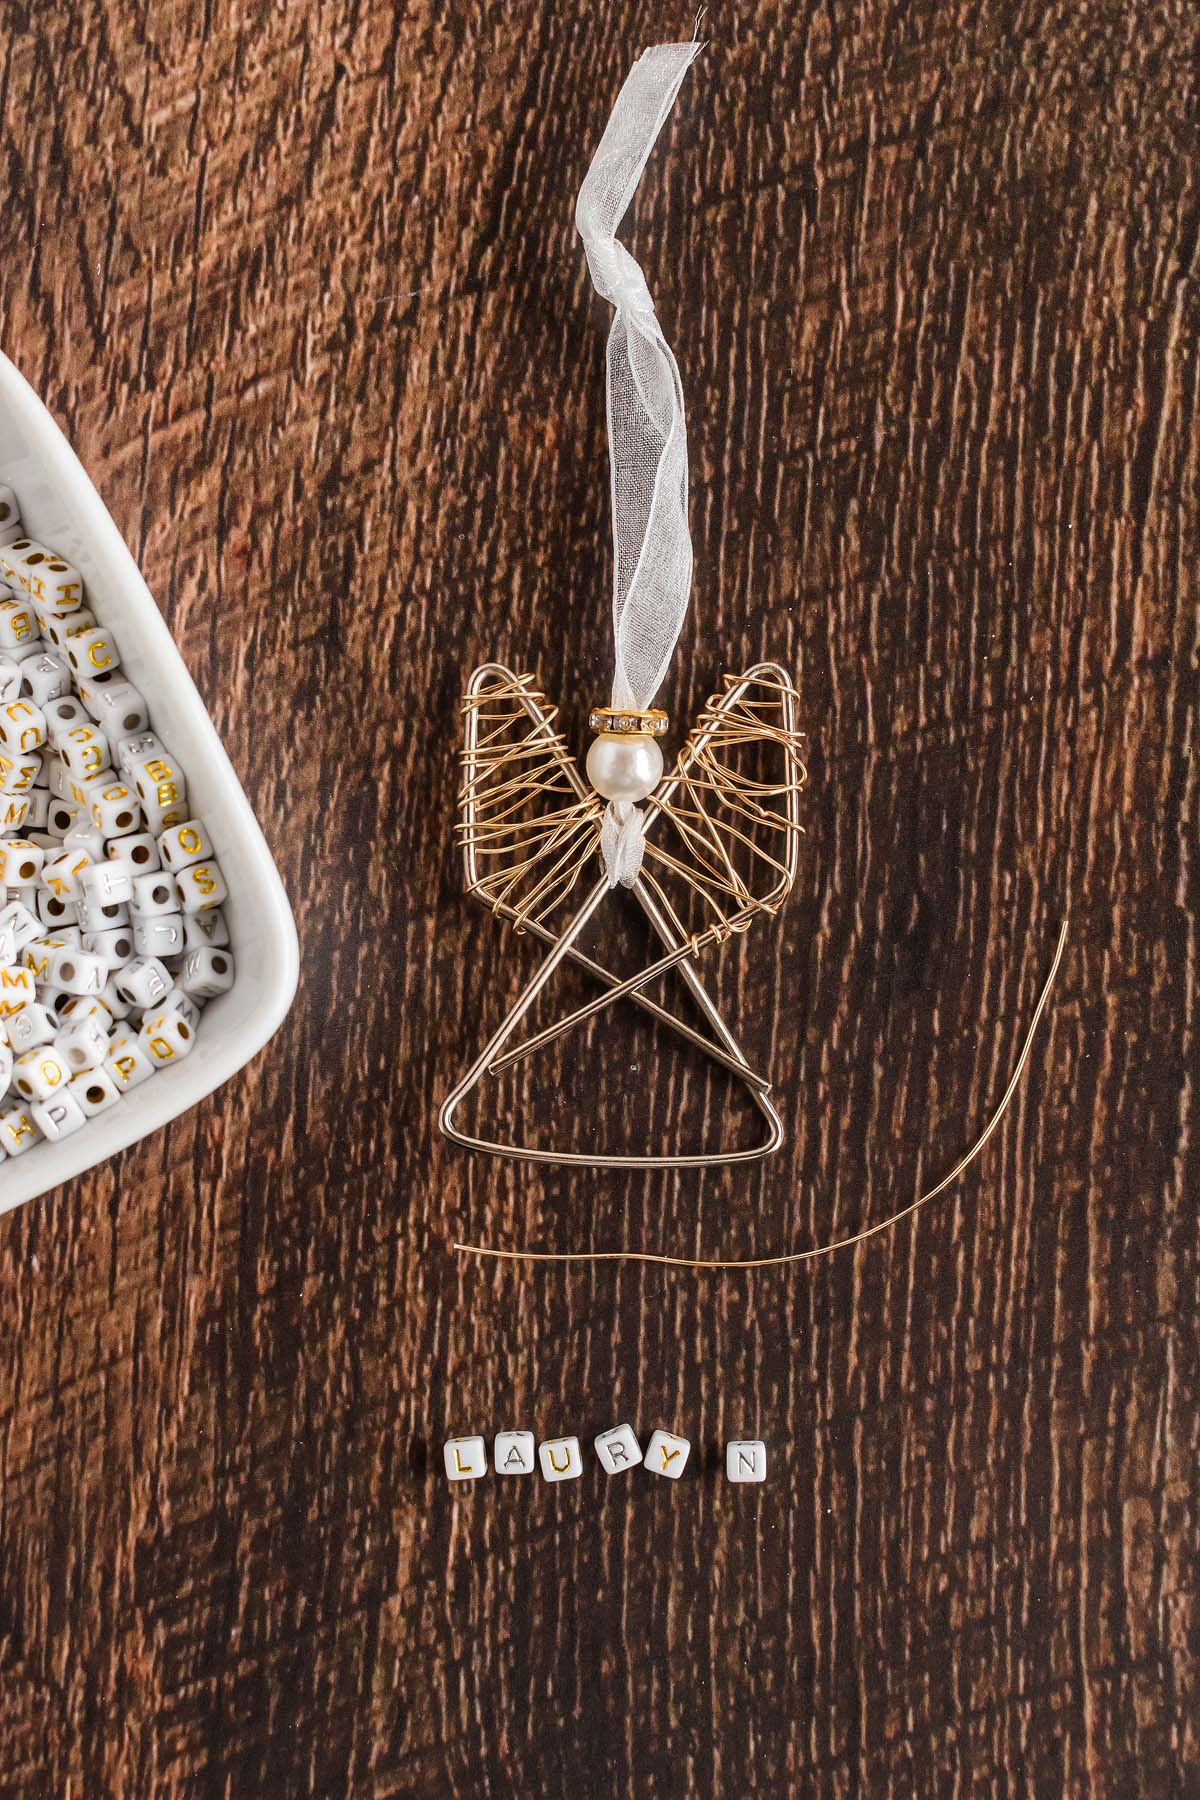
Add letter beads: Slide your chosen letters on to wire and secure on to the angel to finish off your festive ornament.
Substitutions and Variations
Different colors: Get creative – you can use any colors of beads and wires.
Letter beads: You can make people’s names, festive words and phrases or omit the lettering altogether.
What to Do with Paper Clip Angels
Festive decor: Add some paperclip angels to your Christmas decor. I also love making sock snowmen!
Cute gifts: They make adorable gifts, especially since you can personalize them with names. You could pair them with other homemade festive treats such as a hot chocolate gift kit or homemade birdseed ornaments.
Hang them on the tree: The ribbon loops make them perfect as a tree decoration.
Top Tips
Making the wings: If you have any issues with the wire sliding on the wings, you can pull the wire a little tighter or you can weave the wire in and out of itself to hold it in place.
Frayed ribbon ends: If your ribbon frays at the ends, you can simply trim it off once you have finished your craft.
Needle nose pliers: These are useful to pinch the ends of the wire tightly so everything is in place and there are no sharp edges.
Homemade Paper Clip Angel Ornament FAQs
Yes! You can add a different color bead for the crown, some spacer beads have colored stones in them. I’ve used silver beads for the head before as well. You can customize your ornament with any color, as long as you keep the size of the beads proportional to the paperclip.
They’re useful for pinching the wire tight and making sure there are no sharp parts on your angel. If you don’t have any, use regular pliers or even scissors.
Personalized Paperclip Angel Ornament Tutorial

Easy Personalized Paper Clip Angel
Equipment
Supplies
- jumbo butterfly paperclips
- gold wire, 22-gauge
- pearl bead, 10mm
- disk spacer bead, 10mm
- white nylon ribbon, 3/8-inch
- gold and silver letter beads
Instructions
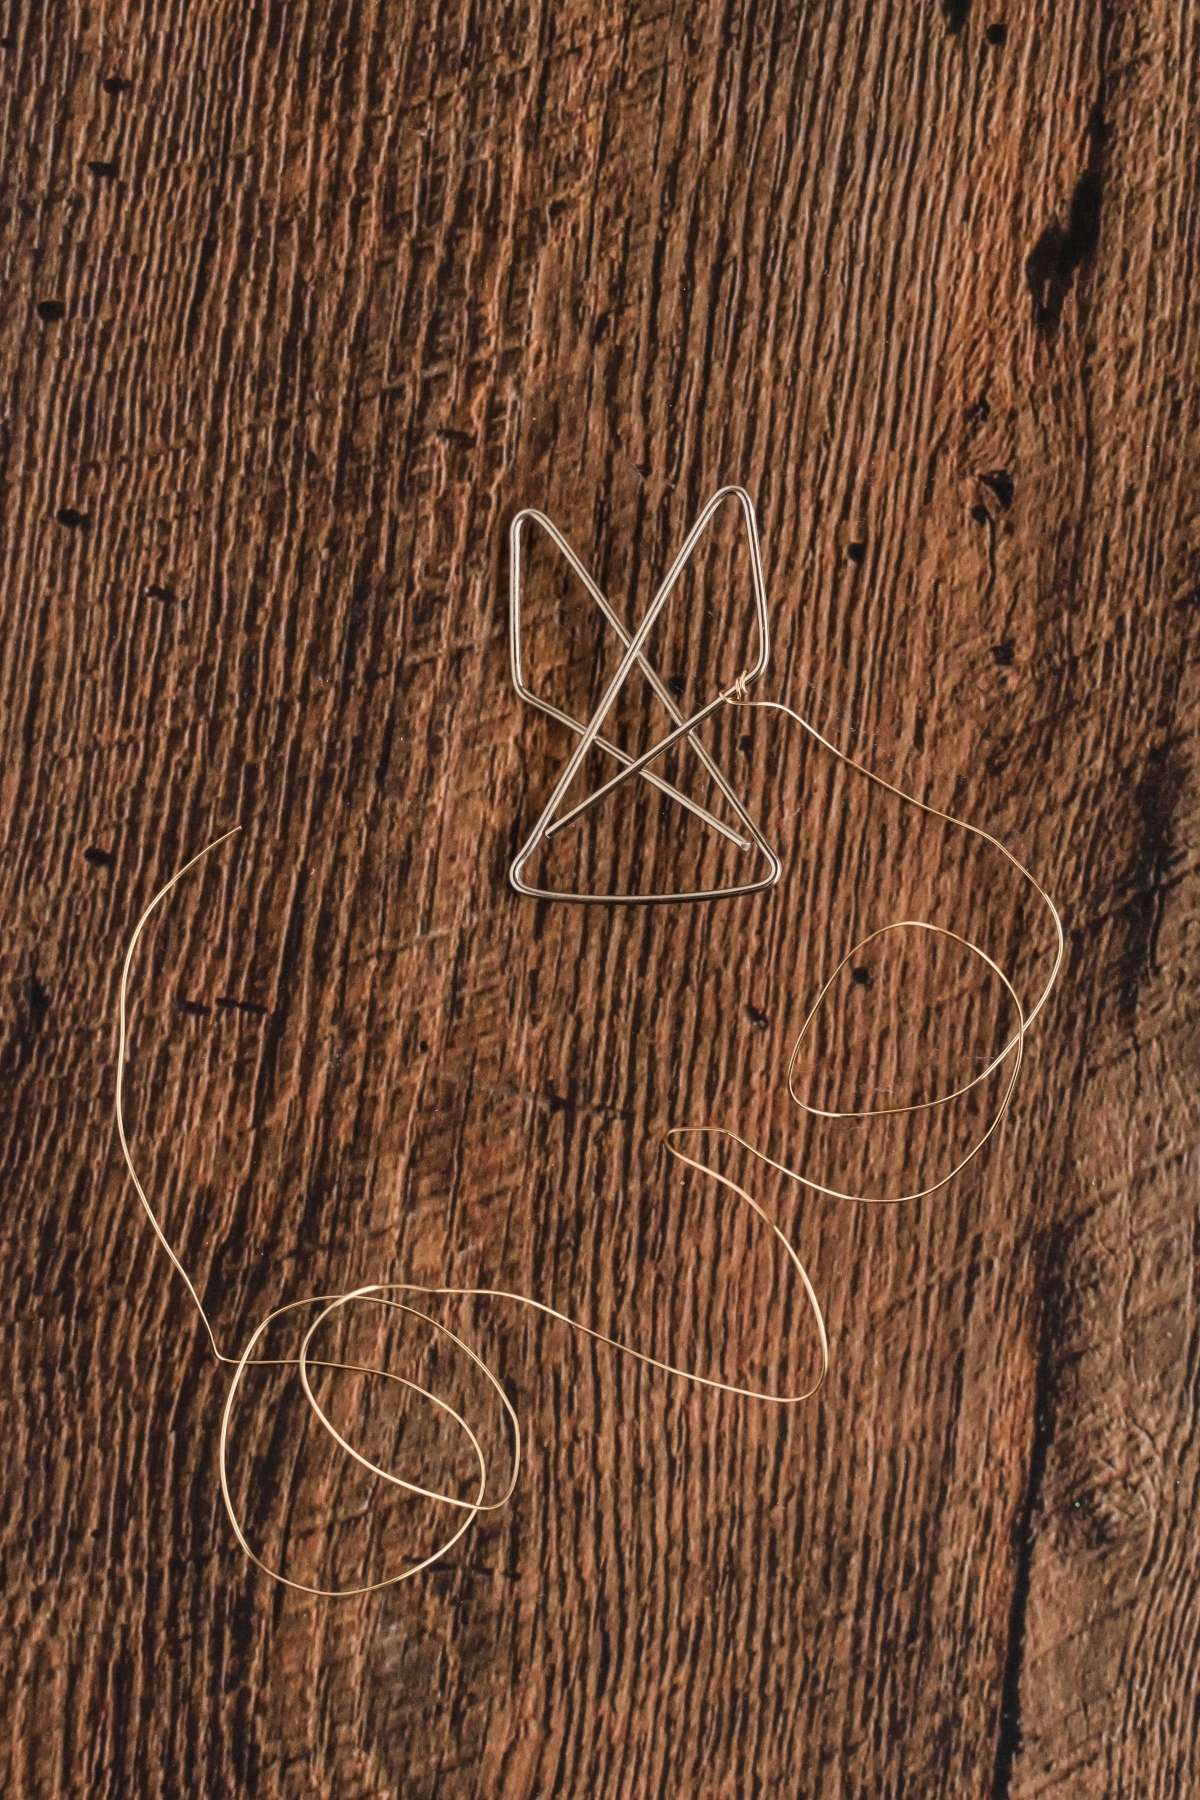
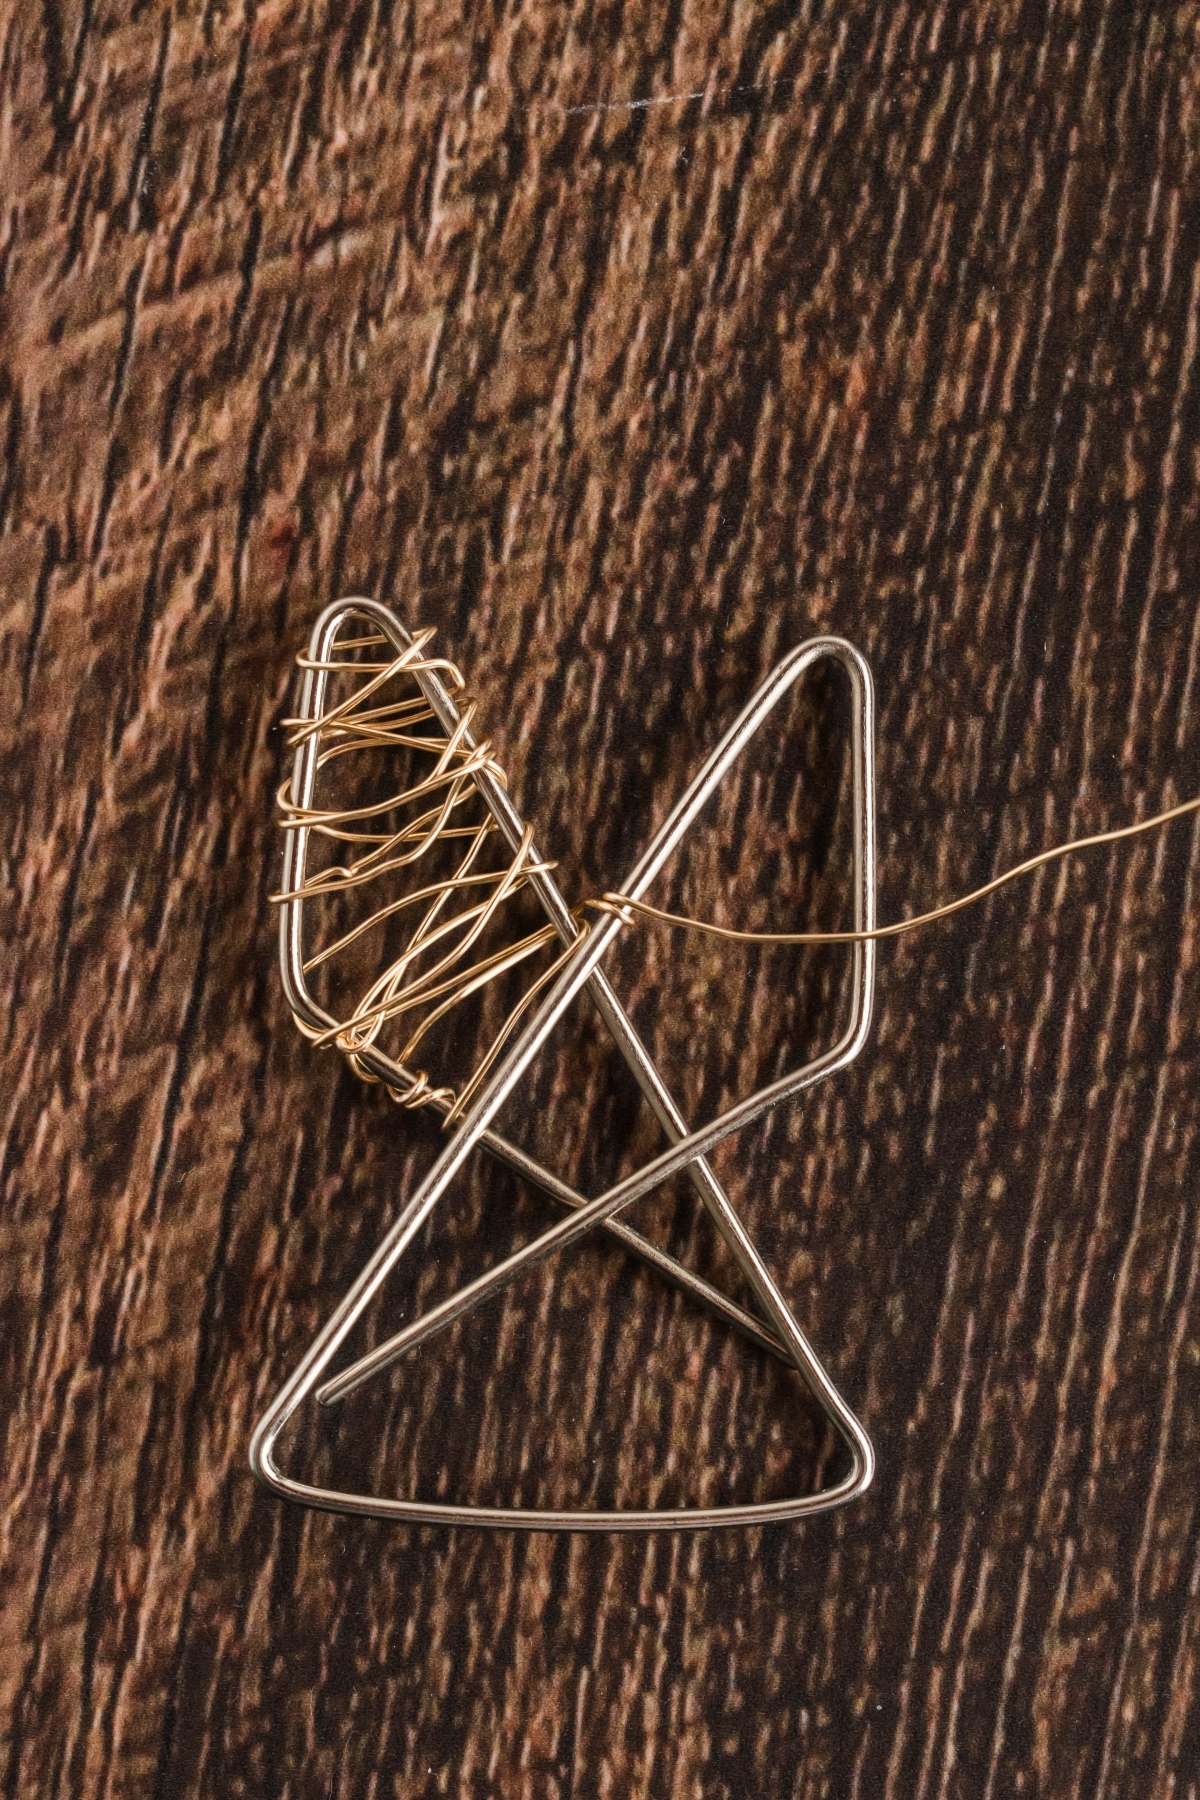
- Start by cutting a piece of gold wire 30” long to cover the wings. Take the gold wire and attach it to the paperclip where the wing goes out from the body. Begin wrapping the wire up and down the wing until half of the wire is used.
- Continue with the remainder of the wire on the second wing, wrapping it up and down like you did on the first wing. Try to have the wire end at the bottom of the wing, so you can secure the wire without it being quite as noticeable. You can use needle nose pliers to pinch the end of the wire, so it is not sticking out.
- Cut a piece of ribbon 12” long. Make a loop with the ribbon, I used an overhead loop knot, but any knot will do if you have a loop. You can cut your ribbon even longer if you wish to add a bow at the top.
- Now add the crown and head. Take your spacer bead and slide the loop through the bead. If you have trouble getting the ribbon to go through the small hole, use a small piece of extra wire to poke it through.
- Once the spacer bead is on, add the pearl bead. Again, use wire to help push the ribbon through the bead hole.
- Lay your ribbon down and set the jumbo paperclip on top of it. Pull the ribbon through the middle of the paperclip as pictured. Once the ribbon is pulled through the paperclip, take the loop over the end of the ribbon and pull tight.
- Now push the pearl bead and the spacer bead down so it sits just above the paperclip.
- Cut a piece of 4” wire (add extra length to the wire if a name is long) and find the letters of the name you would like to attach. Before sliding on the letters, attach one side of the 4” wire to the bend on the wing (or close to there).
- Now slide the letters on and attach the 4” wire to the other side. Use the needle nose pliers if you need to pinch the ends of the wire tightly.
Notes
Frayed ribbon ends: If your ribbon frays at the ends, you can simply trim it off once you have finished your craft.
Needle nose pliers: These are useful to pinch the ends of the wire tightly so everything is in place and there are no sharp edges.


This cute idea is perfect for the holidays. It’s so easy to make this paper clip angel and they are a lovely idea to hang on the Christmas tree or to give as a little gift. You don’t need many materials to make them. Why not set aside some time to make these cute little angels with your family?
Other Craft Projects to Try
Bella Bucchiotti
Bella Bucchiotti is a Canadian-based syndicated food, travel, and lifestyle writer, photographer, and creator at xoxoBella. She founded xoxoBella in 2015, where she shares her love for food, dogs, sustainability, fitness, crafts, outdoor adventures, travel, and philanthropy to encourage others to run the extra mile, try new recipes, visit unfamiliar places, and stand for a cause. Bella creates stress-free and family-friendly recipes for weeknight dinners and festive feasts.