This post may contain affiliate links, please see the privacy policy for details.
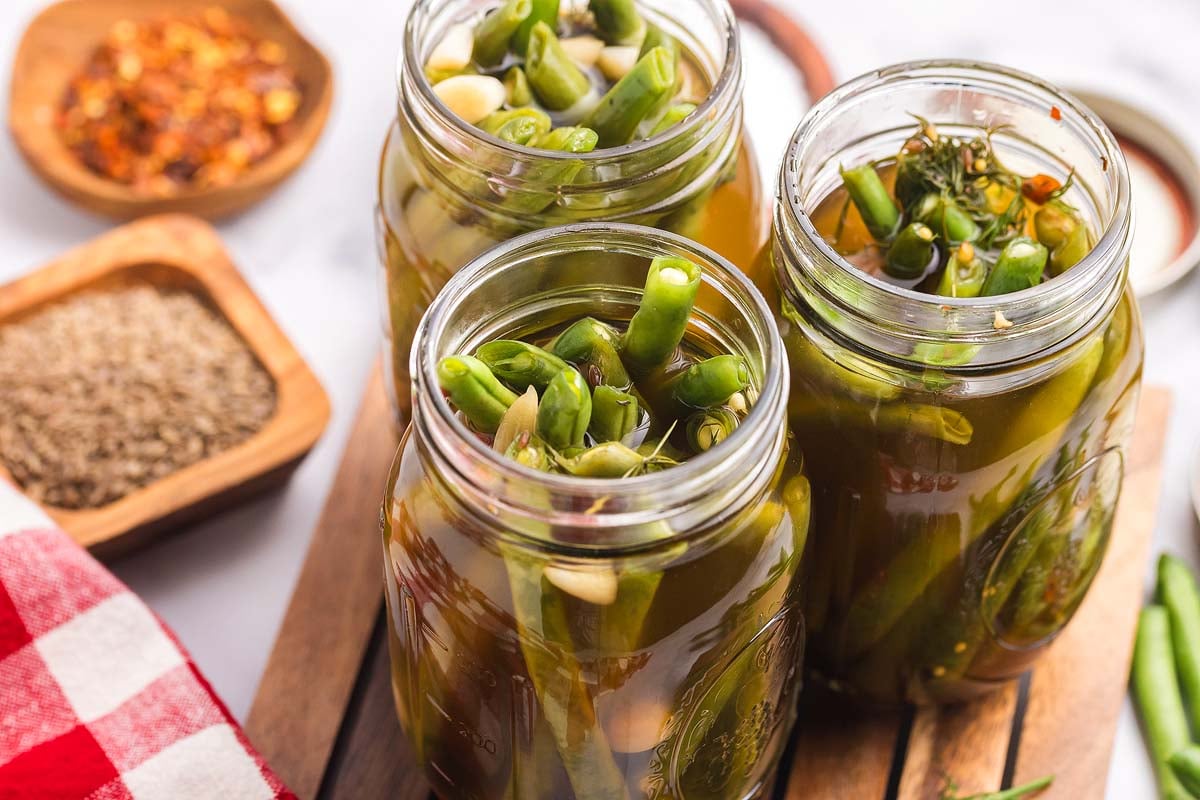
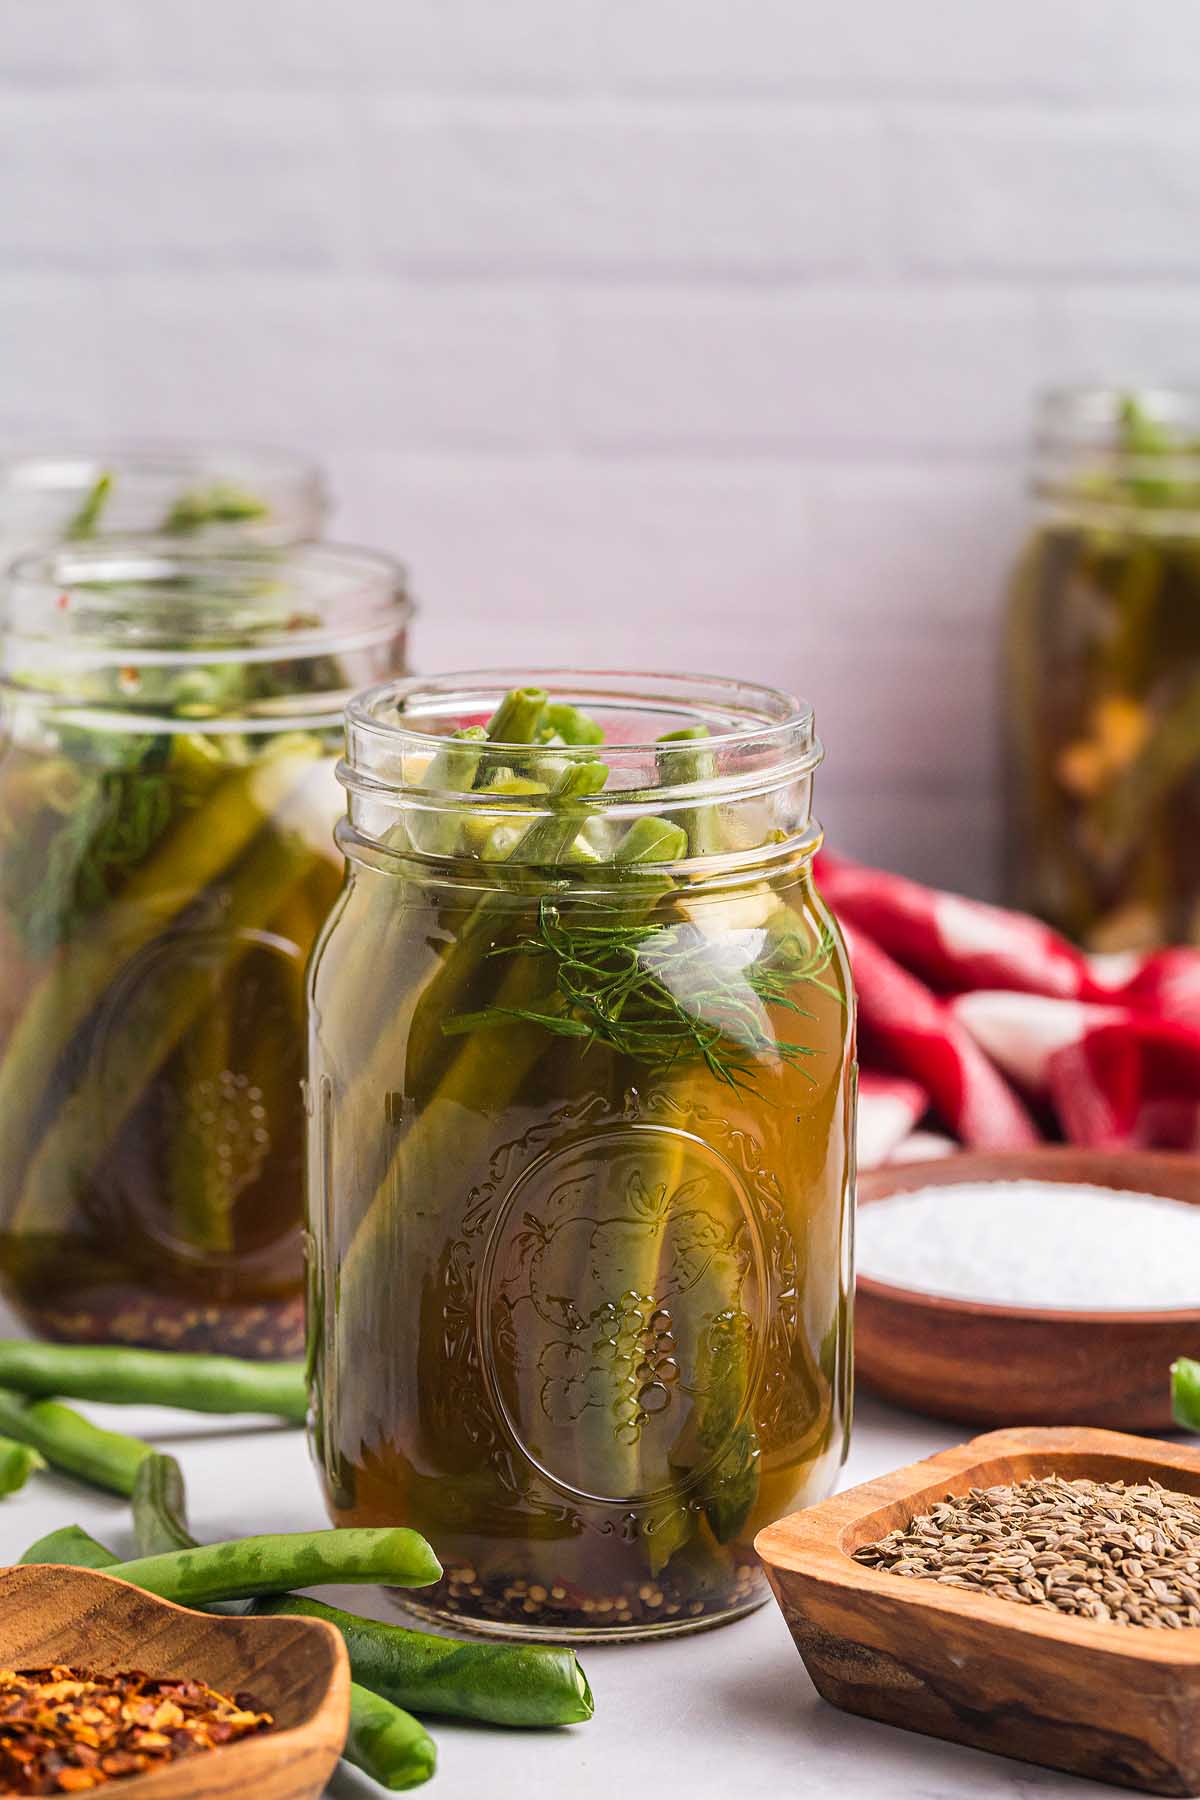
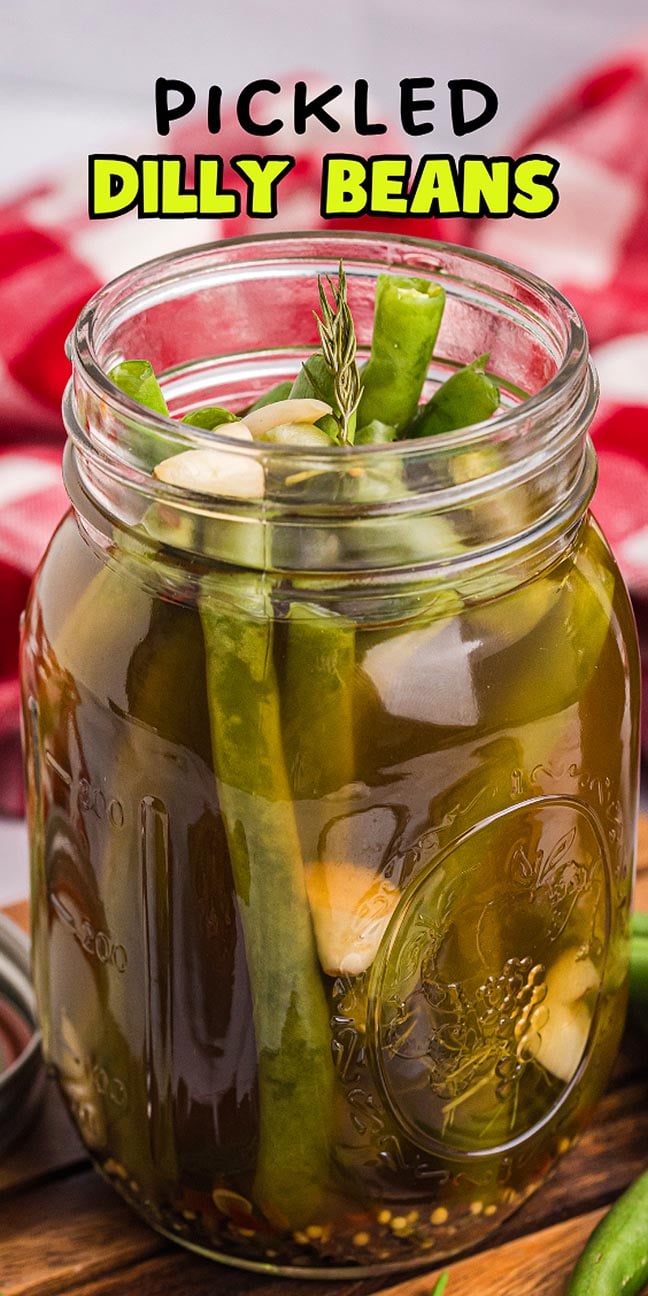
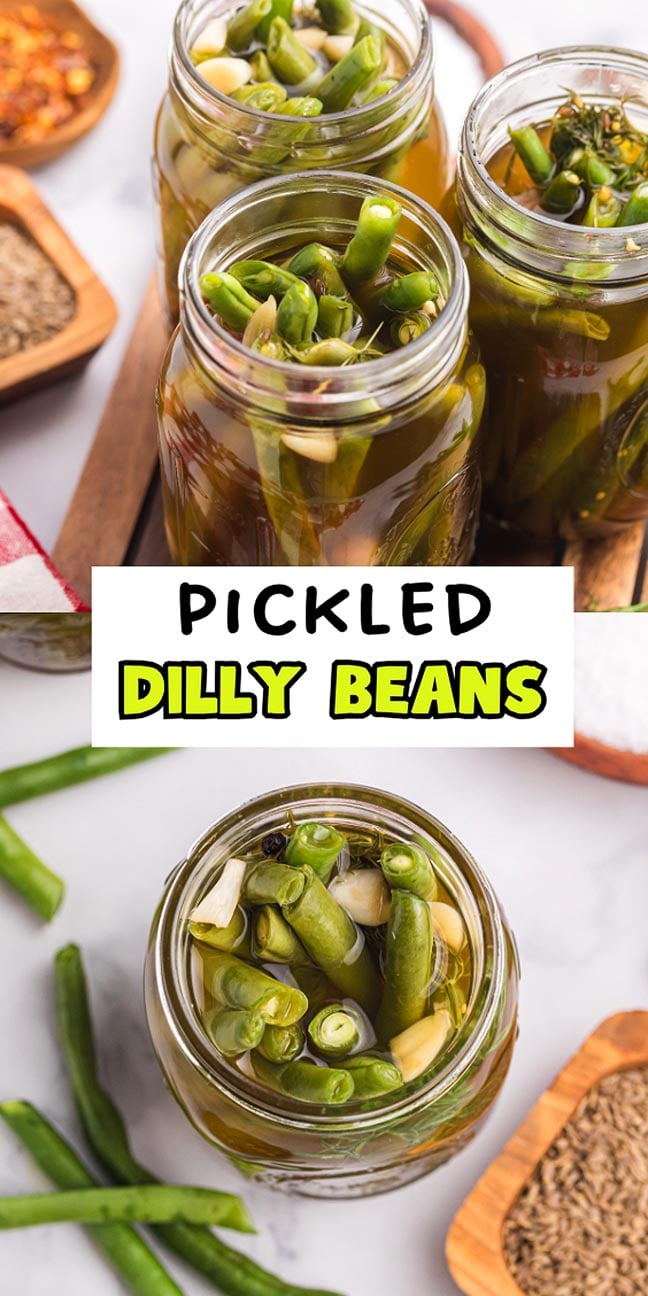
If you’re looking for a tangy, crunchy snack or cocktail garnish, these pickled green beans are a must-try. Fresh green beans are packed into jars with garlic, dill and spices before being bathed in a flavorful vinegar brine. They are bold, vibrant and simple to make without any special equipment. Perfect for BBQs, charcuterie boards or sipping alongside cocktails, these beans bring bright flavor and satisfying snap to every bite.
Why You’ll Love It

These pickled green beans are crisp, garlicky and spicy. They’re packed with briny flavor and ready to snack or garnish. No special equipment required!
Quick prep: Simple jar layering and brine simmer make it easy.
Classic flavor: Garlic, dill and vinegar combine for a bold zing.
Gluten-free and dairy-free: You won’t find gluten or dairy in here. Pickled green beans are also vegetarian and vegan-friendly.
No canning needed: Just use mason jars and refrigerate after cooling.
Great garnish: Perfect for cocktails, charcuterie or as a snack
You might also like pickled carrots, giardiniera (Italian pickled veggies), green bean casserole, cocktail onions, pickled asparagus and pickled rhubarb.
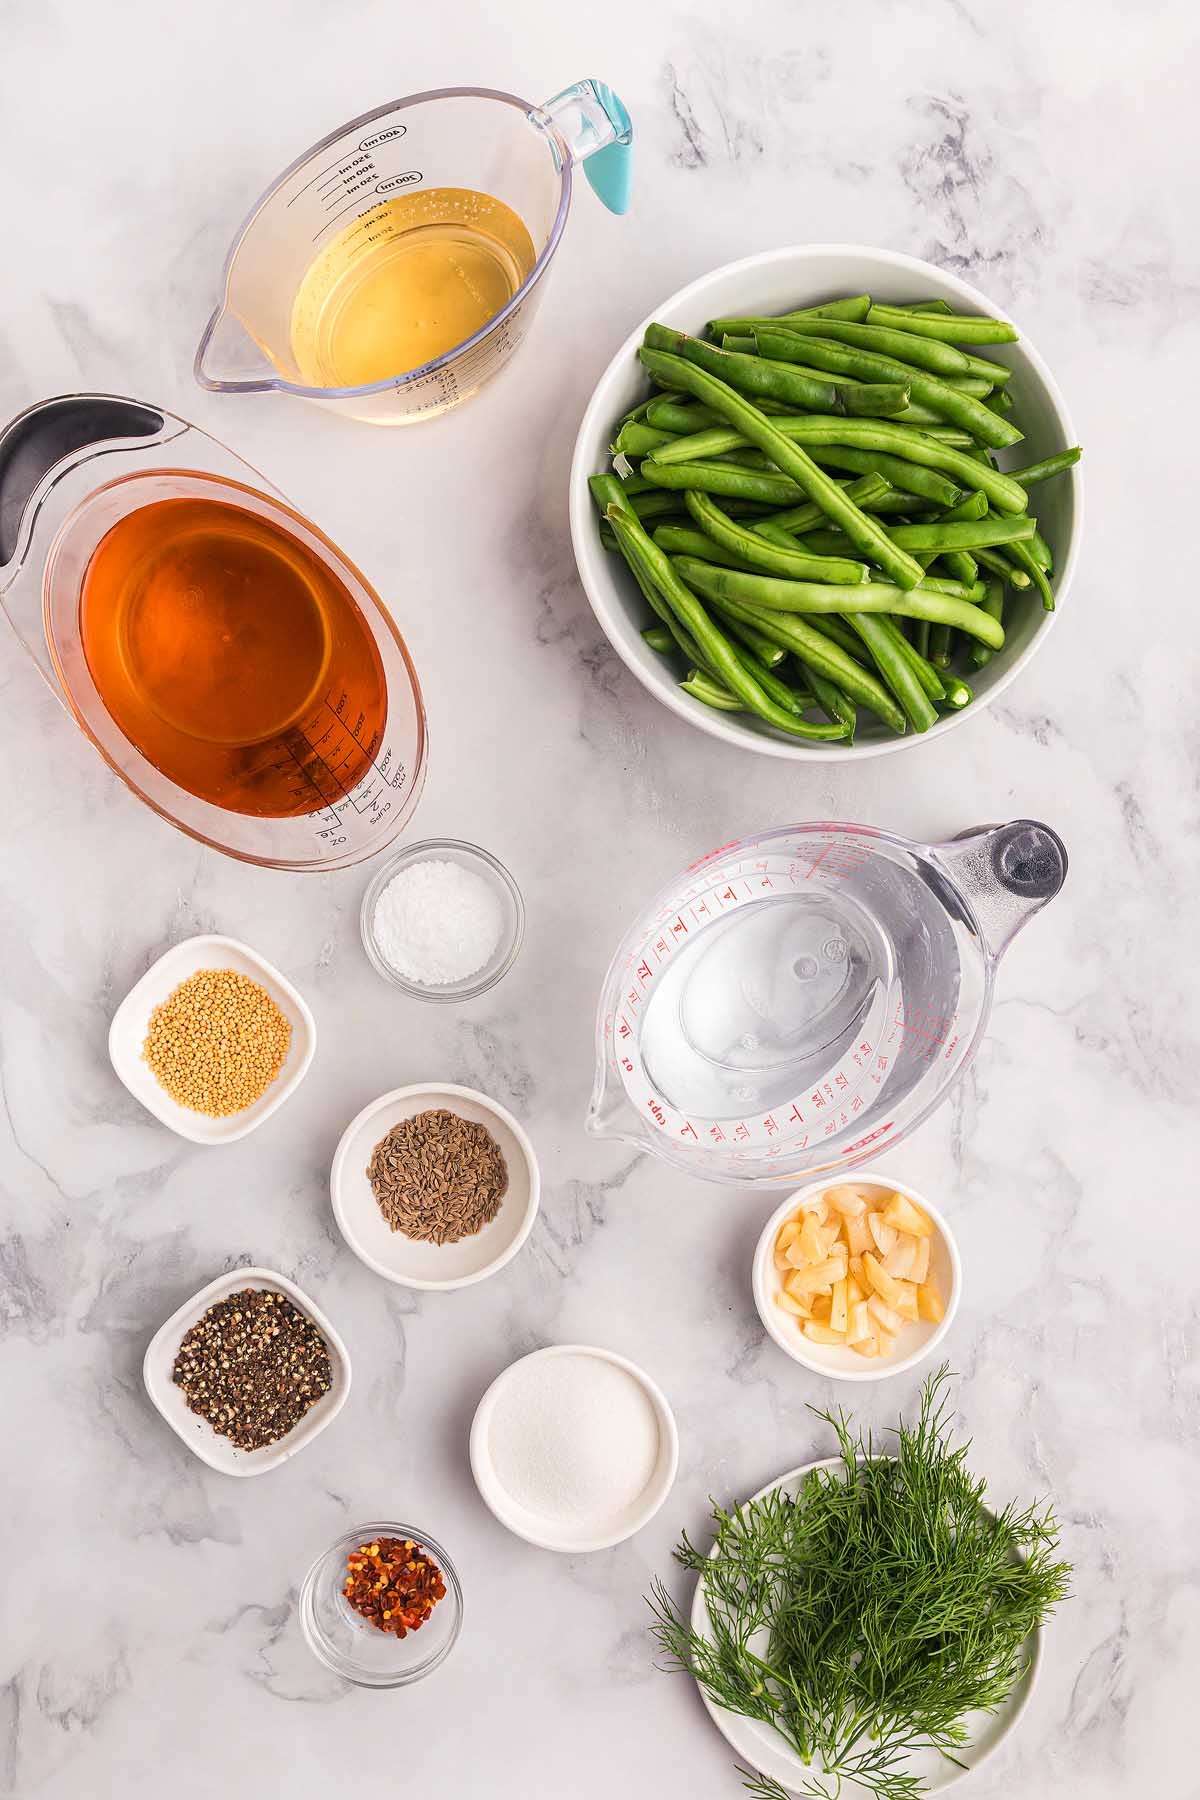
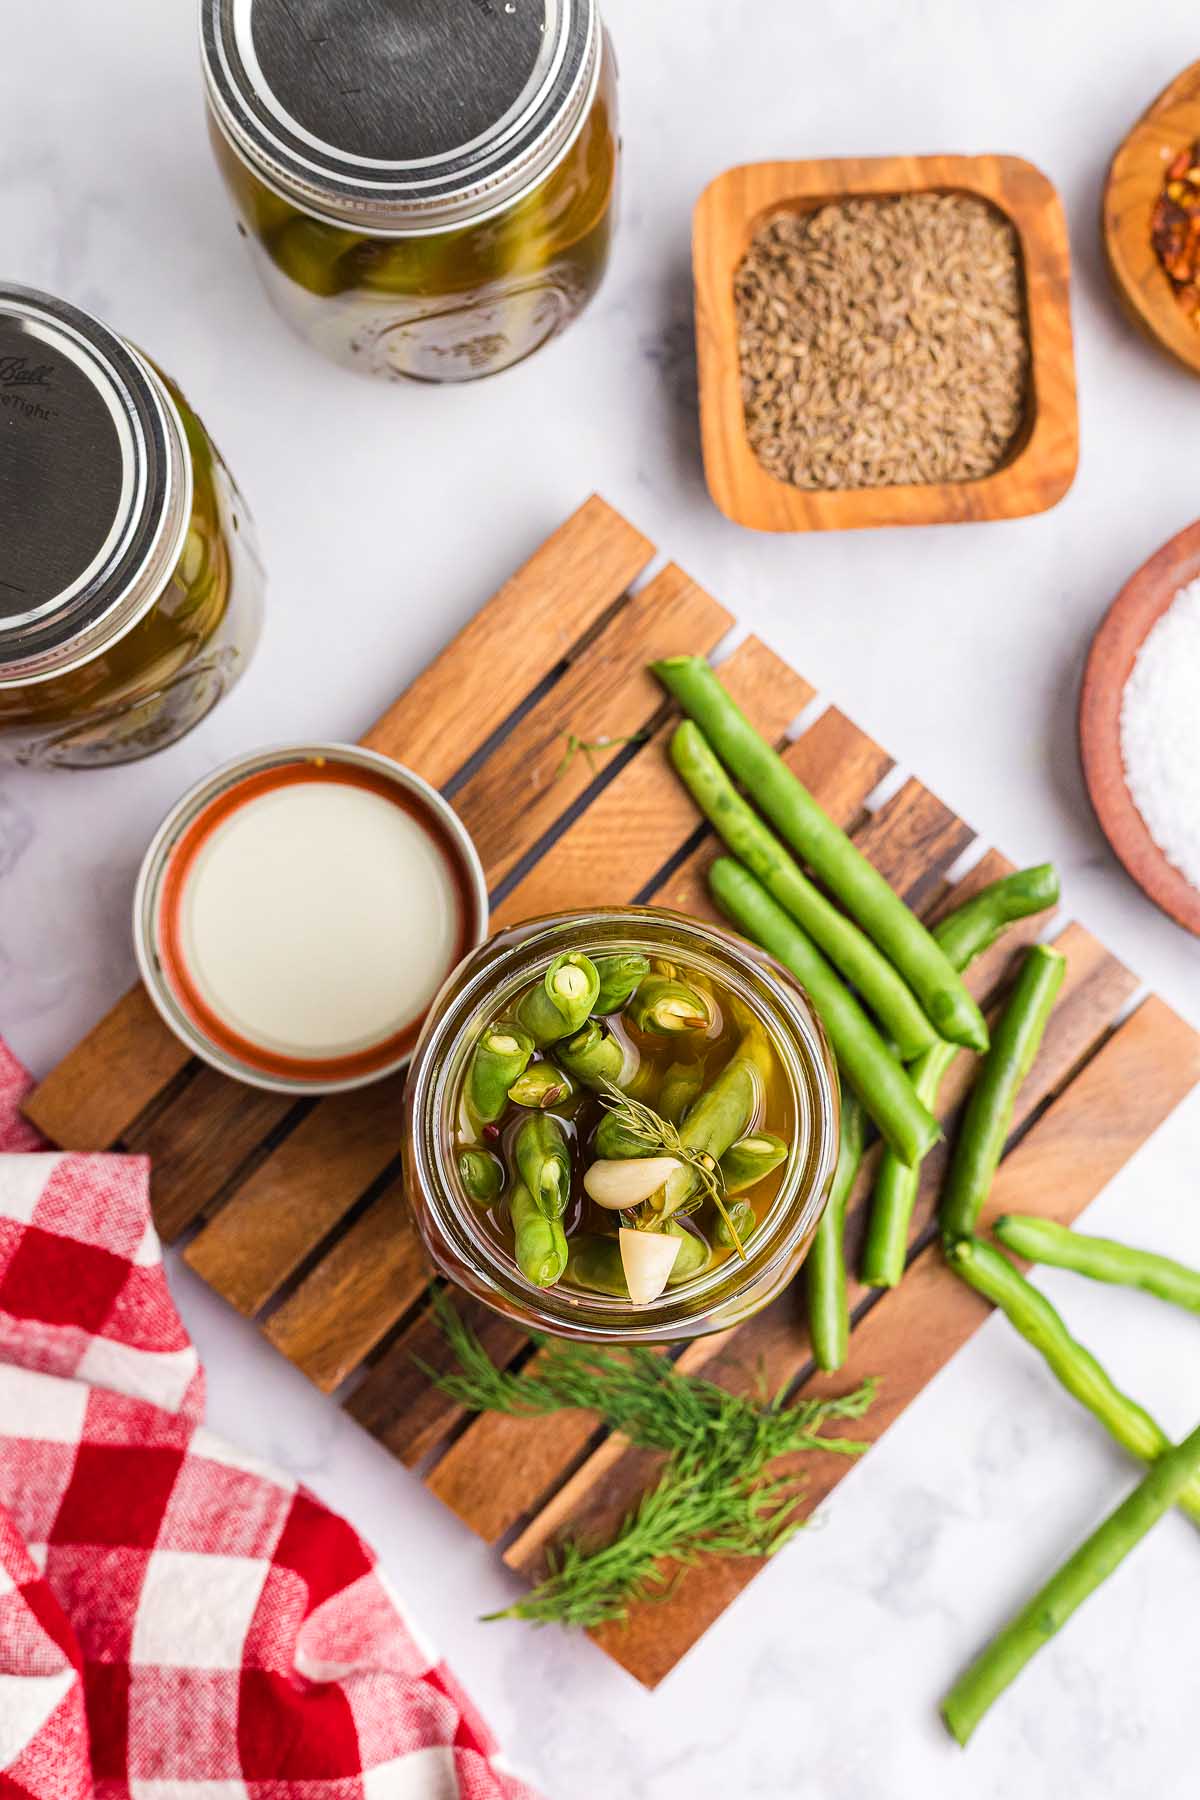
Dilly Beans Ingredients
A complete list of ingredients and amounts can be found in the recipe card below.
Green beans: Provide crisp texture and freshness.
Rice wine vinegar and apple cider vinegar: Create a balanced tangy brine.
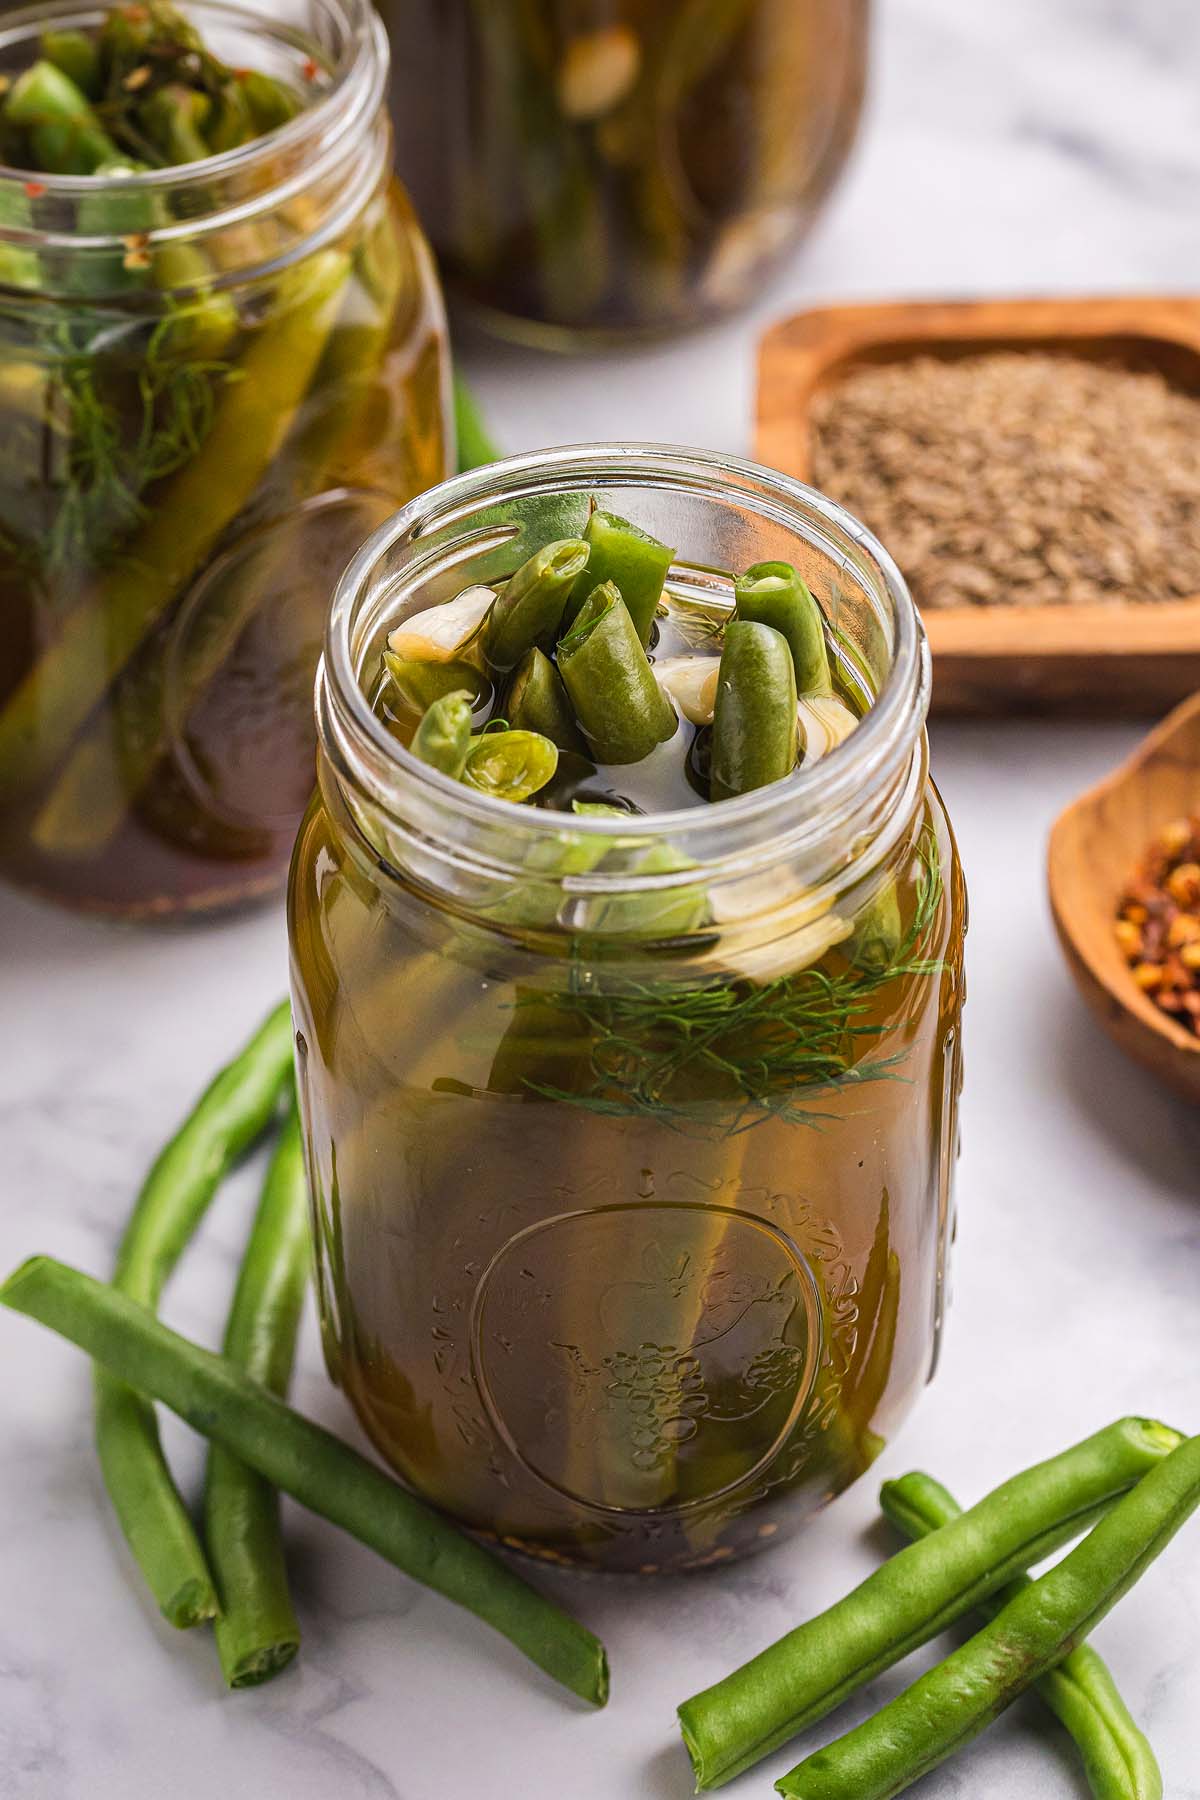
Spices: Yellow mustard seeds, dill seed and cracked black peppercorns give aromatic spice and depth.
Crushed red pepper flakes: Add heat; use more or less to taste.
Granulated sugar: Balances the acidity with a touch of sweetness.
Garlic cloves: Bring pungent flavor and fragrance. If you love garlic, throw in some extra.
Fresh dill sprigs: Impart herbaceous brightness.
Salt: Avoid using iodized table salt due to anti-caking agents. If in doubt, use pickling salt or canning salt which is iodine-free. Iodine can change the color of your pickled veggies and make the pickling liquid cloudy.
How to Make Pickled Green Beans
For more detailed instructions with weights and measurements, jump to the printable recipe card.
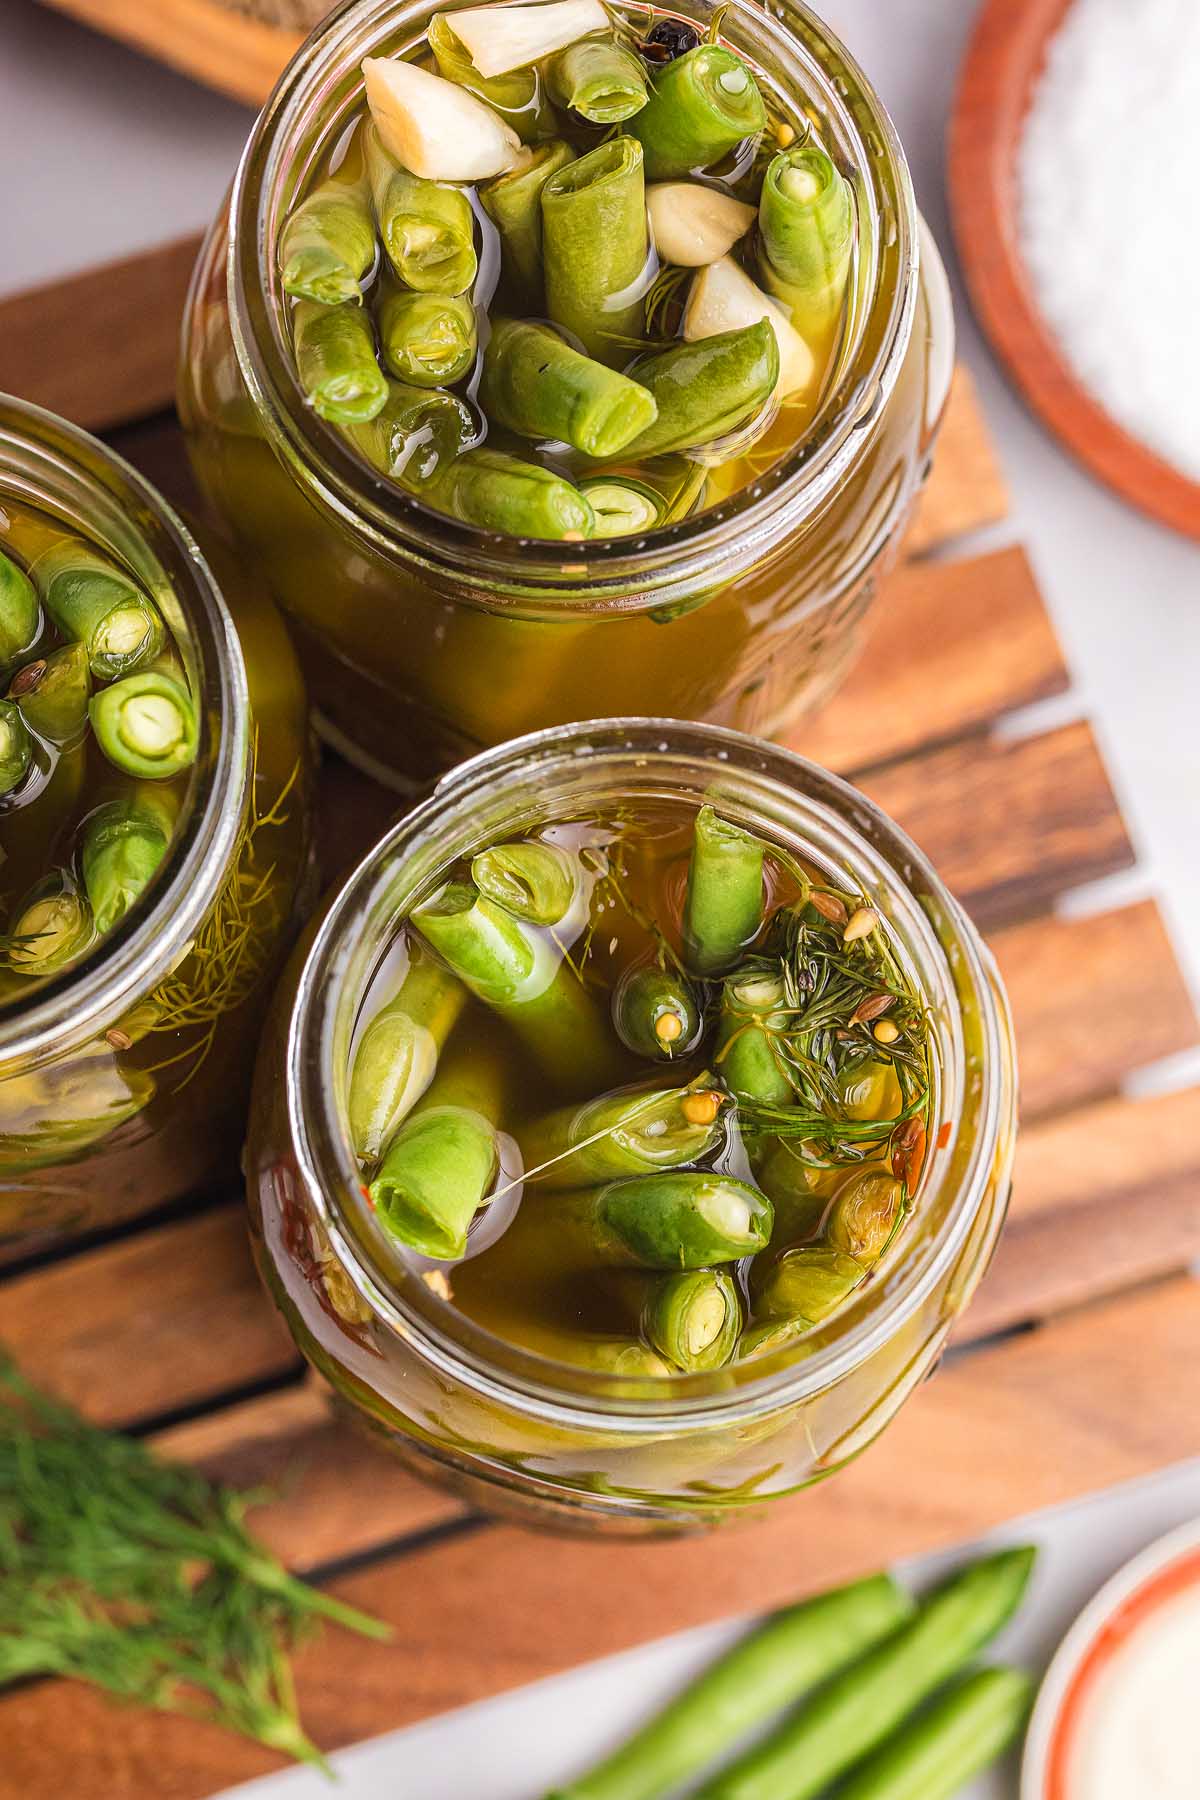
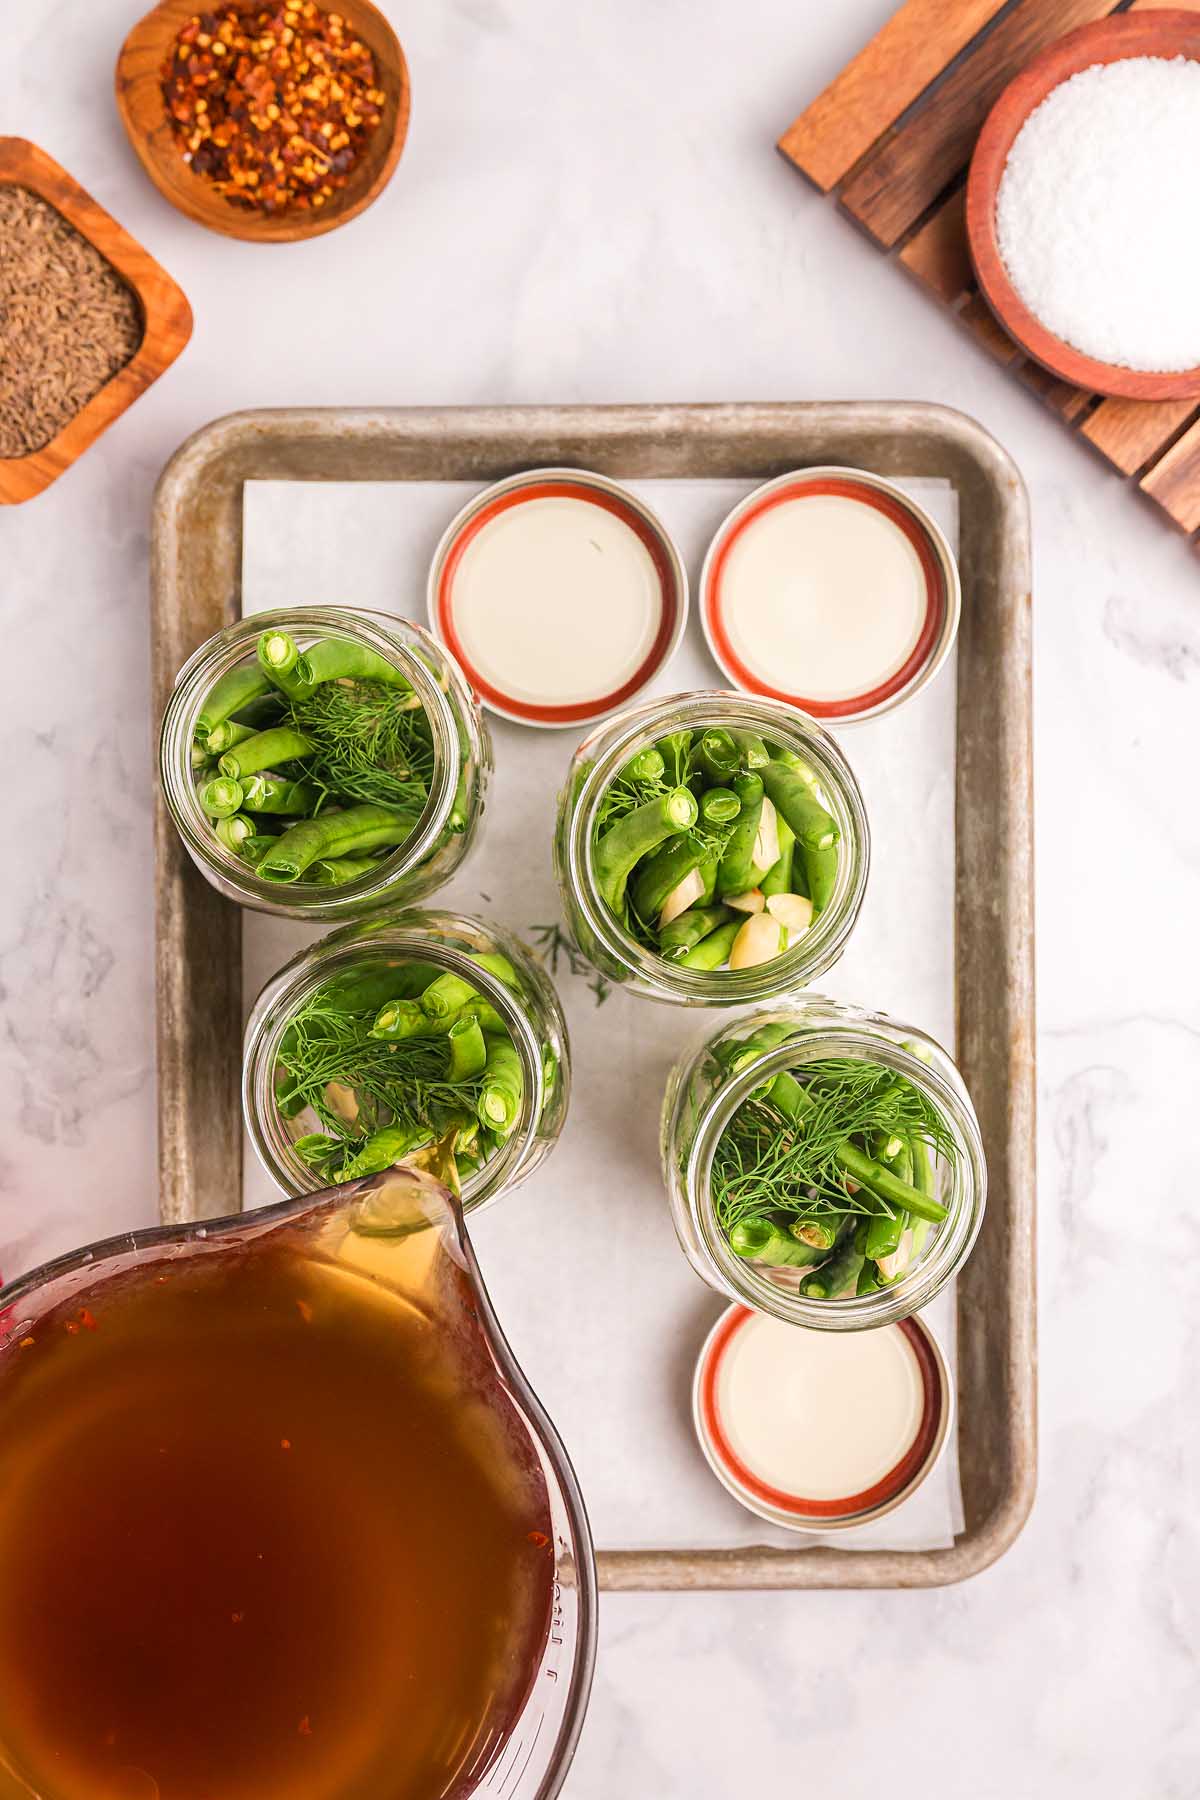
Pack the beans: Layer green beans, garlic and dill vertically in mason jars (these work well!)
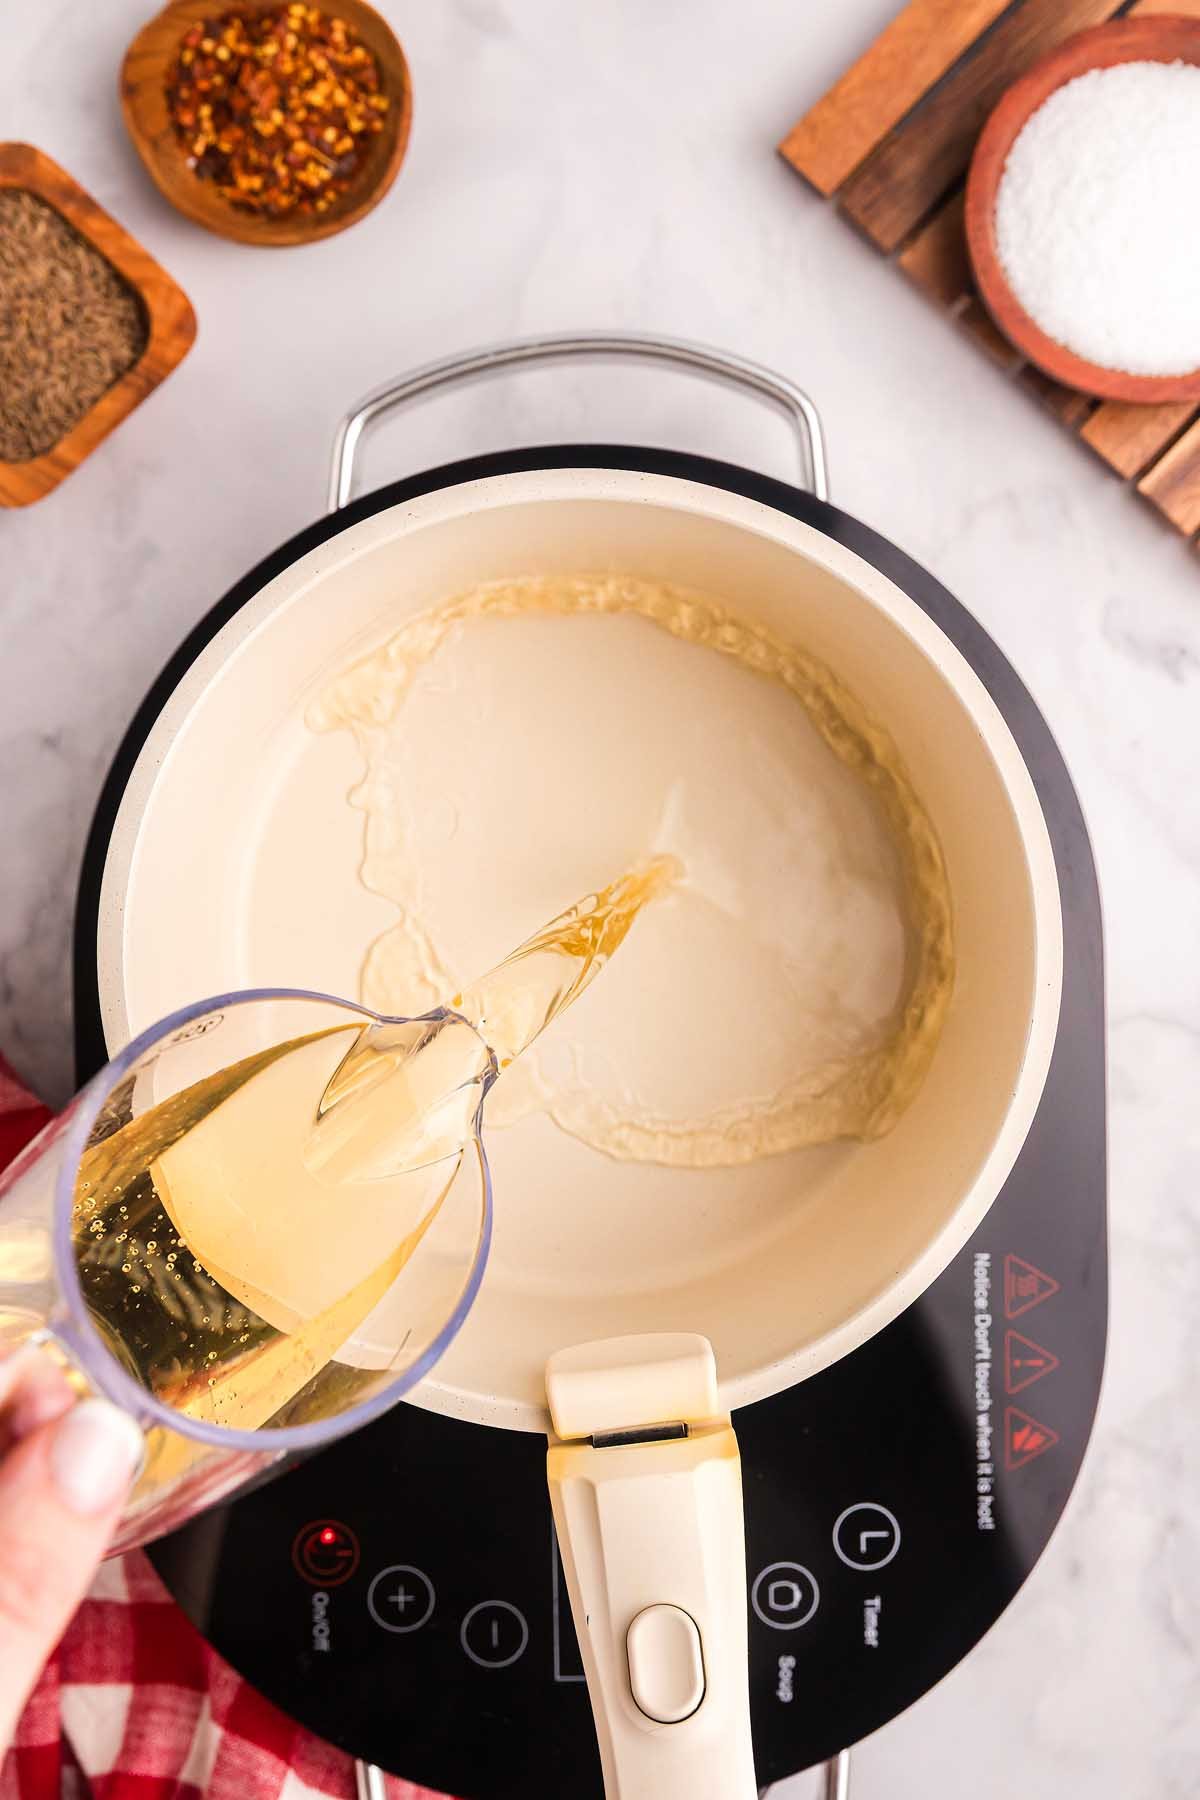
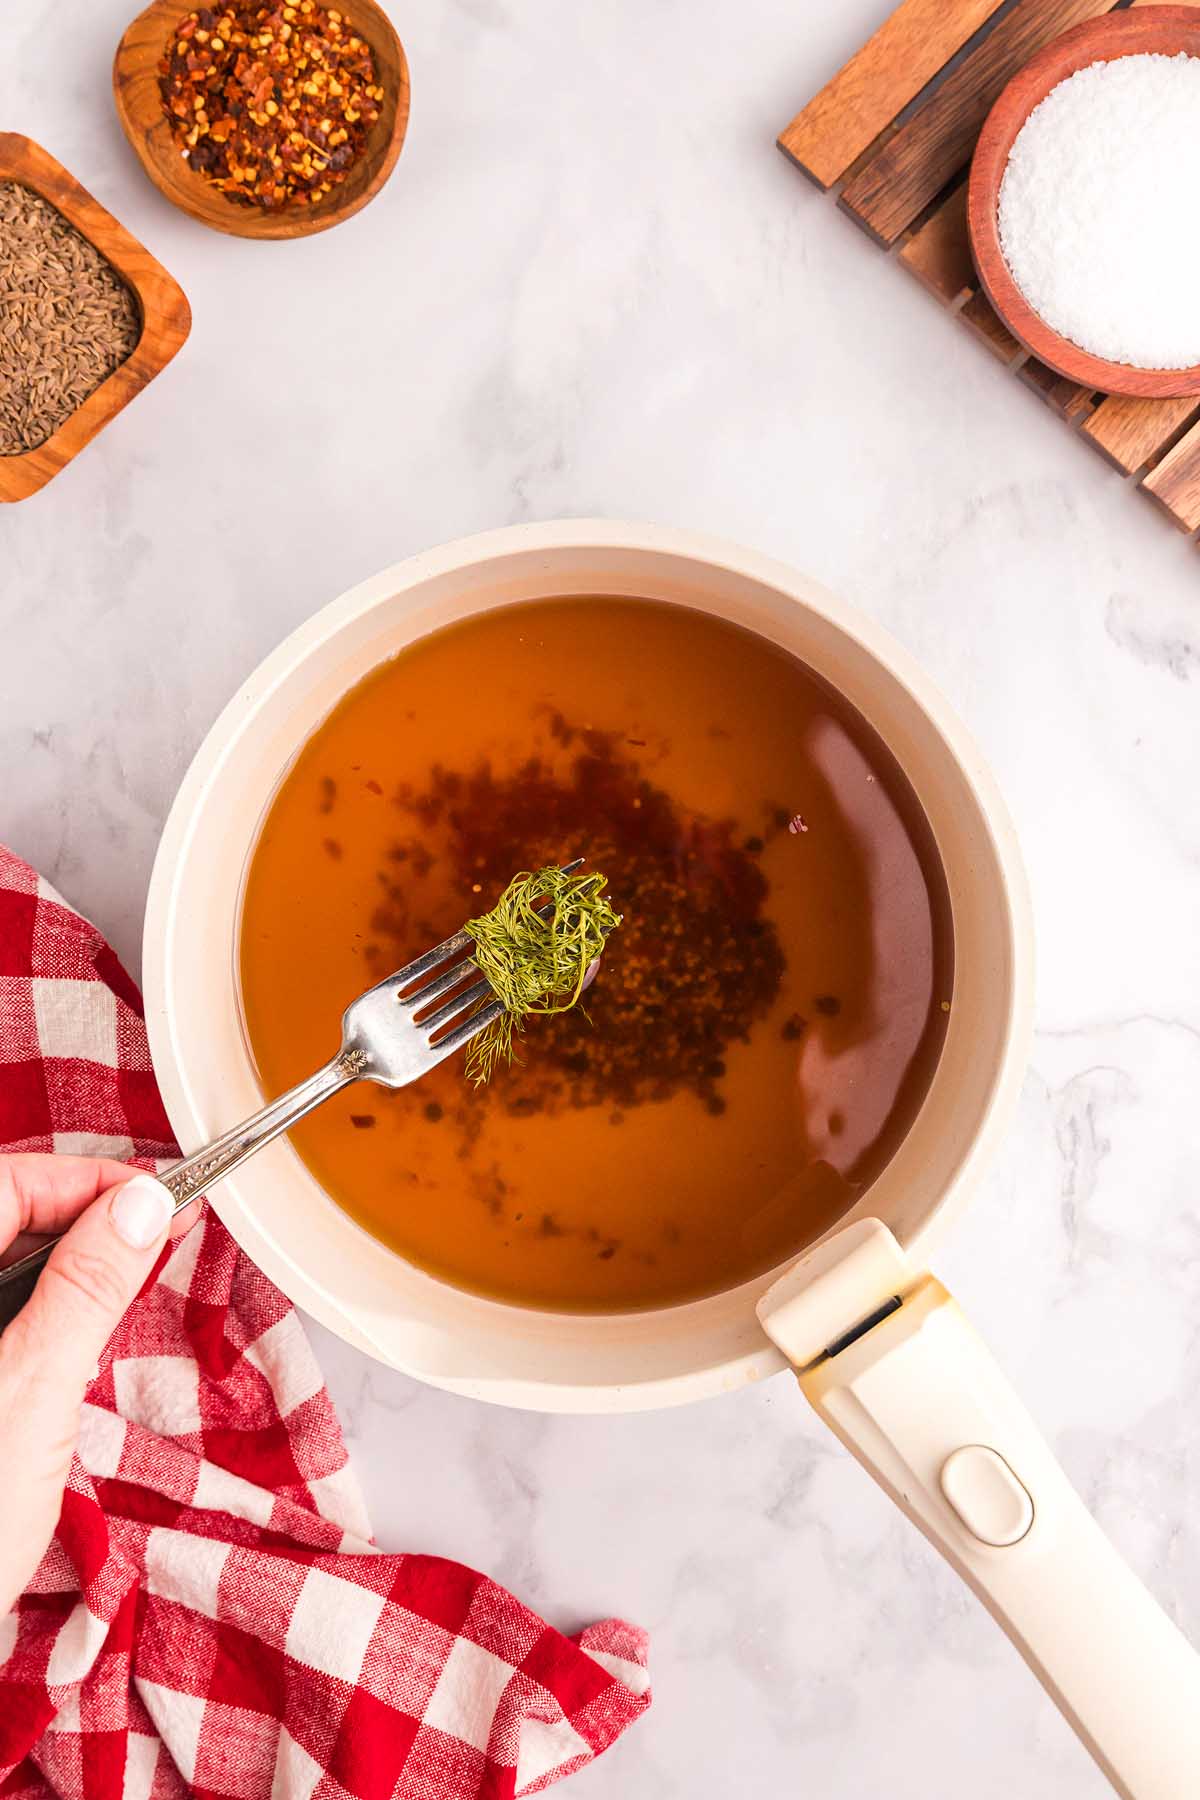
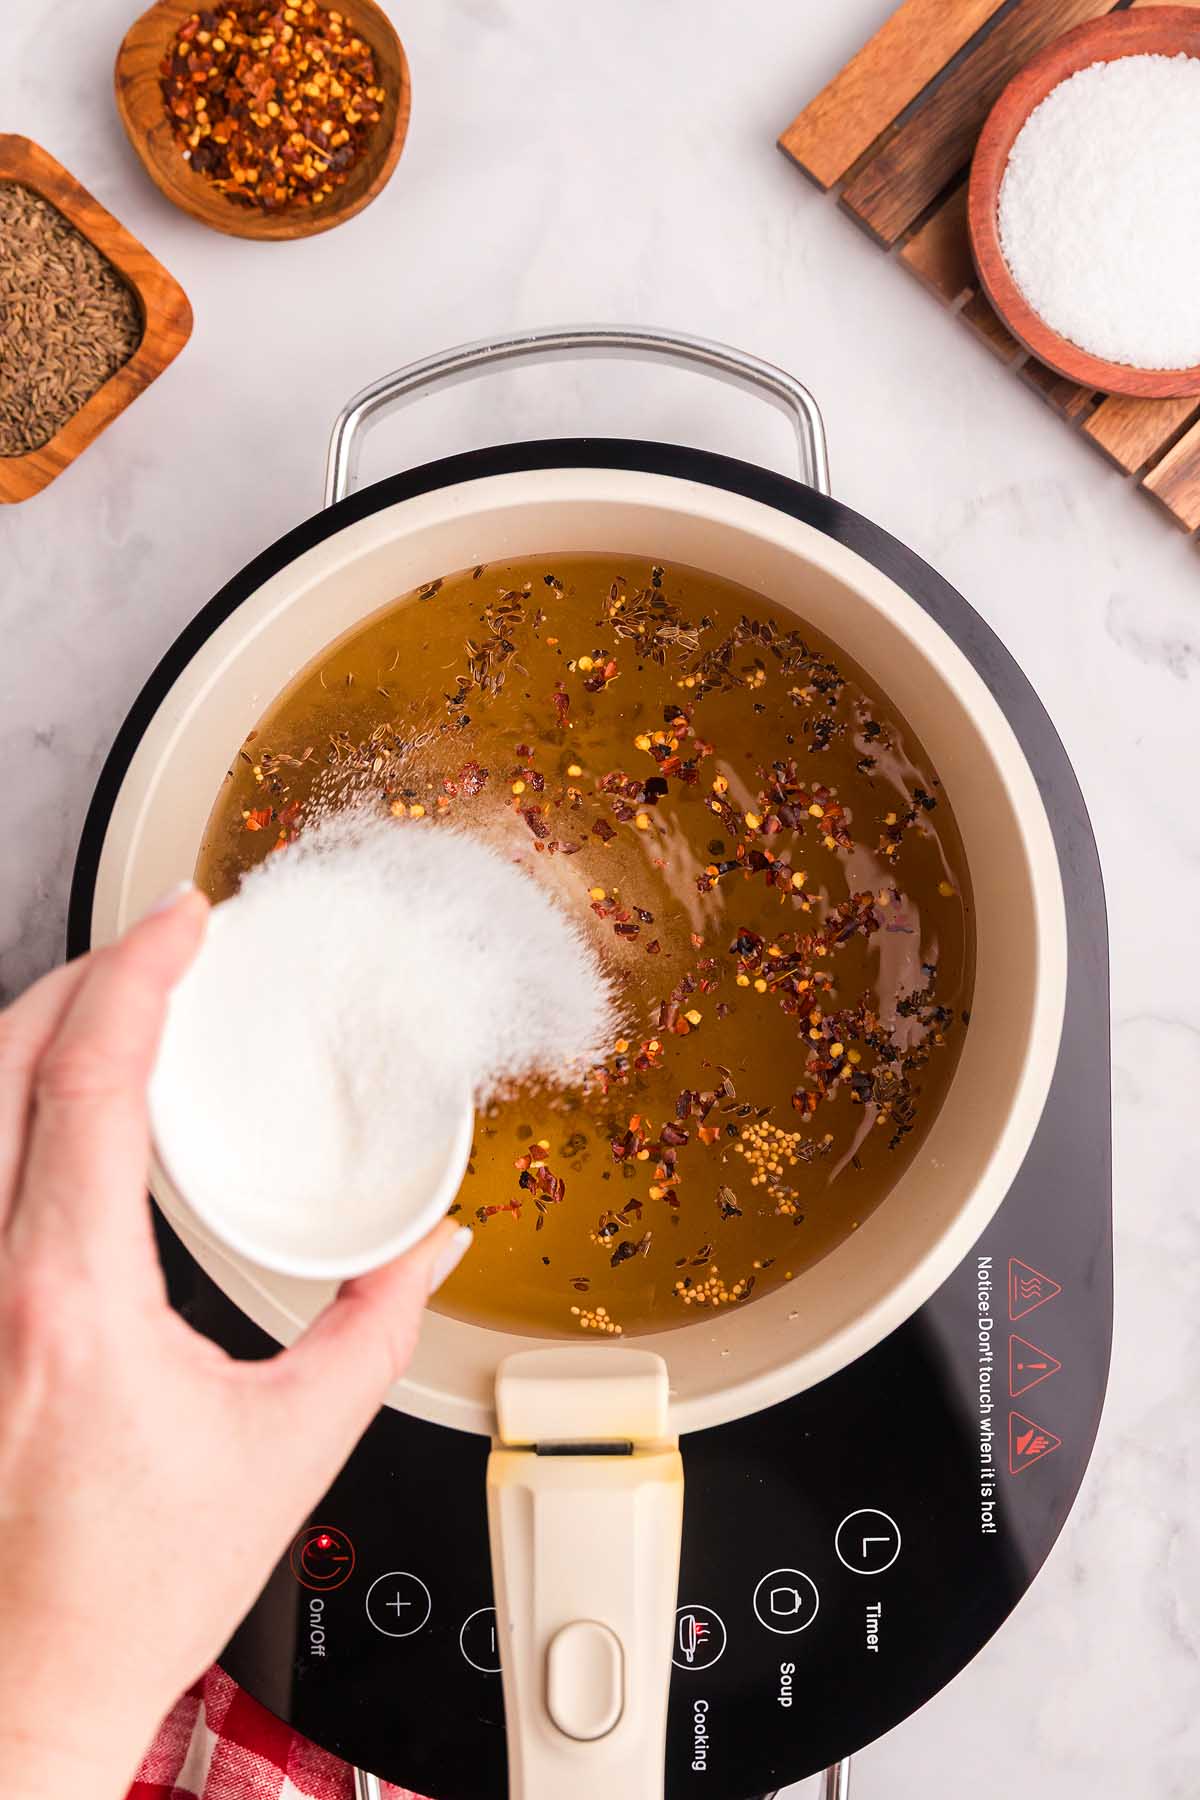
Make the brine: Simmer vinegars, water, sugar, and spices in a medium or large saucepan until sugar dissolves.
Cool slightly: Let brine rest before pouring to protect bean texture.
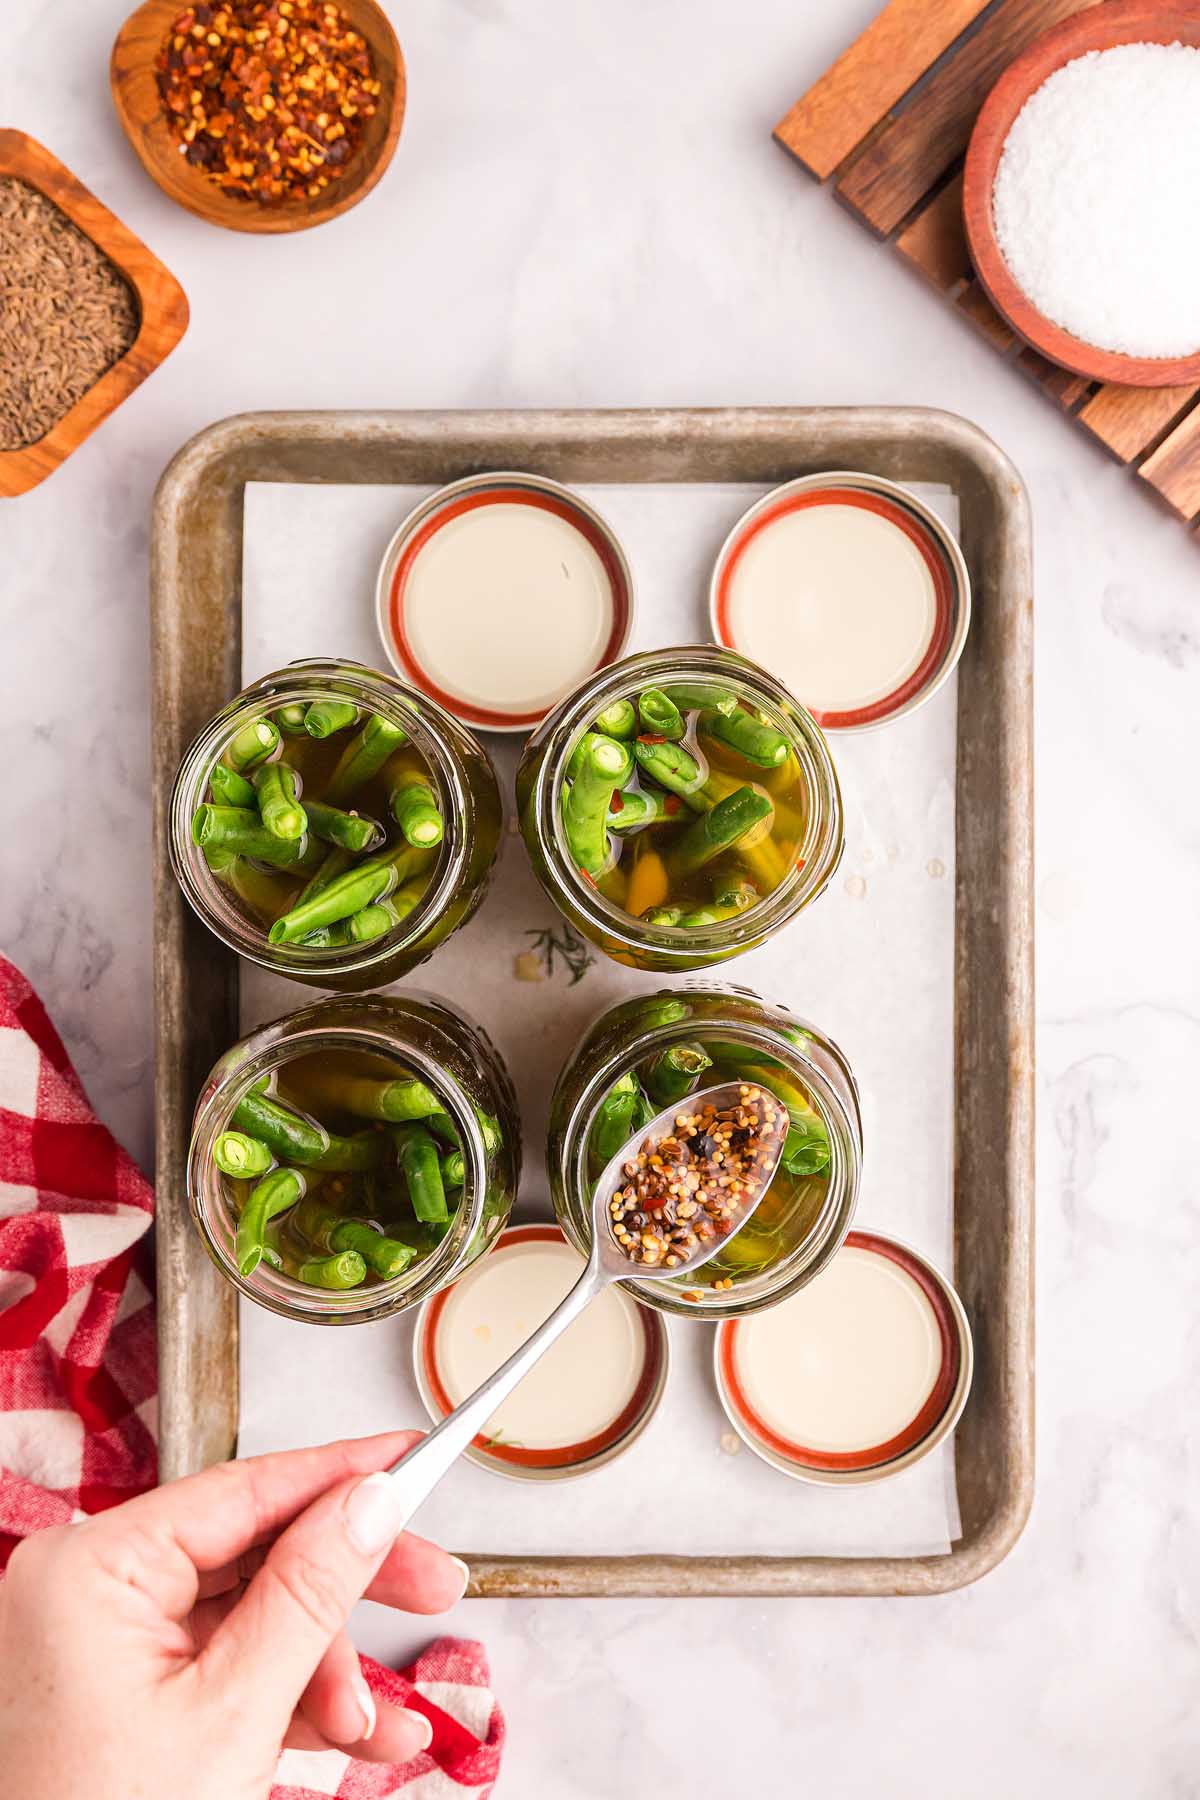
Fill jars: Pour brine over beans and include solid spices for flavor.
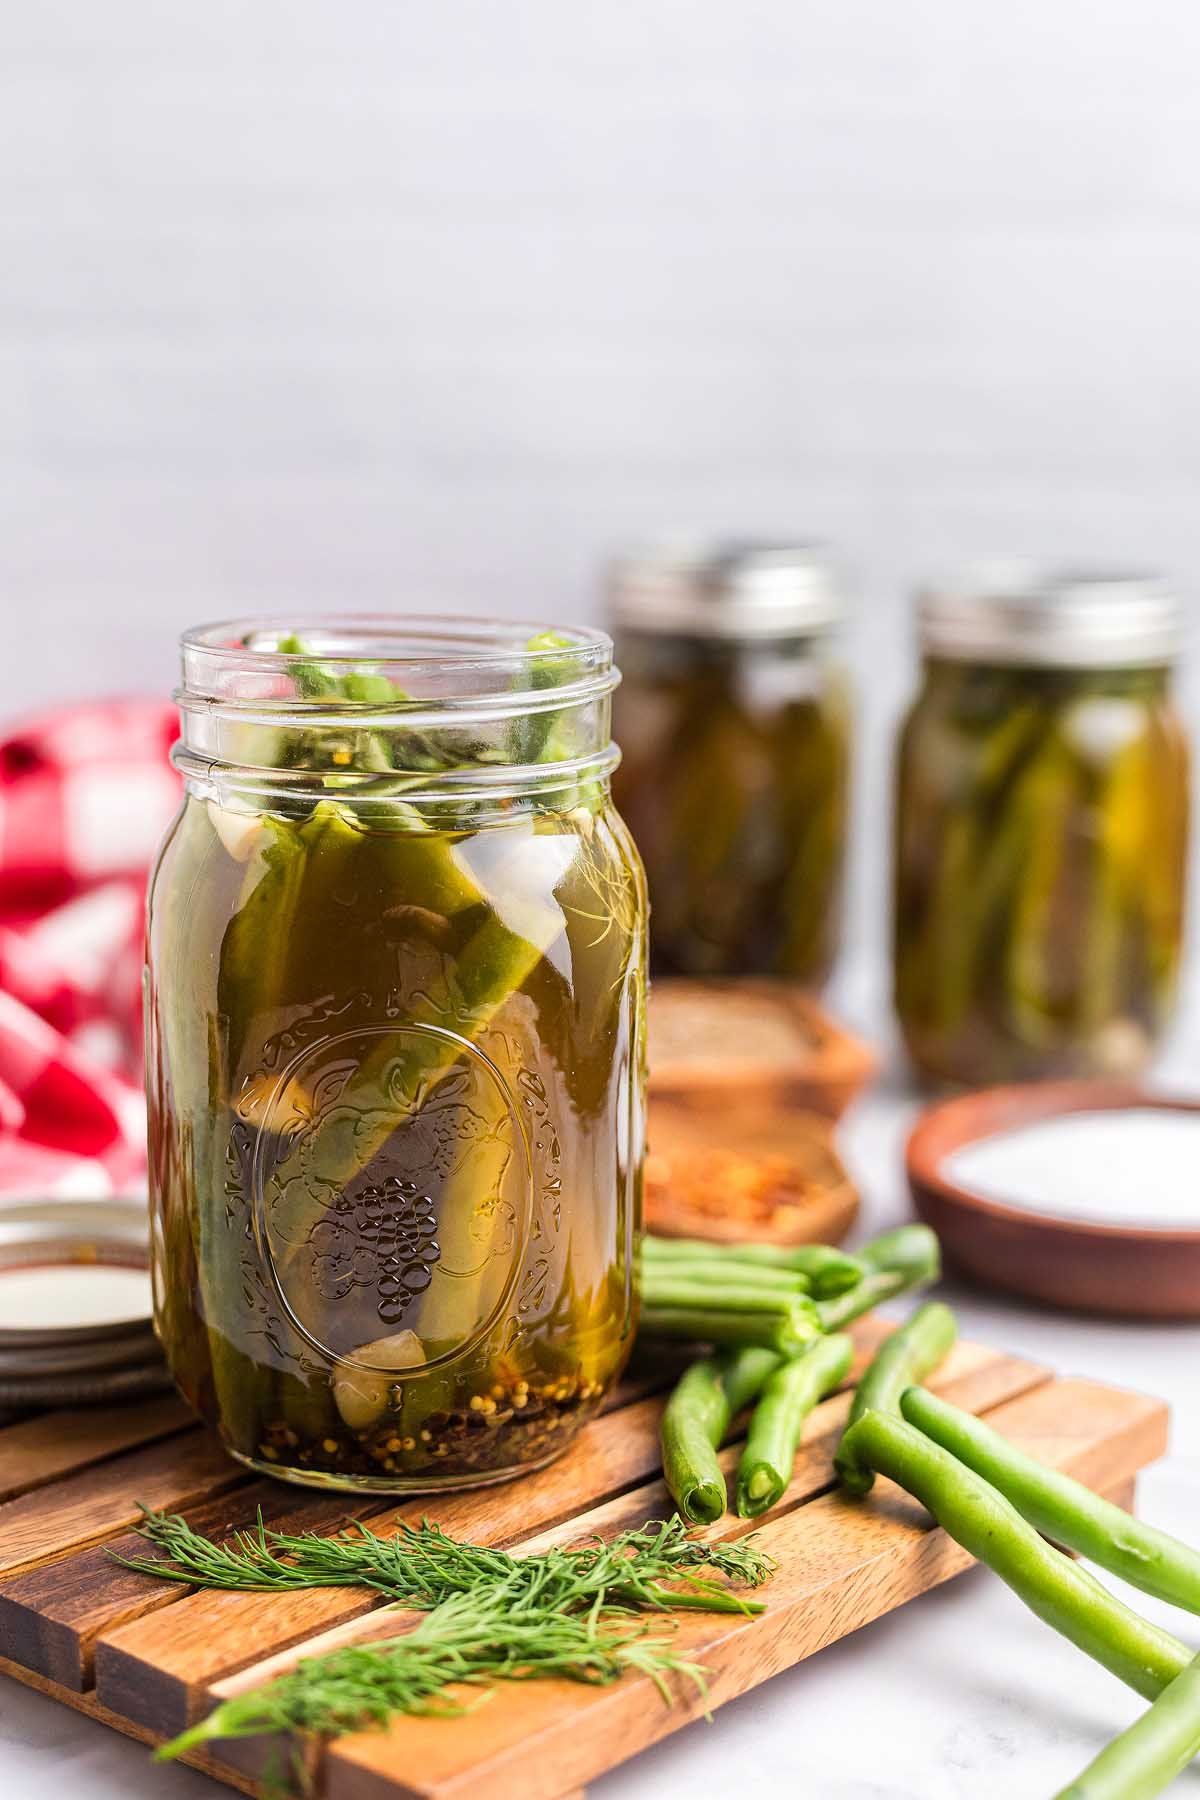
Cool and refrigerate: Let jars cool uncovered and then cover tightly and chill for a couple of days (if possible) before enjoying.
Substitutions and Variations
Use baby green beans: Trim and adjust brine quantity as needed.
Switch vinegars: Try white vinegar or champagne vinegar for a milder acid. Distilled white vinegar is another option which is clear and colorless with a tart flavor. Red wine vinegar would work too, but it might not look as pretty.
Add citrus zest: A strip of lemon or lime zest enhances brightness.
Boost heat: Include whole chili peppers for extra spice in your canned dilly beans.
Other seasonings: Add coriander seeds to the mix or swap the yellow mustard seeds for white ones or, for a more intense mustard flavor, black ones.
Fresh garlic: You can use 2 teaspoons of jarred minced garlic if that’s what you have.
Serving Suggestions
As a side dish: Serve alongside smoked cheddar bacon stuffed burgers for a sharp contrast or enjoy with BBQ chicken French bread pizza for a zesty accompaniment.
As a condiment: Pair them with a cheese board or butter board, or add them to your next charcuterie board or antipasto platter. If you want more condiments to add to your spread, try pickle relish or pepper relish.
In a sandwich: Add some delicious crunchy pickles to your next sandwich. Anything you add dill pickles to, like burgers or chopped Italian sandwiches, you can try with these pickles instead!
As a garnish: Use pickled green beans to garnish your Canadian Caesar cocktails.
How to Store
Store: Pickled beans can be kept in the refrigerator for 4 to 6 weeks.
Freeze: I don’t recommend freezing them, as the texture will degrade and probably the color too.

Top Tips
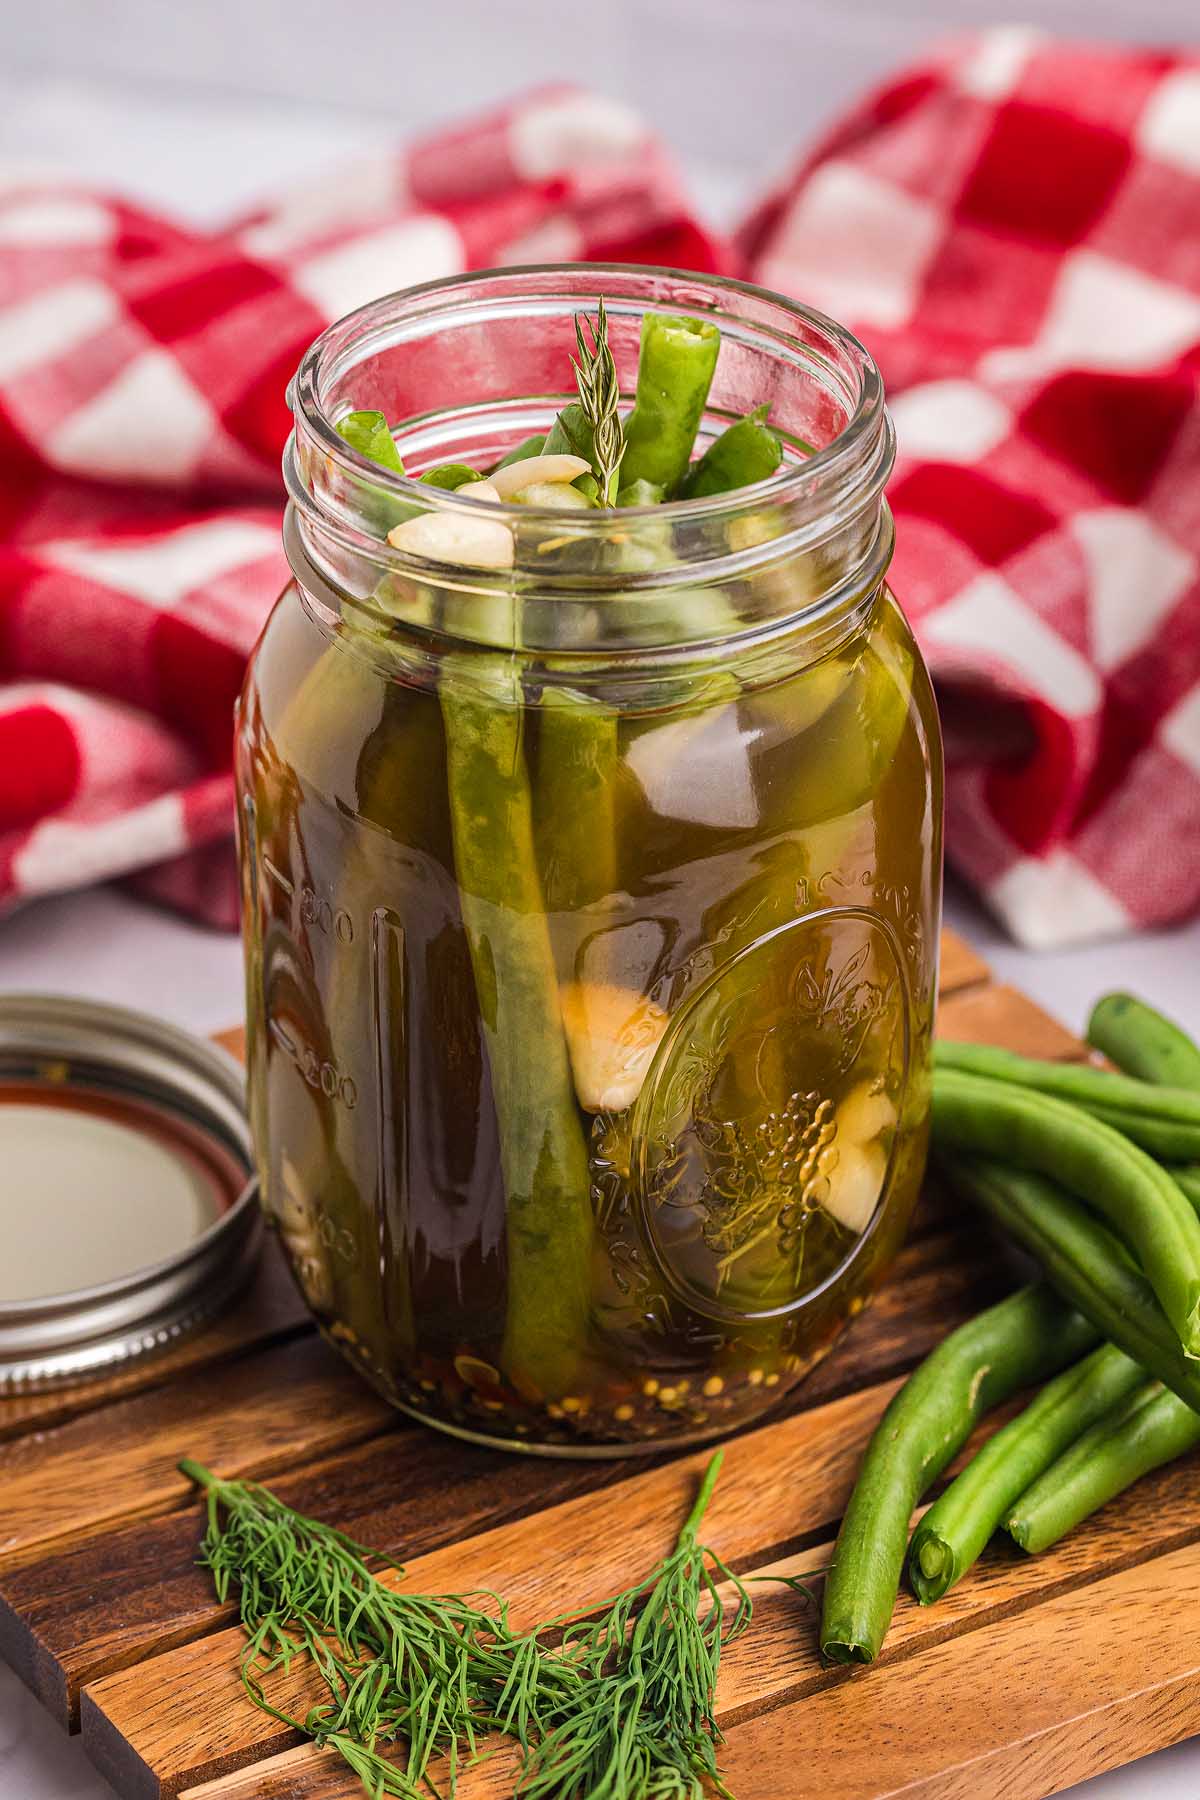
Fit the jars: Cut beans to fit without having to force on the lids. The mason jars I used are 5 inches deep, which is why I trim my beans to 4 to 4 ½ inches. Layering the beans vertically will allow you to fit the other ingredients as well, dividing a full pound of beans between 4 mason jars.
Simmer gently: Boiling too hard can over-soften your green beans and you want them to come out crisp not mushy.
Remove fresh dill: Pull out and discard the large sprigs before sealing your jars, leaving it in there for at least 10 minutes. The dill steeps in the brine and leaves the flavor behind.
Let it cool: Don’t secure the lids on the jars before the pickled beans have cooled to room temperature.
Let flavors meld: I find homemade pickled green beans taste best after at least 2 full days of chilling time, so plan the recipe ahead.
Old-Fashioned Pickled Dilly Beans FAQs
I wouldn’t recommend it. Frozen beans tend to be too soft for pickling, so fresh is best.
No, they’ll stay crisp if cooled properly and not overcooked in the brine.
I used four 1-pint jars but you can use two 1-quart jars instead. You could even use smaller jars than that if you trim your beans to fit. If you’re planning on gifting some of your pickled green beans, you might like to use small jars (and add cute labels!)
Best Dilly Beans Recipe
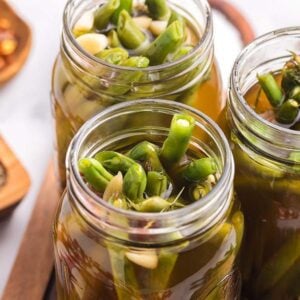
Pickled Green Beans
Equipment
- 4 Mason Jars 16-Ounce
- Saucepan Medium
Ingredients
- 1 Pound green beans, fresh, trimmed to 4 to 4 ½ inches in length or shorter
- 1 Cup rice wine vinegar
- 2 Cups apple cider vinegar
- 3 ½ Cups water
- 2 ½ Teaspoons kosher salt
- 1 ½ Teaspoon mustard seeds
- 1 ½ Teaspoon dill seed
- 1 ½ Teaspoon black peppercorns, cracked
- ½ to 1 Teaspoon crushed red pepper flakes, to taste
- 3 Tablespoons granulated sugar
- 12 garlic cloves, fresh, peeled and quartered
- 16 Sprigs dill, fresh
Instructions
- Divide the trimmed green beans vertically between 4 pint-sized mason jars, trimming the tops of the beans if necessary to fit.
- Top each jar with 3 quartered fresh garlic cloves and 3 to 4 trimmed fresh dill sprigs. Set aside while you make the picking juice.
- In a medium saucepan, mix the vinegars, water, salt, mustard seeds, dill seed, peppercorns, red pepper flakes, and sugar. Whisk together until the sugar is dissolved.
- Over medium heat, bring the mixture to a boil, then reduce heat to maintain a low simmering boil for 10 minutes. Add 4 fresh dill sprigs and take the mixture off the heat.
- Let cool for about 10 minutes then remove the fresh dill from the mixture and discard. Pro tip: Carefully pouring the picking juice into a glass measuring cup that includes a spout will help for easier measuring between jars.
- Pour the mixture into each jar until the beans are covered, about 1 ½ cups per jar. Divide the liquid first, then using a spoon add the cooked seasonings that have settled to the bottom, as this is what gives the beans their amazing flavor!
- Allow to cool for another 30 minutes, uncovered.
- Once at room temperature, cover with the mason jar lids and refrigerate for at least 48 hours before serving.
Notes
Simmer gently: Boiling too hard can over-soften your green beans and you want them to come out crisp not mushy.
Remove fresh dill: Pull out and discard the large sprigs before sealing your jars, leaving it in there for at least 10 minutes. The dill steeps in the brine and leaves the flavor behind.
Let it cool: Don’t secure the lids on the jars before the pickled beans have cooled to room temperature.
Let flavors meld: I find homemade pickled green beans taste best after at least 2 full days of chilling time, so plan the recipe ahead.
Nutrition
Pickled green beans are a quick fridge pickle that delivers crisp, bold flavor in every bite. With garlic, dill and warming spices, the brine infuses beans with tang and snap. They are ideal for garnishing cocktails, adding crunch to charcuterie boards or snacking anytime. No elaborate canning process is needed. Just simmer, jar, chill and enjoy. These pickled string beans are a fresh, exciting way to elevate simple ingredients into a standout treat.
Other Recipes to Try
Bella Bucchiotti
Bella Bucchiotti is a Canadian-based syndicated food, travel, and lifestyle writer, photographer, and creator at xoxoBella. She founded xoxoBella in 2015, where she shares her love for food, dogs, sustainability, fitness, crafts, outdoor adventures, travel, and philanthropy to encourage others to run the extra mile, try new recipes, visit unfamiliar places, and stand for a cause. Bella creates stress-free and family-friendly recipes for weeknight dinners and festive feasts.