This post may contain affiliate links, please see the privacy policy for details.
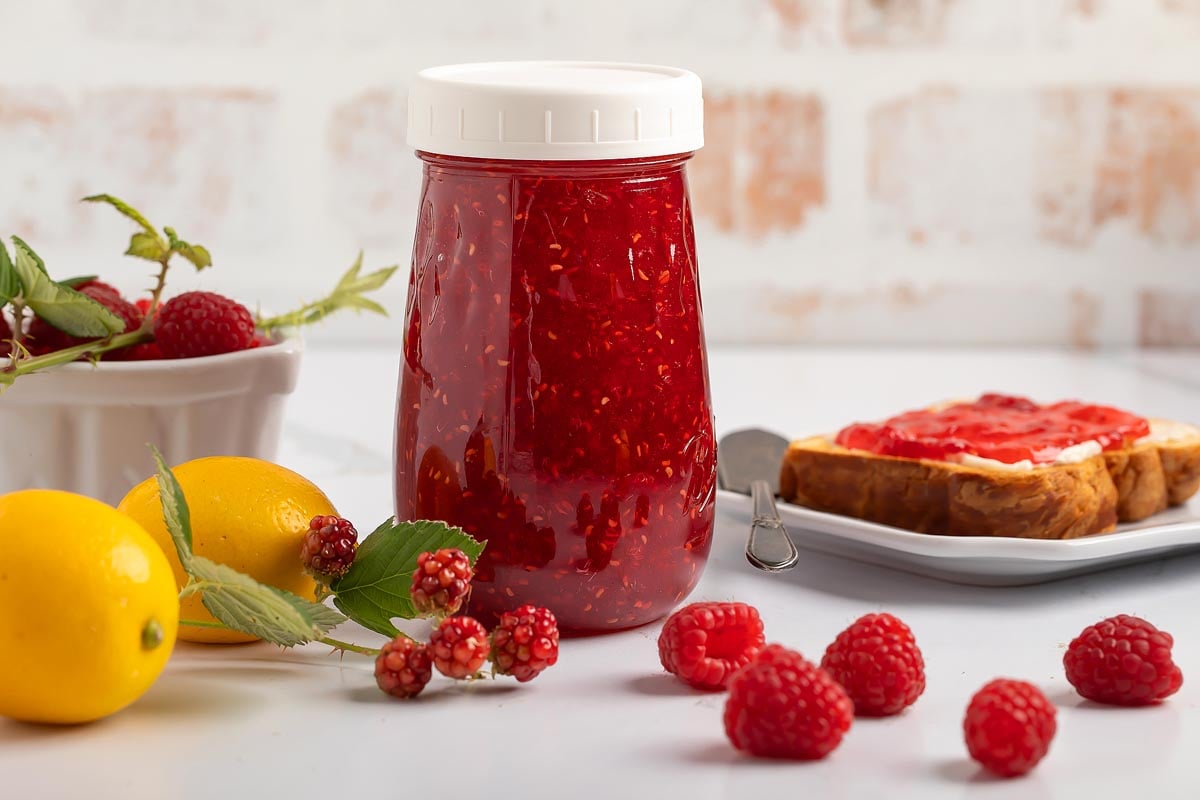
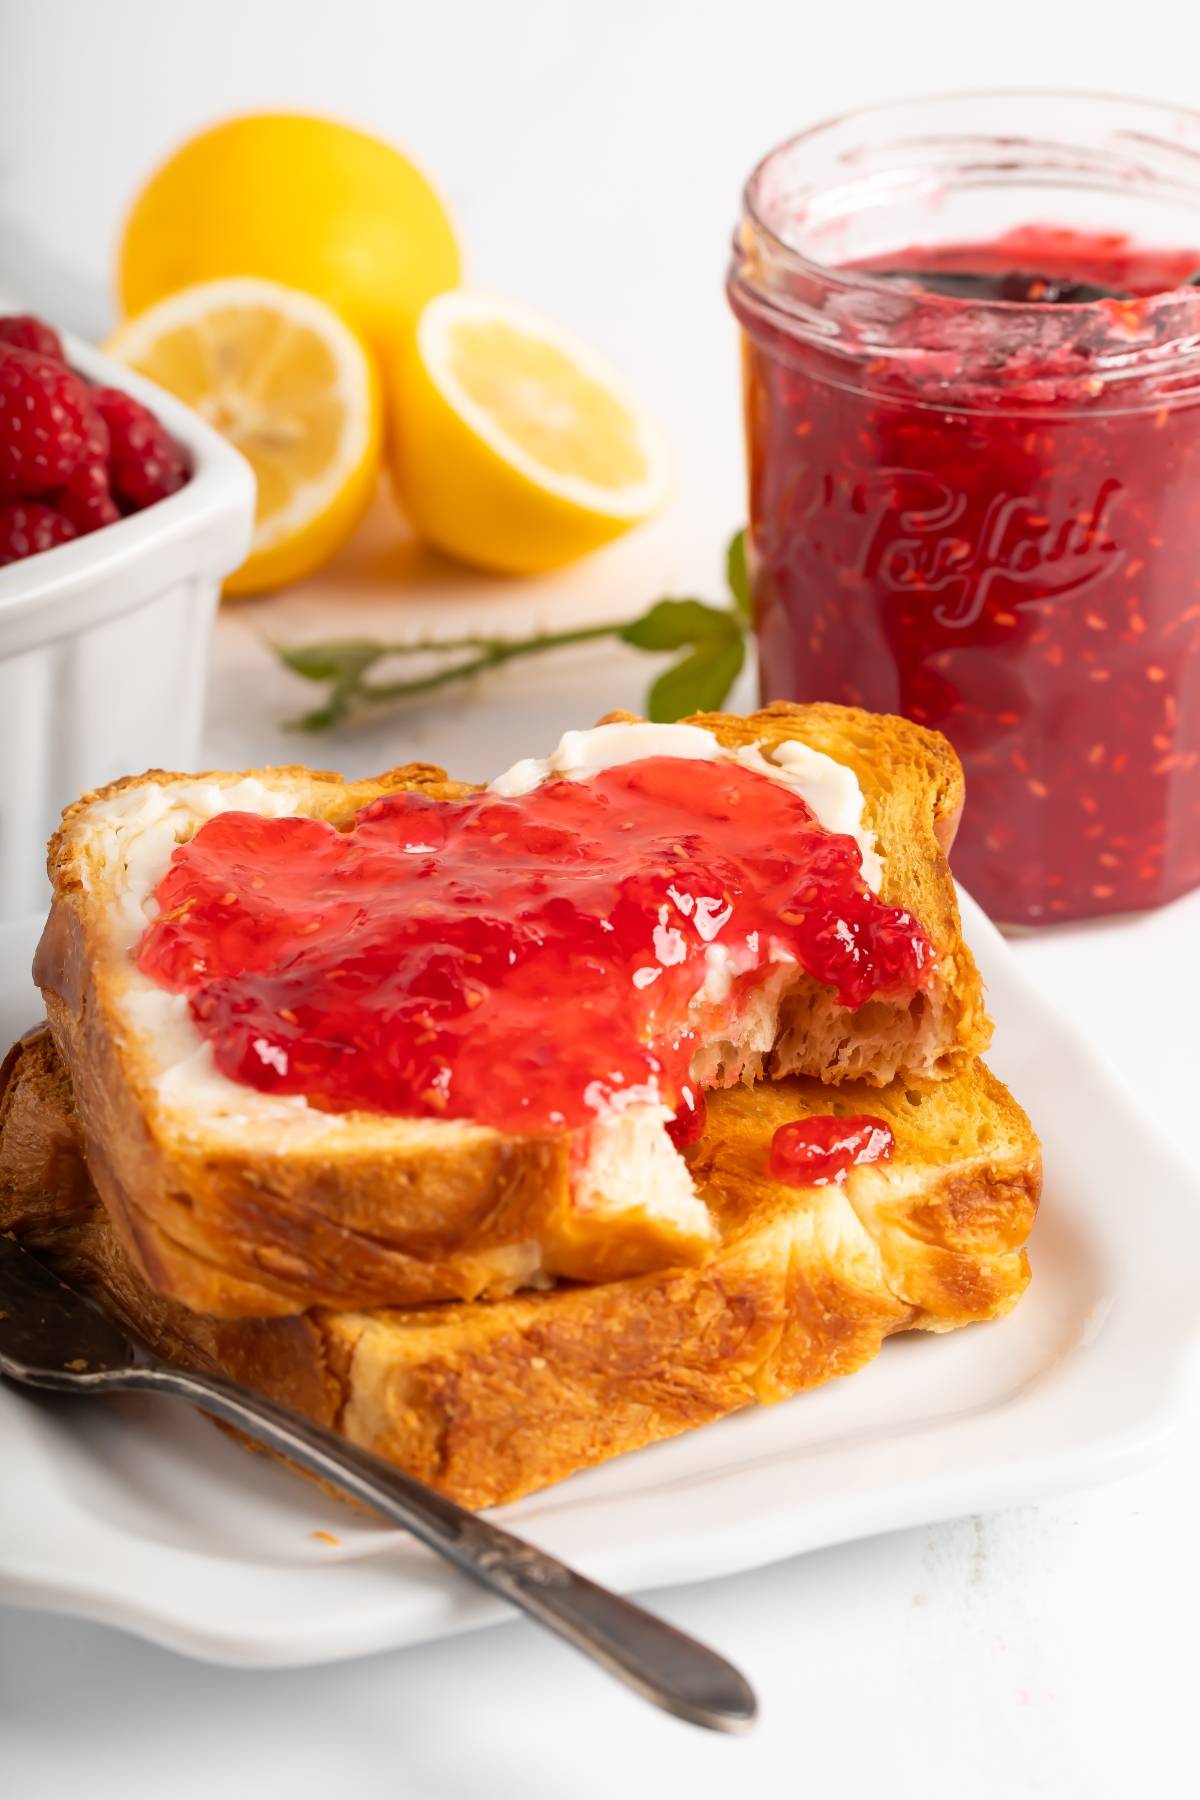
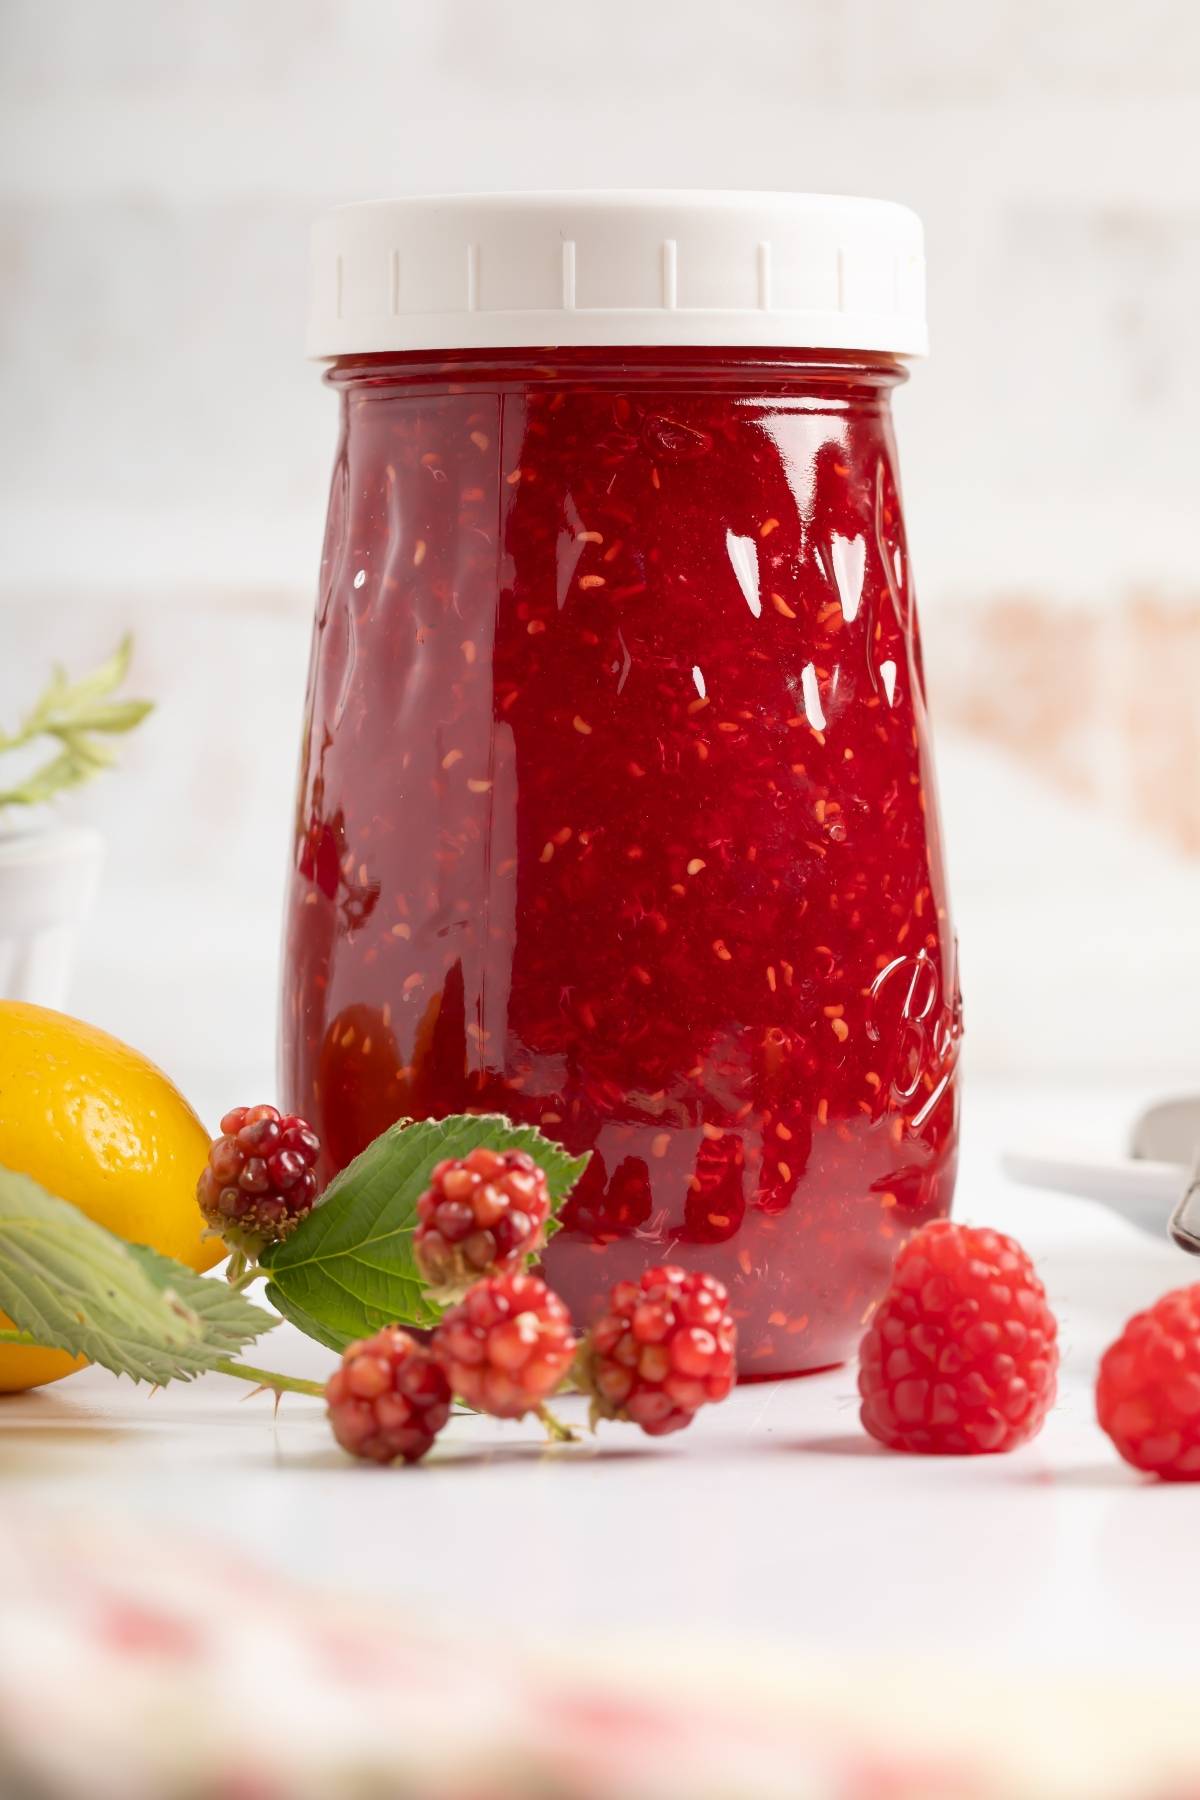
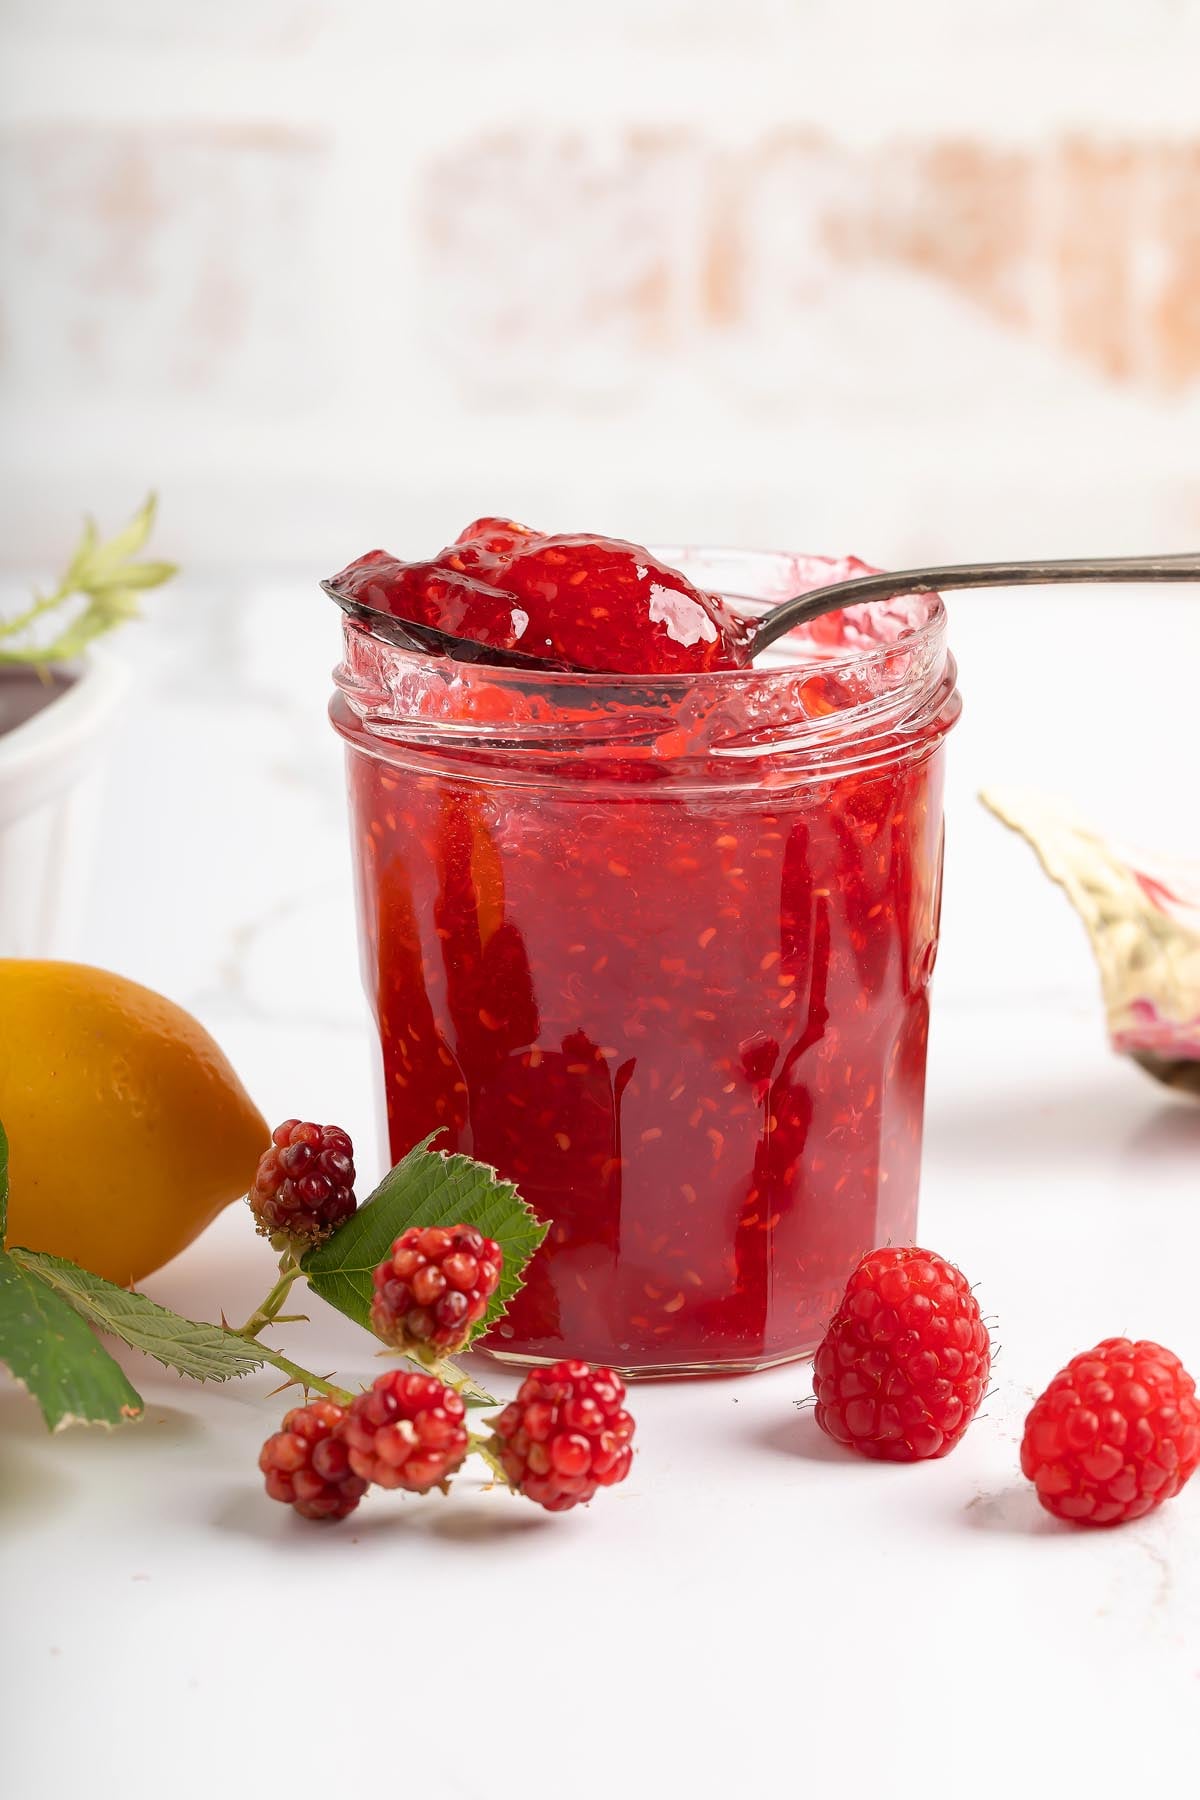
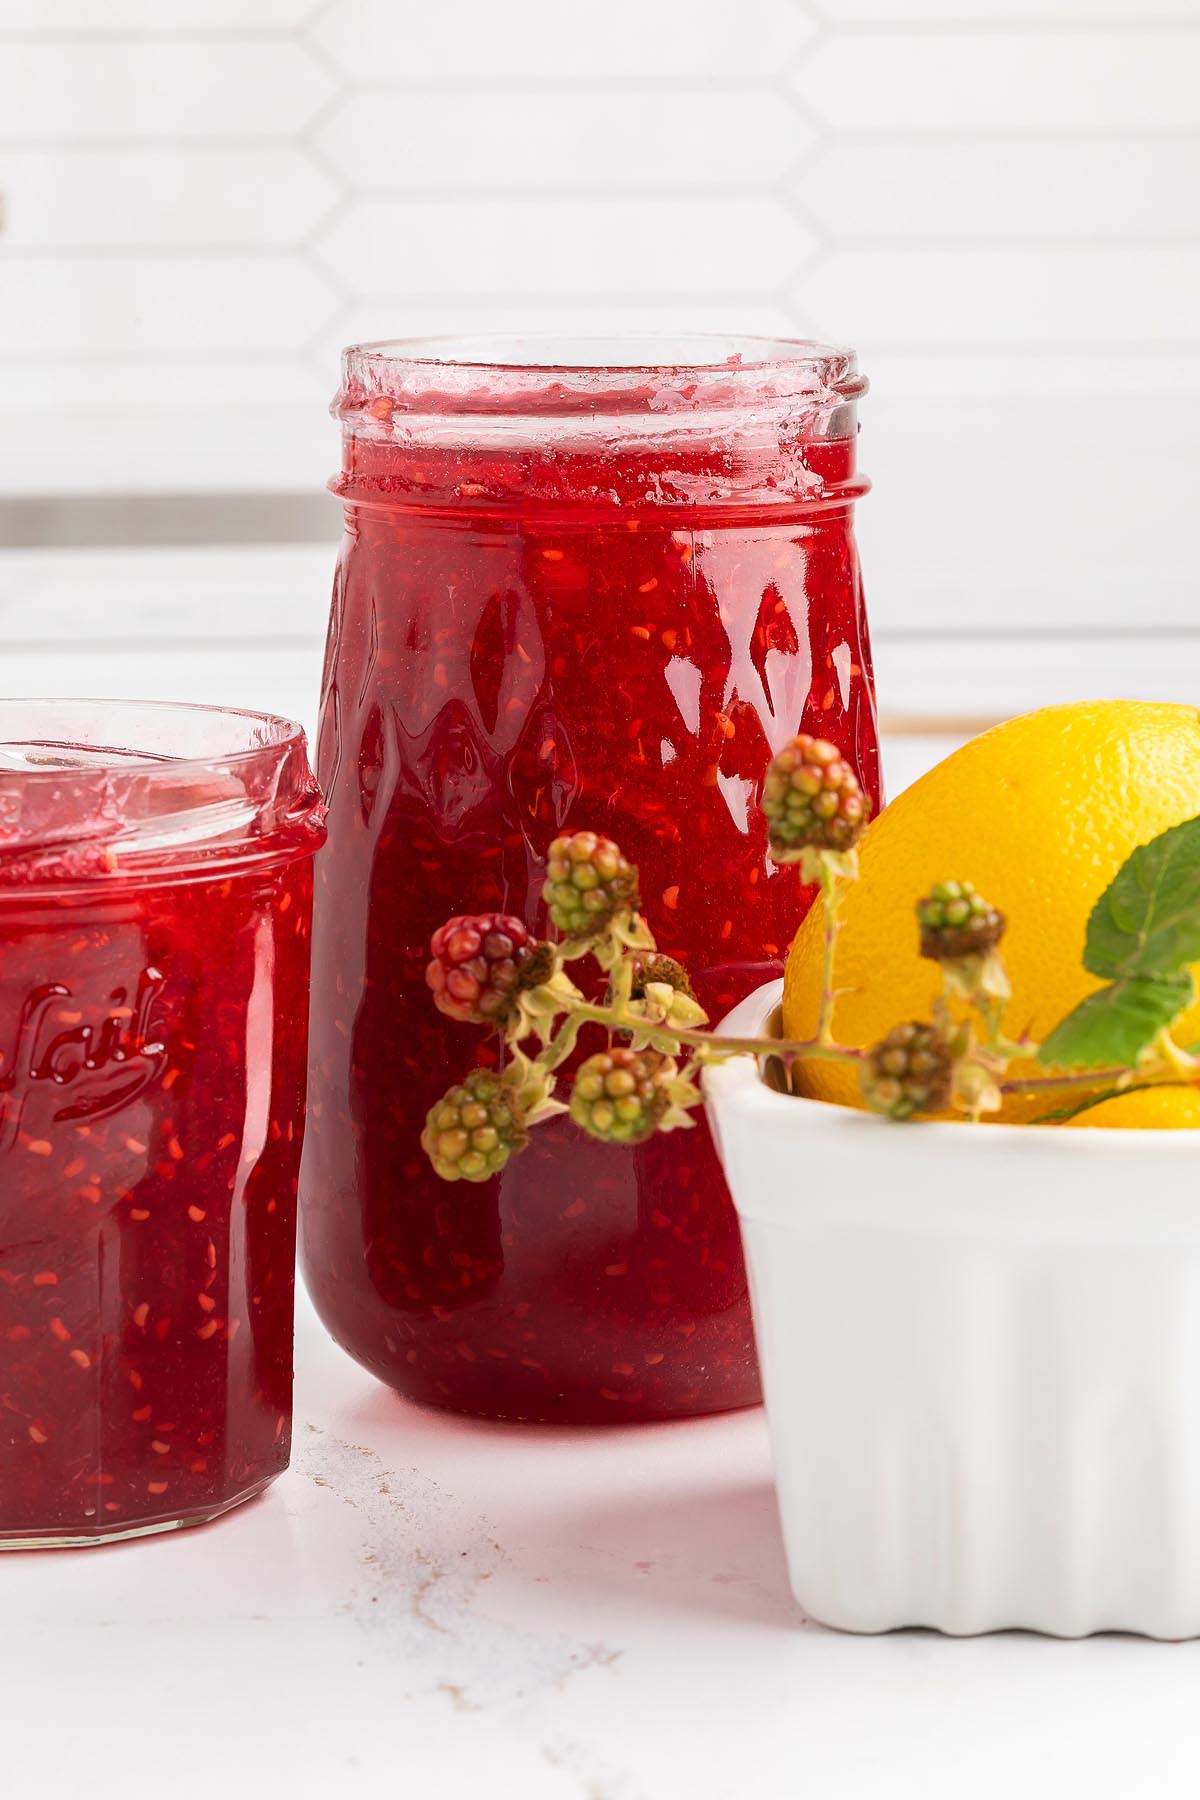
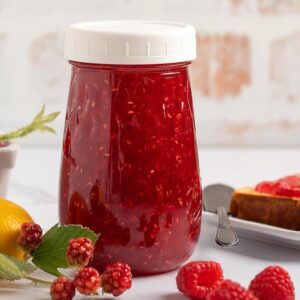
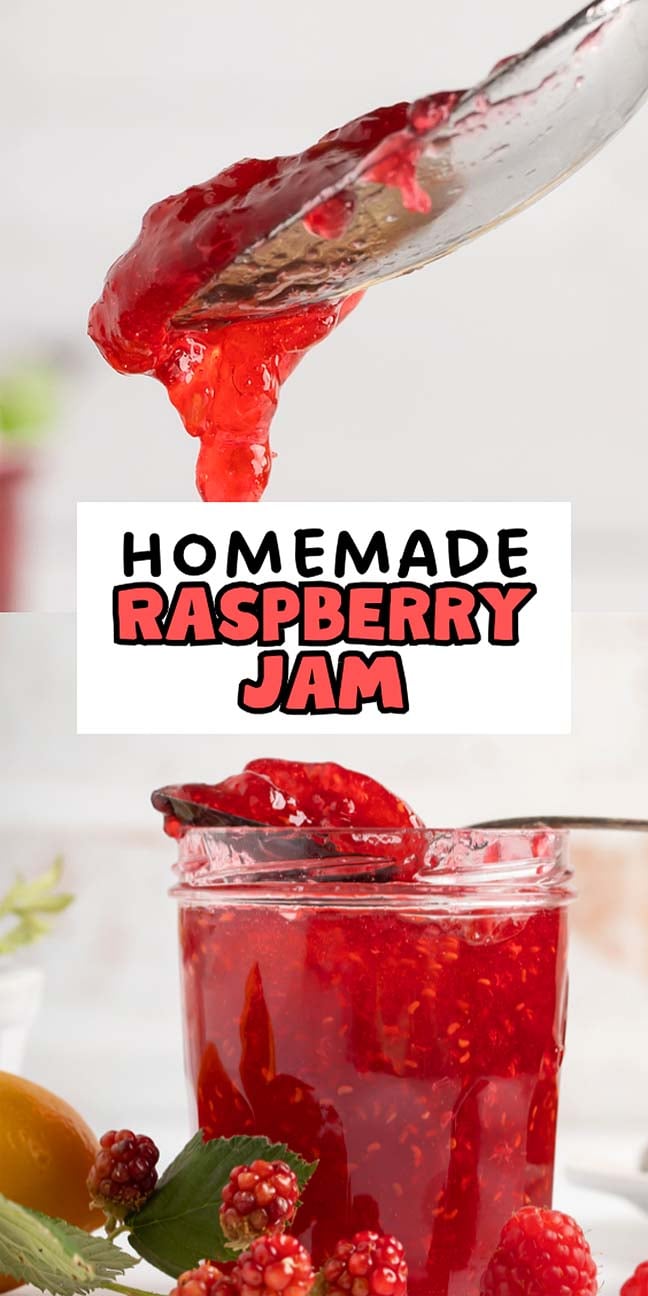
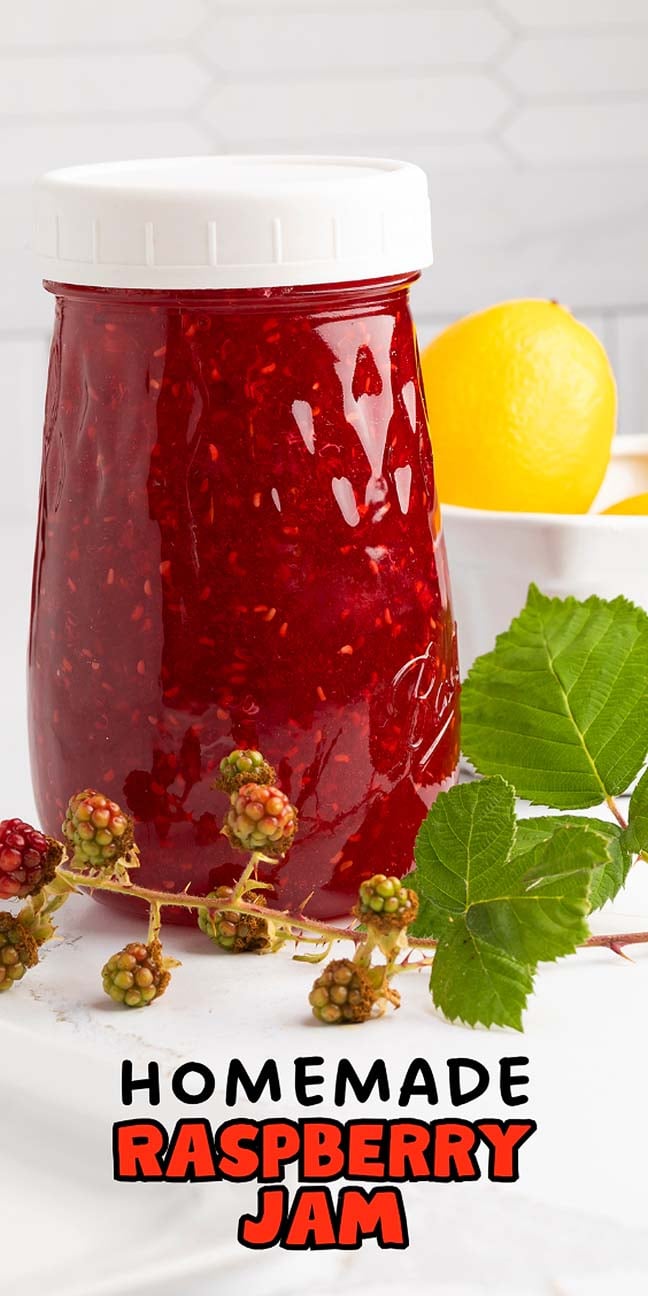
Homemade jam always tastes better, and this simple version is packed with bright berry flavor and easy steps. You don’t need fancy tools or canning equipment to make your own raspberry jam at home, just fresh berries, sugar and pectin which come together to create a spread that’s perfect for toast, yogurt or baked goods. The texture is just right, with a nice balance of smooth and chunky. It’s a great project for beginners and fun to make with kids too.
Why You’ll Love It

This raspberry jam is sweet, fruity and easy to make without canning. Enjoy fresh homemade jam with just a few ingredients and no fancy equipment needed.
No canning required: Make your own jam without worrying about sterilizing or sealing jars.
Big berry flavor: You get all the fresh raspberry taste in every spoonful. It’s so much better than store bought jam.
Customizable: You can strain some or all of the seeds, or add other berries.
Gluten free and dairy free: There’s no gluten or dairy in homemade raspberry jam.
Freezer friendly: Store in the fridge or freezer for long-lasting flavor.
Perfect texture: A mix of smooth and chunky gives it a homemade feel.
You might also like jalapeno hot honey, cherry jam, blueberry jam, strawberry jalapeno jam and spiced cranberry orange jam.
Homemade Raspberry Jam Ingredients
A complete list of ingredients and amounts can be found in the recipe card below.
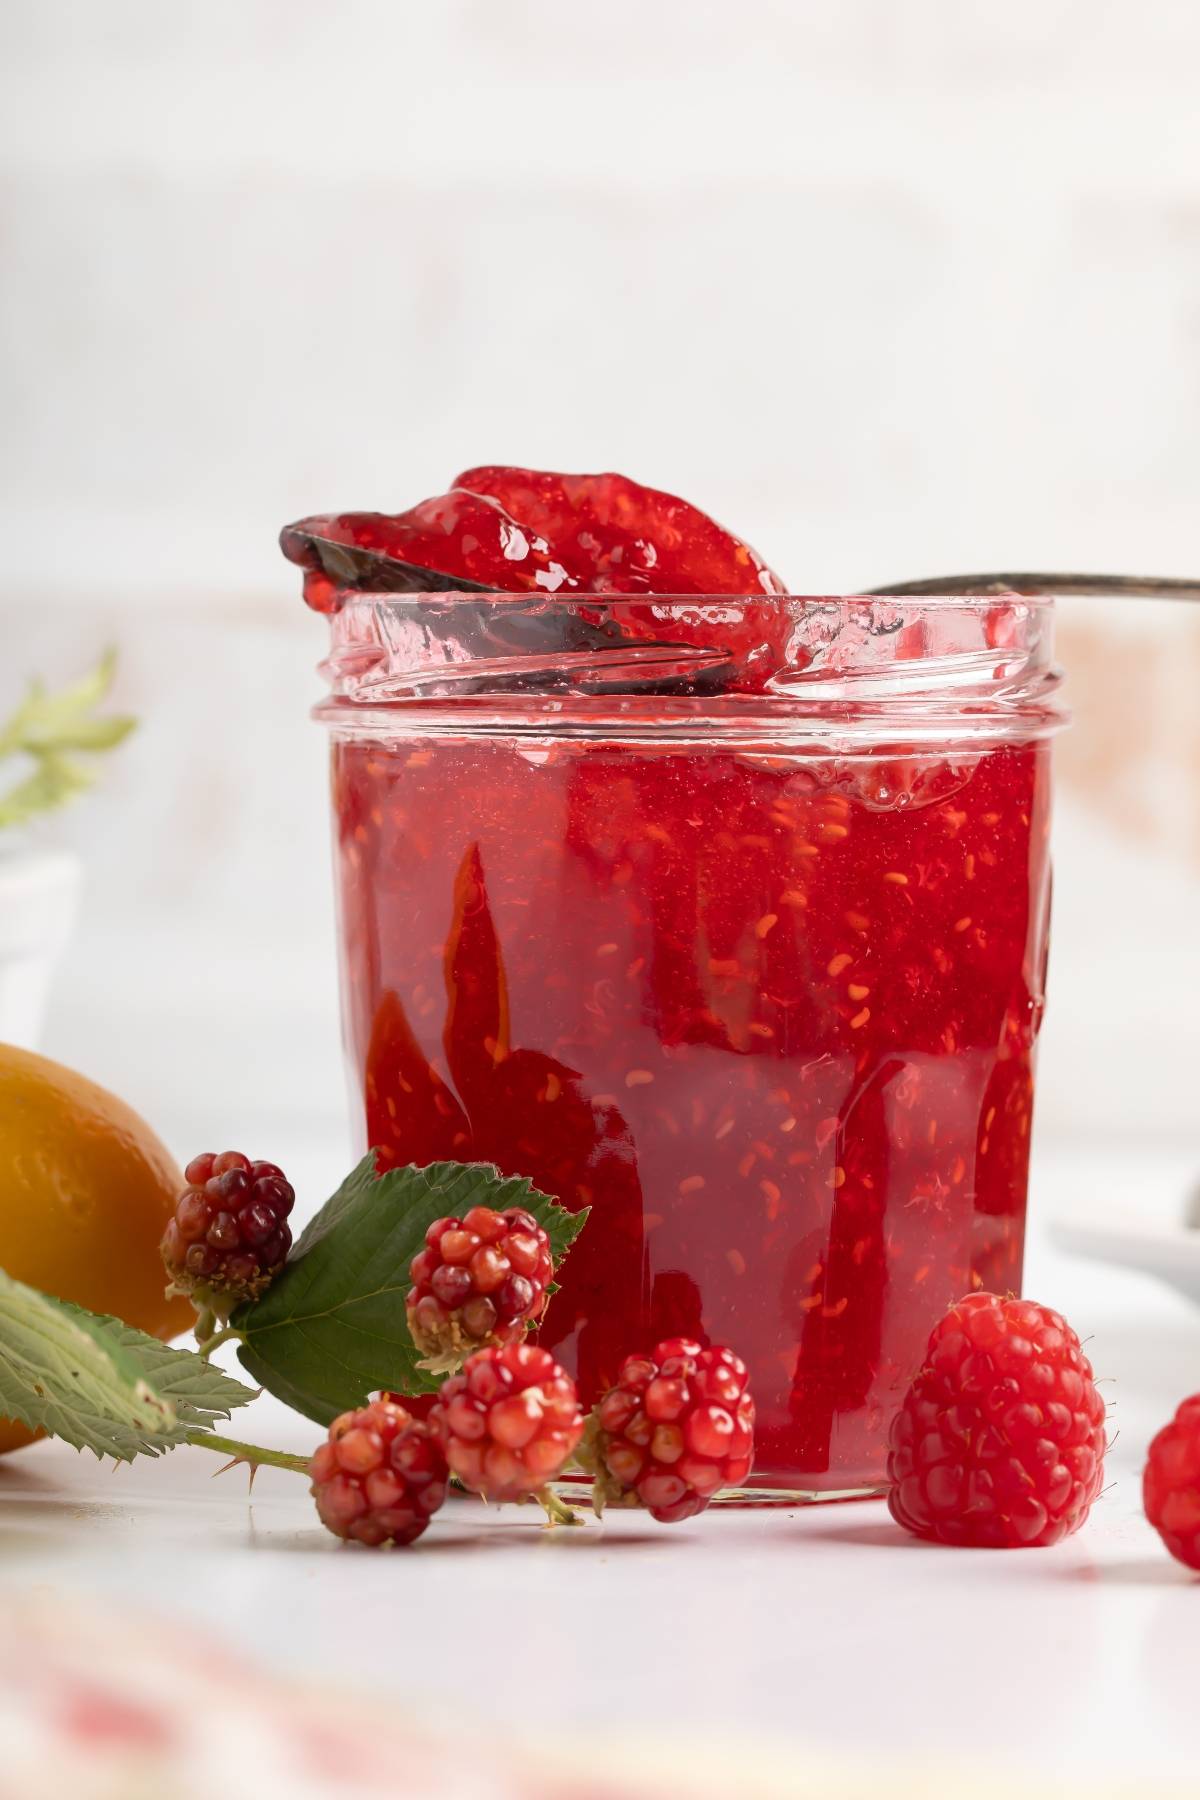
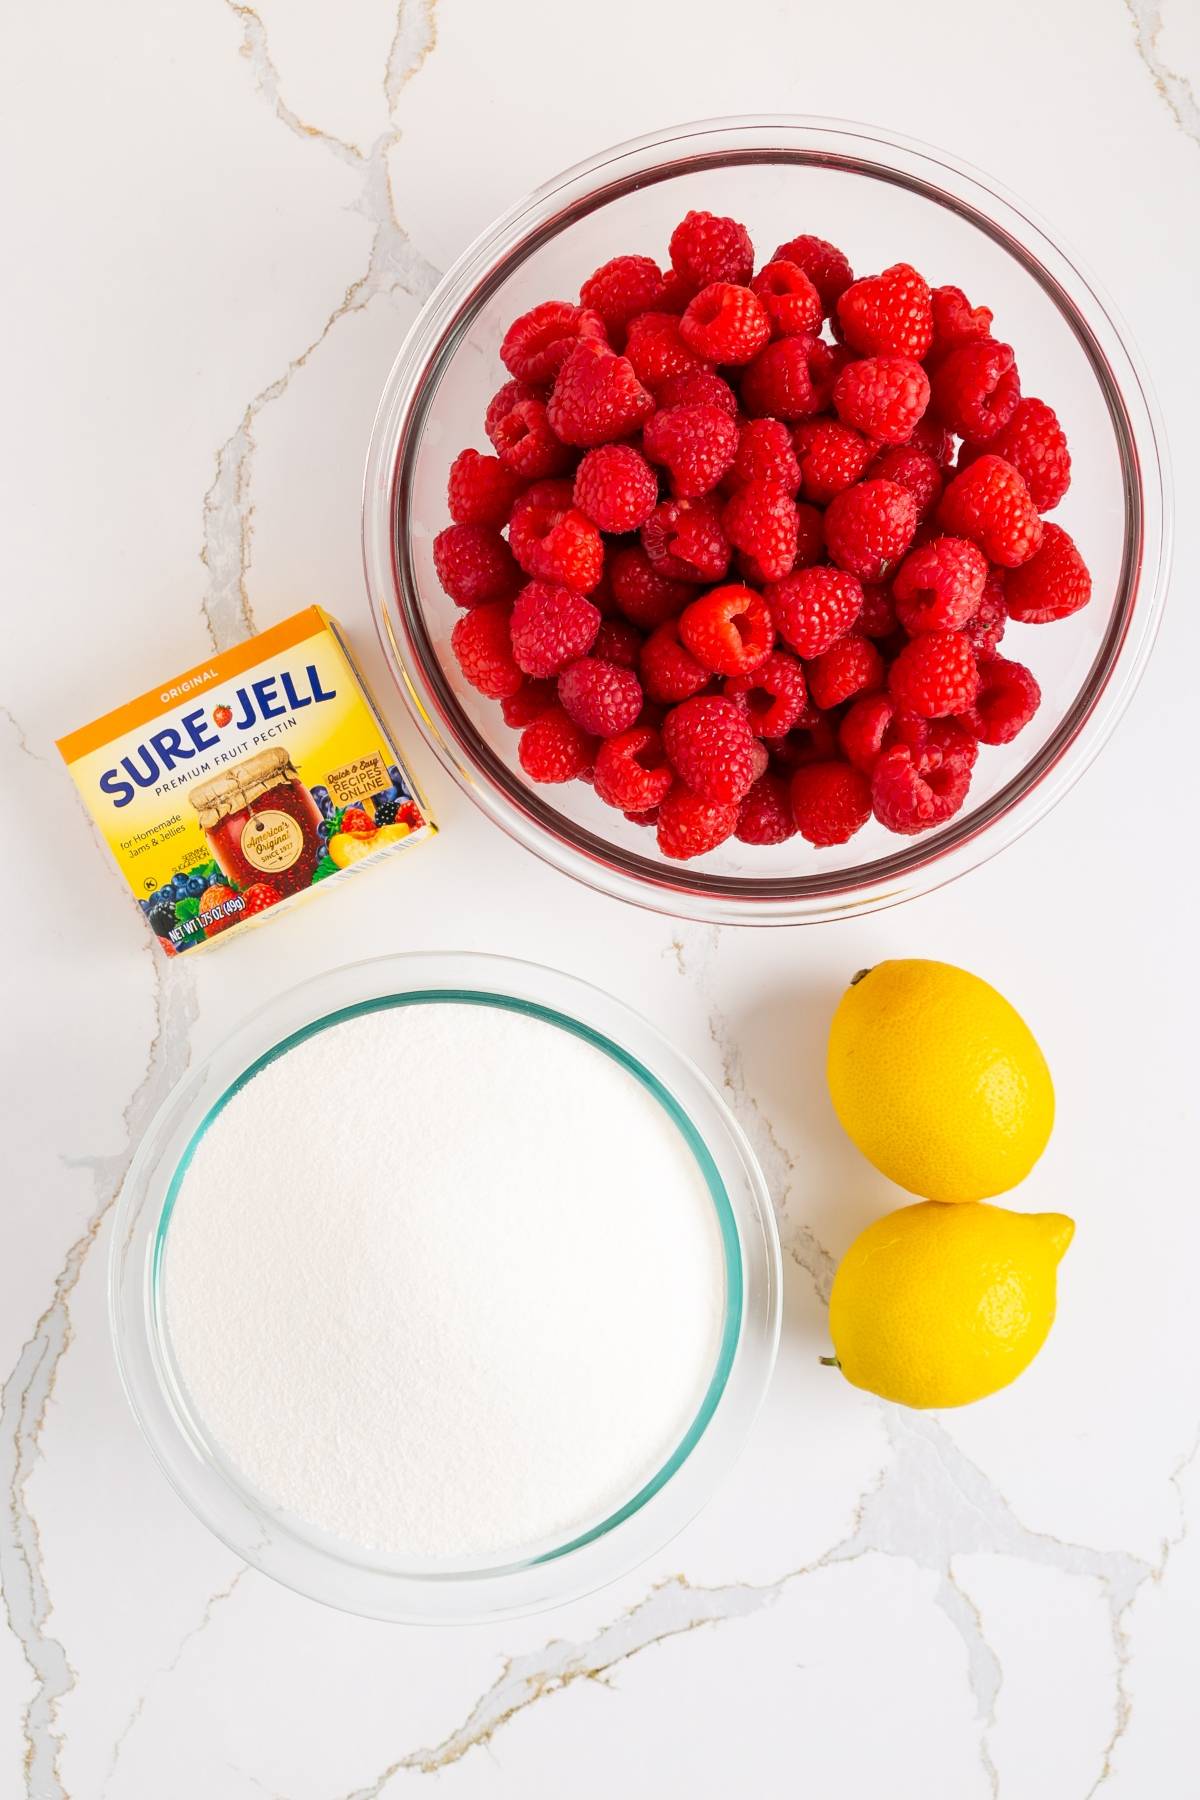
Raspberries: Provide fresh, juicy flavor and vibrant color. You can use frozen raspberries if you thaw them completely and pour off any extra liquid before using.
Granulated sugar: Sweetens the jam and helps it set with the pectin.
Water: Used to dissolve the pectin before combining with the fruit.
Pectin: Helps the jam gel properly and gives it structure. (I used Sure Jell!)
Lemon juice: Adds brightness and helps balance the sweetness.
How to Make Raspberry Jam
For more detailed instructions with weights and measurements, jump to the printable recipe card.
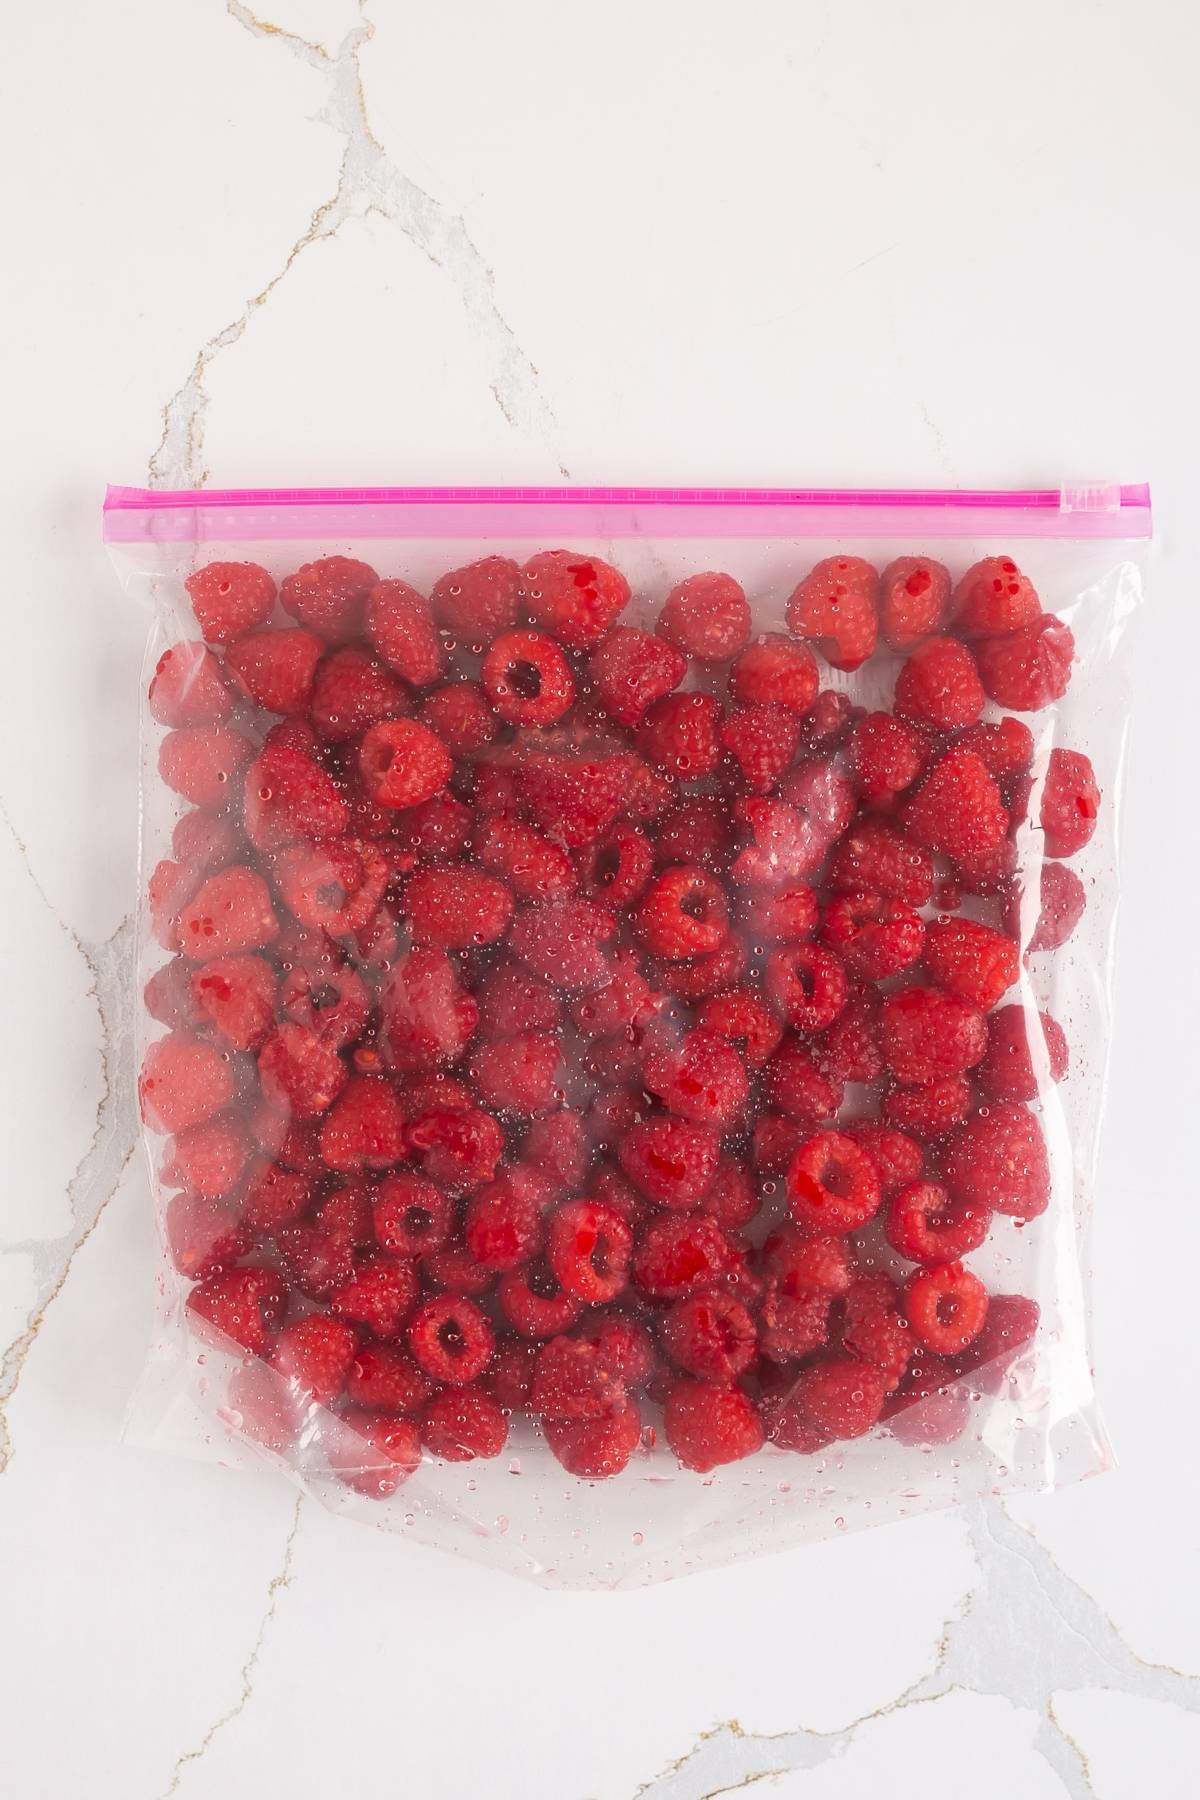
Crush the berries: Use a Ziploc bag and your hands to mash your fresh fruit.
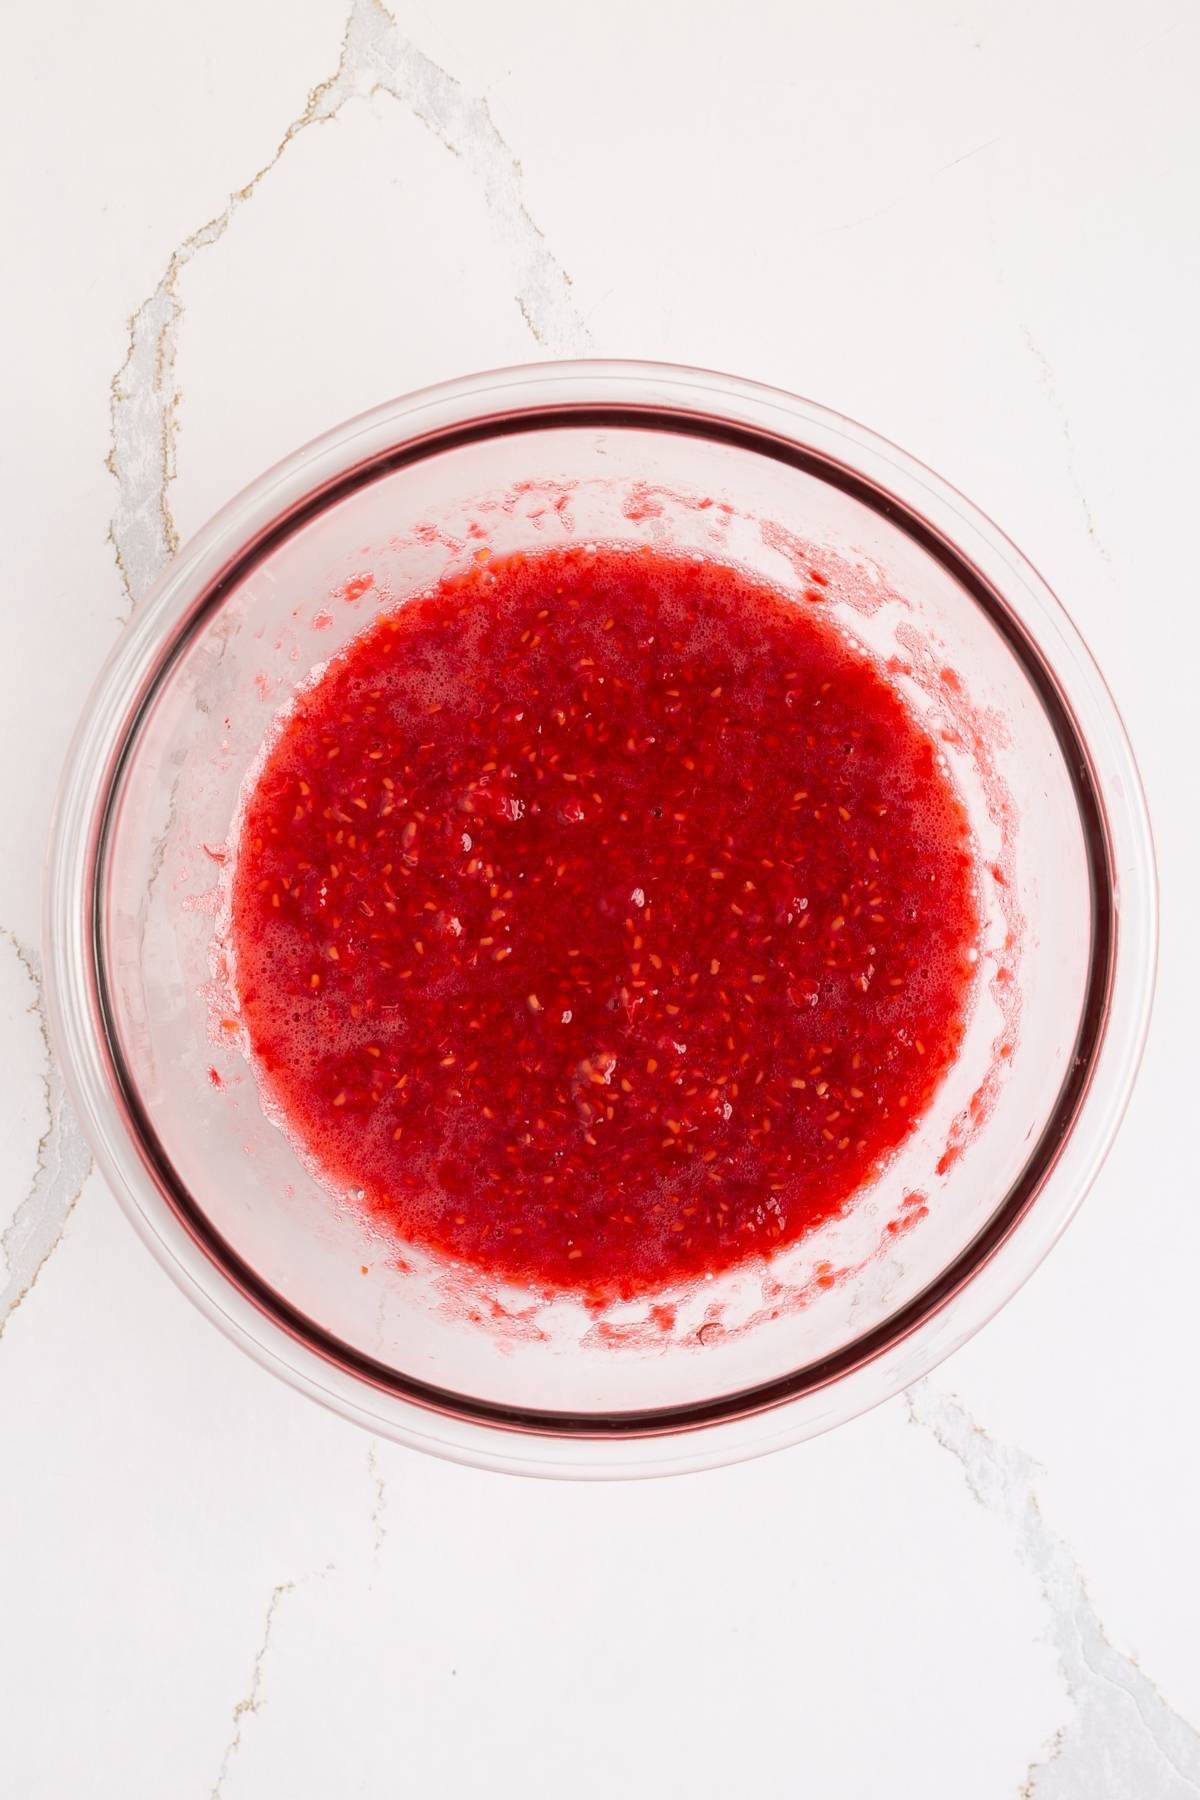
Strain if desired: Press half through a sieve to remove some seeds.
Mix with lemon juice: Stir it into the berry mixture.
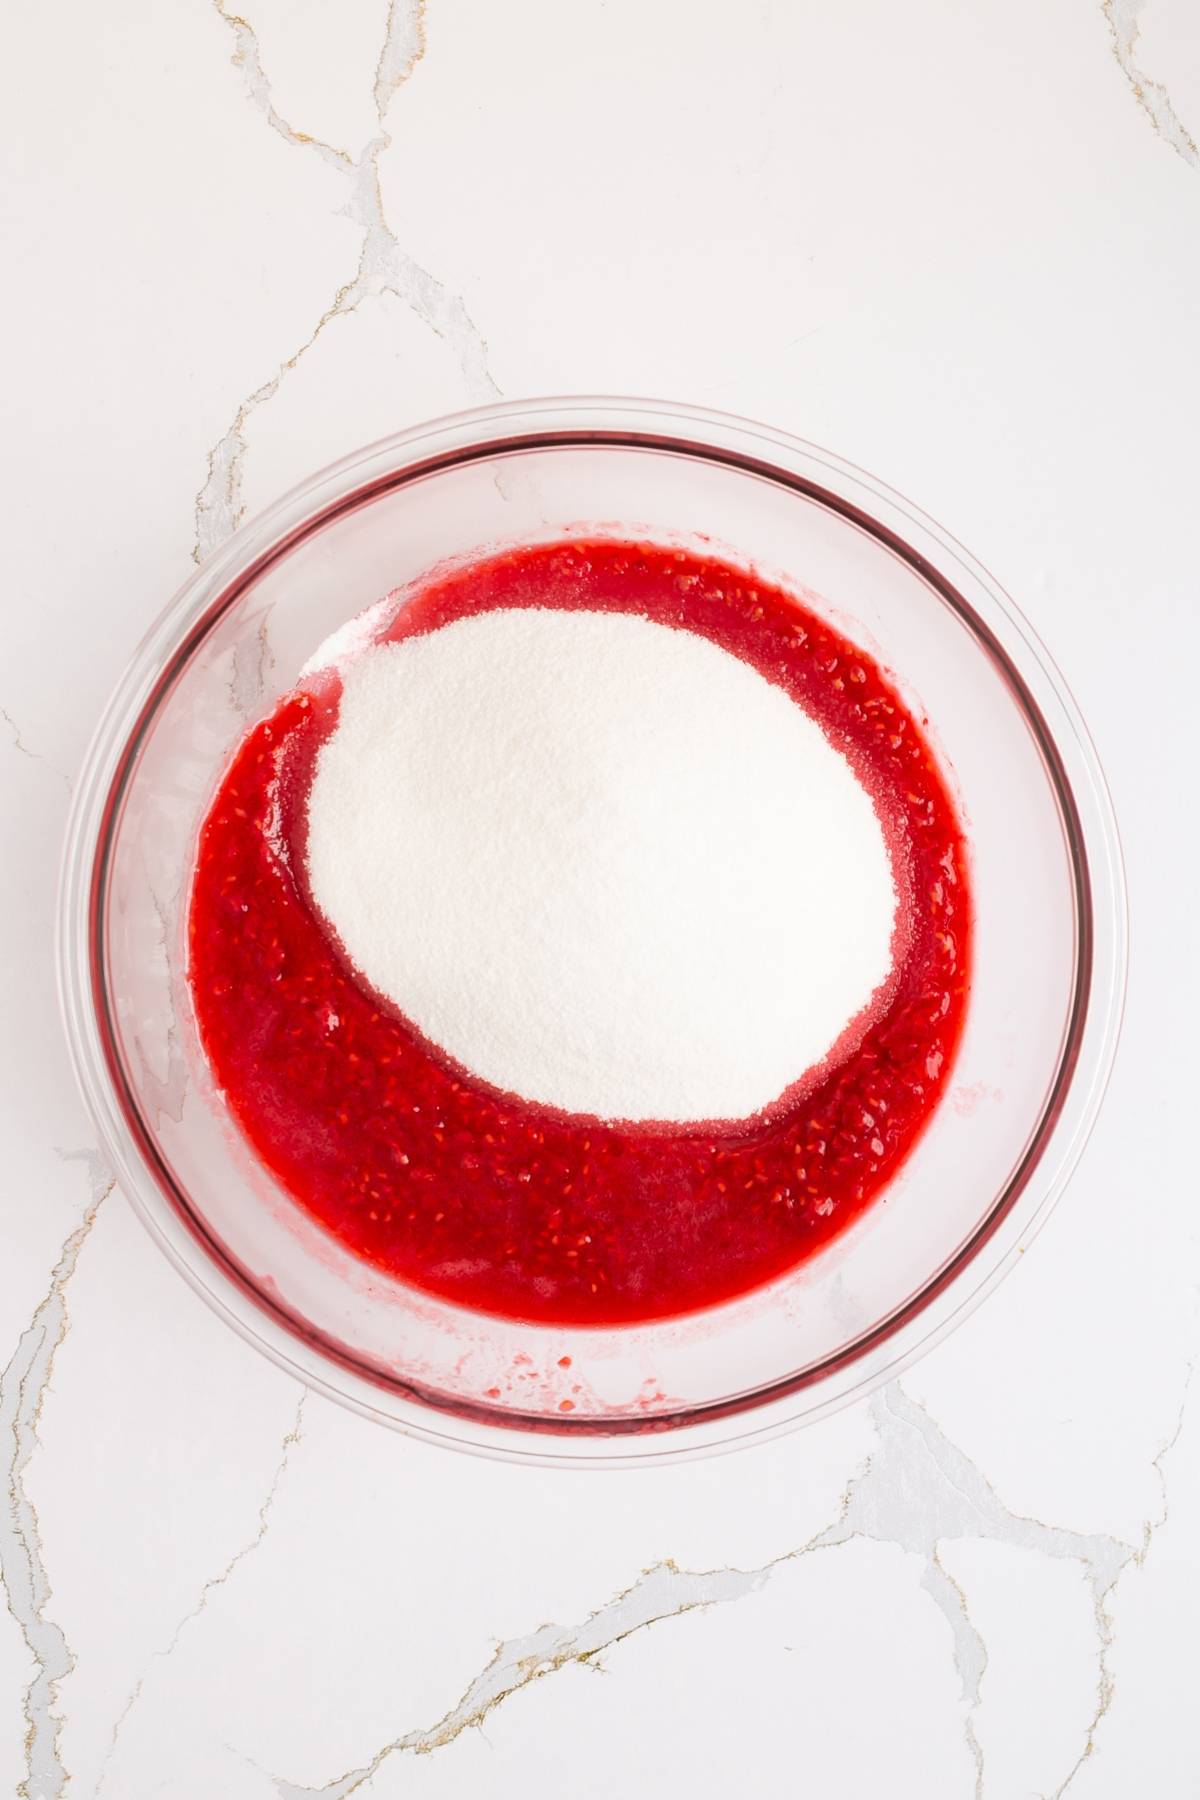
Add sugar: Stir and let the mixture sit to dissolve slightly.
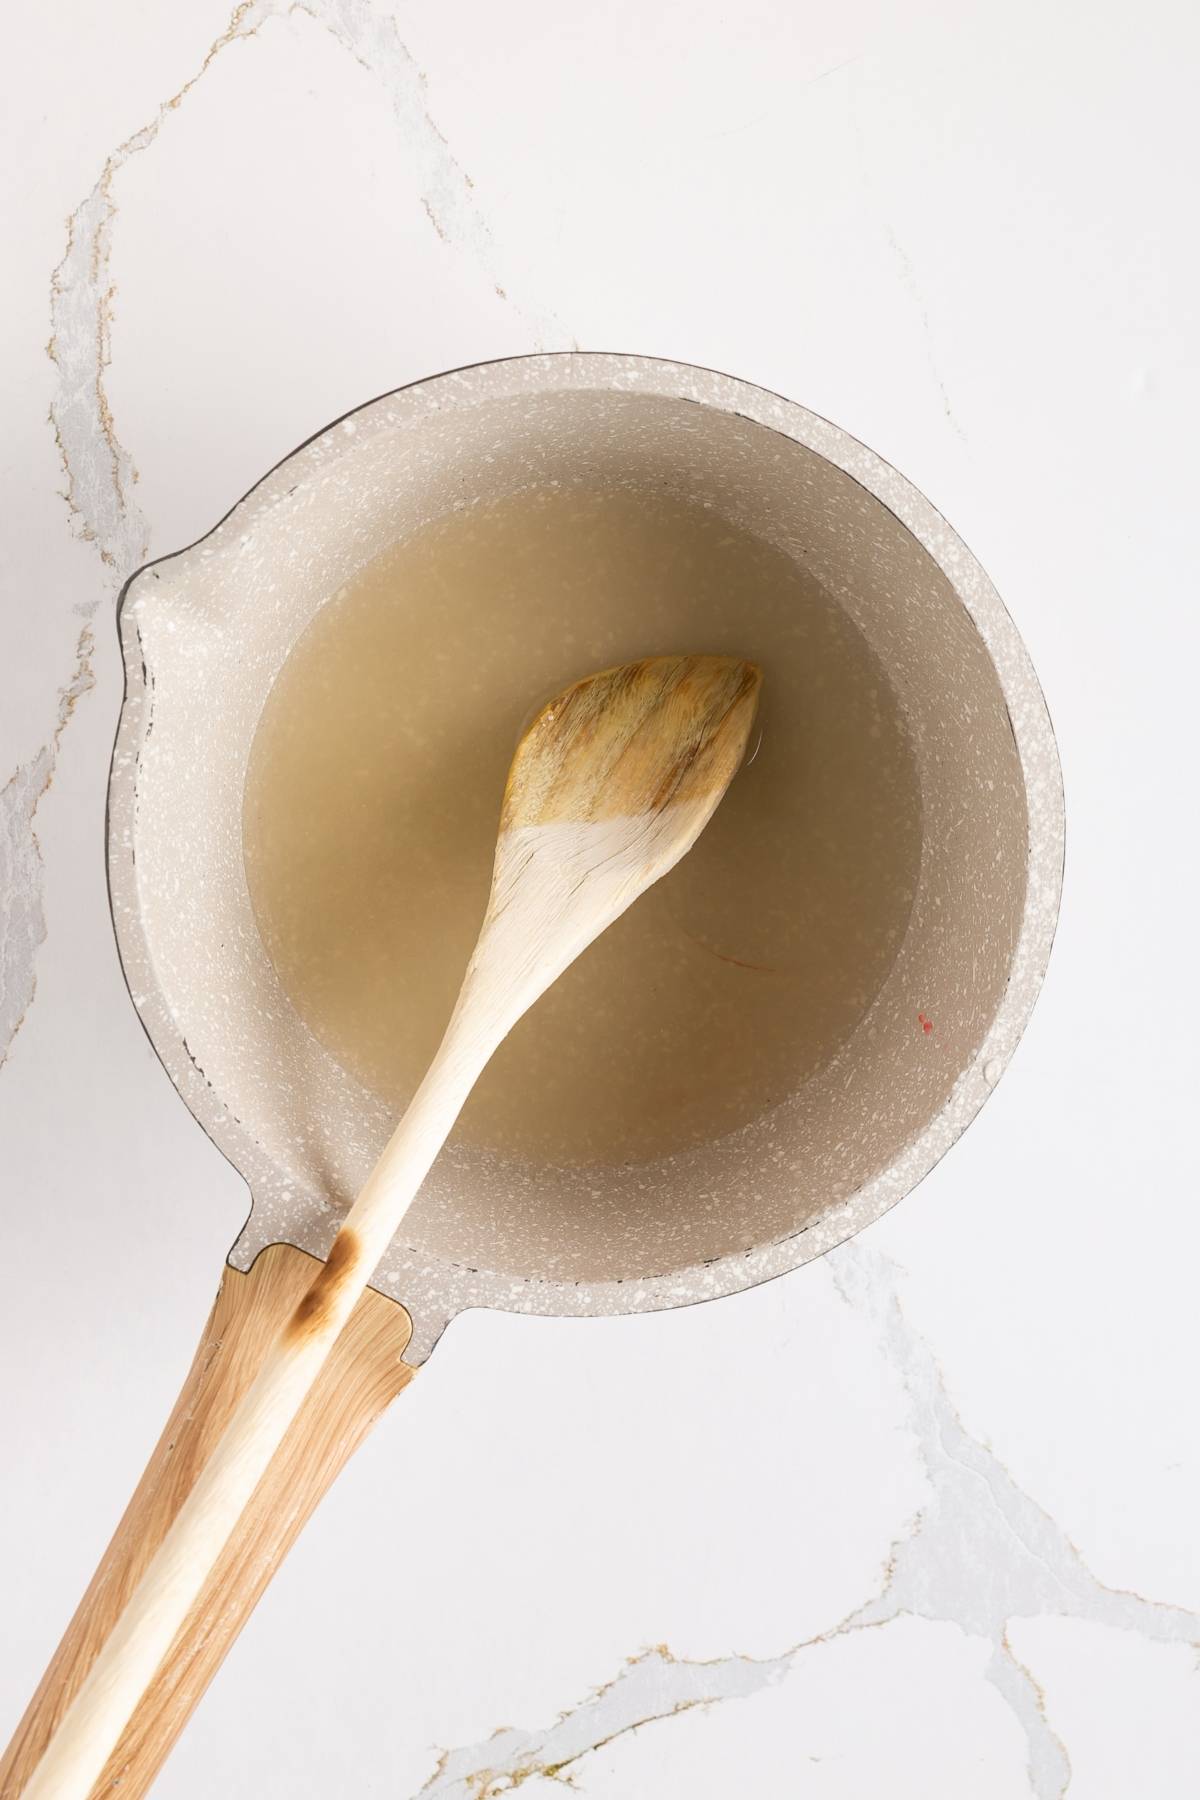
Cook the pectin: Bring to a boil the pectin and water and keep at a rolling boil for one minute.
Combine pectin and fruit: Stir together for 3 minutes until sugar dissolves.
Fill containers: Spoon the mixture into each jam jar, leaving headspace.
Let set: Leave at room temperature for 24 hours, then refrigerate.
Substitutions and Variations
Use other berries: Replace 1 cup of raspberries with blackberries or strawberries.
Make it seedless: Strain all the berries through a sieve to remove raspberry seeds if you prefer seedless raspberry jam.
Reduce sugar: Use low-sugar pectin if you want to cut back on sweetness.
Optional additions: Add 1 to 2 teaspoons of lemon juice or a pinch of salt to brighten the flavor.
Tweak the texture: Crush the raspberries with your hands to achieve a chunky texture.
Serving Suggestions
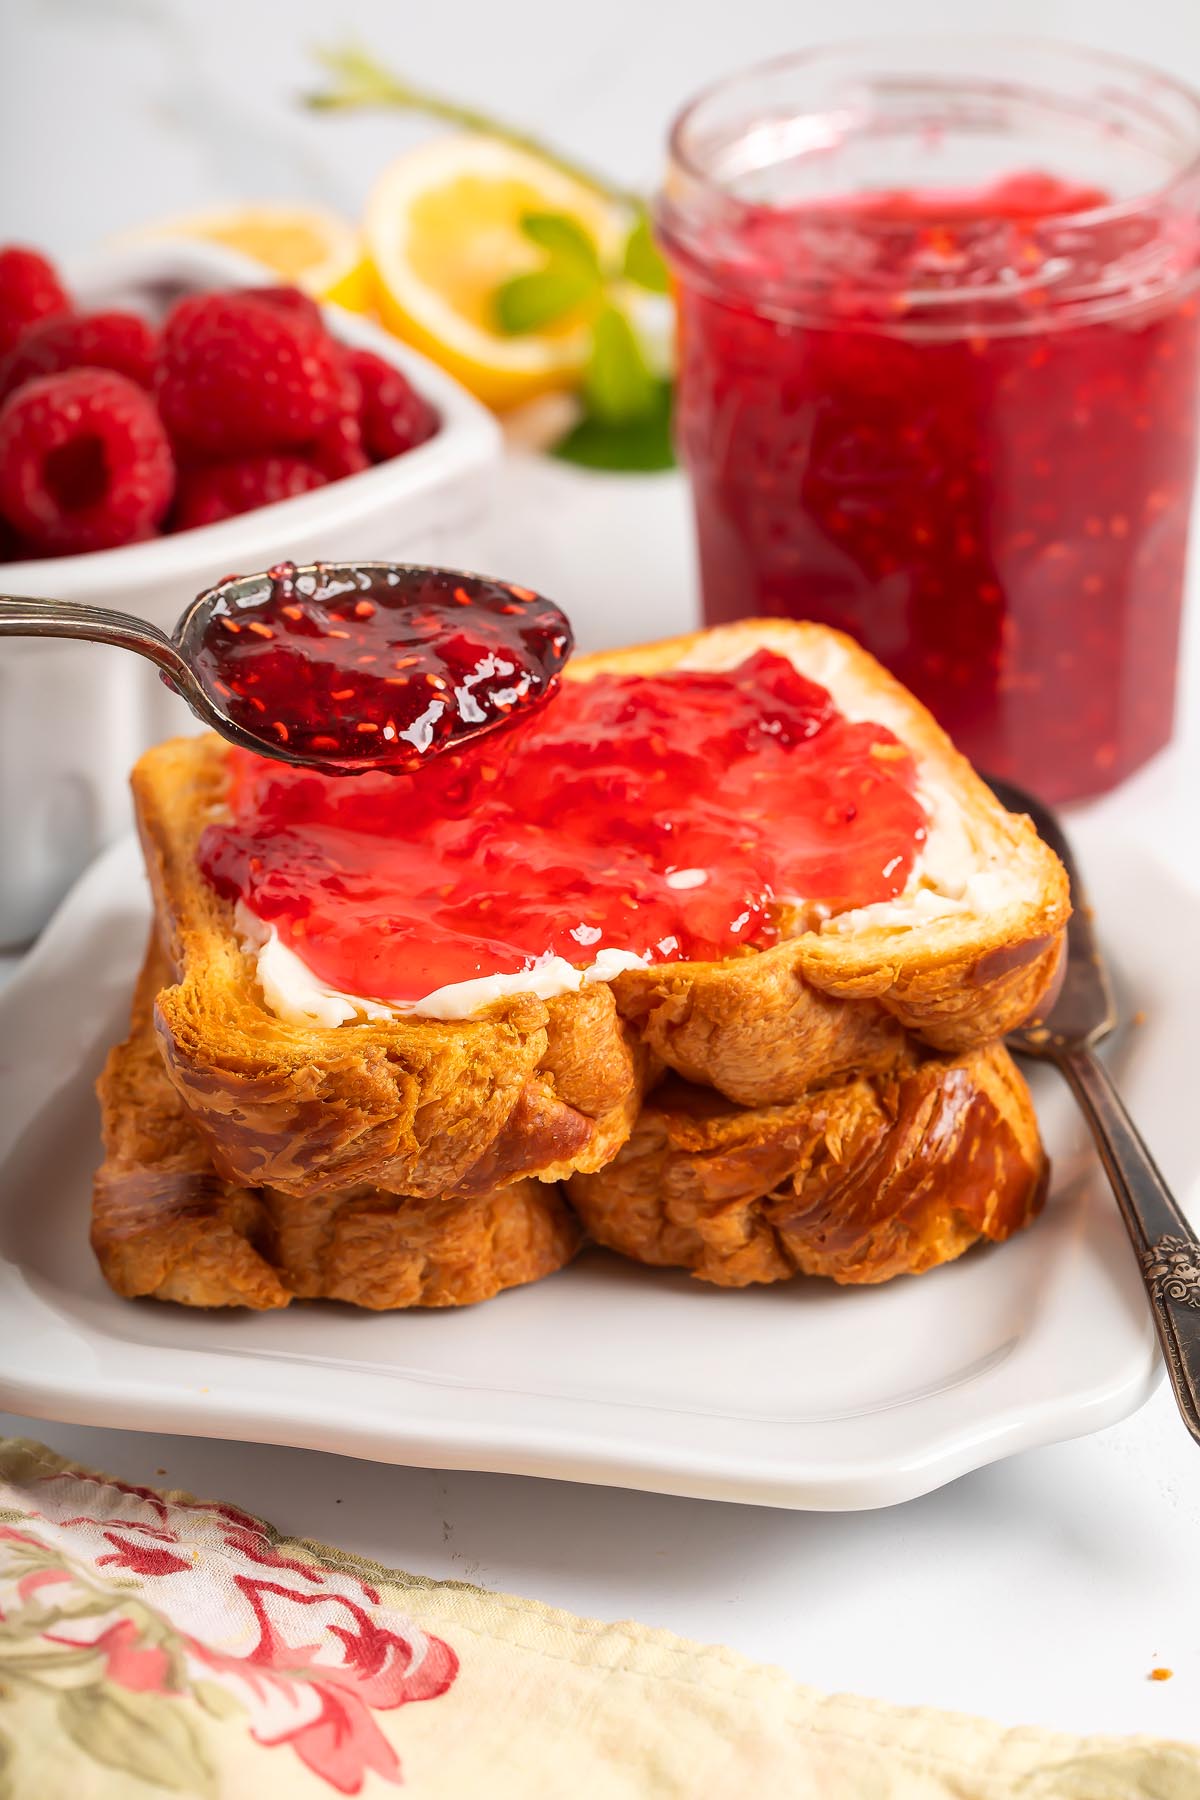
Spread on toast: Spread it on soda bread toast or on crackers, scones or even English muffins.
Enjoy with oatmeal: Add a spoonful of these raspberry preserves to your breakfast oatmeal.
Great for gifting: Homemade jam recipes make thoughtful gifts. Other great gift ideas include orange sugar scrub, a pressed flower bookmark and whipped shea butter.
How to Store
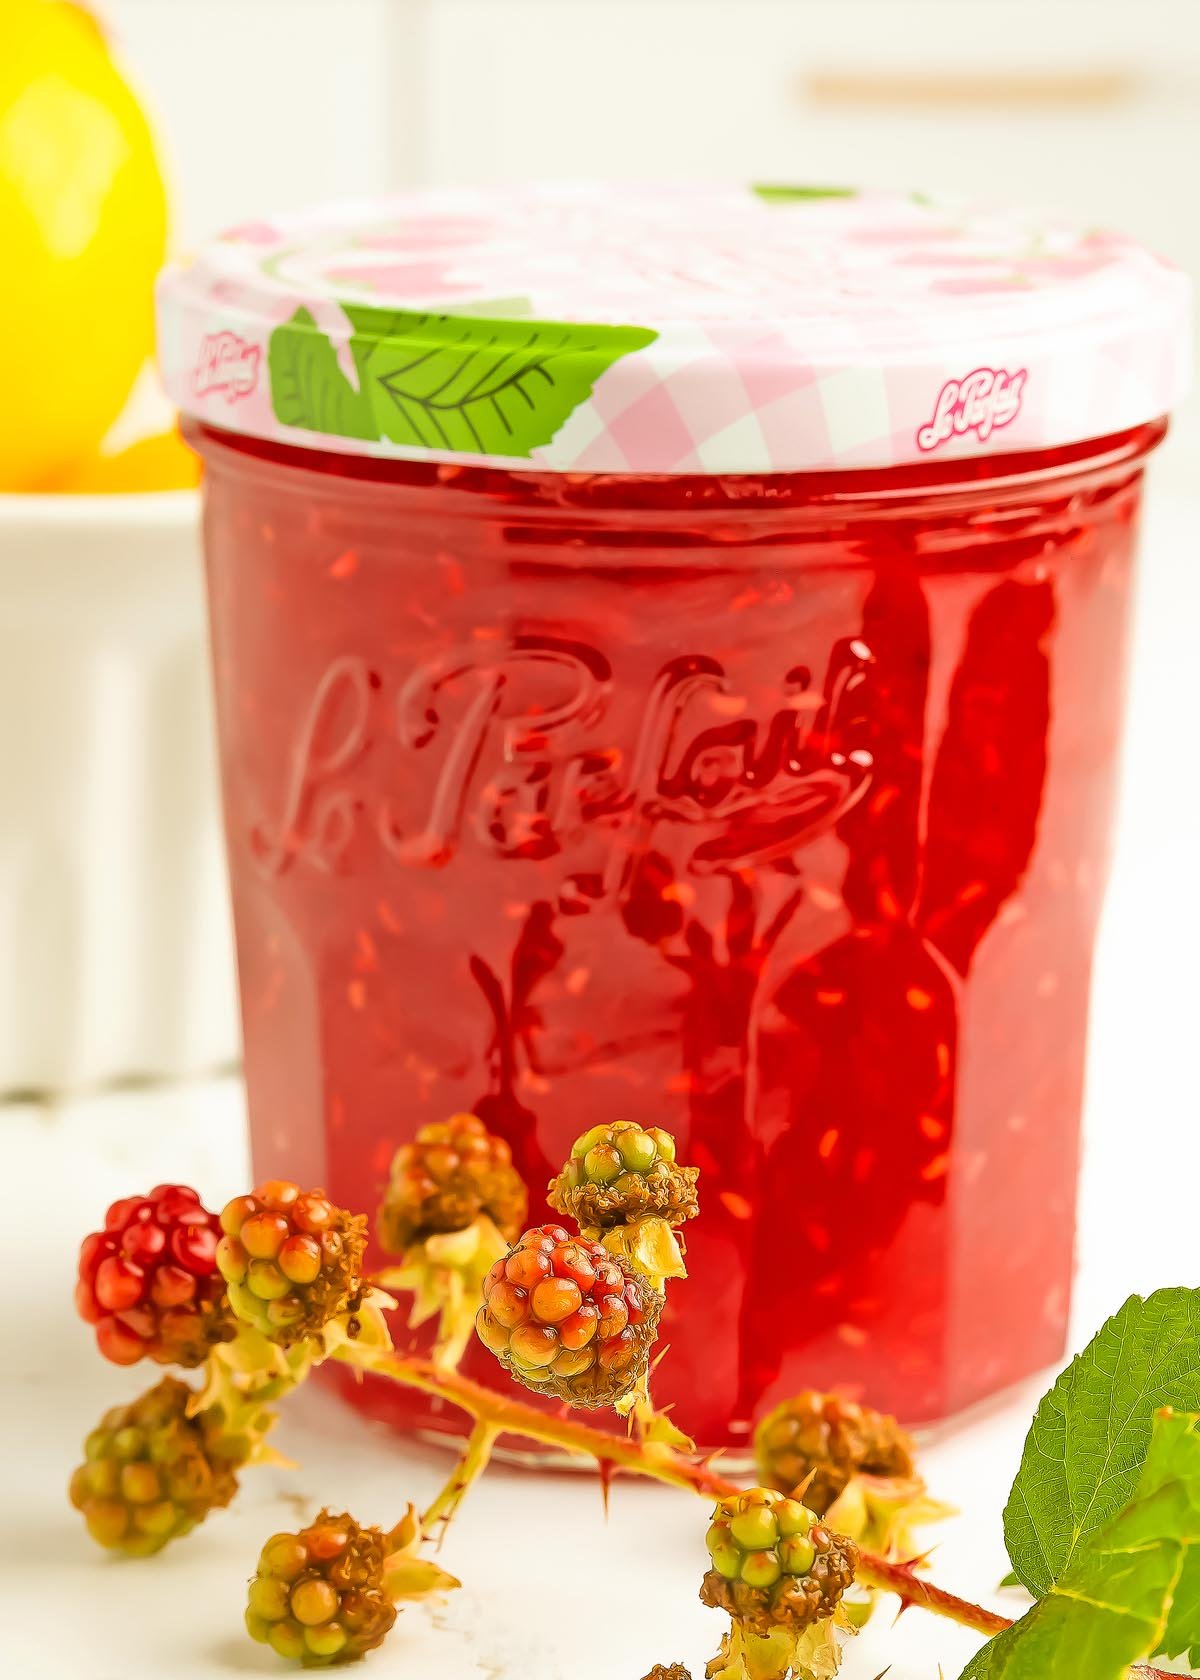
Store: Store in refrigerator for up to 3 weeks. It isn’t suitable to be kept at room temperature.
Freeze: You can freeze it for up to 1 year.
Thaw: Thaw in the refrigerator before using.
Top Tips
Measure the sugar accurately: Too little or too much can affect the set.
Boil the pectin long enough: A full minute of boiling is key for setting.
Avoid grittiness: If the sugar feels gritty after stirring, wait 10 minutes and stir again before filling your jars.
Label the jars: Include the date so you know how long it’s been stored.
Use freezer-safe jars: Make sure containers can handle freezing without cracking. You can use glass or plastic jars or containers.
Homemade Raspberry Jam FAQs
Yes, unless you switch to low-sugar pectin, which works differently.
It may not have boiled long enough or was not stirred long enough after adding pectin.
No, this recipe isn’t safe for water-bath canning. It hasn’t been tested for shelf stability, so stick with freezing or refrigerating.
Without pectin, you can’t thicken jam. Pectin is found in fruit so different recipes call for different fruit to natural pectin ratios.
It’s tempting, but I don’t recommend it. Jam recipes are like tiny science experiments, and doubling can throw off the set. It’s better to make back-to-back batches.

Easy Raspberry Jam Recipe
Raspberry Jam
Equipment
- Glass Jars or plastic, with Lids, use freezer-safe jars if freezing
Ingredients
- 6 Cups raspberries, fully ripe
- 5 ¼ Cups granulated sugar
- ¾ Cup water
- 1 ¾ Ounces pectin, I used 1 box of Sure Jell
- 2 Teaspoons lemon juice
Instructions
- Rinse clean containers and lids with boiling water. Dry thoroughly. (You don't need to sterilize them).
- Rinse berries in cold water. Place whole berries into a large Ziploc bag.
- Use your hands to thoroughly crush the raspberries in the zipped bag, leaving some in small chunks. This should leave you with 3 cups of crushed raspberries.
- Pour the crushed berries into a large bowl.
- If you want fewer seeds in your jam, press half the crushed berries through a sieve over a medium-sized bowl. Be sure to scrape the bottom of the sieve with a spatula as a lot of juice collects there.
- Discard the pulp and seeds in the sieve.
- Pour the strained raspberries into the bowl with the crushed berries.
- Add lemon juice. Stir to mix well.
- Measure exactly 3 cups of the crushed raspberries into another large bowl. (If you have some over, save it for another use).
- Stir in the sugar and let stand 10 minutes, stirring occasionally.
- Mix the water and pectin in a small saucepan.
- Bring to boil on high heat, stirring constantly.
- Continue boiling and stirring for 1 minute.
- Add the pectin mixture to fruit mixture.
- Stir for 3 minutes or until sugar is almost dissolved and no longer grainy. A few sugar crystals on the edge of the bowl are fine.
- Fill all containers immediately to within ½ inch of tops and wipe off top edges of the containers. Recipe yields 3 pints or 49 ounces.
- Immediately cover with lids.
- Let stand at room temperature 24 hours and then refrigerate.
Notes
Boil the pectin long enough: A full minute of boiling is key for setting.
Label the jars: Include the date so you know how long it’s been stored.
Use freezer-safe jars: Make sure containers can handle freezing without cracking.
Nutrition

Making delicious raspberry jam at home is easier than you think and tastes so much better than store-bought. This recipe lets you enjoy fresh berry flavor year-round, whether you serve it on breakfast toast or use it in desserts. You don’t need special tools or canning skills for this homemade raspberry jam recipe either. With just a handful of ingredients and some simple steps, you’ll have jars of vibrant, sweet jam ready to enjoy or share.
Other Recipes to Try
Bella Bucchiotti
Bella Bucchiotti is a Canadian-based syndicated food, travel, and lifestyle writer, photographer, and creator at xoxoBella. She founded xoxoBella in 2015, where she shares her love for food, dogs, sustainability, fitness, crafts, outdoor adventures, travel, and philanthropy to encourage others to run the extra mile, try new recipes, visit unfamiliar places, and stand for a cause. Bella creates stress-free and family-friendly recipes for weeknight dinners and festive feasts.