
This post may contain affiliate links, please see the privacy policy for details.
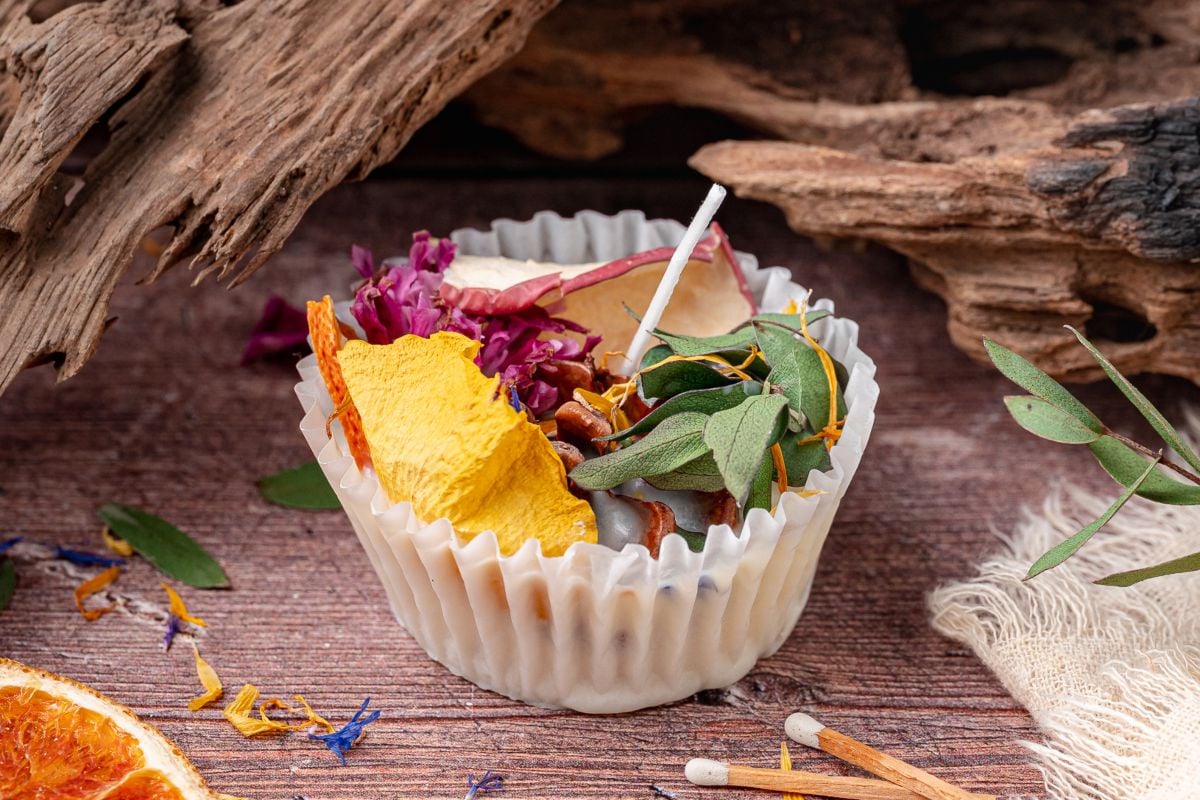
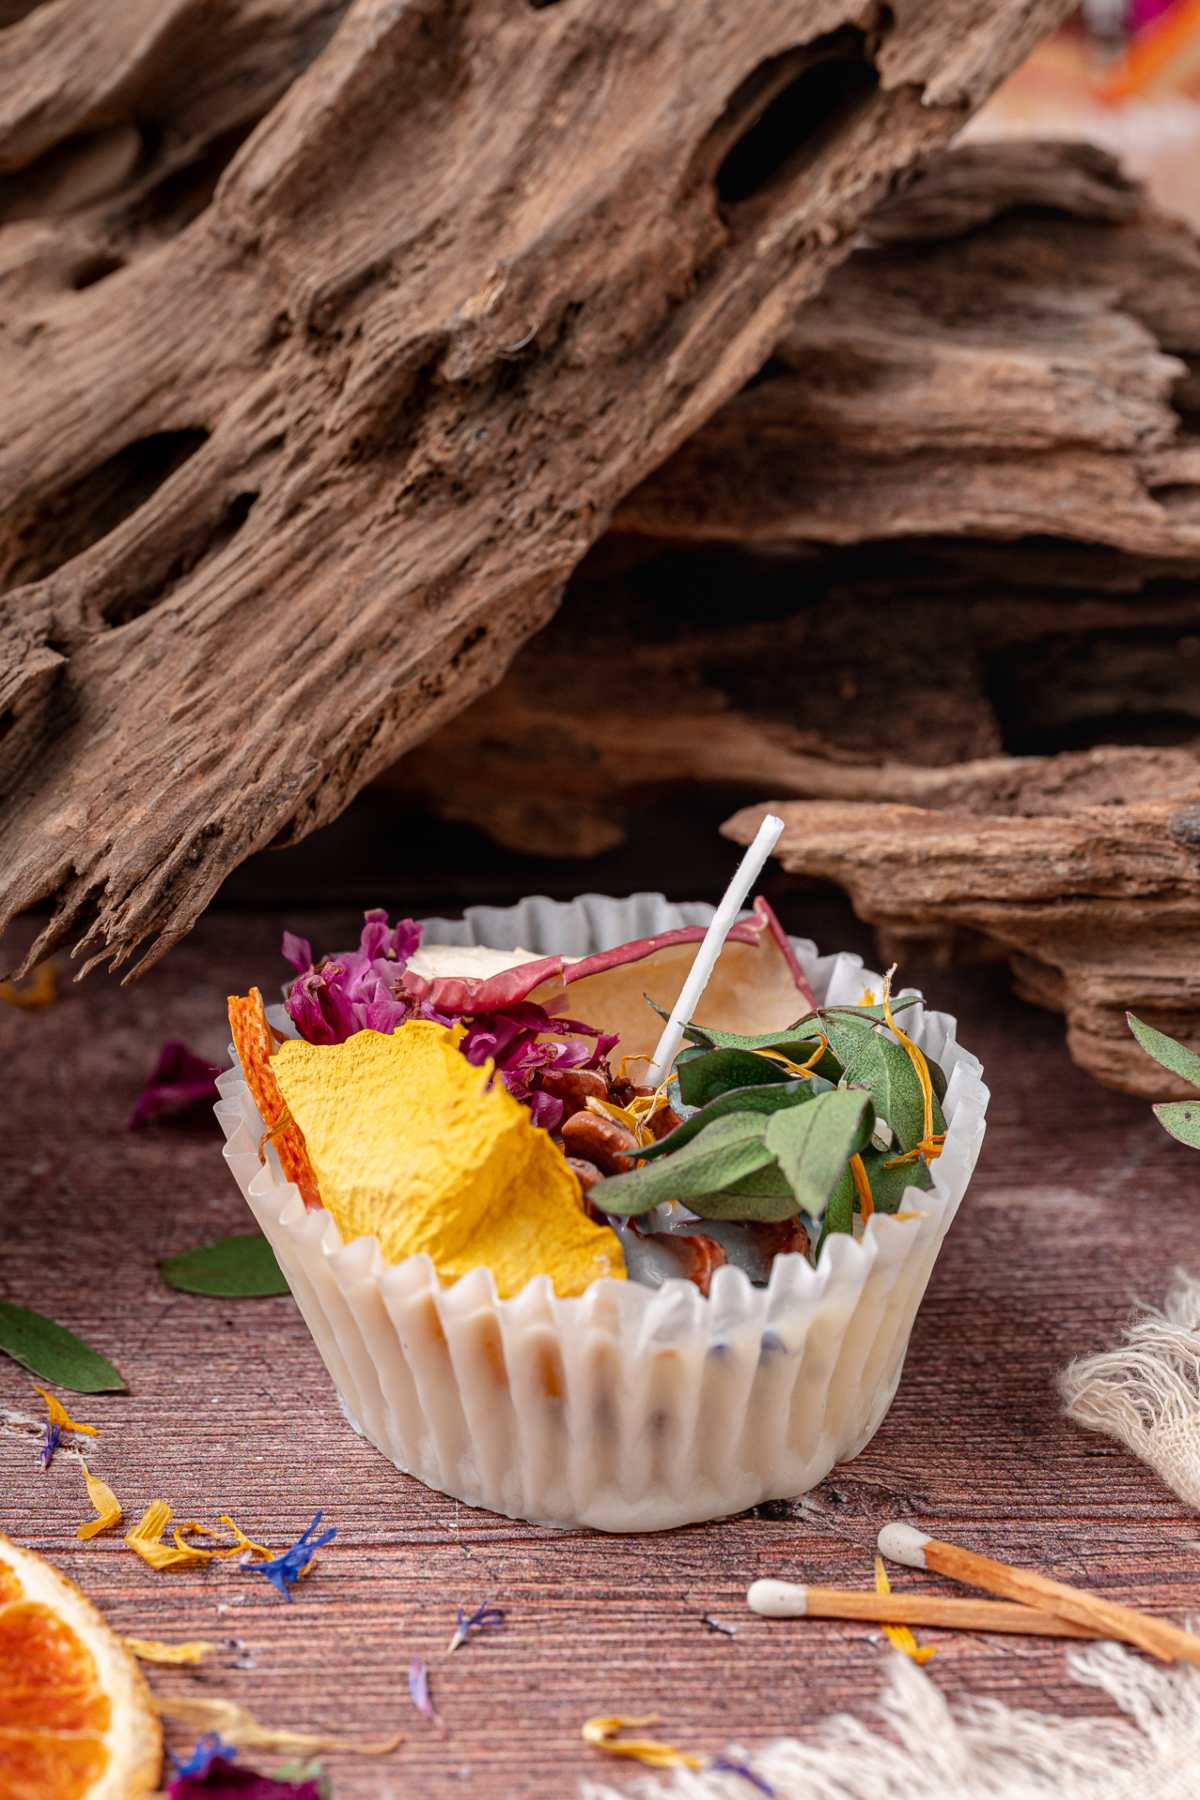
Homemade fire starters are small paper cups filled with soy wax, a cotton wick and a loose mix of dried botanicals. Pinecones, pine needles, acorns, dried citrus, leaves and flowers give them a rustic look, which makes them lovely to package as practical gifts. If you’ve been wondering how to make fire starters, you’ll find these simple and fun to make. They slip neatly beneath a stack of kindling to help create a beautiful fire.
Why You’ll Love It

These soy wax fire starters hold dried botanicals around a cotton wick, giving you compact portions of tinder for wood-burning fireplaces, fire pits or campfires.
They work well: The reachable wick lights exposed pieces of dry tinder underneath the kindling.
Plenty of room to customize: Pinecones, acorns, dried citrus, leaves and flowers can be combined according to what you have available.
Less loose tinder: Wax binds the smaller pieces inside a paper cup so everything can be positioned together.
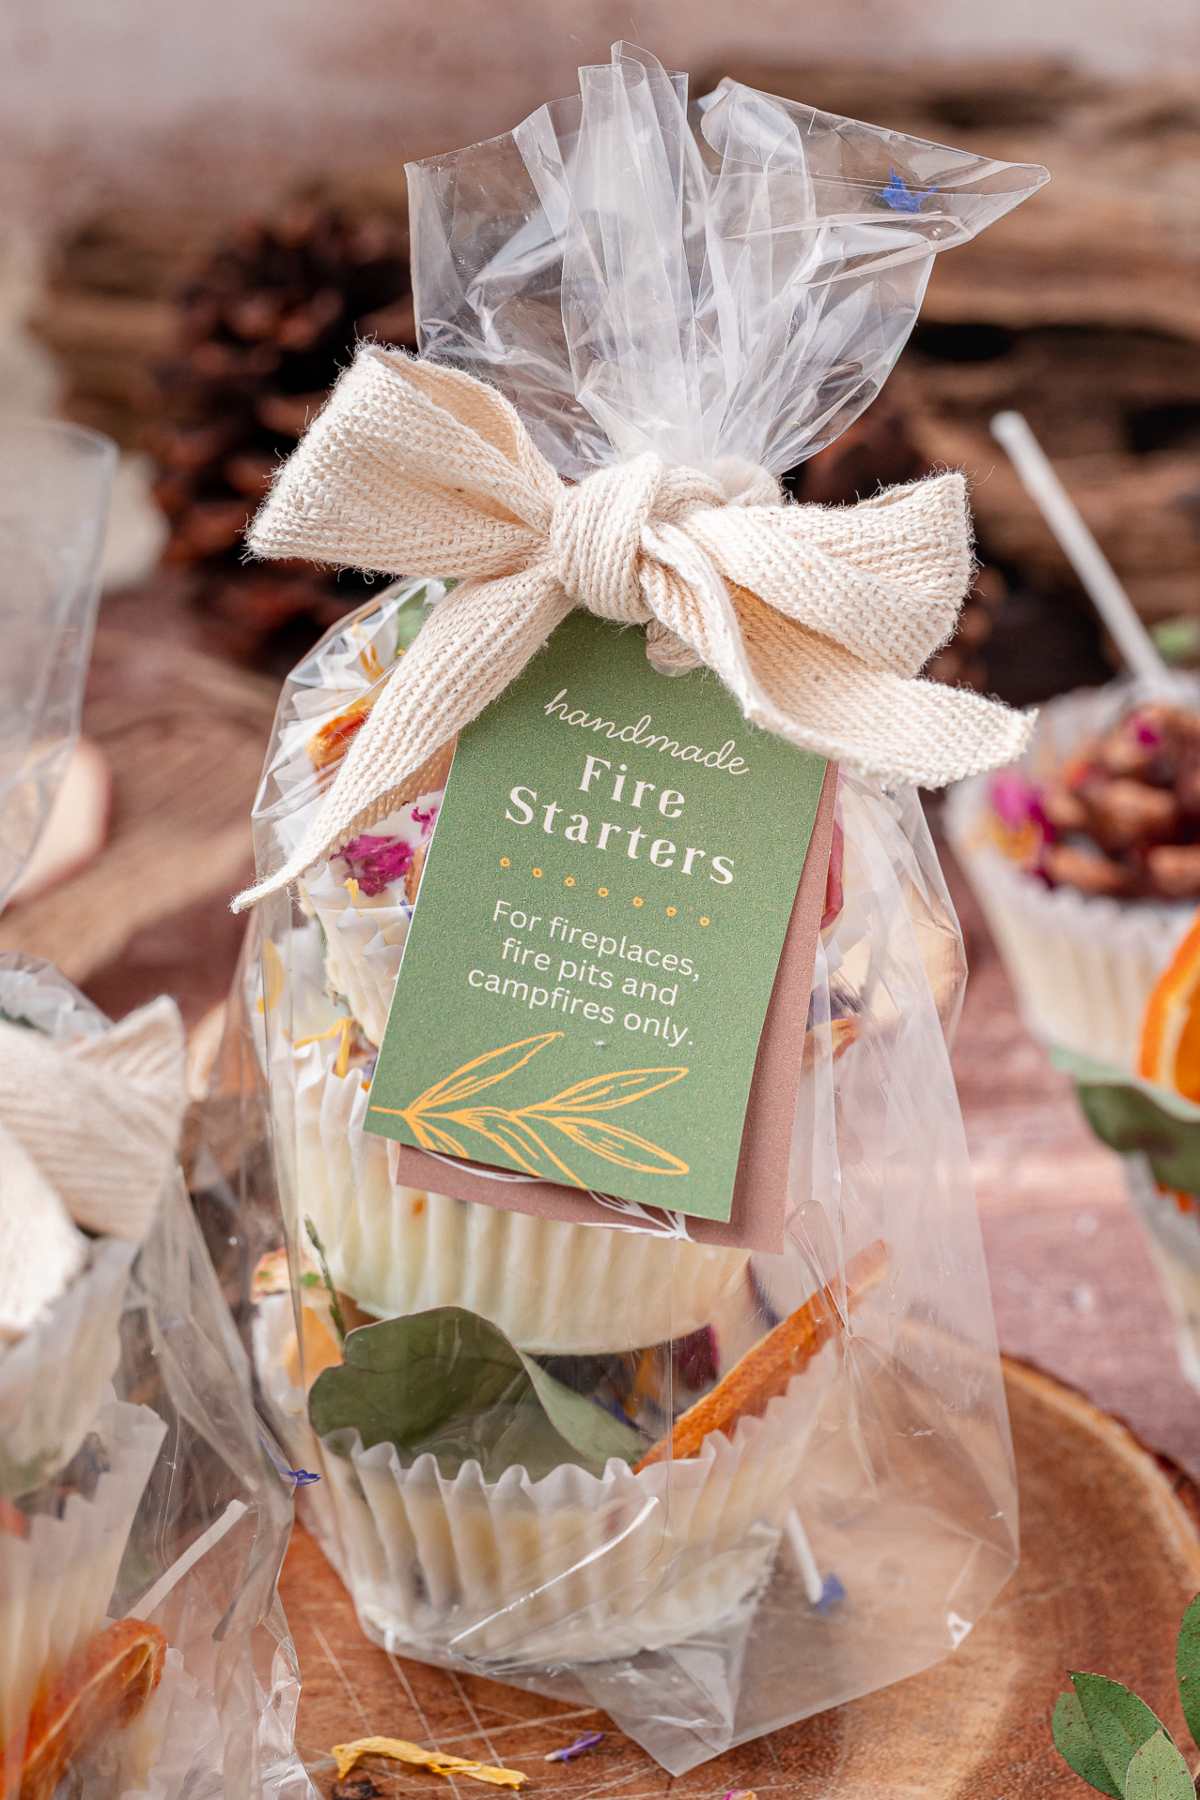
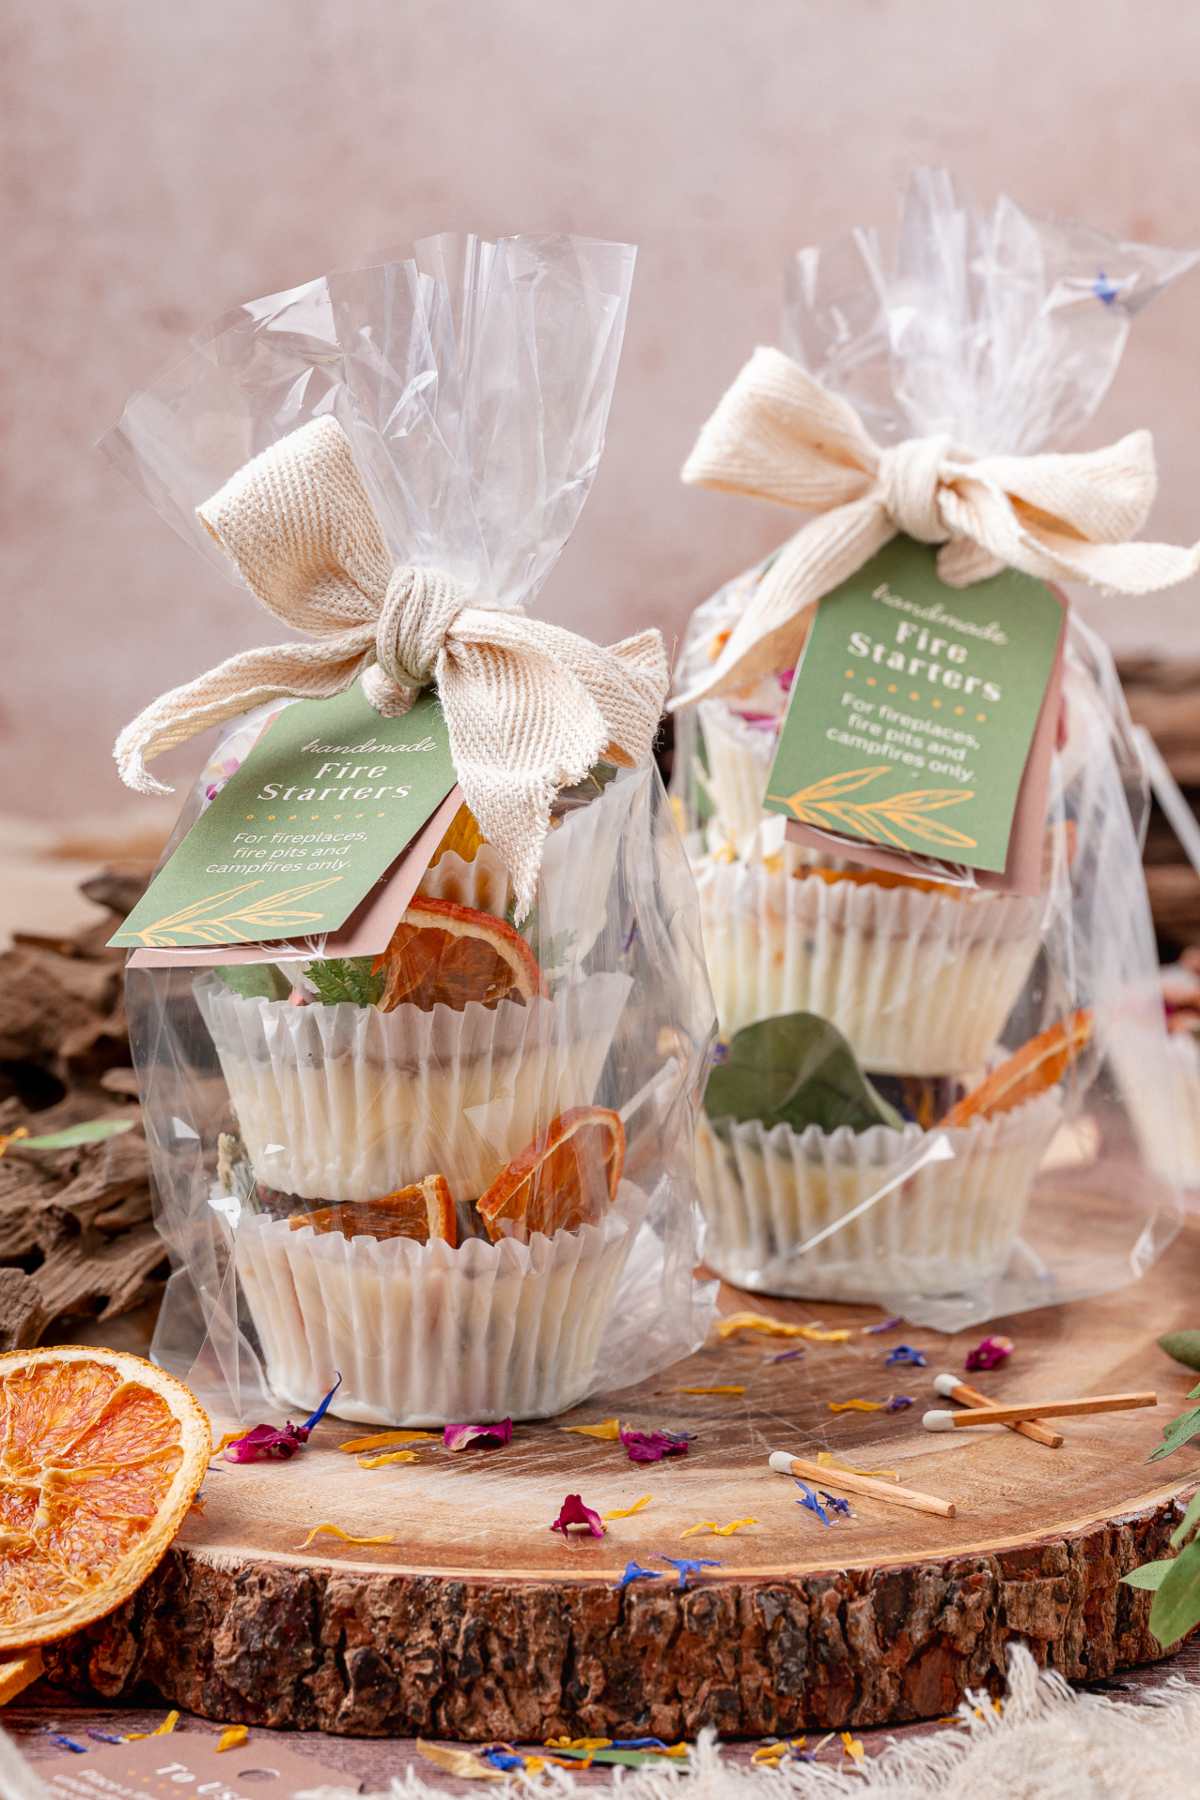
Great idea for a handmade gift: Clear bags and printable tags make the finished starters easy to package and identify.
Enjoy working with natural materials? Try DIY pressed flower candle jars or reusable DIY beeswax wraps. Pressed flower bookmarks are great for gifting.
DIY Fire Starters Materials
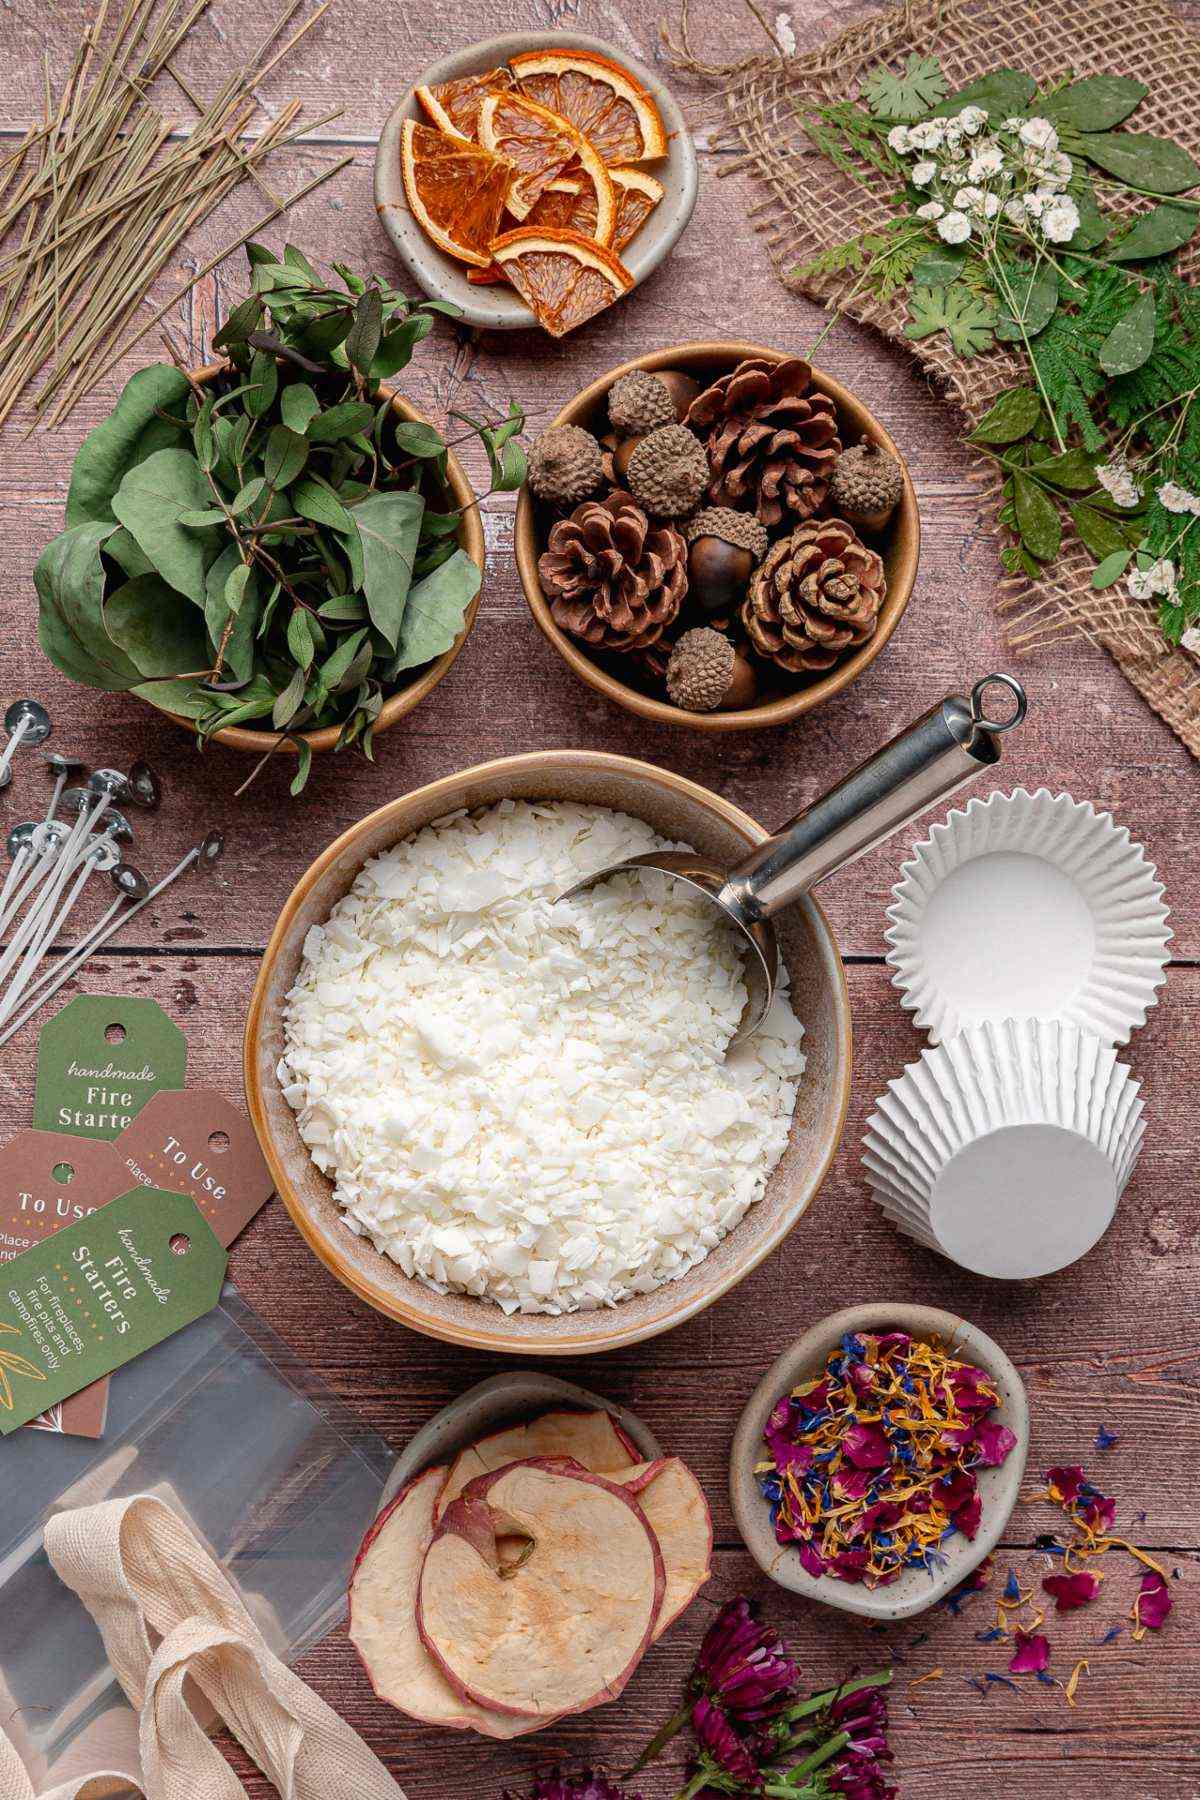
A complete list of materials and amounts can be found in the tutorial card below.
Paper baking cups: Plain paper liners contain the wax and tinder in compact individual portions.
Dry untreated wood: Wood shavings, small twigs or excelsior (also known as wood wool) provide the tinder base.
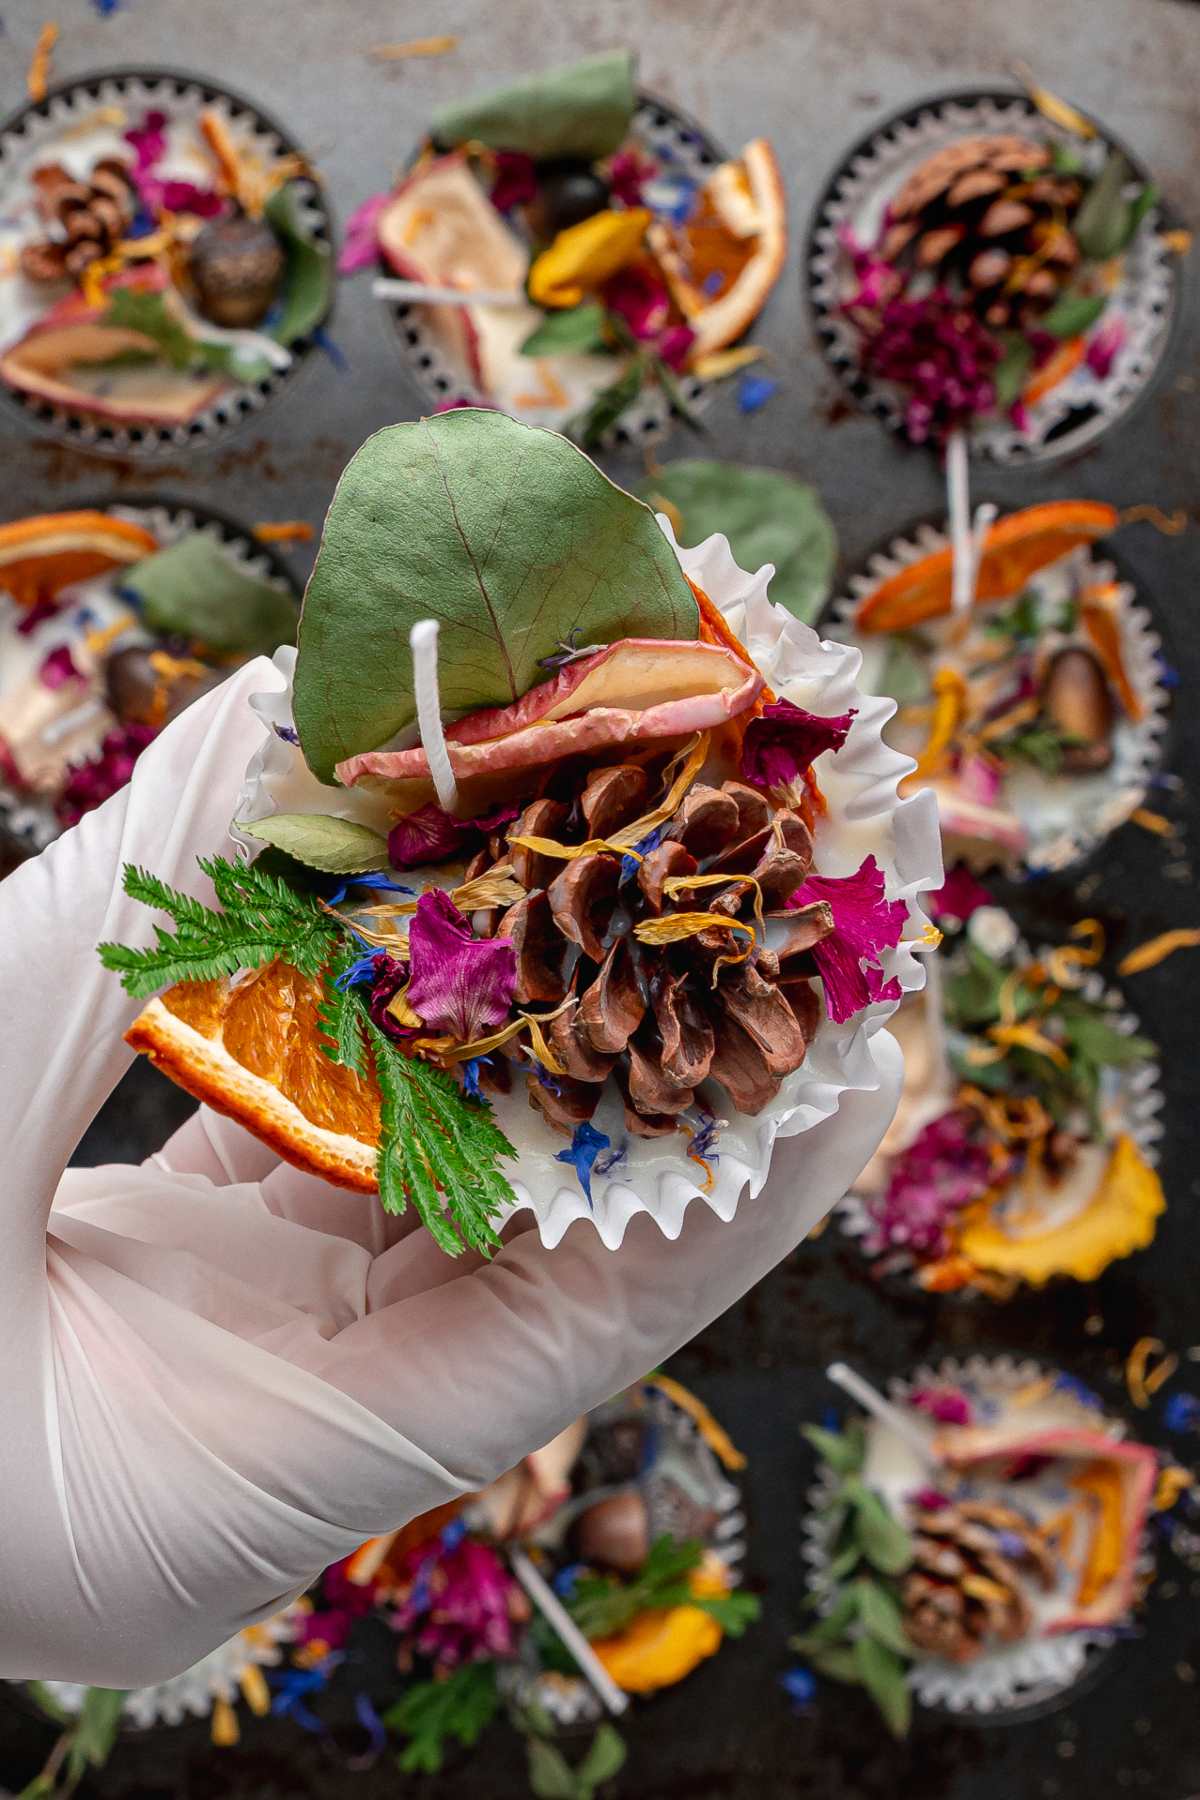
Dried botanicals: Pinecones, acorns, dried fruit, leaves and flowers create a rough exposed surface.
Soy wax flakes: Melted wax secures the loose materials after cooling. I like using flakes but pillar soy wax works too.
Cotton candle wicks: Each wick provides a clear point to light.
Packaging supplies: Clear treat bags, printable tags and twine keep the finished starters labelled until use.
How to Make Natural Fire Starters
For more detailed instructions with weights and measurements, jump to the printable tutorial card.
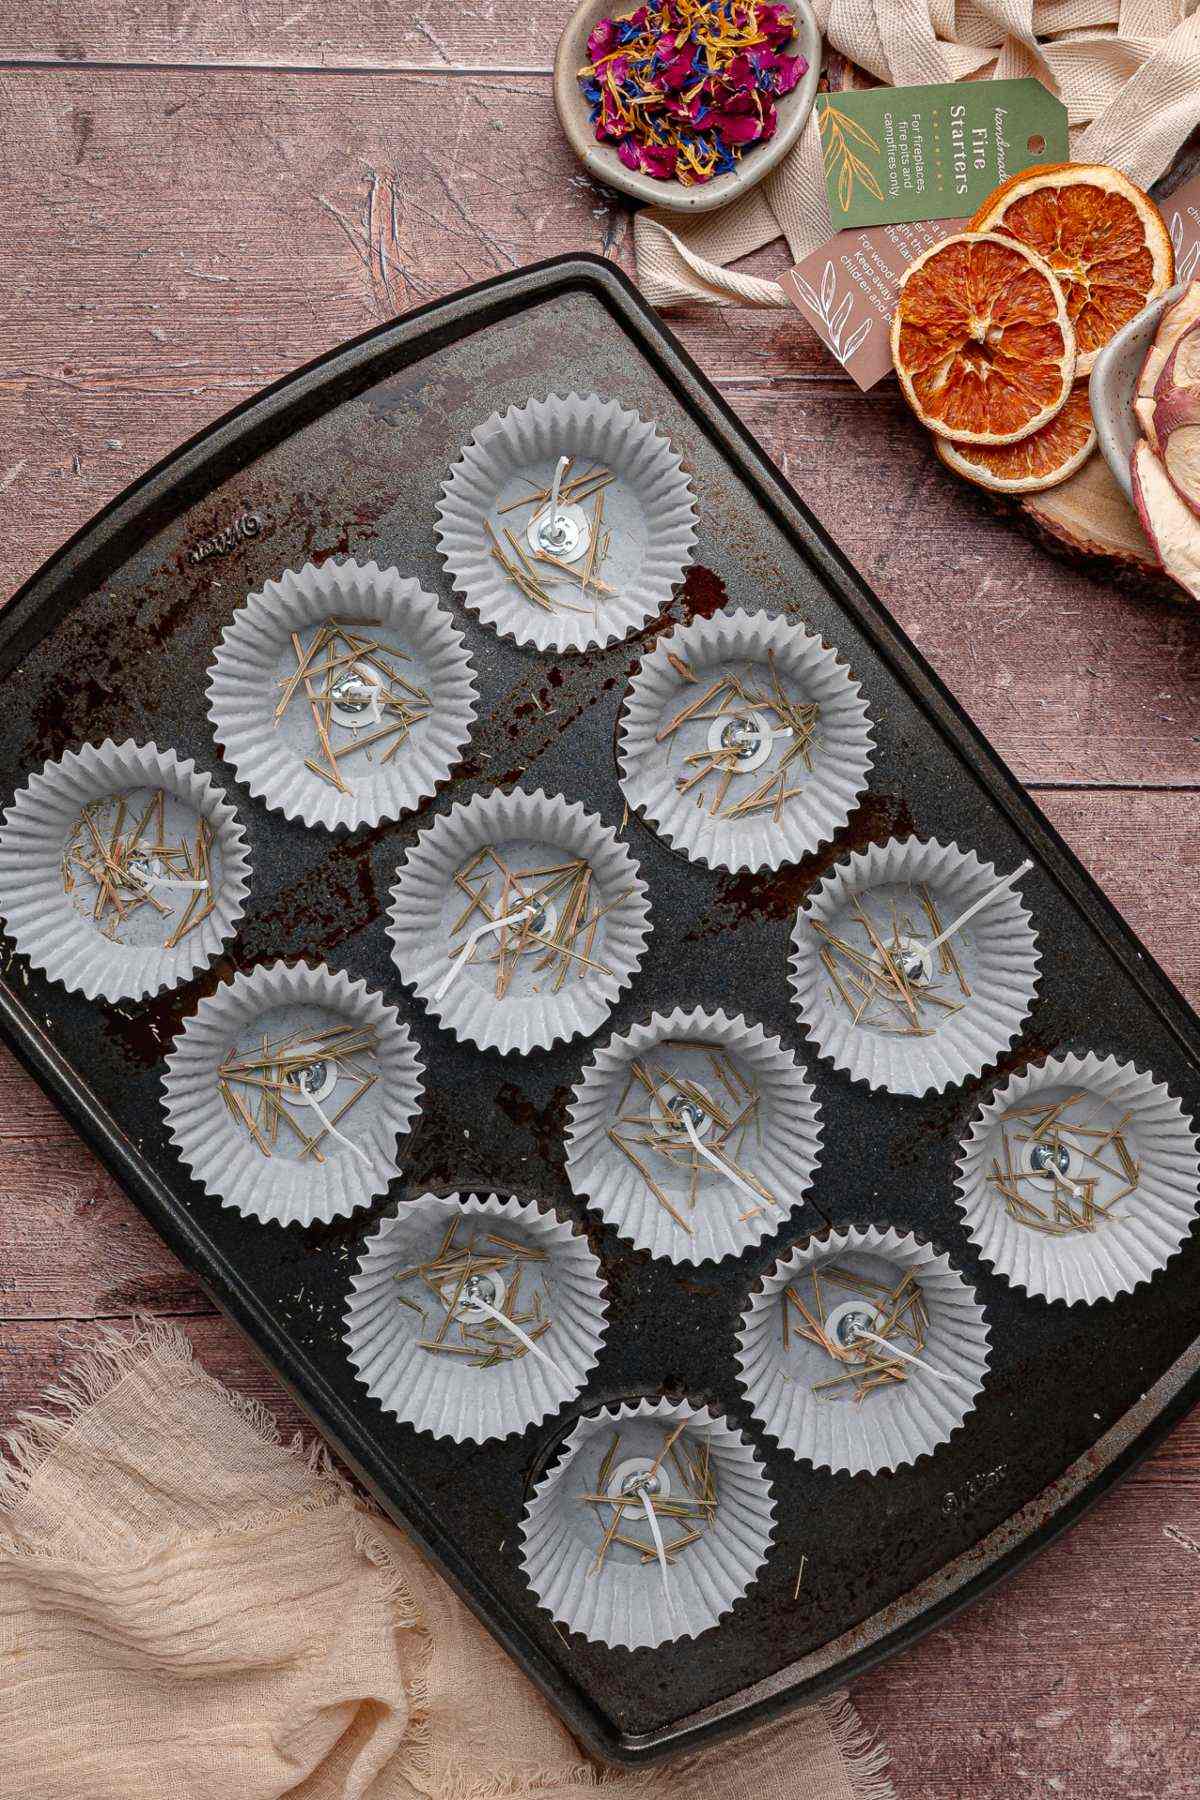
Prepare the liners: Place each paper baking liner in a muffin cup and position a wick inside each one.
Build the base: Add enough dry wood material to support each wick.
Arrange the botanicals: Place the larger dried pieces inside the liners.
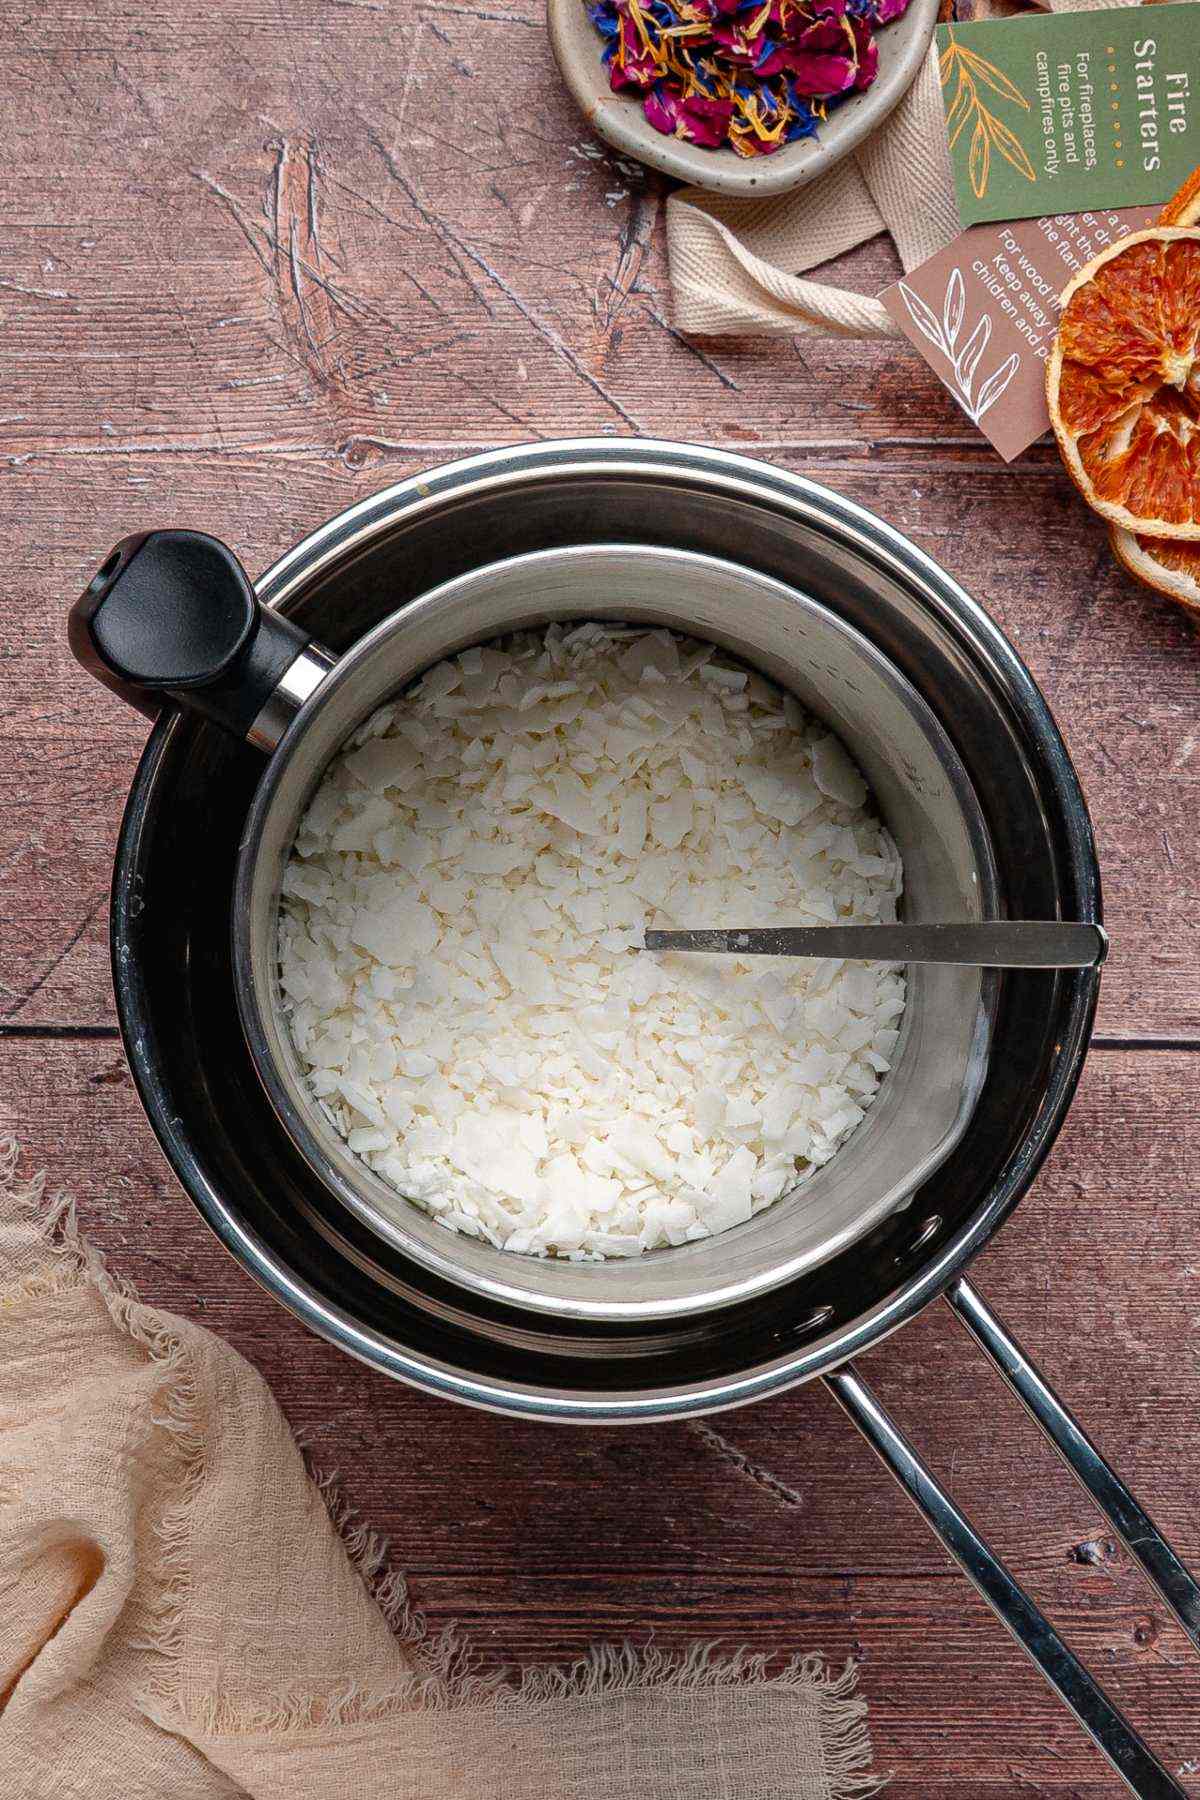
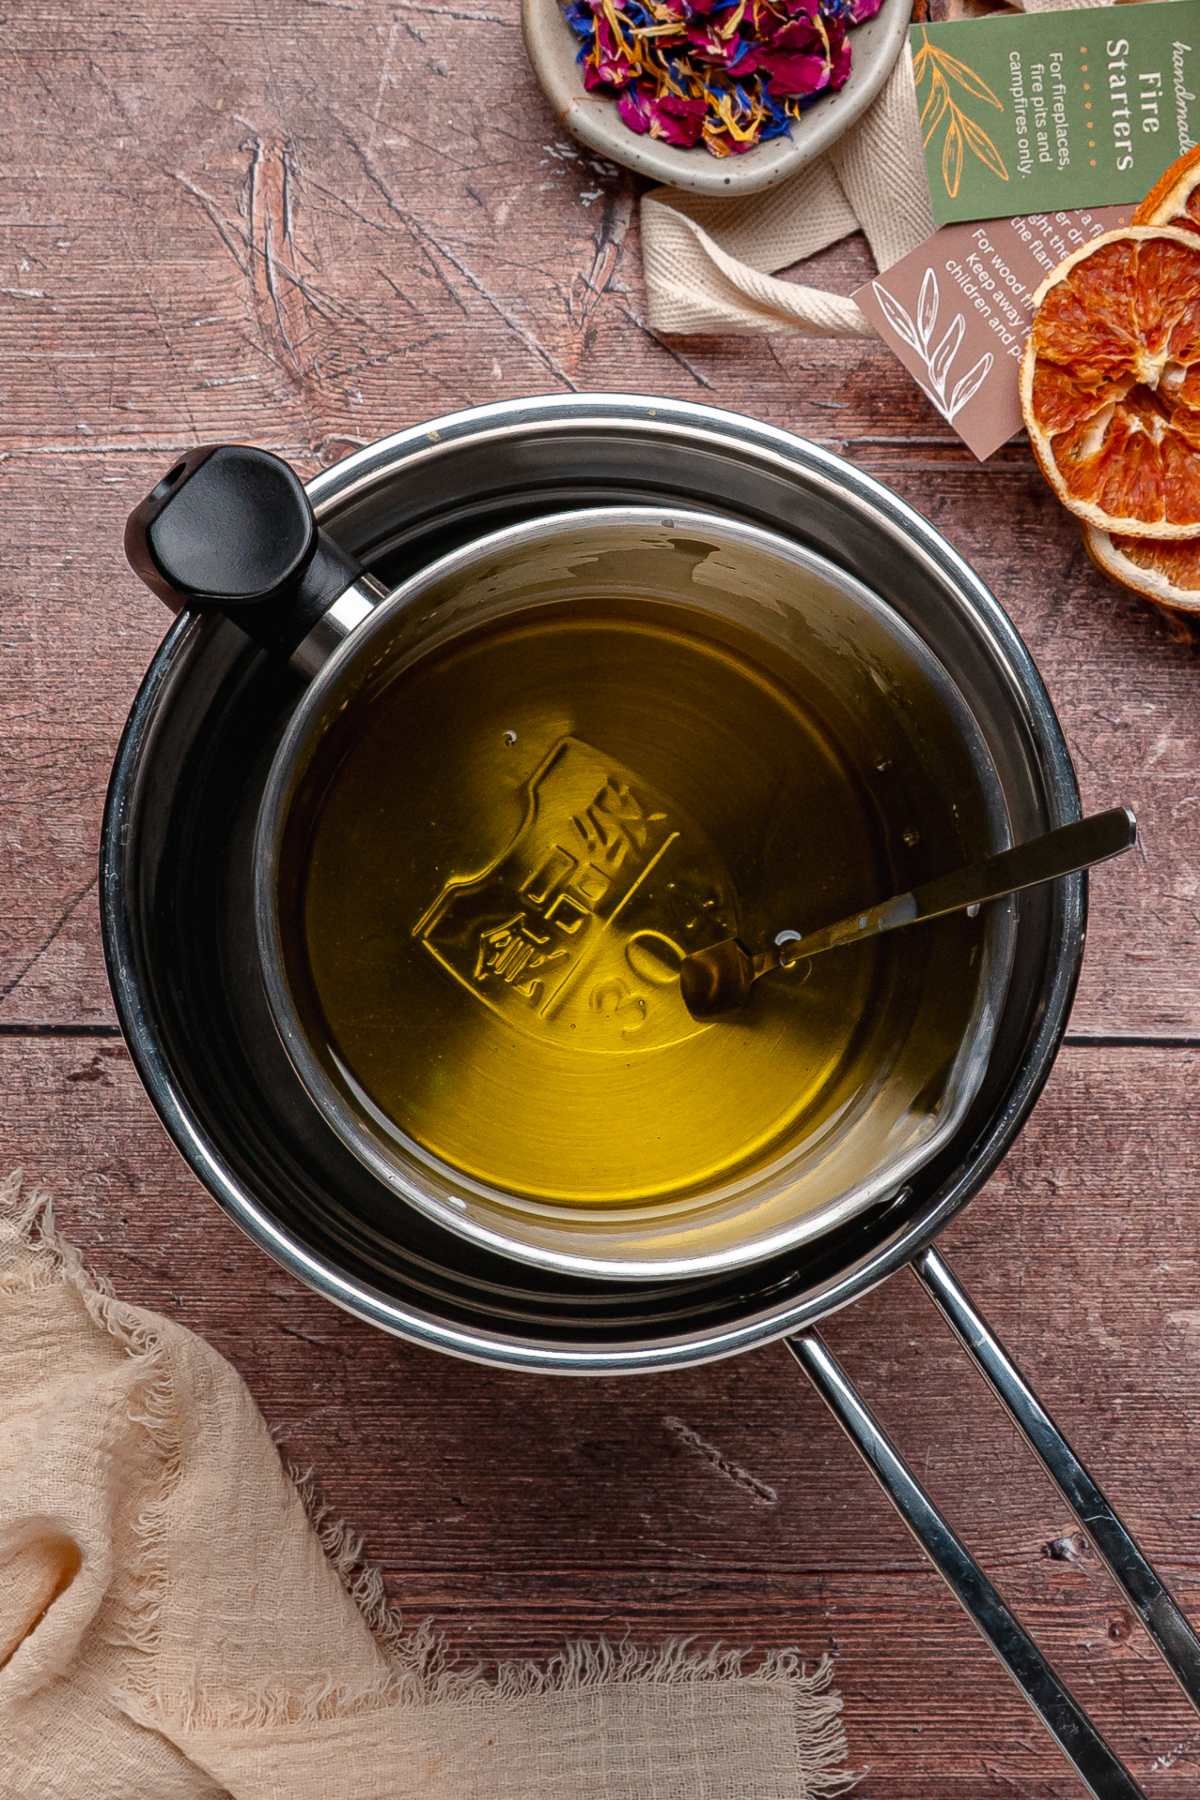
Melt the wax: Use a double boiler over low heat and stir gently.
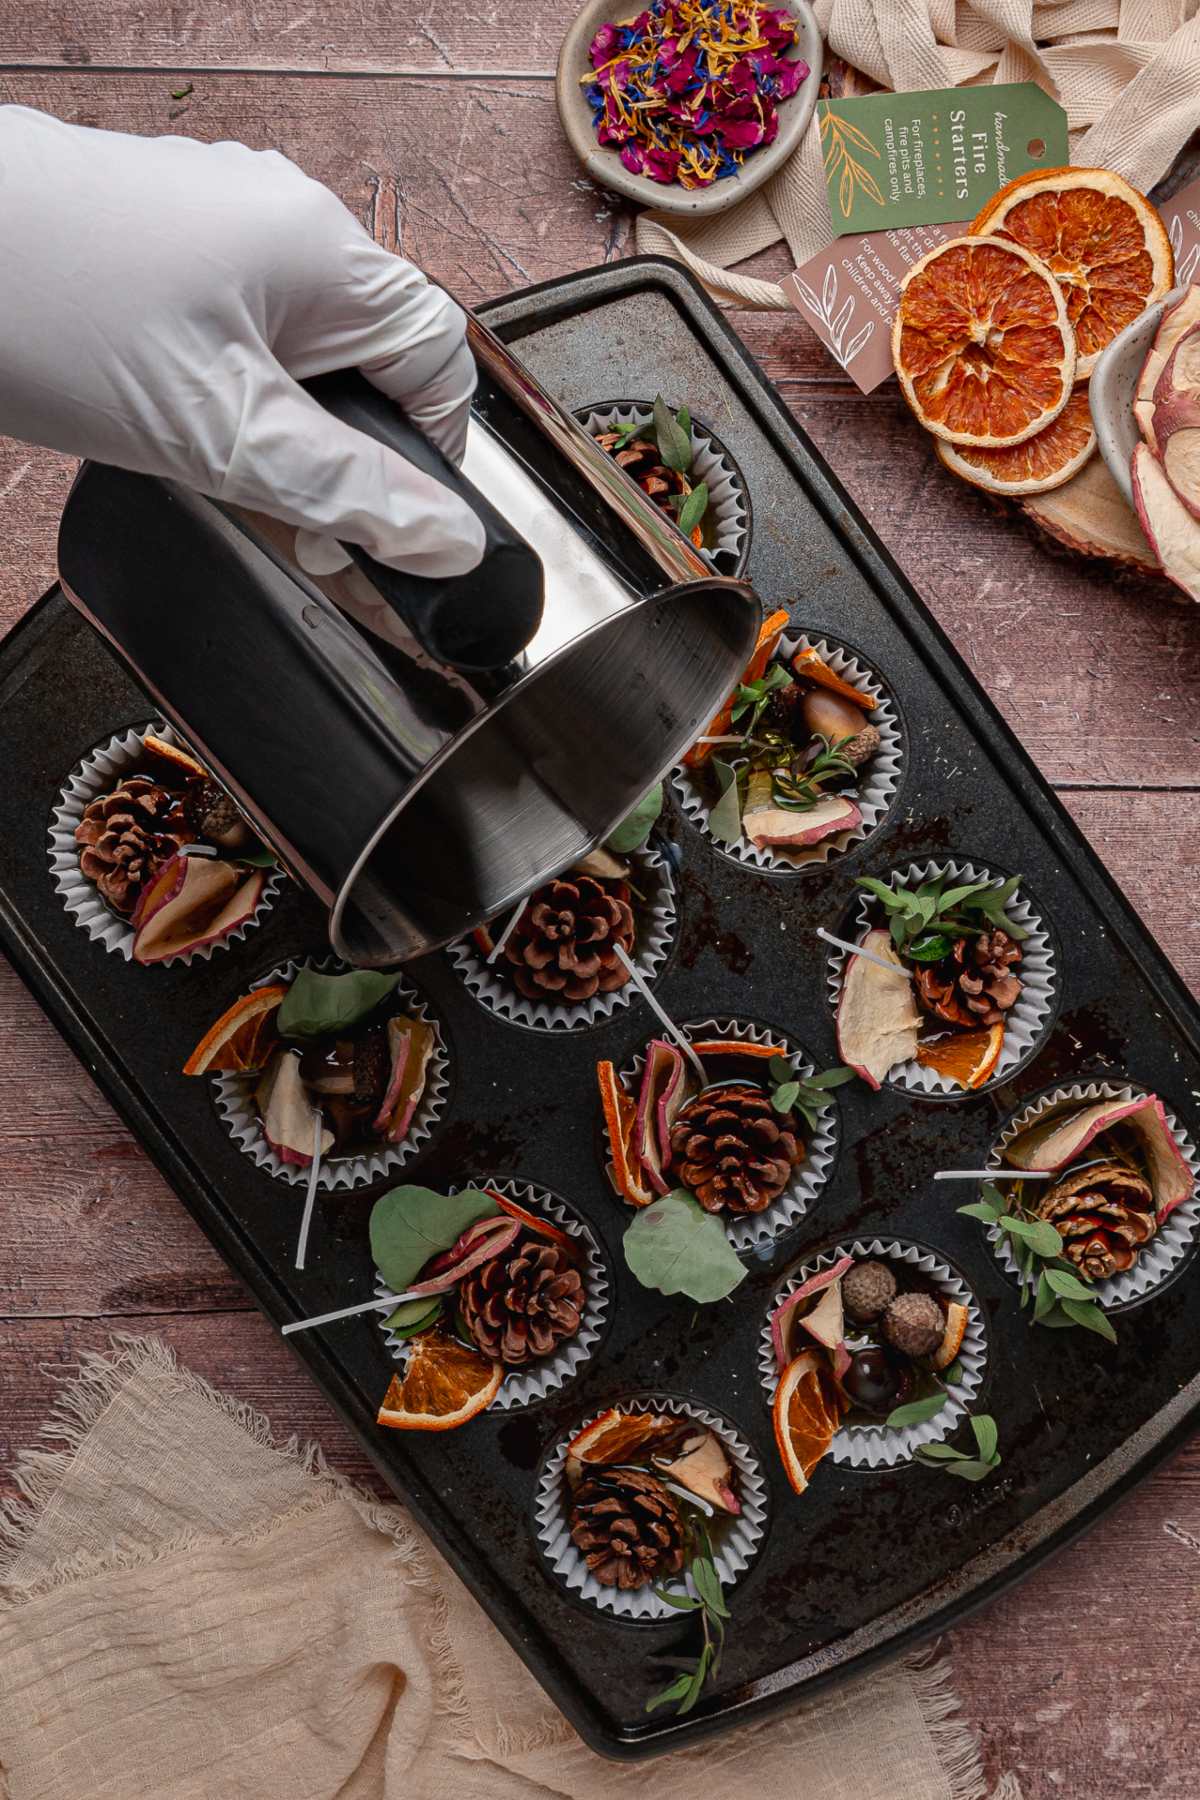
Secure the fillings: Pour wax into the center of each cup so it settles around the loose materials.
Finish the tops: Reposition the wicks and add the smaller dried botanicals.
Cool and package: Let the wax set firm before trimming the wicks and placing the camping fire starters in treat bags. Print the label for easy gift giving.

Substitutions and Variations
Beeswax: I tried replacing the soy wax with beeswax. It produced a firmer starter that burned for longer.
Egg carton cups: Cut a plain cardboard egg carton into individual sections and use those as molds. I always save my egg cartons now!
Botanical mix: Dried rosemary, bay leaves or cinnamon sticks can be used in small amounts. I like using dried lavender sometimes.
Old candle wax: Clean unscented wax can be reused if it contains no glitter, plastic, metal tabs or unknown additives.
Sawdust: Sawdust mixed with wax is a standard fire-starter material. Only use sawdust from clean, untreated wood. Don’t use dust from MDF, plywood, painted wood or pressure-treated lumber.
Wood chips: You can include these, provided they’re small, dry and untreated. Fine shavings will catch more readily than chunky chips.
Cotton balls: These are okay if they’re 100% cotton with no fragrance, lotion or synthetic fibers. Tear them into smaller pieces before adding them.
Pine needles: Fully dried brown pine needles make useful tinder and can be mixed with the wood shavings or other dry botanicals. Break them into shorter pieces and use only untreated needles.
How to Store
Store: Keep these homemade campfire starters in a cool dry place away from heat, sunlight, children and pets.

How to Use
Use one fire starter at a time. Place it under dry kindling and logs, then light the wick. You can use them in wood-burning fireplaces, fire pits or campfires, but don’t use them in gas fireplaces, pellet stoves, grills or indoor decorative bowls, and don’t use them as candles.
Important Safety Notes
- Use caution when working with hot wax. Keep the heat low and never leave melting wax unattended.
- Keep wax away from open flames while melting.
- Use these only in appropriate fire safe spaces with adult supervision.
- Don’t add fragrance oil or essential oils unless you know they’re safe for fire starter use. Many oils are flammable and can flare.
- Keep finished fire starters away from children and pets.

Top Tips
Keep everything dry: Fresh or damp plant materials aren’t suitable for these fire starters.
Begin with a small pour: Extra wax can be added before it firms if the contents still feel loose.
Don’t bury the tinder: Leave parts of the dry botanicals exposed so the flame has material to catch.
Keep the pieces contained: Large fruit slices or pinecones can break away if they extend too far beyond the paper liner.
Don’t omit the tags: Package them with a clear label that says they’re for starting fires only, so nobody mistakes them for candles.
Take care with hot wax: Use low heat and never leave melting wax unattended. Keep it away from open flames.
Remove all packaging: Take off the treat bag, tag and twine before placing the starter beneath kindling.
Use one at a time: These are made for suitable wood-burning fireplaces, fire pits or campfires with adult supervision.
Wax Fire Starters FAQs
Yes, provided it’s unscented and free from glitter, plastic, metal tabs or unknown additives.
No. Use fully dried materials because these starters need dry tinder. If you have a bunch of flowers past their best, dry them out fully before using.
Don’t use dryer lint because it can contain synthetic fibers as well as residue from laundry products. Also avoid glossy paper, painted wood, pressure-treated wood, plastic decorations, synthetic ribbon and glitter.
The wax holds the materials together. Leaving some dry pieces exposed helps the flame catch.
No. The wax provides some moisture resistance, though the paper cups, wicks and exposed botanicals can still absorb water. Keep them in a sealed waterproof bag or container when camping or storing them outdoors.

Botanical Fire Starters Tutorial

How to Make Fire Starters
Equipment
- Metal Melting Pitcher or Heat-Safe Measuring Cup
- Saucepan Small
Supplies
- 16 Ounces soy wax flakes
- 12 paper baking cups
- 12 candle wicks
- dried botanicals, dried flowers, pinecones, acorns, dried oranges, dried apples etc
- untreated wood shavings, twigs or excelsior
- clear treat bags, for packaging
- hang tag design – see PDF
- ribbon or twine
Instructions
- Line each cavity of a muffin tin with a paper baking cup.
- Place one candle wick in the center of each cup.
- Add wood shavings or twigs to the bottom of the cups.
- Arrange a mix of the bulkier pieces, like pinecones, acorns, larger leaves and dried fruit.
- Add the wax flakes to a heat safe glass measuring cup or metal melting pitcher. Set the cup inside a small saucepan with a few inches of water to create a double boiler.
- Warm the wax over low heat until fully melted, stirring gently as it melts.
- Pour the melted wax into each cup, focusing on the center and letting it flow around the fillings.
- Adjust the wick while the wax is still warm.
- Finish by adding the smaller dried botanicals.
- Let cool in the muffin tin until the wax is firm and the cups feel dry to the touch.
- Remove the fire starters from the muffin tin. Trim the wicks if needed, then package them in a craft box or cellophane bag with the hang tag. Makes 12 fire starters.
Notes
Begin with a small pour: Extra wax can be added before it firms if the contents still feel loose.
Don’t bury the tinder: Leave parts of the dry botanicals exposed so the flame has material to catch.
Keep the pieces contained: Large fruit slices or pinecones can break away if they extend too far beyond the paper liner.
Don’t omit the tags: Package them with a clear label that says they’re for starting fires only and shouldn’t be burned like candles.
Take care with hot wax: Use low heat and never leave melting wax unattended. Keep it away from open flames.
Remove all packaging: Take off the treat bag, tag and twine before placing the starter beneath kindling.
Use one at a time: These are made for suitable wood-burning fireplaces, fire pits or campfires with adult supervision.
Important Safety Notes
- Use caution when working with hot wax. Keep the heat low and never leave melting wax unattended.
- Keep wax away from open flames while melting.
- Use these only in appropriate fire safe spaces with adult supervision.
- Don’t add fragrance oil or essential oils unless you know they’re safe for fire starter use. Many oils are flammable and can flare.
- Keep finished fire starters away from children and pets.

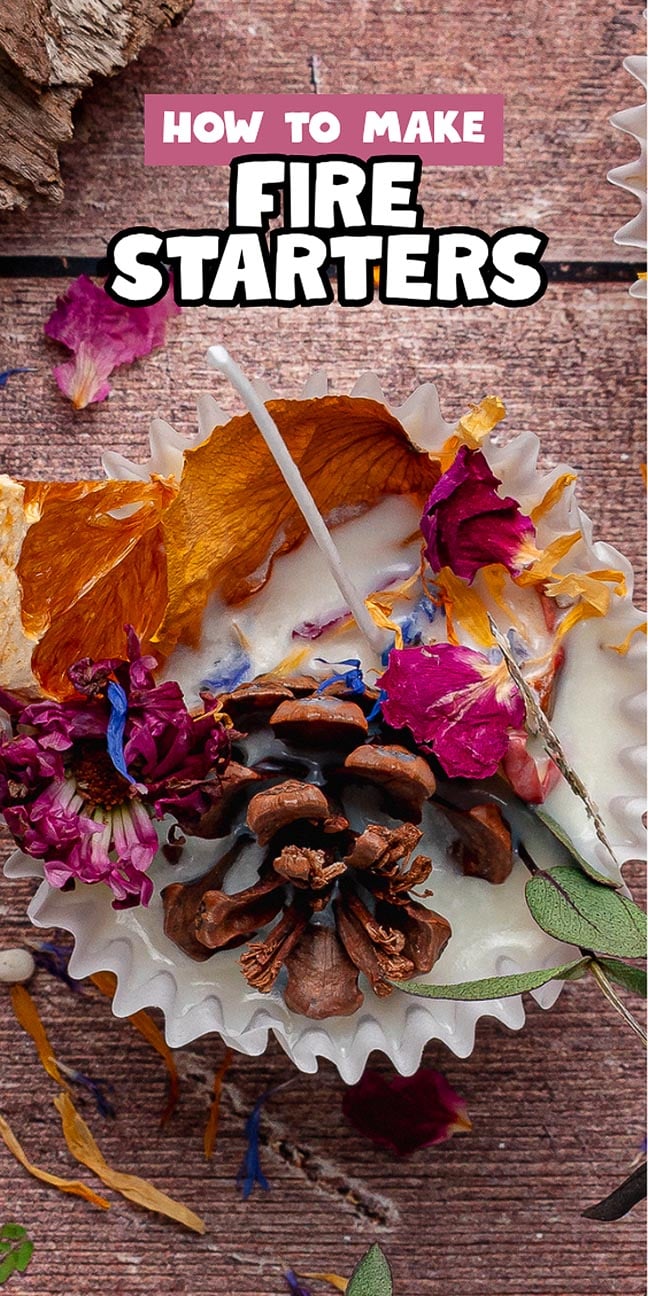
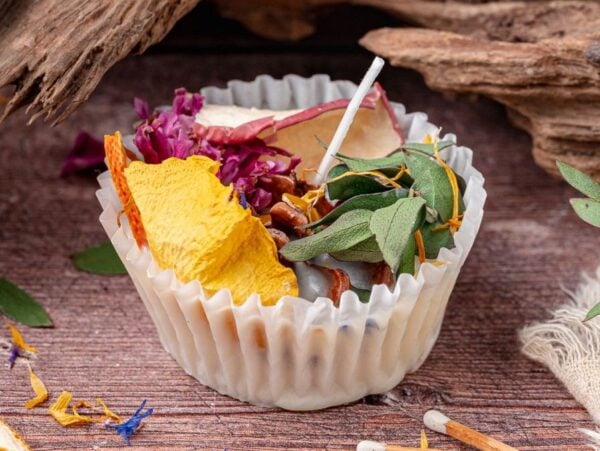
Pinecones, dried orange slices and other botanicals make these homemade fire starters attractive enough to give as gifts, although the wax and wick turn the decoration into a compact portion of tinder, so they’re useful as well as pretty. You simply put it under dry kindling when it’s time to light a wood fire. They’re fun and easy to make and work well.
Other Crafts to Try




YOu can find the printable for the gift tags here: https://xoxobella.com/download/268403/?tmstv=1792367845