This post may contain affiliate links, please see the privacy policy for details.
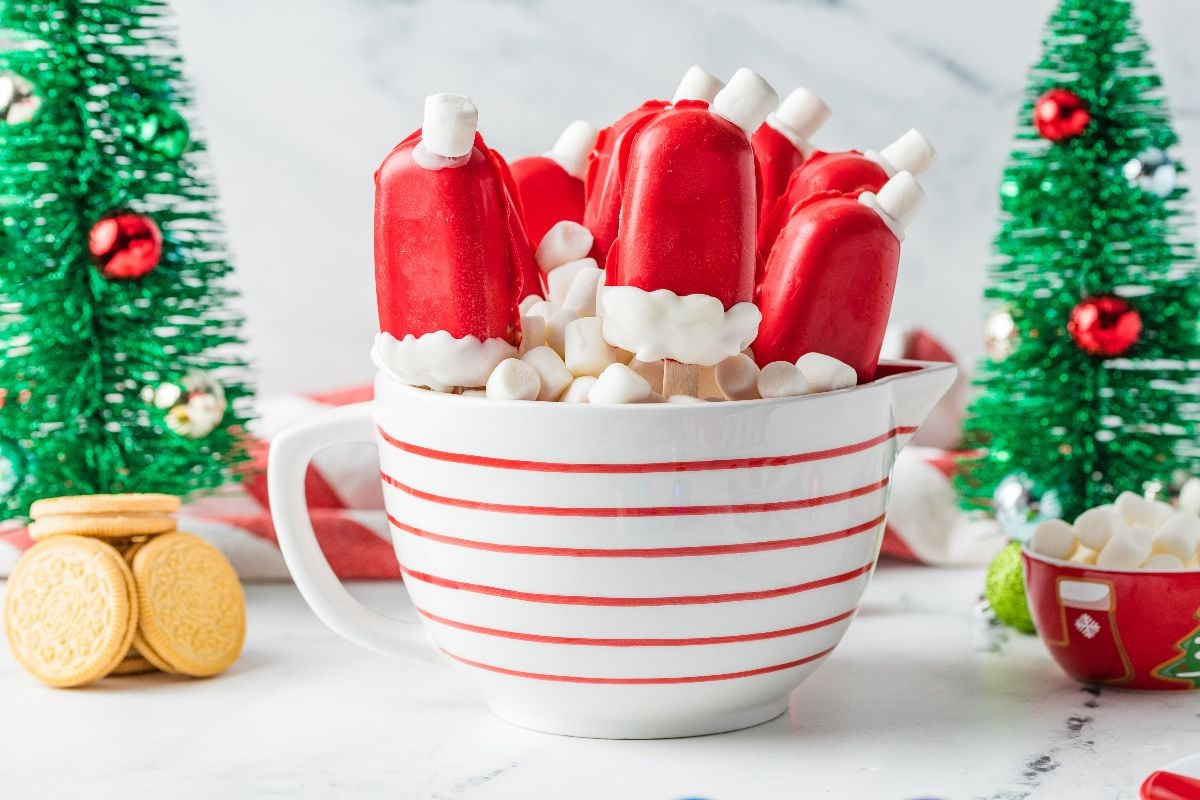
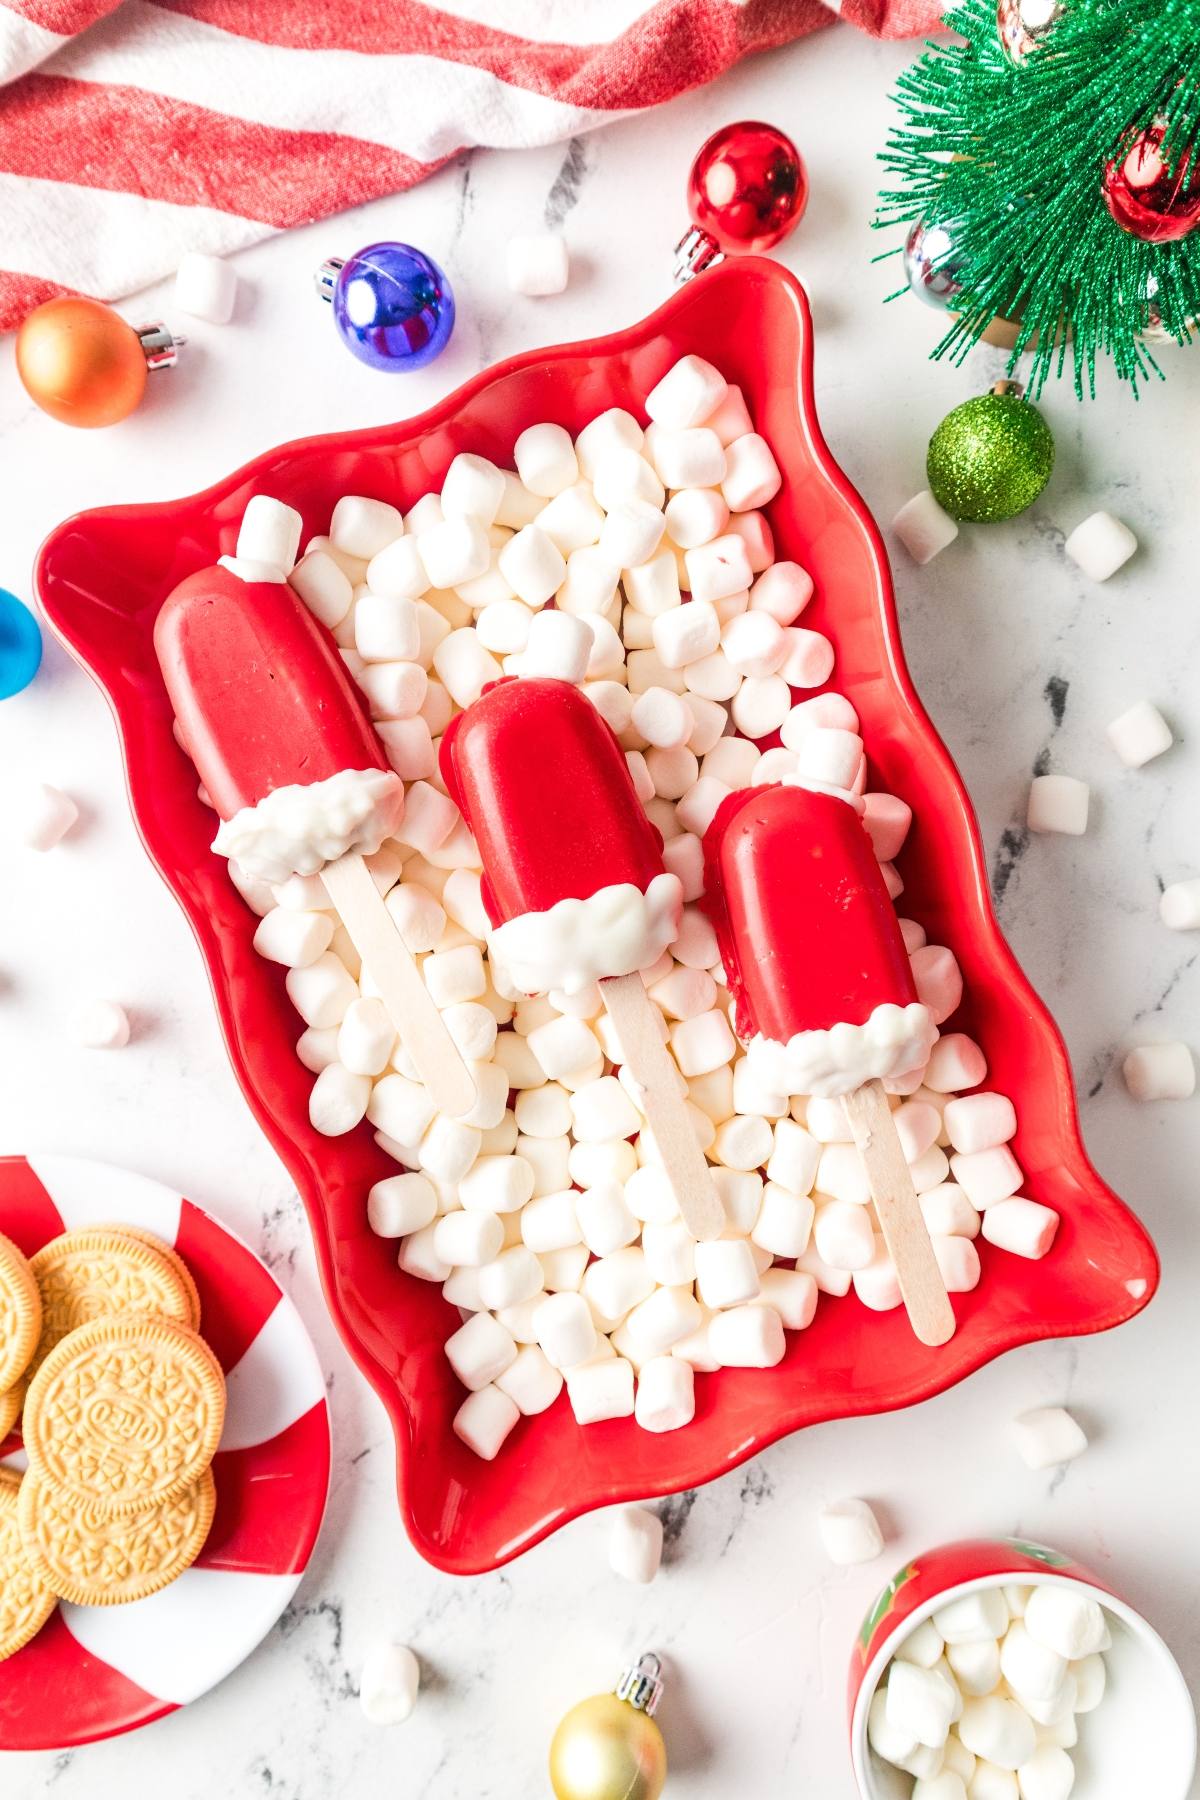
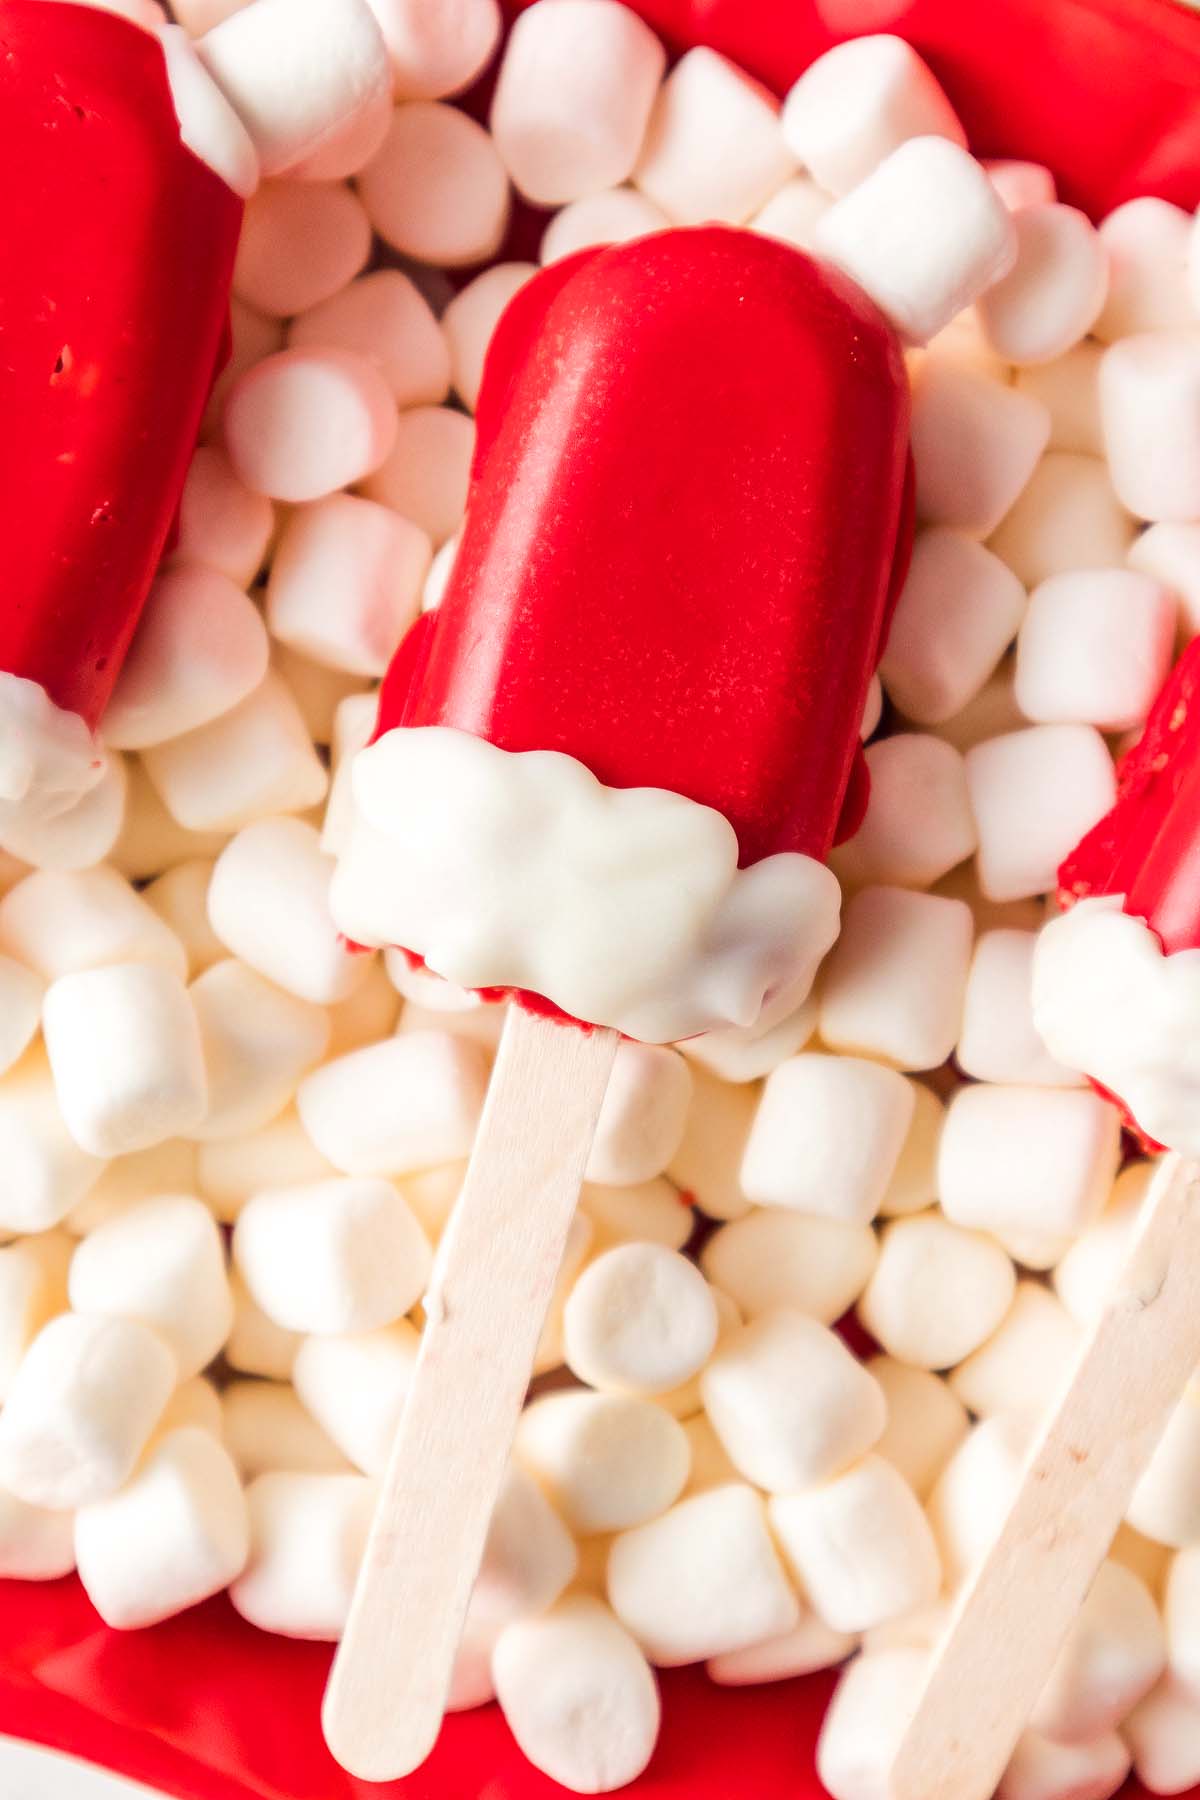
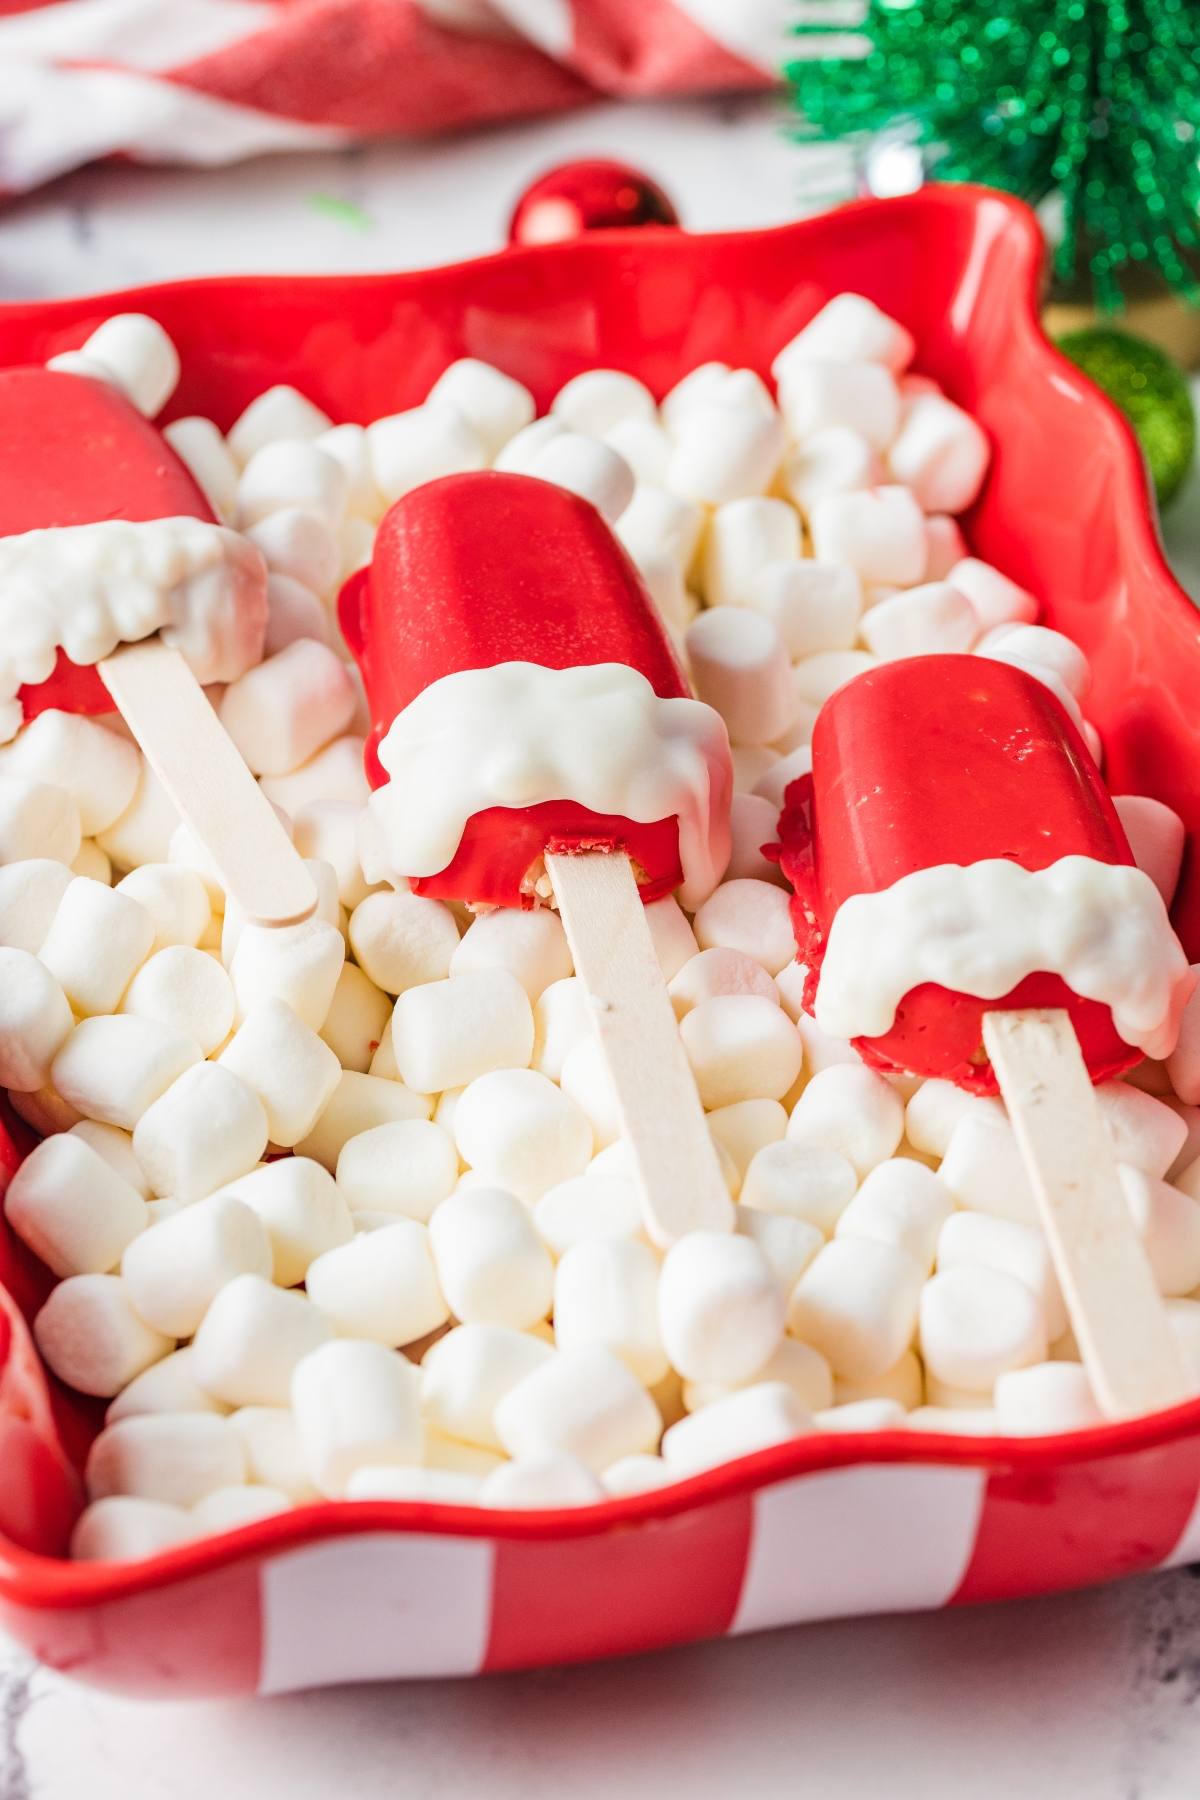
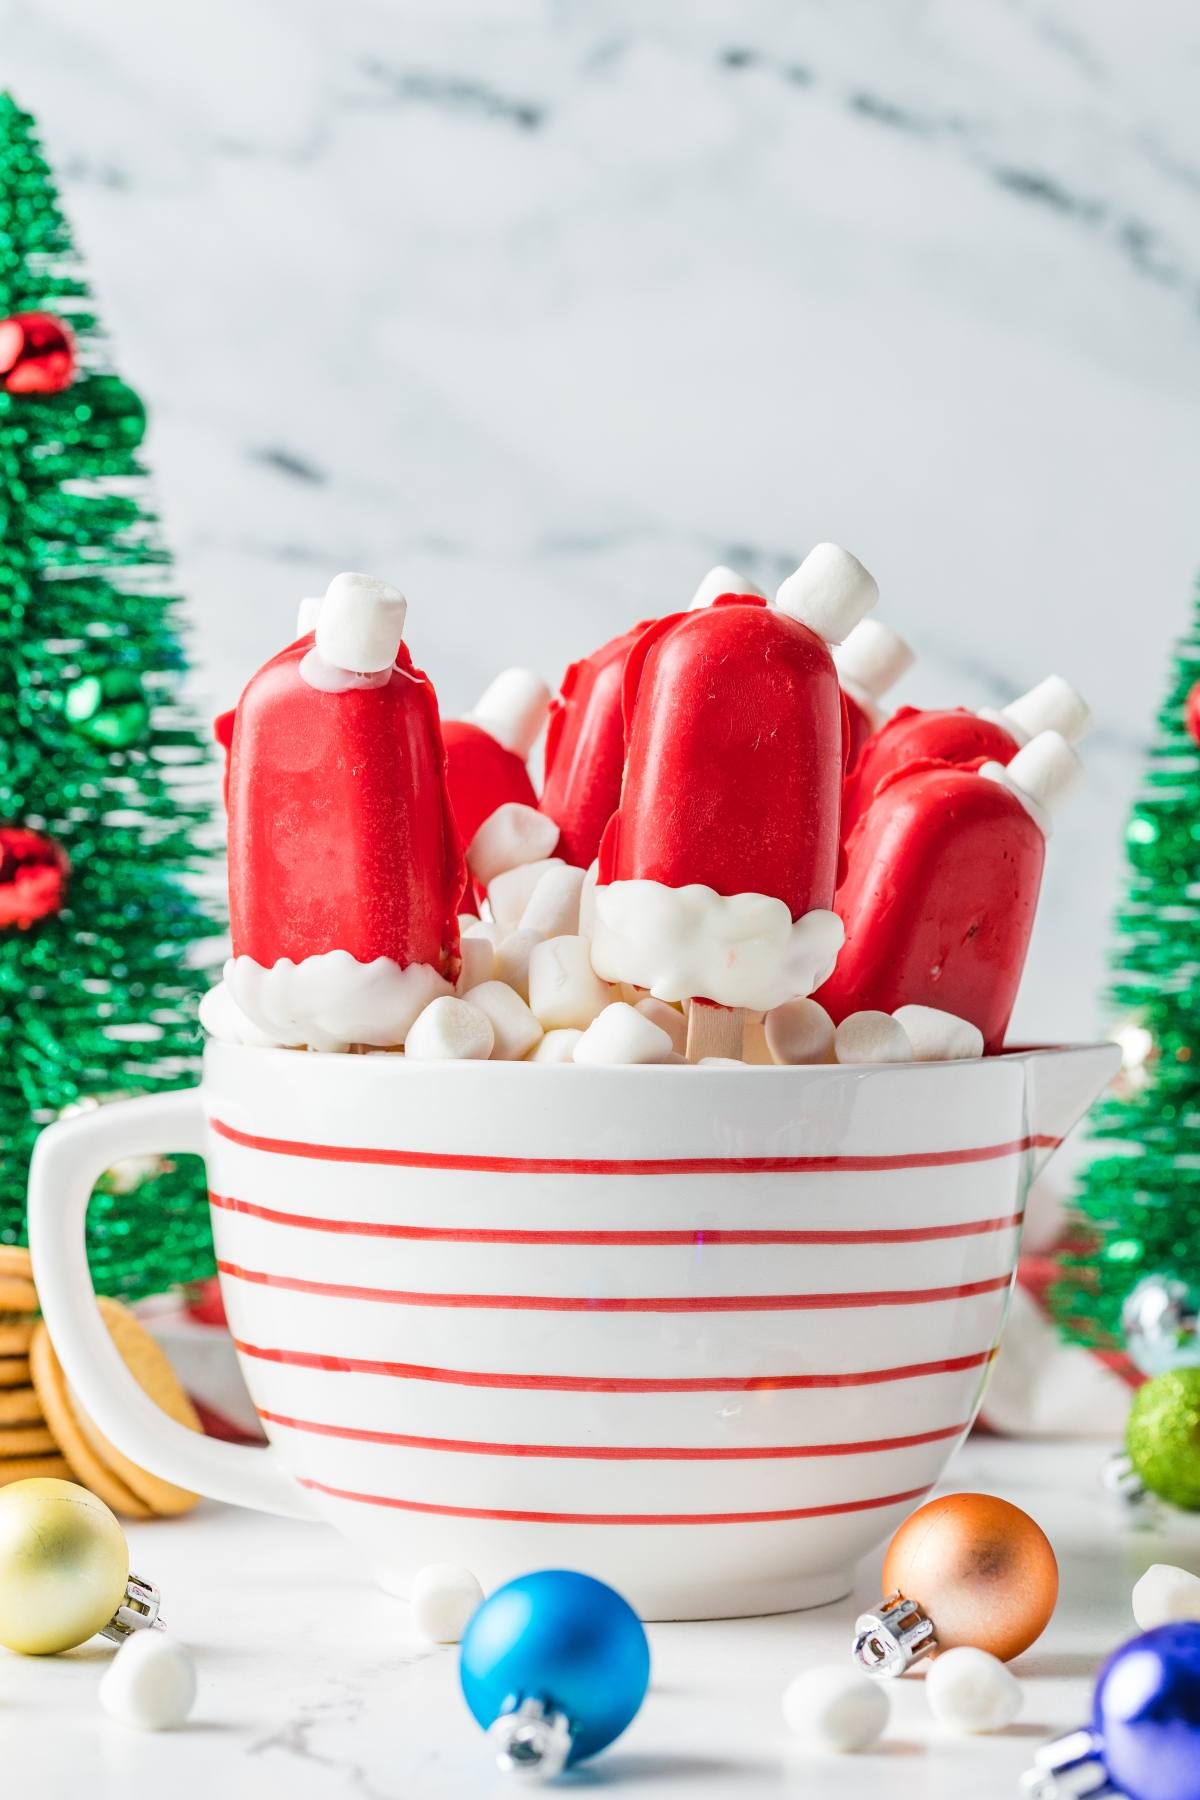
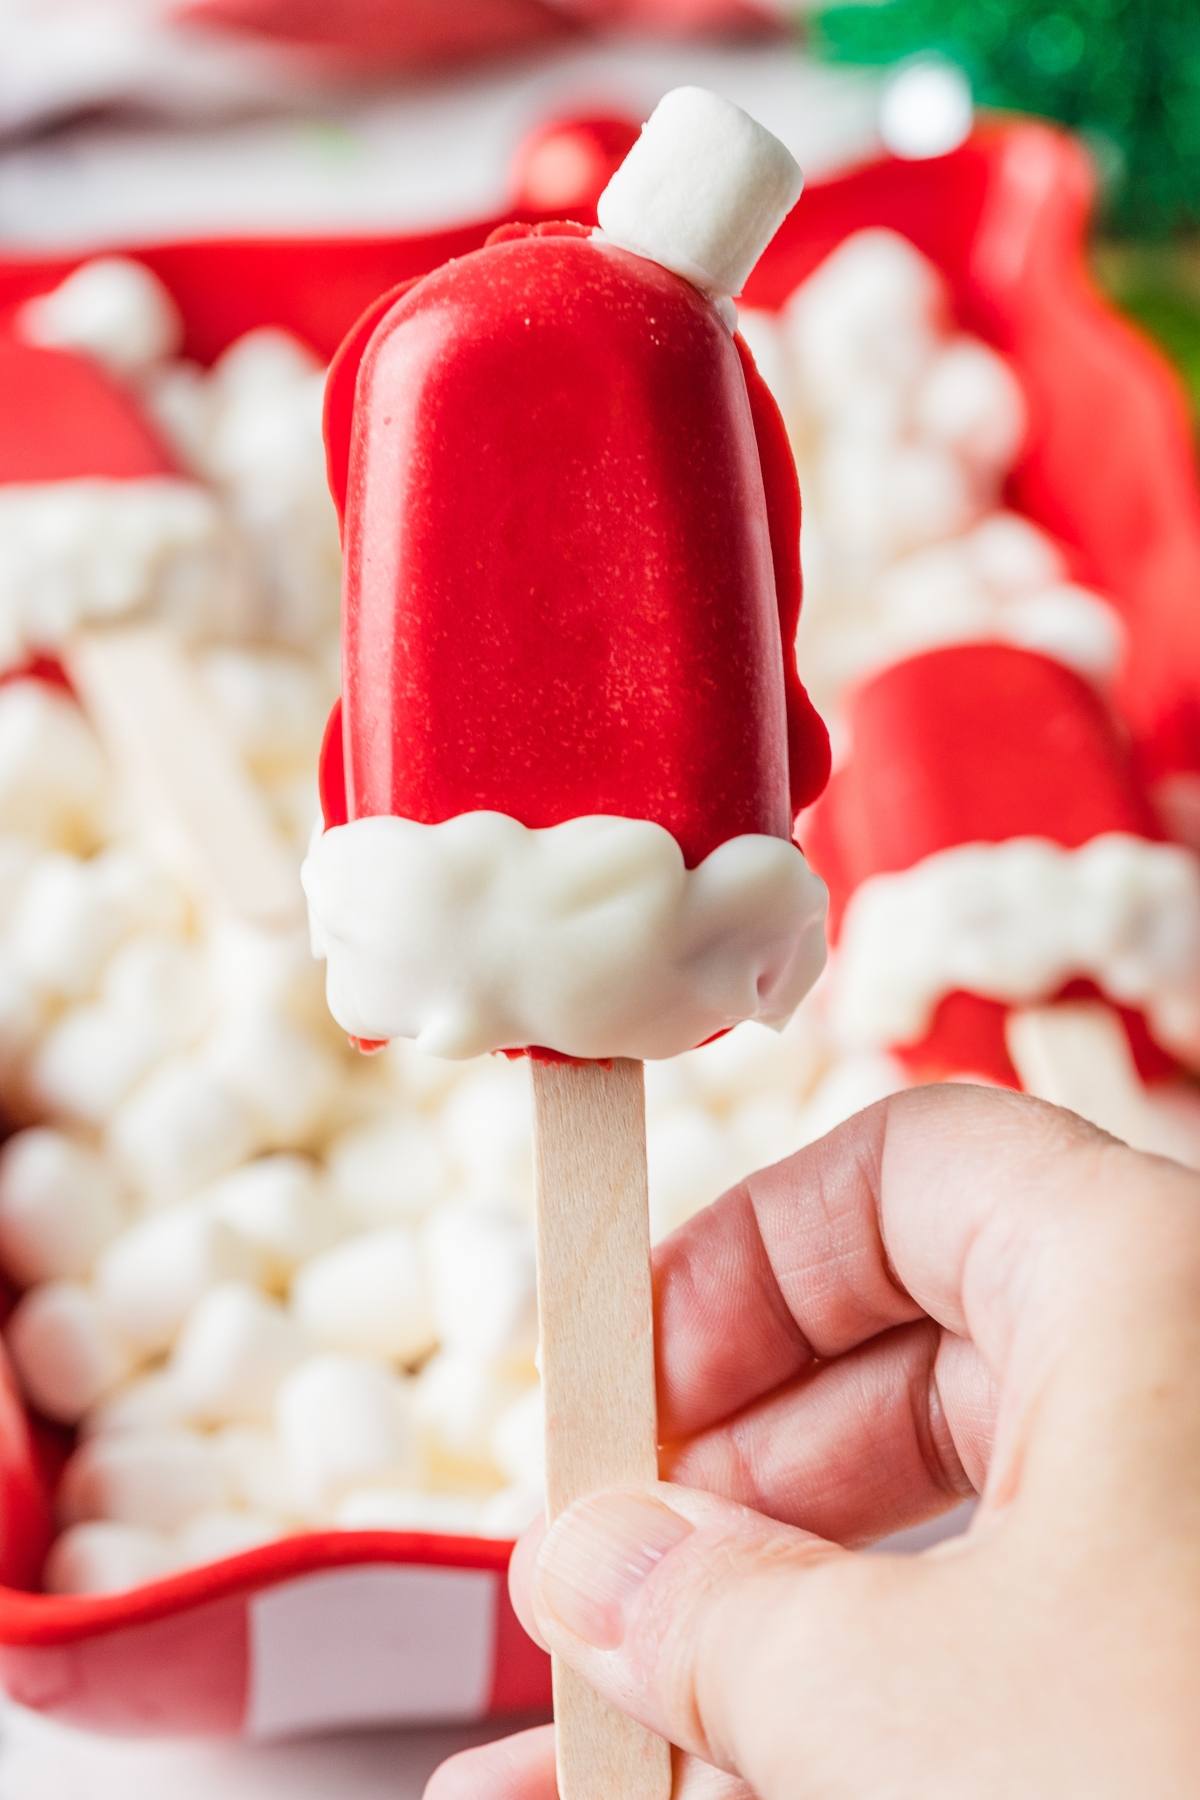
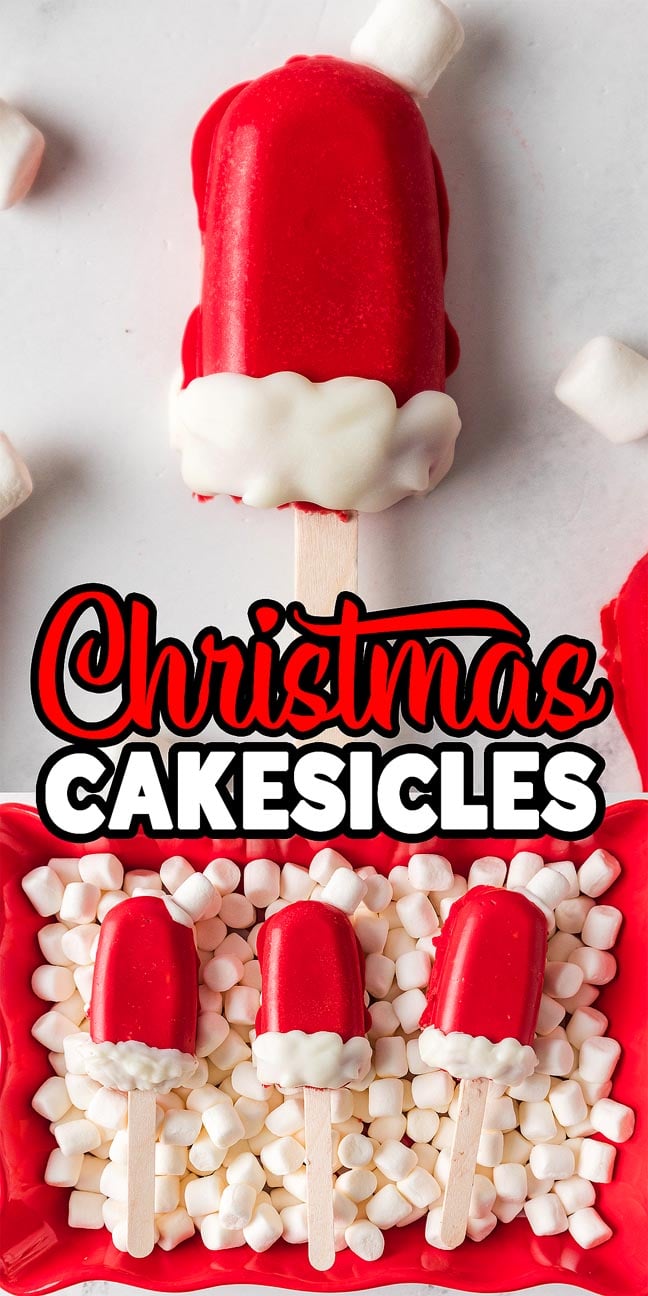
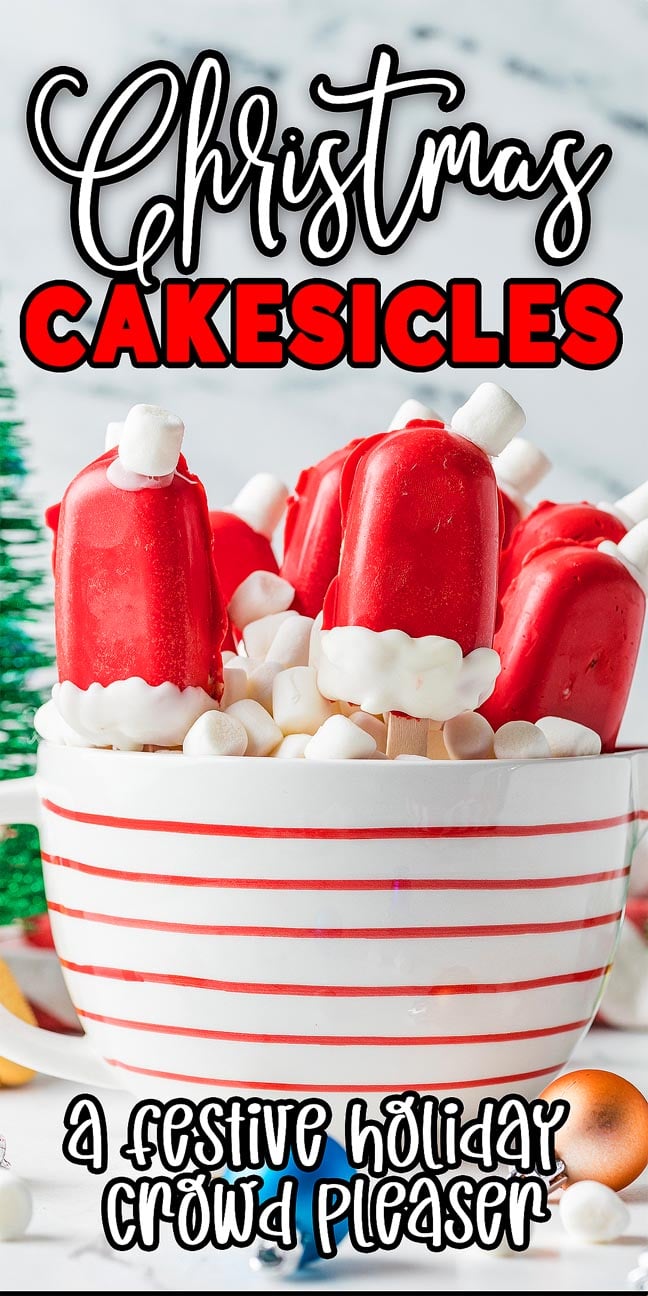
Christmas cakesicles take holiday treats to the next level with Golden Oreos, cream cheese and red chocolate coating for a fun, no-bake dessert. These festive Santa hat pops are easy to make and you can customize the decorations with marshmallows, sprinkles or edible glitter. The creamy center pairs perfectly with the crisp chocolate shell. Kids love decorating them as much as eating them, so they’re perfect for holiday parties, gifts or family baking days.
Why You’ll Love It

Christmas cakesicles feature Golden Oreos, cream cheese, and red chocolate coating with marshmallow trim for a festive holiday dessert everyone will love.
No baking needed: Everything comes together in the fridge.
Fun to decorate: Kids can help with frosting, marshmallows and sprinkles.
Customizable flavors: Swap in different Oreos or coatings.
Perfect for gifts: These hold up well for holiday boxes and parties.
You might also like Christmas bugles, white chocolate cranberry cupcakes, frosted cranberry cookies, and eggnog cheesecake.

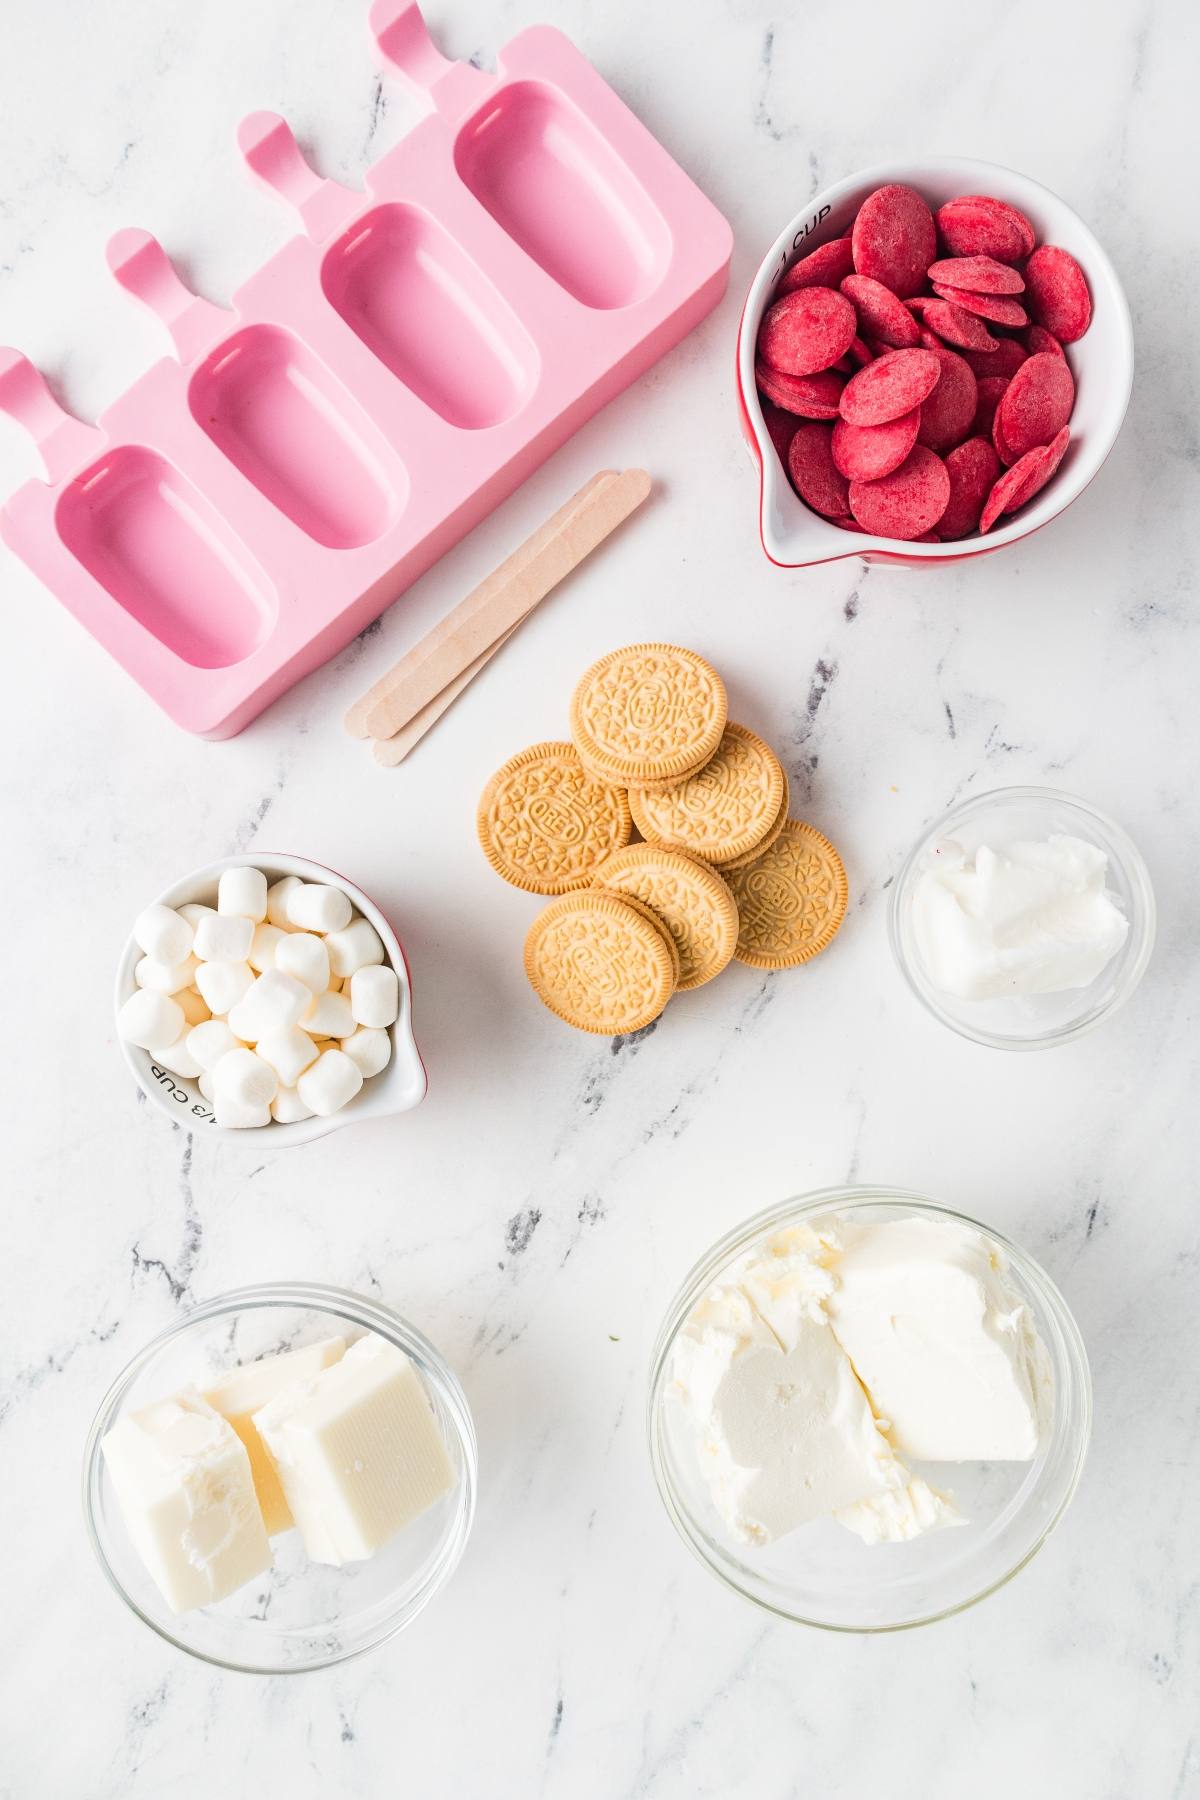
Santa Hat Cakesicles Ingredients
A complete list of ingredients and amounts can be found in the recipe card below.
Golden Oreos: Crushed into fine crumbs for the creamy base of your Christmas cake pops.
Cream cheese: Binds the cookie crumbs for a rich filling.
Red candy melts: Create the bright Santa hat coating.
White almond bark or candy melts: Add the brim and pom-pom detail.
Mini marshmallows: Used for the hat trim and top.
Vegetable shortening or coconut oil: Optional for thinning chocolate.
Cakesicle sticks and mold: A mold shapes them and a cakesicle or popsicle stick hold each treat in place.
How to Make Christmas Cakesicles
For more detailed instructions with weights and measurements, jump to the printable recipe card.
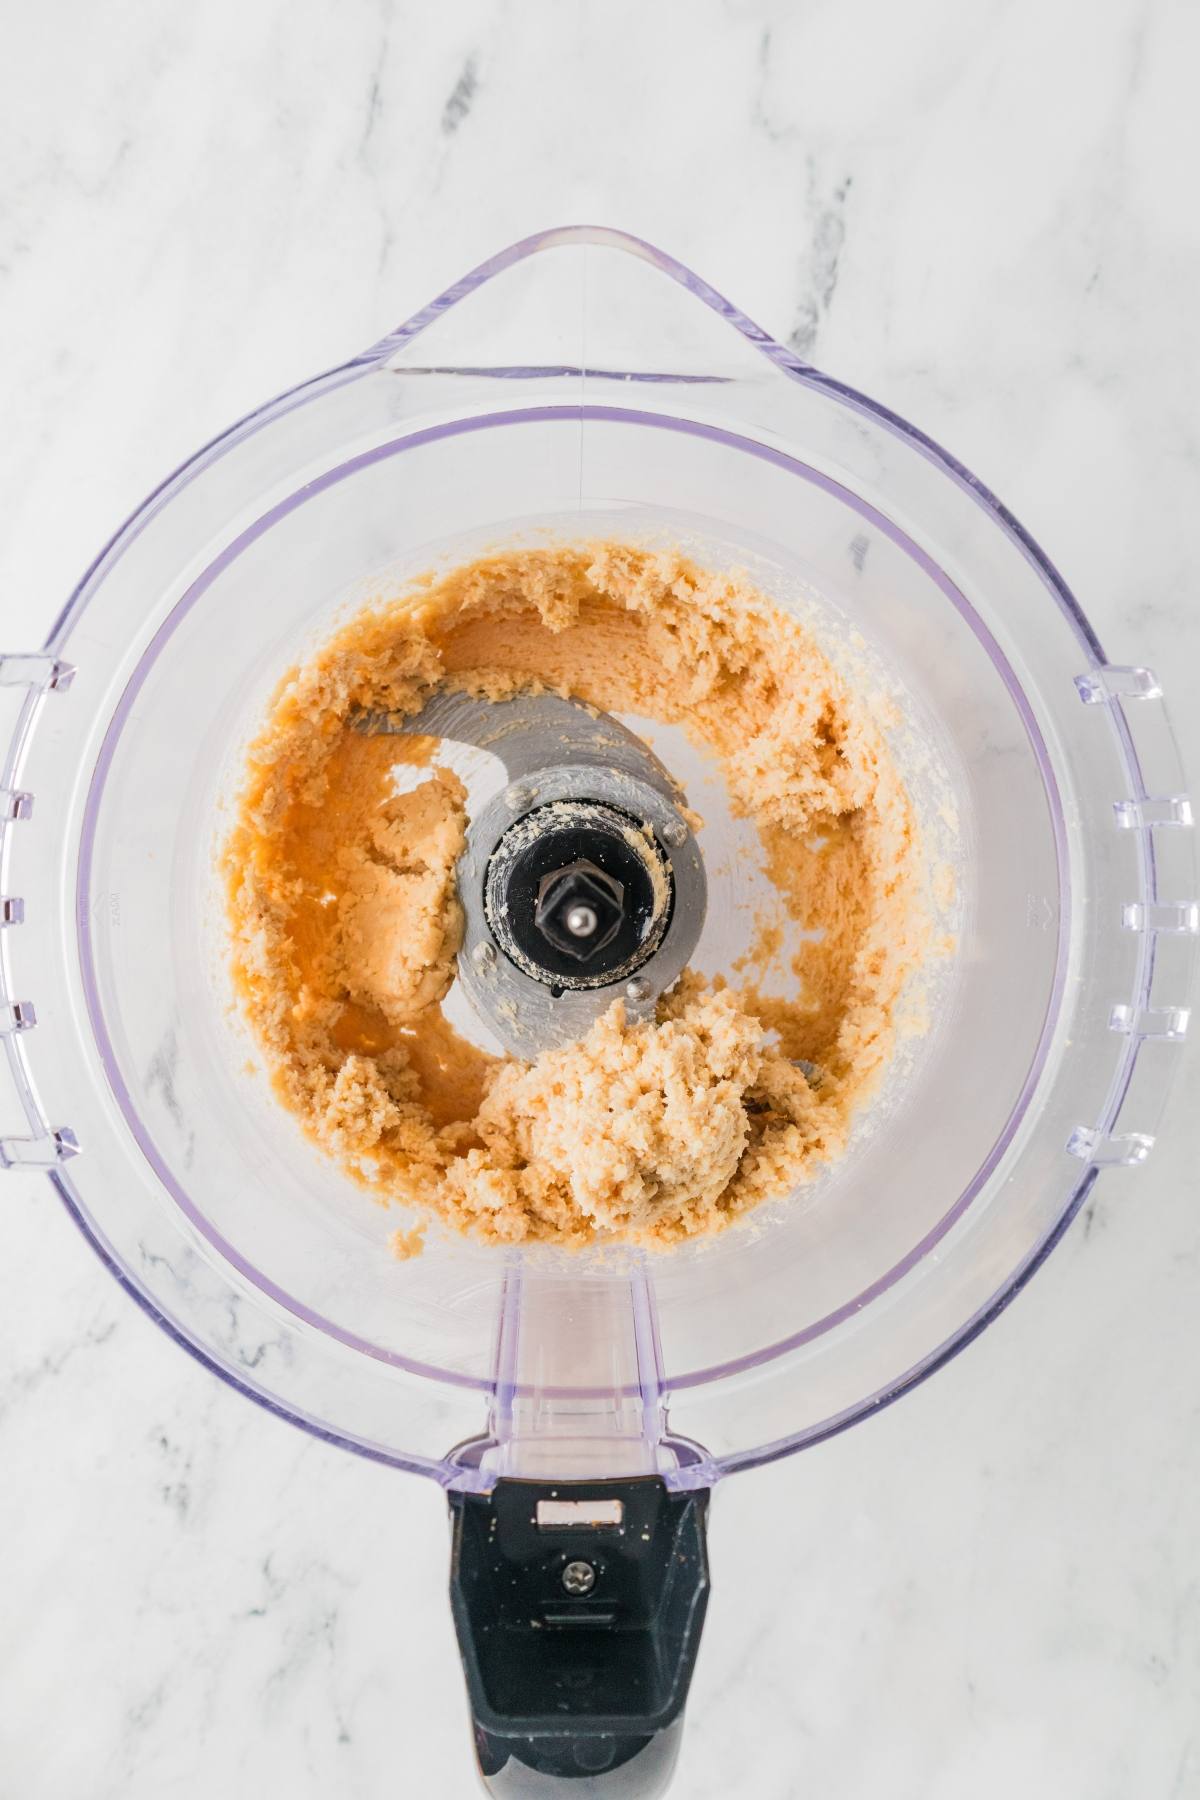
Make filling: Crush Oreos in a food processor then blend with cream cheese to form a thick dough.
Shape cakesicles: Press mixture into molds, insert sticks and smooth the backs. Freeze until firm.
Melt coatings: Heat red candy melts and white almond bark in 30-second intervals until smooth. Add shortening if needed for dipping.
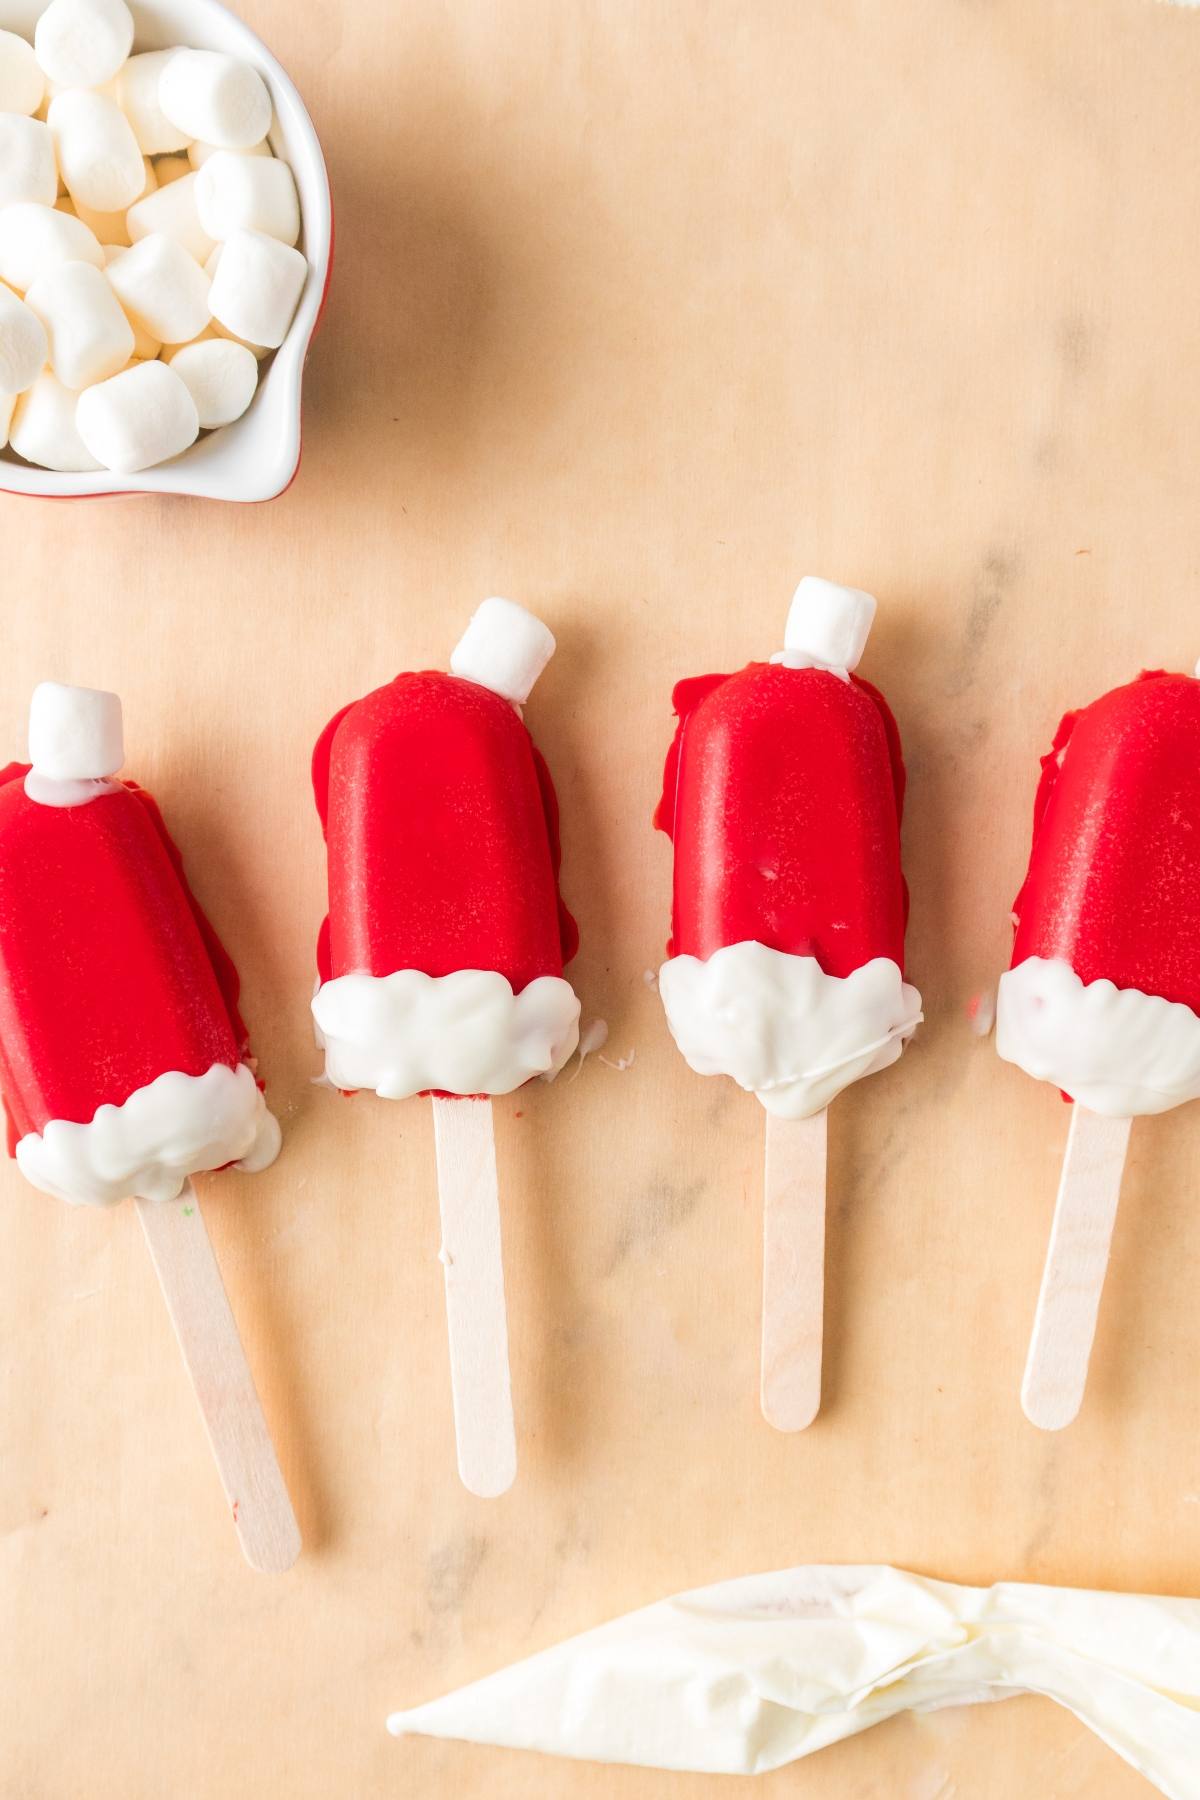
Dip and decorate: Coat chilled cakesicles in the melted chocolate and let excess chocolate drip off. Pipe white chocolate along the base, add marshmallow trim and a pom-pom on top.
Set and store: Let decorations firm completely before packaging or serving. Then gently pop each one out to serve.
Substitutions and Variations
Gluten-free: Use gluten-free sandwich cookies in place of Golden Oreos.
Chocolate version: Regular Oreos make a chocolatey center with red coating. You could add some chocolate chips to the filling too.
Swap cookies for cake: You can use a boxed cake mix or your preferred cake recipe to make cake batter which you can then cook and blend with the other ingredients. Crumbled cake is a more traditional filling for cakesicles than crumbled cookies, but you can use either one (or some of each!)
Peppermint flavor: Stir crushed candy canes into the white trim.
Sprinkle topping: Swap marshmallows for white sanding sugar or candy pearls.

Serving Suggestions
With other holiday treats: Enjoy these Christmas cakesicles with Christmas tree cupcakes, reindeer cupcakes or these adorable Santa cupcakes or peanut butter cup Christmas trees.
With a festive cocktail: A glass of cranberry margarita or chocolate cake martini would pair well with these cakesicles.
How to Store
Store: Refrigerate Christmas cake popsicles in an airtight container up to 5 days.
Freeze: Freeze them for up to 1 month.
Thaw: Bring to room temperature to serve
Top Tips
Chill before dipping: Cold centers stay on the sticks better.
Perfect consistency: Start with 15 Oreos and 4 ounces of cream cheese and adjust based on texture. Too dry? Add more cream cheese. Too wet? Add another cookie or two.
Thin the chocolate: Add shortening if candy melts feel too thick.
Don’t rush melting: Overheating causes clumps so go slowly.
Decorate quickly: Add marshmallows before the coating sets.
Clean work surface: Cover your worktop with parchment paper to keep everything clean.
Christmas Cakesicles FAQs
Yes, shape the mixture by hand into cones or triangles, freeze, then dip.
Let chilled centers sit at room temperature a few minutes before dipping so the temperature difference isn’t as sharp.
You can, but they won’t look like Santa hats unless you add red decorations on top.
These Christmas cakesicles use cookies instead of cake and they aren’t frozen despite the -sicle in their name. But they use the cakesicle technique of coating the filling in chocolate, which is why you can call them that! You could always use a cake mixture to make cake balls if you want to make Christmas tree cakesicles more cake-like.

Santa Hat Cakesicles Recipe

Christmas Cakesicles
Equipment
- Popsicle Sticks or Cakesicle Sticks
Ingredients
- 15 to 20 Golden Oreos
- 4 to 6 Ounces cream cheese, at room temperature
- 1½ Cups candy melts, red
- ½ Cup almond bark, white, or white candy melts
- mini marshmallows, for brim and top of hat
- 1 to 2 teaspoons vegetable shortening, or coconut oil, optional to thin the chocolate
Instructions
- Place Oreos in a food processor and pulse until they become fine crumbs.
- Add softened cream cheese and blend until a thick dough forms. Start with 4 ounces and add more if needed to reach a moldable texture.
- Press the Oreo mixture into cakesicle molds, inserting a stick into each one. Smooth the backs.
- Freeze for 30 to 40 minutes, or until firm and easy to unmold.
- In microwave-safe bowls, melt the red candy melts and white almond bark in 30-second intervals, stirring between each until smooth. Stir in a little shortening if needed, to make the coating thinner and easier to dip.
- Remove cakesicles from molds. Dip each into the red coating, letting excess drip off. Place on parchment paper and allow to partially set.
- Use a piping bag or spoon to add white almond bark along the bottom edge (brim) of the Santa hat.
- Press mini marshmallows into the brim while the coating is still wet, and add one marshmallow to the top as the pom-pom.
- Allow the decorations to fully set before serving or packaging. Store in the fridge in an airtight container.
Notes
Perfect consistency: Start with 15 Oreos and 4 ounces of cream cheese and adjust based on texture. Too dry? Add more cream cheese. Too wet? Add another cookie or two.
Thin the chocolate: Add shortening if candy melts feel too thick.
Don’t rush melting: Overheating causes clumps so go slowly.
Decorate quickly: Add marshmallows before the coating sets.
Clean work surface: Cover your worktop with parchment paper to keep everything clean.
Nutrition


Making Christmas cakesicles is a simple way to bring holiday cheer to your dessert table. The creamy Oreo filling pairs beautifully with the red chocolate coating and the marshmallow trim adds the perfect finishing touch. Nibble one of these delicious treats under the Christmas tree this holiday season. They’re great for parties, edible gifts or just a cozy weekend baking project with the family. They’re also great party favors.
Other Recipes to Try
Bella Bucchiotti
Bella Bucchiotti is a Canadian-based syndicated food, travel, and lifestyle writer, photographer, and creator at xoxoBella. She founded xoxoBella in 2015, where she shares her love for food, dogs, sustainability, fitness, crafts, outdoor adventures, travel, and philanthropy to encourage others to run the extra mile, try new recipes, visit unfamiliar places, and stand for a cause. Bella creates stress-free and family-friendly recipes for weeknight dinners and festive feasts.