This post may contain affiliate links, please see the privacy policy for details.
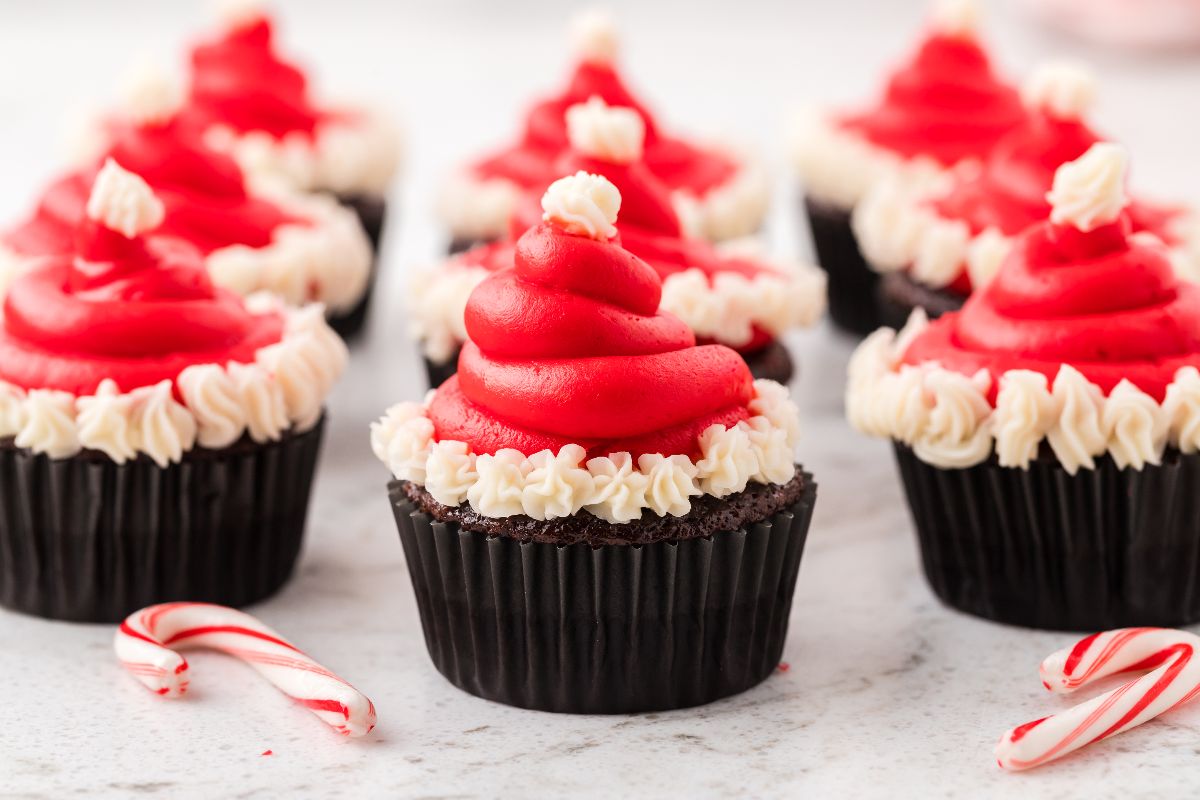
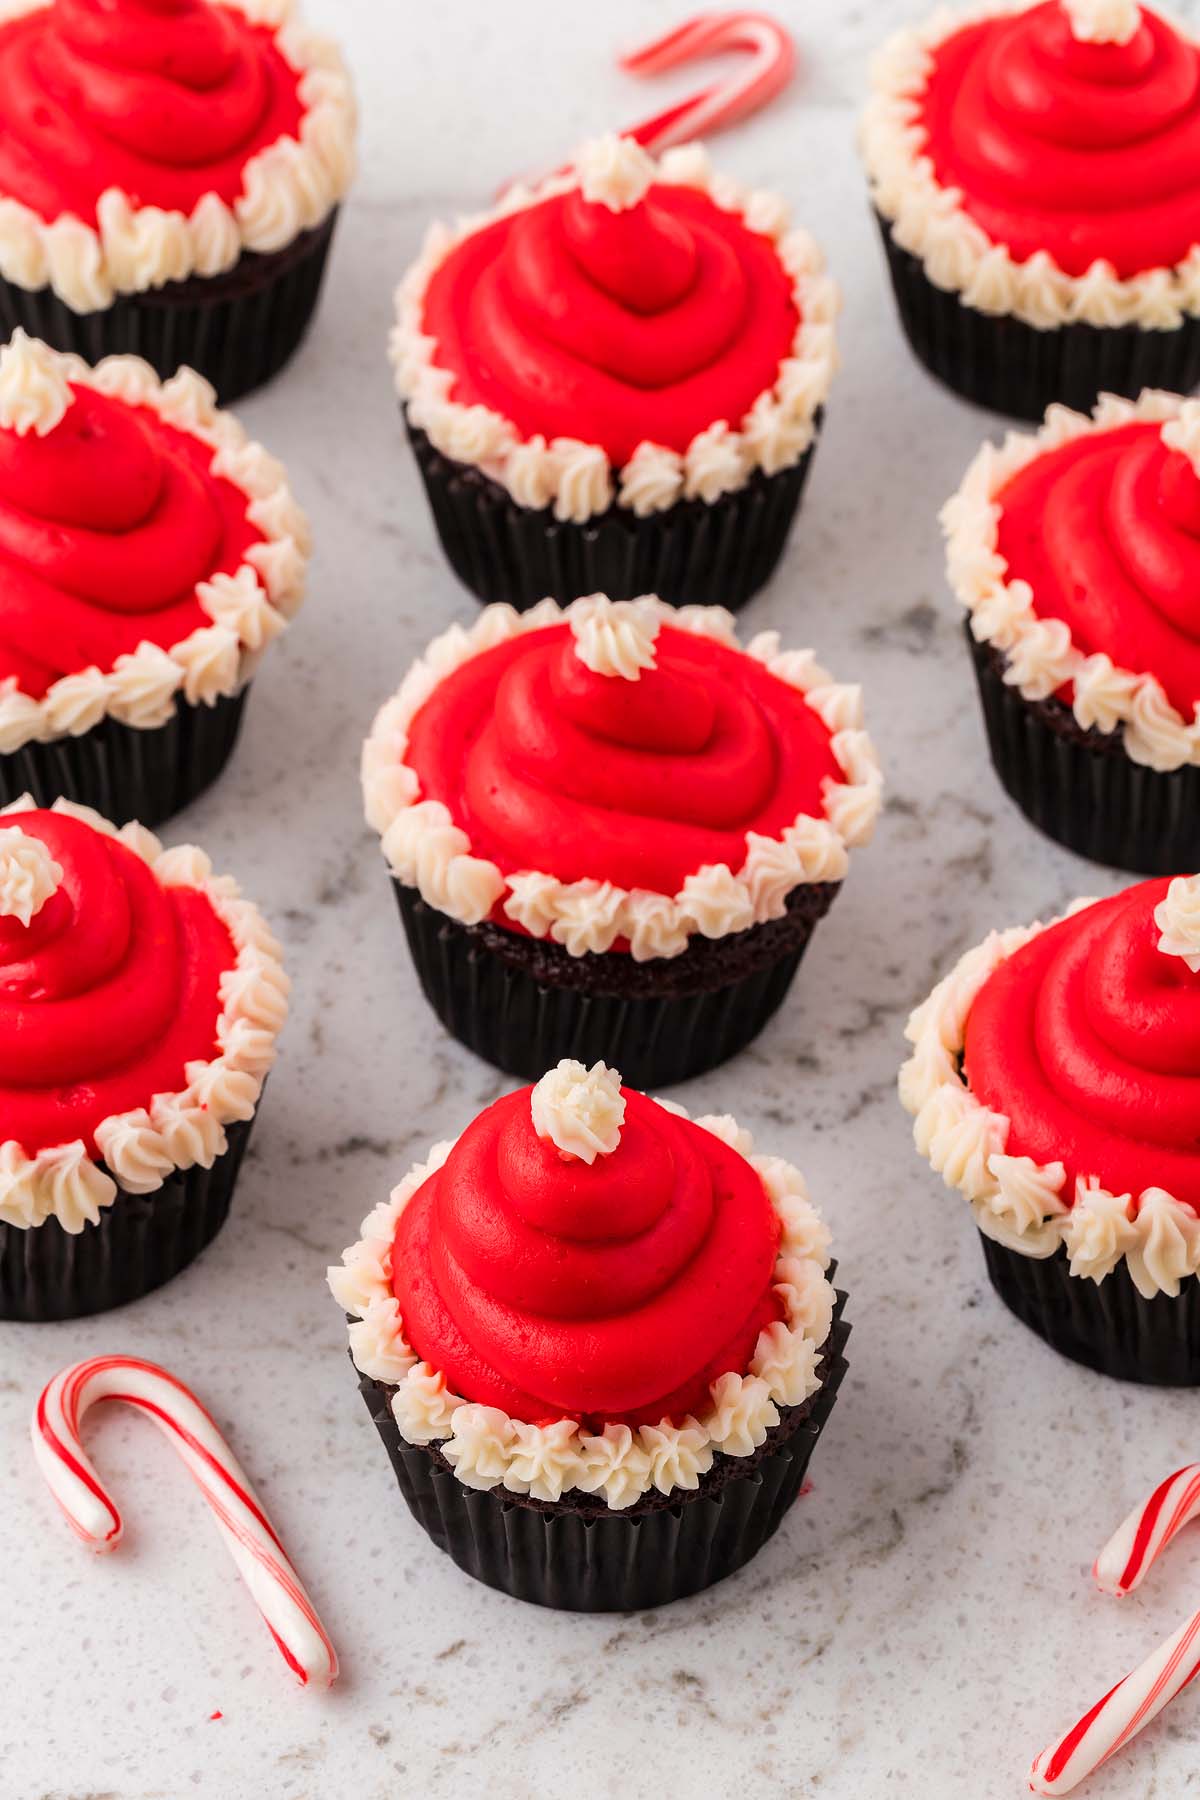
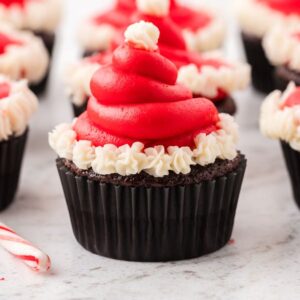
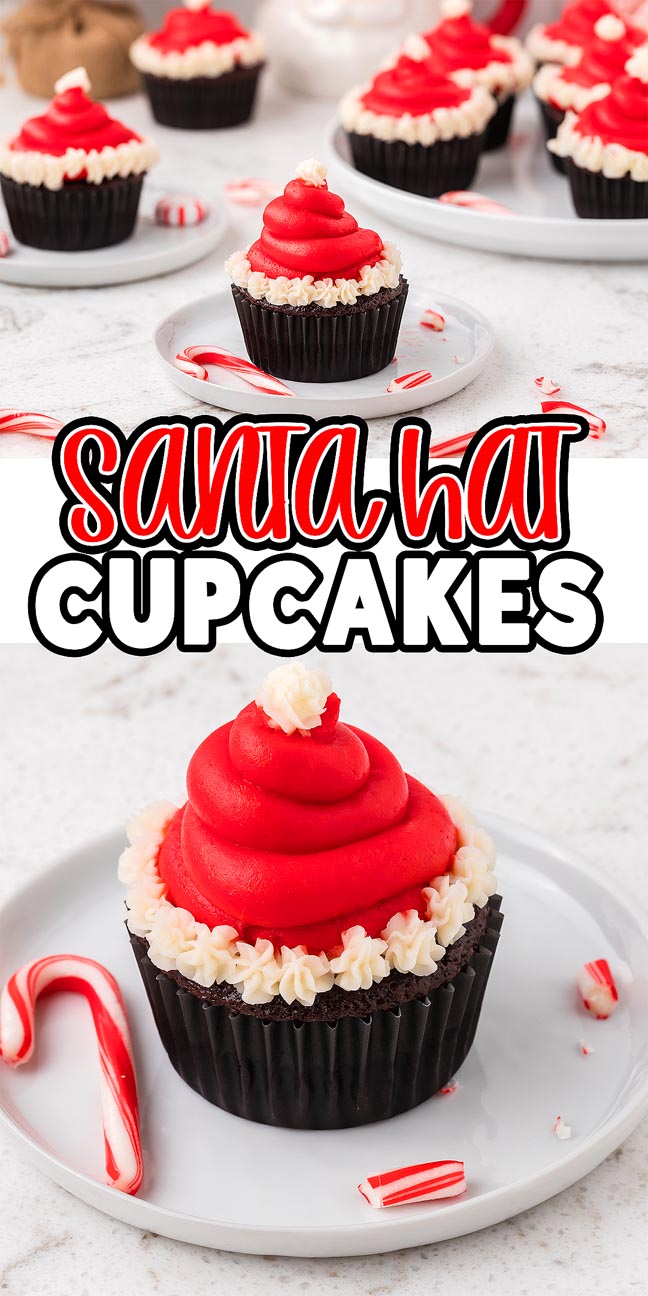
Chocolate cupcakes meet creamy buttercream in these cute Santa hat cupcakes that taste as good as they look. The rich, tender cupcakes stay moist for days, while the buttercream swirls into bright red hats with snowy white trim. They’re perfect for Christmas baking fun. With the right food coloring tips, you’ll get that deep red frosting without turning it pink. This recipe uses pantry staples, simple techniques, and a bit of patience for impressive bakery-style results every time.
Why You’ll Love It

Santa hat cupcakes pair chocolatey flavor and creamy buttercream in an adorable, festive Christmas treat. They’re rich, fluffy and fun to make.
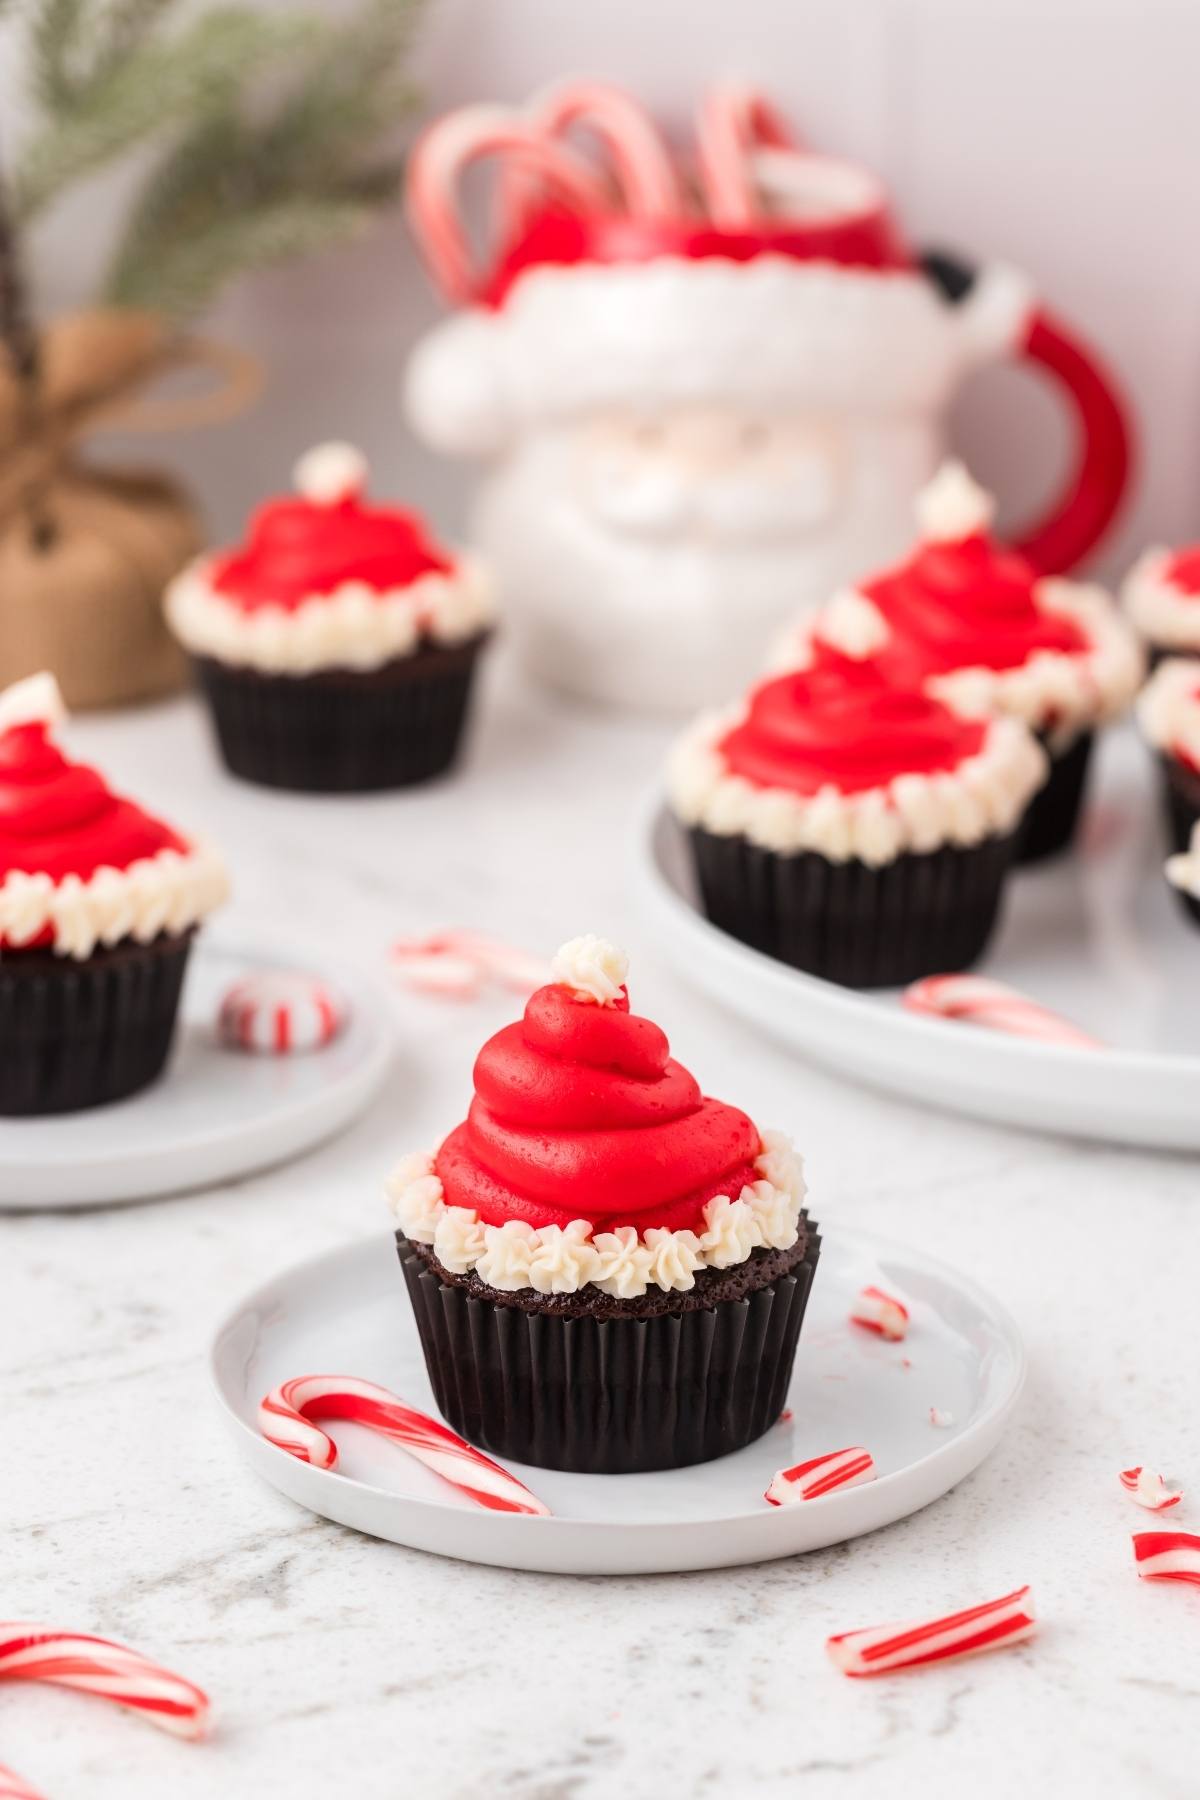
Festive look: These cupcakes double as holiday decor before you eat them.
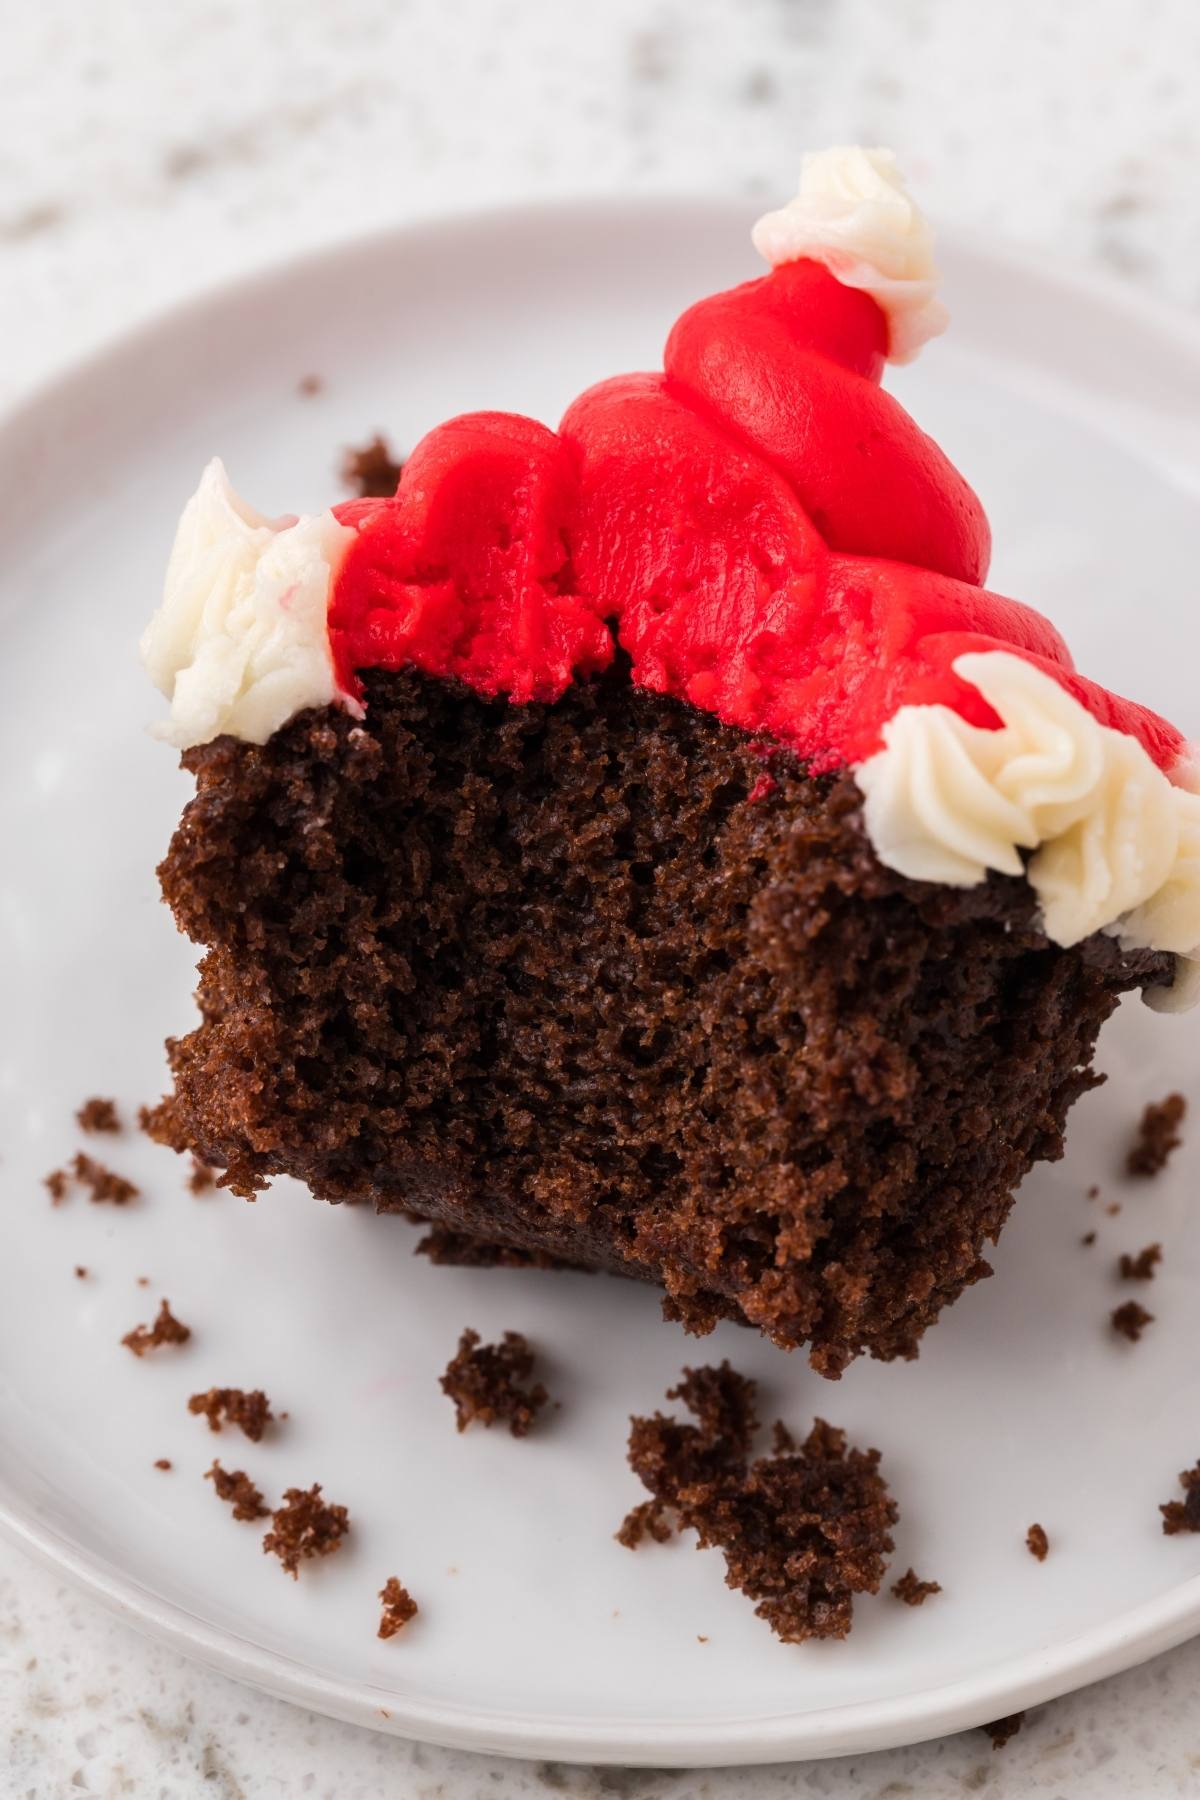
Moist texture: The buttermilk and oil keep the crumb soft for days.
Rich chocolate flavor: Coffee blooms the cocoa for an intense taste.
Customizable colors: Play with frosting shades for any holiday theme.

You might also like Christmas bugles, hummingbird cupcakes, tiramisu cupcakes, hot chocolate cupcakes, and white chocolate cranberry cupcakes.
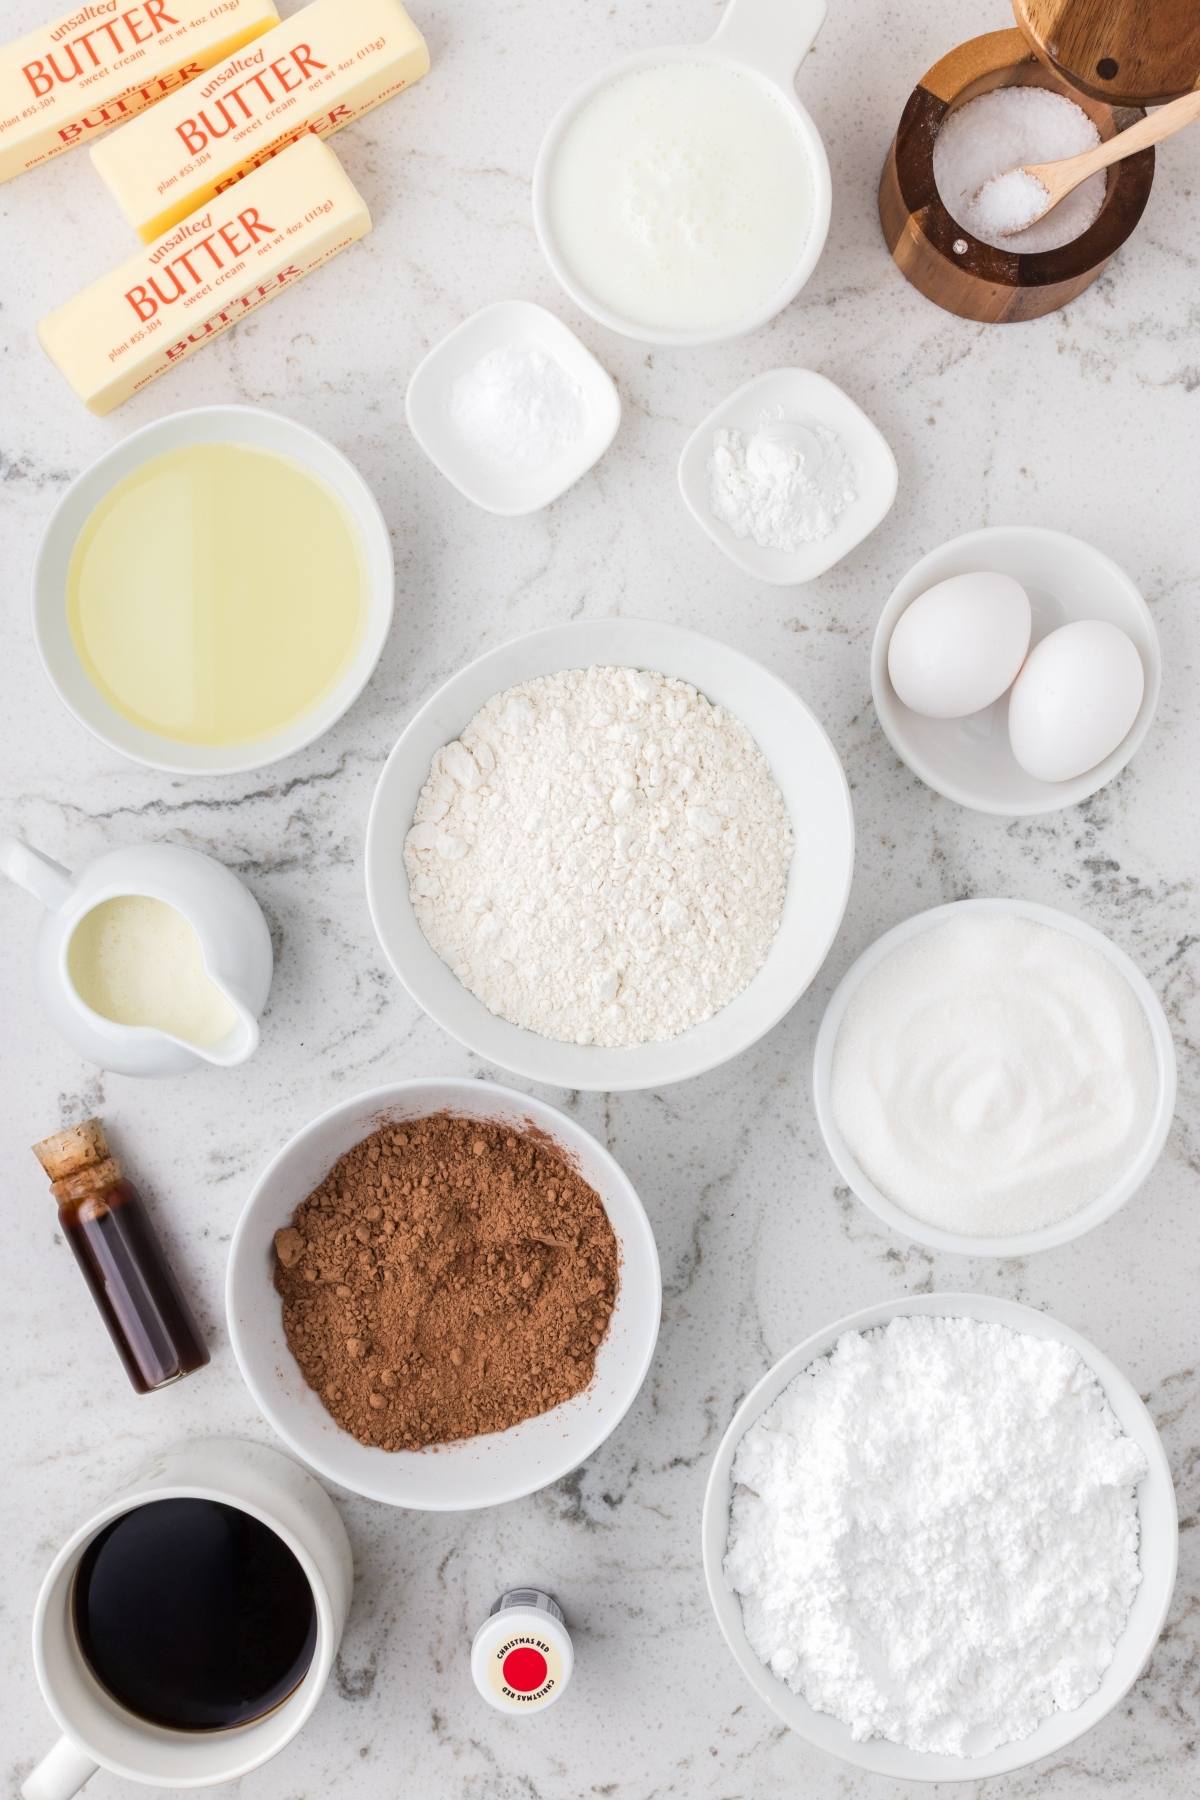
Simple Santa Hat Cupcakes Ingredients
A complete list of ingredients and amounts can be found in the recipe card below.
All-purpose flour: Provides structure for light, tender cupcakes.
Unsweetened cocoa powder: Gives deep, rich chocolate flavor.
Granulated sugar: Adds sweetness and helps hold moisture.
Baking powder and baking soda: Ensure a perfect rise and fluffy crumb.
Kosher salt: Balances the sweetness and enhances flavors.
Vegetable oil: Keeps the cupcakes moist longer than butter alone.
Eggs: Bind the ingredients and add richness.
Vanilla extract: Brings warm flavor depth to both cake and frosting.
Buttermilk: Adds tang and tenderness to the cupcakes.
Brewed coffee: Blooms the cocoa for more intense chocolate flavor.
Unsalted butter: Base of the frosting for creamy texture.
Powdered sugar: Also known as icing sugar or confectioner’s sugar, this sweetens and thickens the frosting.
Heavy cream: Loosens the frosting for smooth piping.
Red gel food coloring: Gives the frosting a vibrant red shade. (I used Wilton Christmas red).
How to Make Santa Hat Cupcakes
For more detailed instructions with weights and measurements, jump to the printable recipe card.
Mix dry ingredients: Whisk flour, cocoa, sugar, baking powder, baking soda, and salt in a large bowl.
Combine wet ingredients: Whisk oil, eggs, vanilla, and buttermilk until smooth.
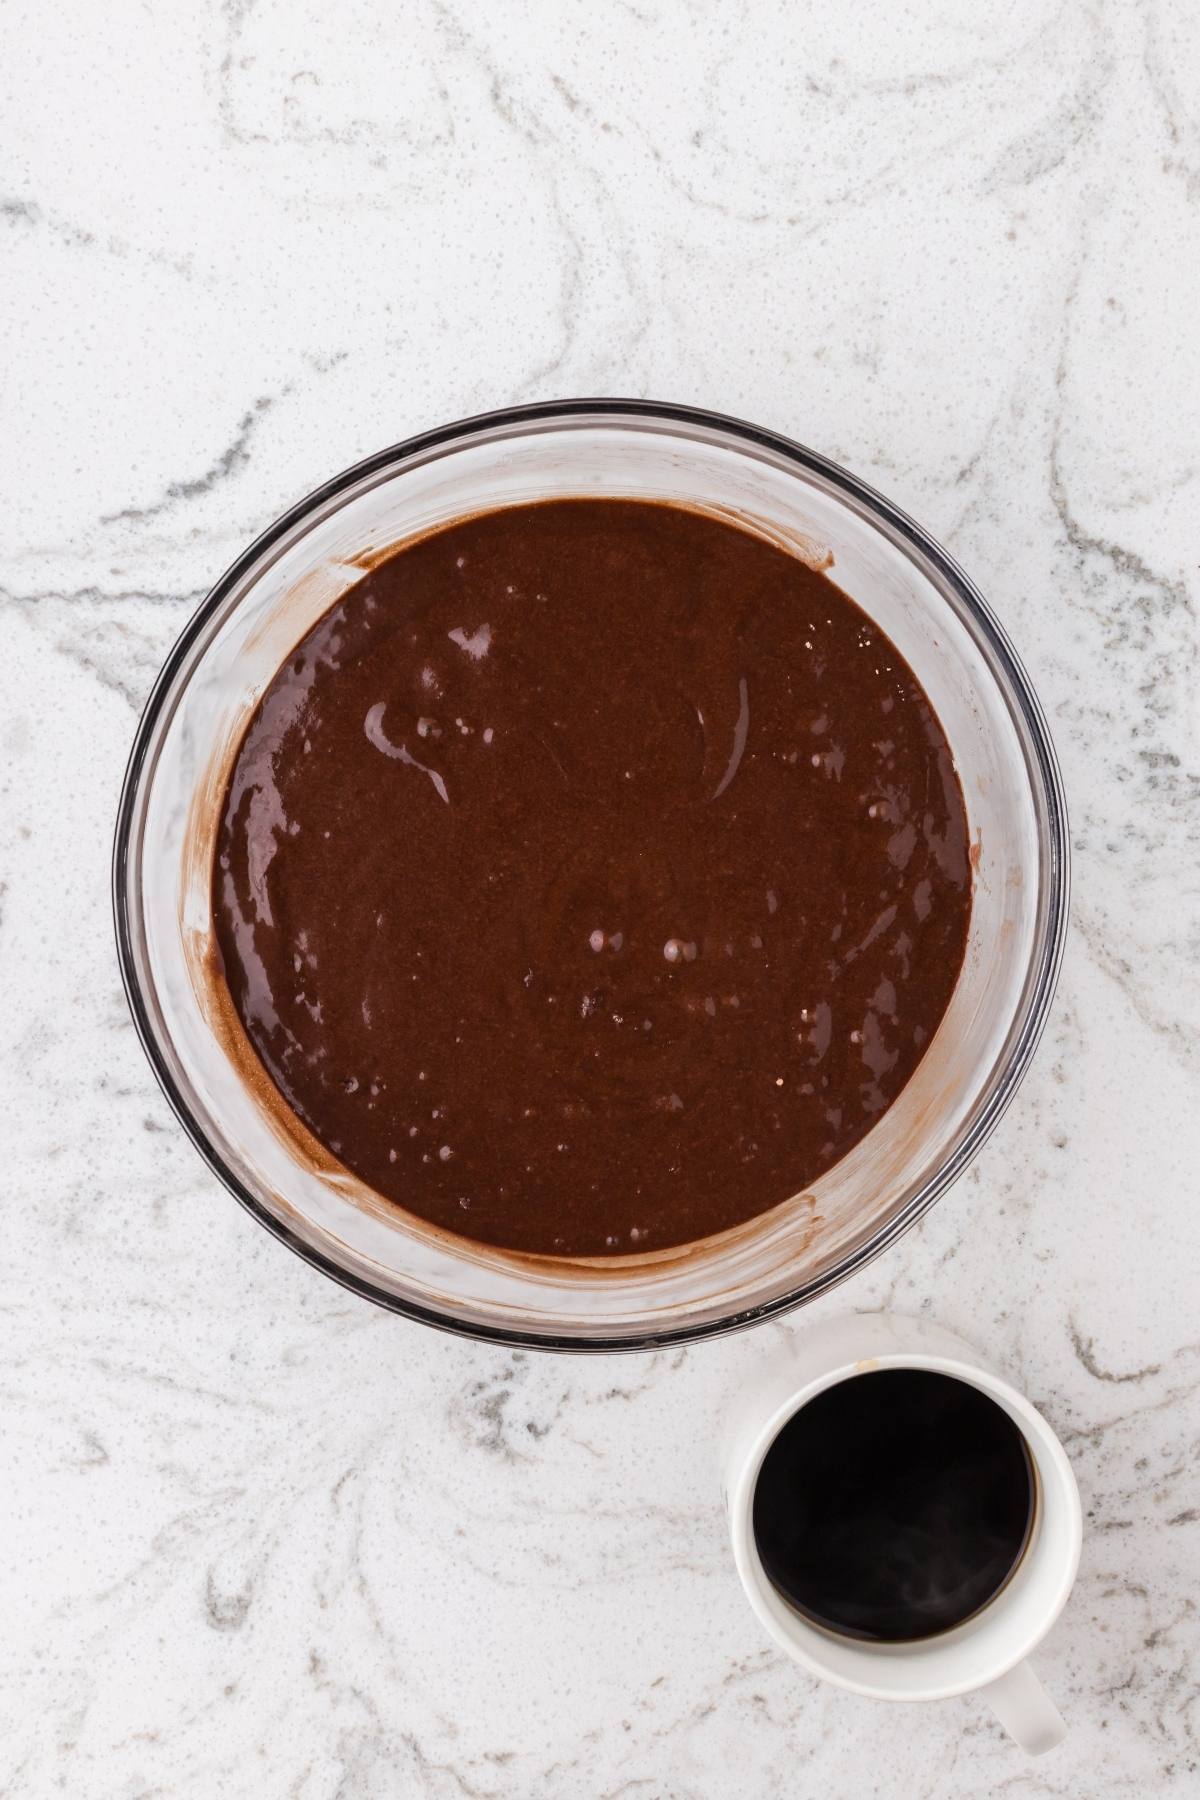
Make the batter: Stir wet mixture into dry ingredients, then mix in hot coffee until thin and smooth.
Fill liners: Pour batter into cupcake liners, about two thirds full, in a muffin pan.
Bake: Start at 400°F for taller domes, then lower to 350°F, or bake fully at 350°F for flatter tops. They’re done when a toothpick inserted into a cake comes out clean.
Cool: Let cupcakes cool completely on a wire rack before frosting.
Make vanilla frosting: Beat butter, powdered sugar, cream, vanilla, and salt until fluffy, adding more cream or sugar if needed, to achieve your desired consistency.
Color and pipe: Tint most frosting red, leave the rest white, then use your preferred large piping tip to pipe hats and small star piping tip for trim and pom-poms on the cooled cupcakes.

Substitutions and Variations
Gluten-free: Use a 1:1 gluten-free flour blend in place of all-purpose flour.
Dairy-free: Swap buttermilk for almond or oat milk with a splash of lemon juice.
Flavor twist: Add peppermint extract to the frosting for a holiday surprise.
Color changes: Try green hats for an elf look or blue for winter themes.

Serving Suggestions
With other cupcakes: Pair these Christmas cupcakes with Christmas tree cupcakes, reindeer cupcakes and these adorable Santa cupcakes.
With a festive tipple: A glass of cranberry margarita or chocolate cake martini would pair well with these cupcakes this Christmas season.
How to Store
Store: Keep cupcake Santa hats in an airtight container at room temperature up to 2 days or refrigerate up to 5 days.
Freeze: Freeze unfrosted cupcakes up to 2 months.
Thaw: Bring frozen cupcakes to room temperature before frosting.
Top Tips
Use gel colors: They’re stronger than liquid and won’t thin the frosting.
Perfect frosting: Red frosting can be tricky. Use plenty of Wilton Christmas Red gel and let the buttercream rest 1 or 2 days in the fridge so the color deepens. If it looks too pink, wait before adding more. Bring it to room temperature, then whip briefly to restore texture before piping. For bright white frosting, stir in a tiny touch of purple gel to cancel yellow tones, but go lightly or it might turn lavender!
Don’t overmix: Mix batter only until combined to avoid tough cupcakes.
Cupcake liners: You can use plain or Christmas themed cupcake liners.
Cool completely: Frosting melts on warm cupcakes, so patience pays off.

Easy Santa Hat Cupcakes FAQs
Yes, bake and freeze unfrosted cupcakes, then thaw and frost before serving.
No, hot water works, but coffee deepens the chocolate flavor.
Use a piping bag fitting with a large round tip for red frosting and a small star tip for the white trim.
Add heavy cream a little at a time until it reaches a smooth consistency.

Santa Hat Cupcake Recipe
Santa Hat Cupcakes
Equipment
- 2 Muffin Pans 12-Count
- Stand Mixer or Electric Mixer
- Pastry Bag with Large Round 2A Tip and Small Star #16 Tip
Ingredients
For the Chocolate Cupcakes
- 1 ¾ Cups all-purpose flour
- ¾ Cup unsweetened cocoa powder
- 2 ¼ Cups granulated sugar
- 2 Teaspoons baking powder
- ½ Teaspoon baking soda
- 1 Teaspoon kosher salt
- ½ Cup vegetable oil
- 2 eggs, large, at room temperature
- 2 Teaspoons vanilla extract
- 1 Cup buttermilk, at room temperature
- 1 Cup brewed coffee, hot, or hot water
For the Buttercream Frosting
- 3 Sticks unsalted butter, 1 ½ Cups, at room temperature
- 6 Cups powdered sugar
- 6 Tablespoons heavy cream, plus more if needed
- 1 Tablespoon vanilla extract
- 1 Pinch kosher salt
- red gel food coloring
Instructions
- Preheat your oven to 350°F, or 400°F if you want cupcakes with a higher dome. With the 400°F option, you will reduce the oven temperature to 350°F after the first 7 to 9 minutes of baking.
- Line a pair of 12-count muffin pans with cupcake liners.
Prepare the Cupcake Batter
- In a large mixing bowl, whisk together the all-purpose flour, cocoa powder, sugar, baking powder, baking soda, and salt until the dry ingredients are well combined.
- In another mixing bowl, whisk together the vegetable oil, eggs and vanilla extract until smooth.
- Then add the buttermilk and mix again until combined.
- Pour the wet mixture into the bowl containing the dry ingredients.
- Using a hand or stand mixer on low speed, mix just until combined.
- Slowly pour in the hot coffee while mixing on low until the batter is smooth. Scrape down the sides and bottom of the mixing bowl to ensure you have combined all of the ingredients. The batter will be thin.
- Fill each cupcake liner about ⅔ full. You may have extra batter. Either discard it or make a few extra cupcakes.
Bake the Cupcakes
- For cupcakes with a taller dome, bake at 400°F for 7 to 9 minutes, then reduce the oven temperature to 350°F for the remaining time without opening the oven door. If you prefer to bake at 350°F the whole time, that works too, but the tops will be flatter.
- Bake until a toothpick inserted in the center comes out clean or with a few moist crumbs, 15 to 20 minutes total.
- Remove from the oven and let cupcakes cool in the pan for 5 minutes, then transfer them to a wire rack to cool completely before frosting.
Prepare the Frosting
- Beat the unsalted butter on medium-high speed until creamy, about 2 minutes. Reduce the speed to low and slowly add powdered sugar, heavy cream, vanilla extract, and a pinch of kosher salt.
- Beat on high for 3 to 4 minutes until light and fluffy.
- If the frosting is too thick, add more heavy cream a tablespoon at a time until it reaches a smooth, pipeable consistency. If it’s too thin, add more powdered sugar, a few tablespoons at a time, until it holds its shape.
- Once your buttercream is ready, scoop out about ¾ of it for the red frosting and leave about ¼ for the white. You can weigh it on a kitchen scale if you want to be exact, but just eyeballing the amounts works fine too.
- To tint the larger portion, add red gel coloring in small amounts, mixing thoroughly each time. Red takes a generous amount, so continue building the color until you reach a deep, vibrant shade, then cover and let it rest so the color can deepen.
- Leave the smaller portion plain for the trim and pom poms, or you can brighten it with the tip of a toothpick dipped in purple gel food color to cancel out any yellow tones.
Frost the Cupcakes
- Fit a large piping bag with a round tip and fill it with the red frosting.
- Pipe a tall swirl in the shape of a Santa hat on each cupcake.
- Use another piping bag fitted with a small star tip for the white frosting and pipe a border around the base of the red hat.
- Add a small dollop on top for the pom-pom.
Notes
Perfect frosting: Red frosting can be tricky. Use plenty of Wilton Christmas Red gel and let the buttercream rest 1 or 2 days in the fridge so the color deepens. If it looks too pink, wait before adding more. Bring it to room temperature, then whip briefly to restore texture before piping. For bright white frosting, stir in a tiny touch of purple gel to cancel yellow tones, but go lightly or it might turn lavender!
Don’t overmix: Mix batter only until combined to avoid tough cupcakes.
Cupcake liners: You can use plain or Christmas themed cupcake liners.
Cool completely: Frosting melts on warm cupcakes, so patience pays off.
Nutrition


Making super cute Santa hat cupcakes is easier than it looks and the results are worth it. From the rich chocolate base to the vibrant frosting swirls, they bring holiday cheer to any table. Customize colors, bake ahead if needed and enjoy a treat that tastes as amazing as it looks. These cupcakes are perfect for your next holiday party or if you want to do a little holiday baking with family on a winter afternoon.
Other Recipes to Try

Bella Bucchiotti
Bella Bucchiotti is a Canadian-based syndicated food, travel, and lifestyle writer, photographer, and creator at xoxoBella. She founded xoxoBella in 2015, where she shares her love for food, dogs, sustainability, fitness, crafts, outdoor adventures, travel, and philanthropy to encourage others to run the extra mile, try new recipes, visit unfamiliar places, and stand for a cause. Bella creates stress-free and family-friendly recipes for weeknight dinners and festive feasts.