This post may contain affiliate links, please see the privacy policy for details.
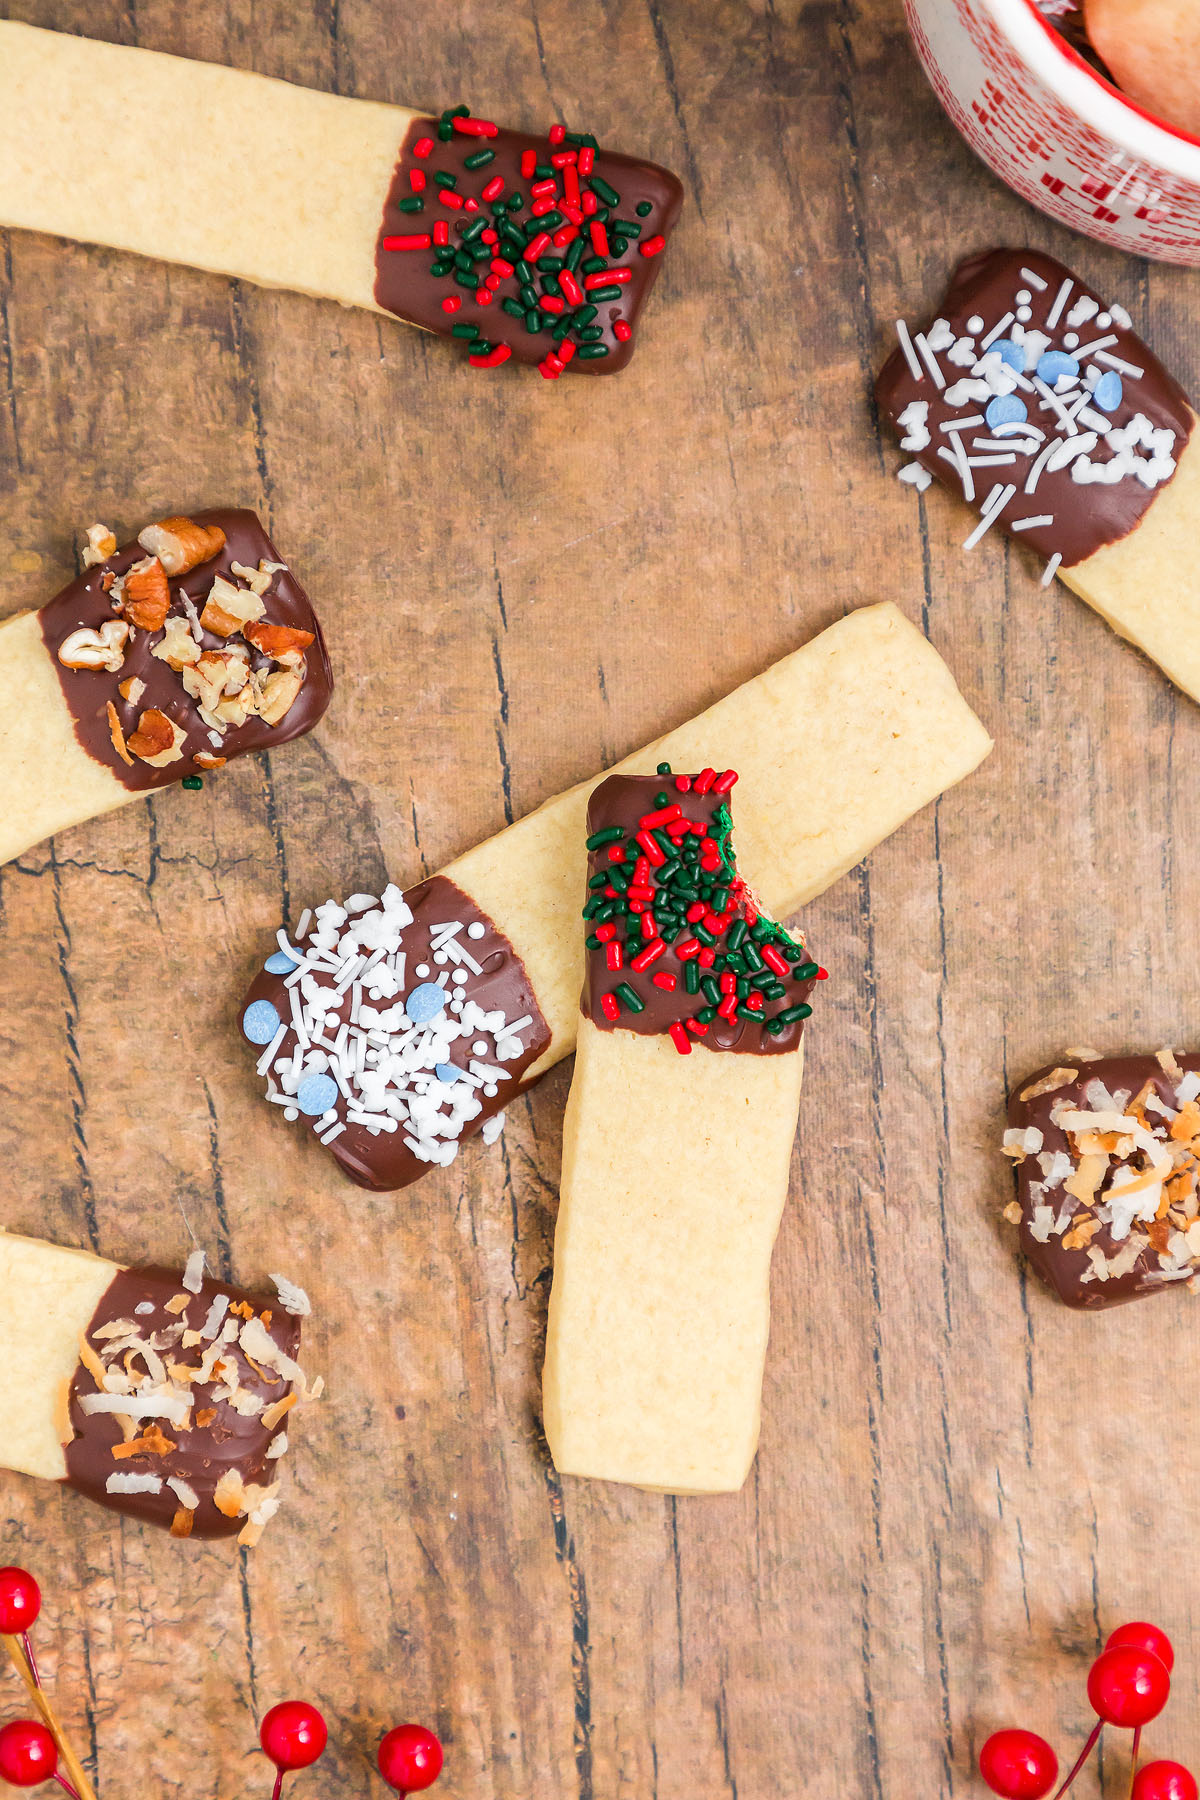
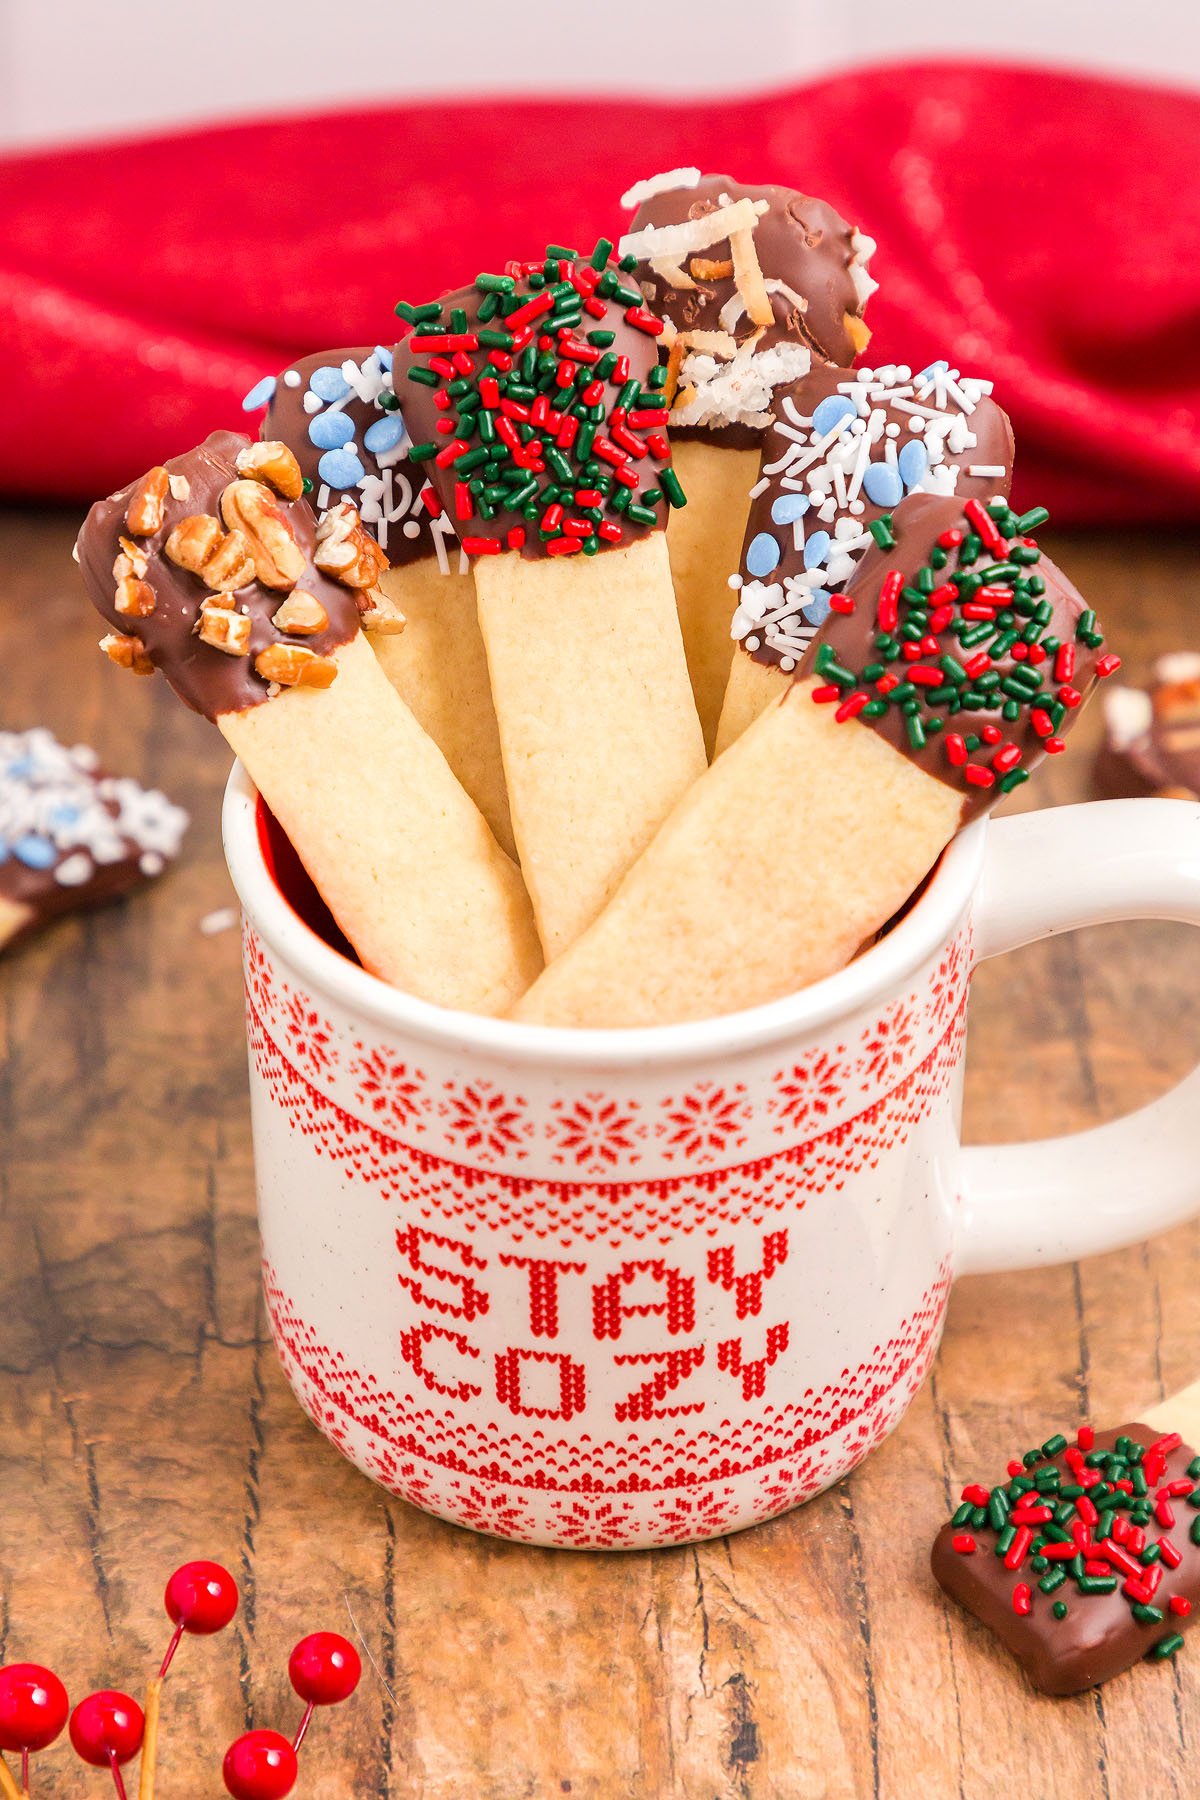
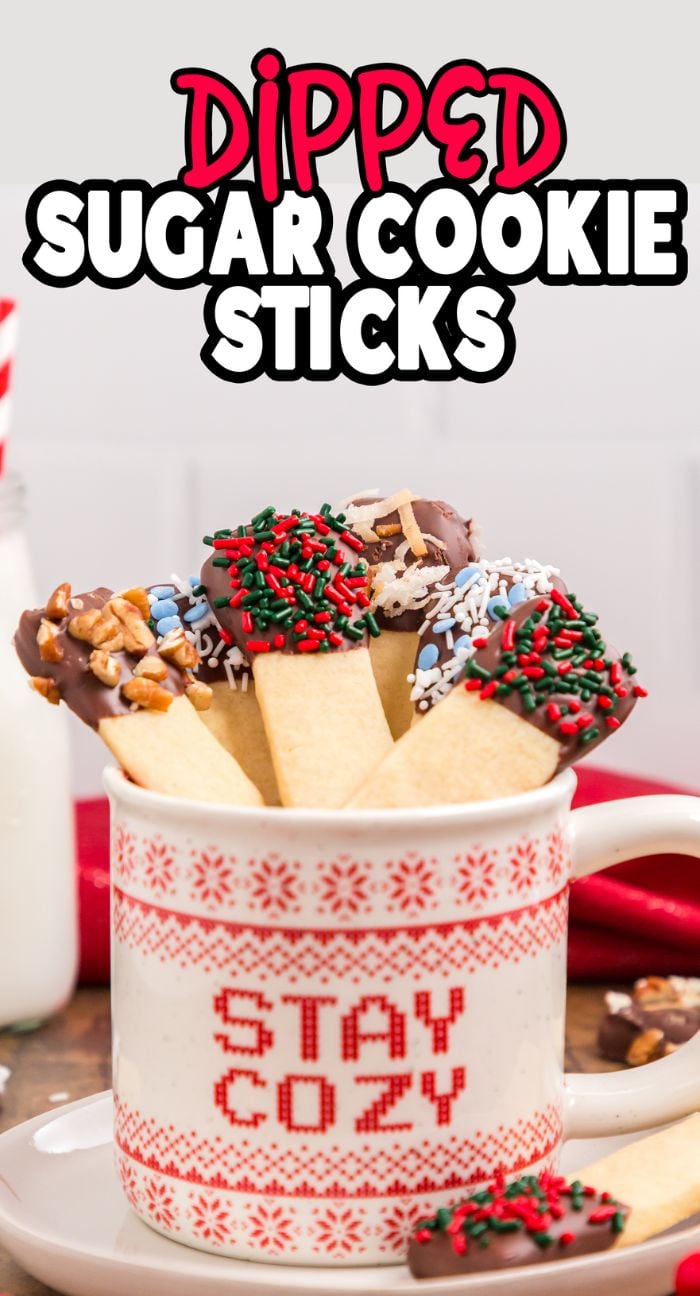
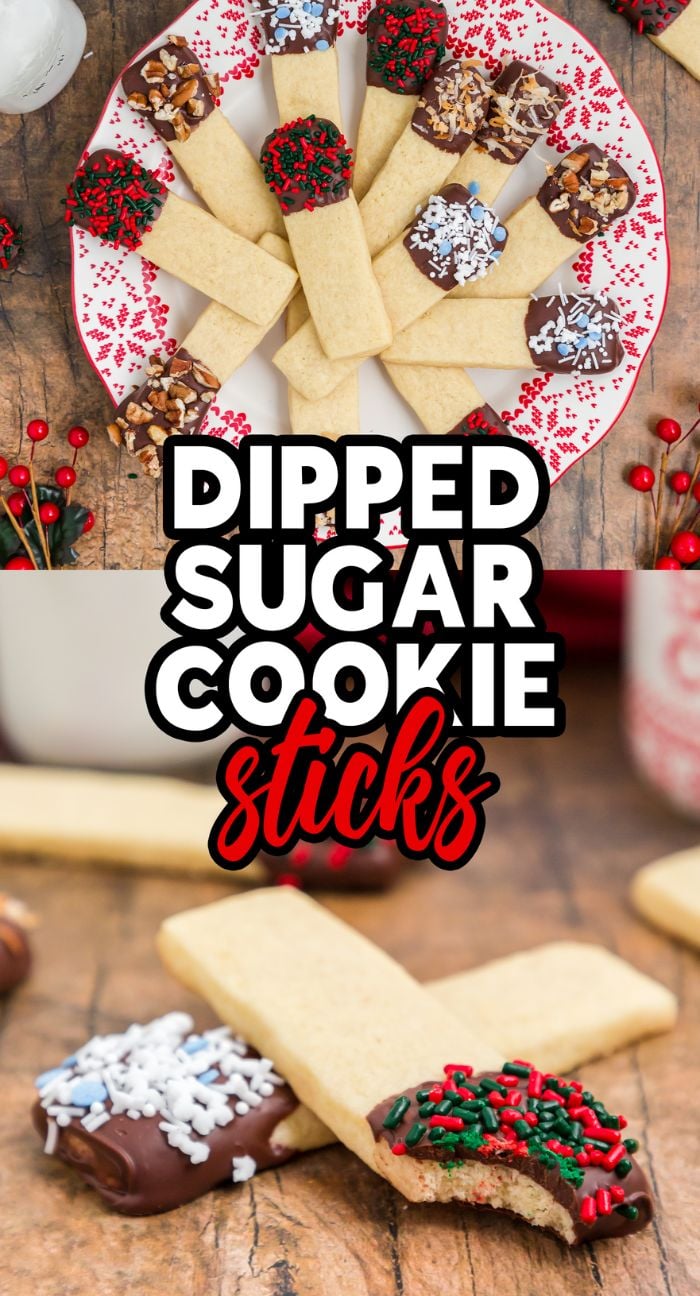
These dipped sugar cookie sticks are a fun and festive treat that combine buttery homemade sugar cookies with a rich chocolate dip and colorful toppings. They are perfect for holidays, parties or any time you want to brighten up a dessert table. With their crisp texture and customizable finish, these easy cookie sticks are ideal for gifting or snacking. You can make the dough ahead, chill it overnight and bake the next day. You’ll find kids and adults both enjoy decorating and eating them.
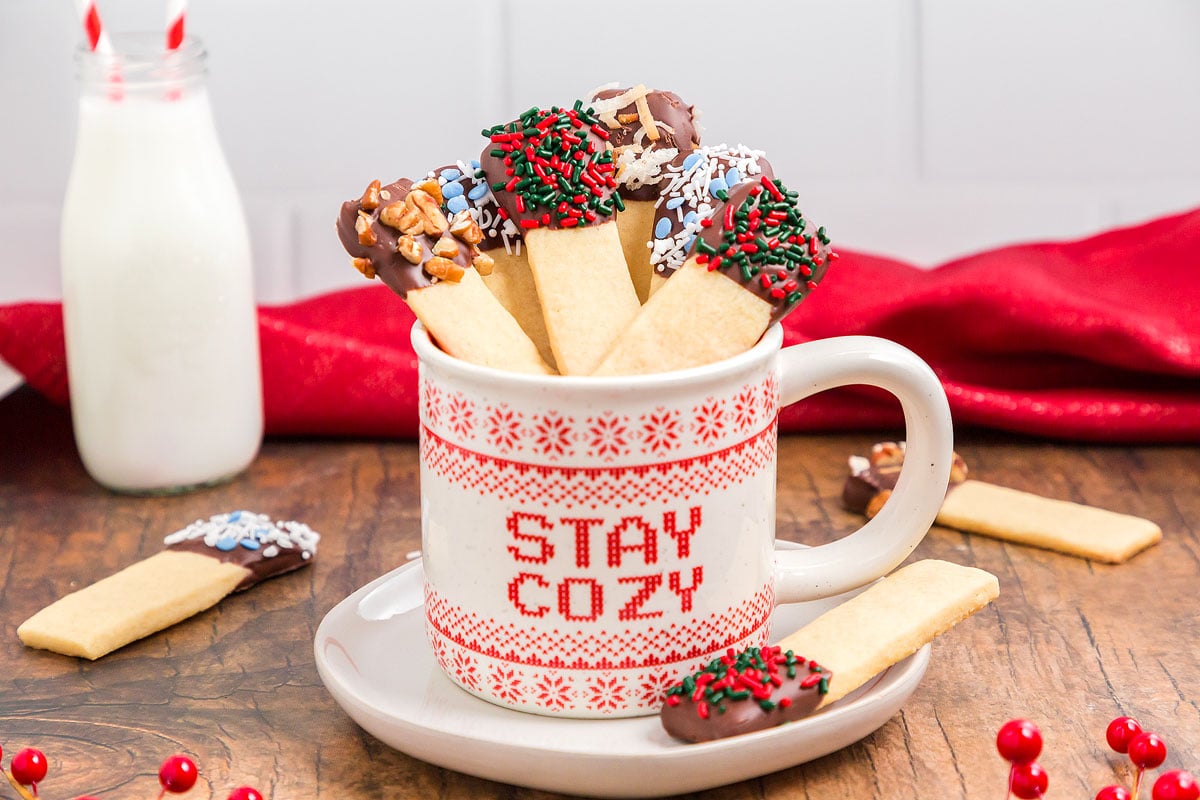
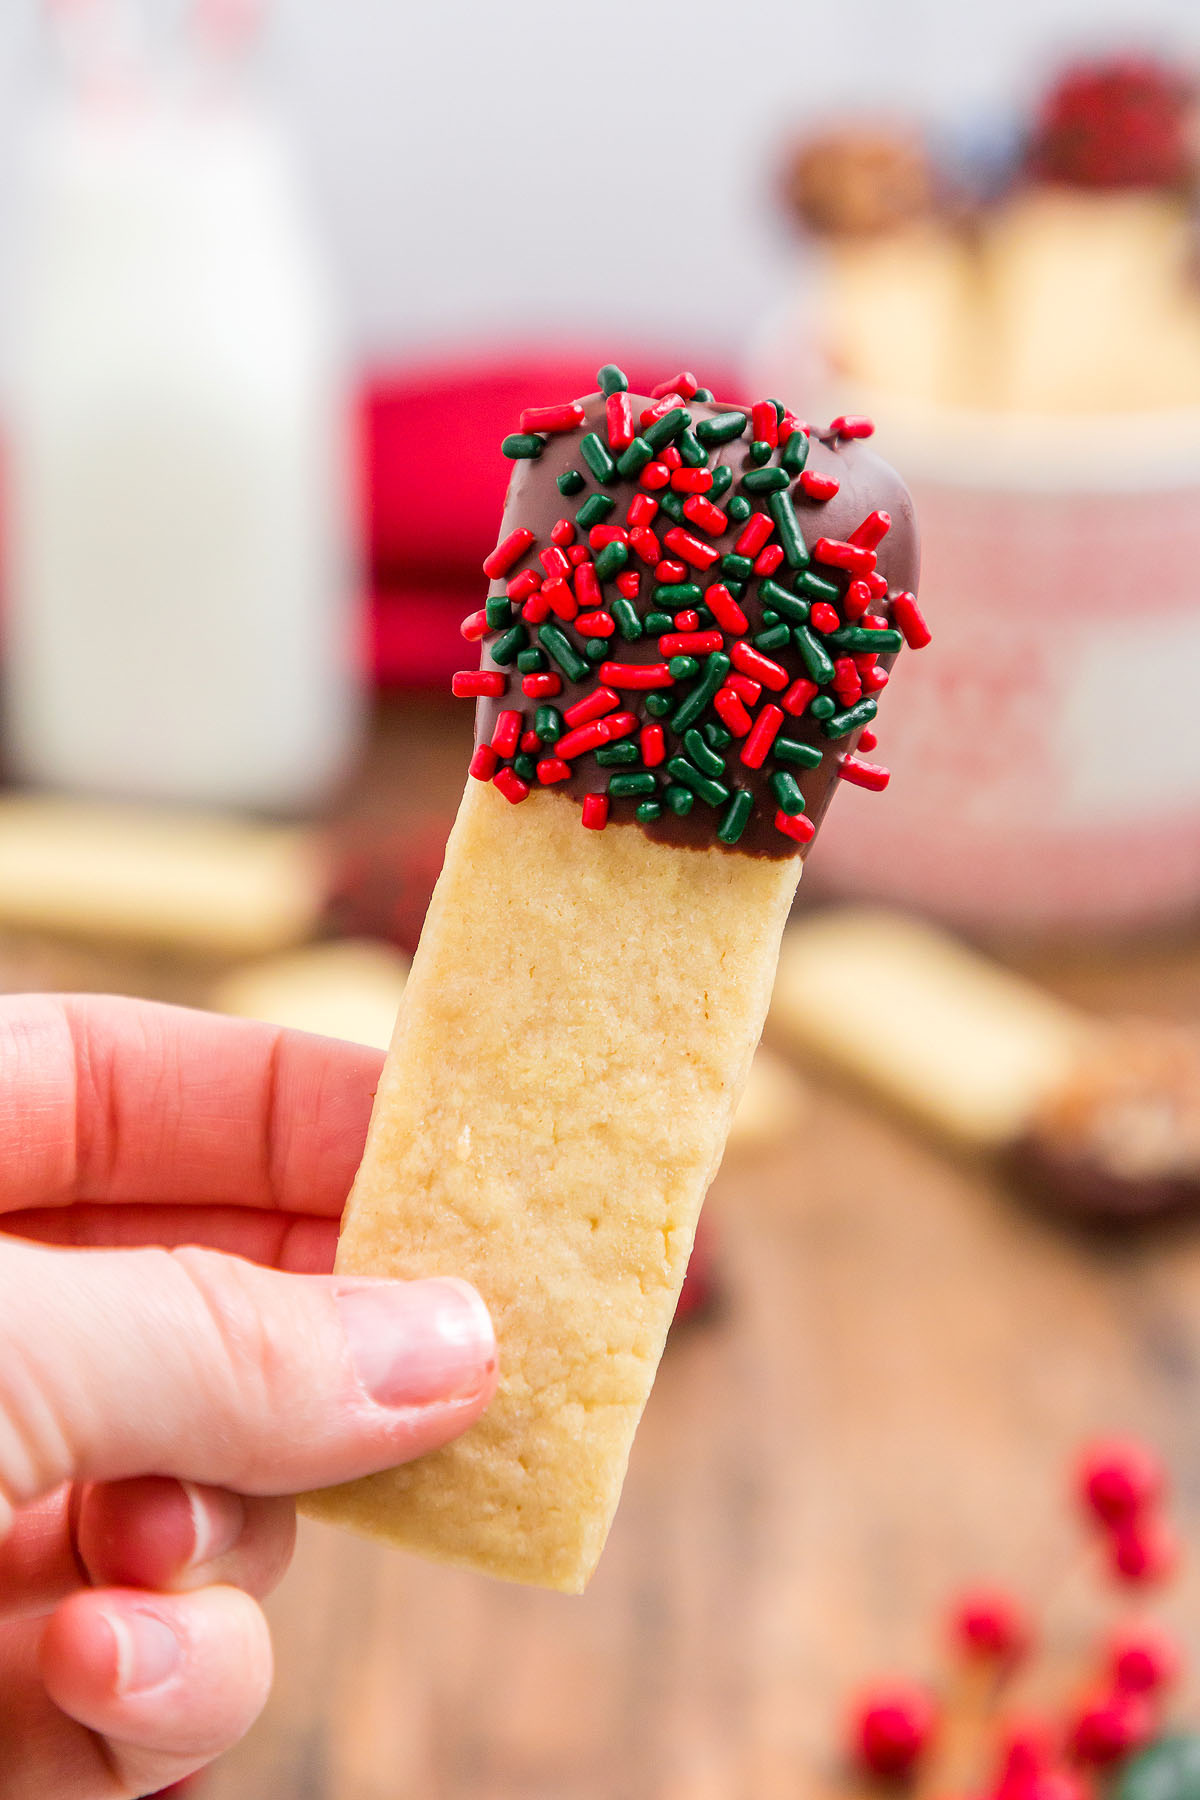
These dipped sugar cookie sticks are sweet, crisp, buttery and chocolate-dipped. They are a festive, make-ahead treat that’s super fun to bake and decorate.
You might also like chocolate almond horns, white chocolate ginger cookies, crinkle Grinch cookies and cranberry pistachio white chocolate bark.
Why You’ll Love It
Easy to customize: Choose any sprinkles, nuts or drizzles for decoration.
Great for gifting: They look pretty in treat bags or cookie boxes.
Make ahead friendly: The dough can chill overnight before baking.
Simple ingredients: You likely have everything on hand already.
Kid friendly: Fun for children to decorate and snack on.
Chocolate Dipped Cookie Sticks Ingredients
A complete list of ingredients and amounts can be found in the recipe card below.
All purpose flour: Forms the structure of the cookies.
Baking powder: Adds a light lift to the dough.
Unsalted butter: Gives the cookies a rich, buttery flavor.
Granulated sugar: Sweetens and helps with crispness.
Egg: Binds the dough and adds richness.
Vanilla extract: Adds warm, sweet flavor to the dough. Use real vanilla extract, not synthetic vanilla ‘essence’ – they’re a world apart in flavor.
Semisweet chocolate chips: Used for dipping the cooled cookie sticks.
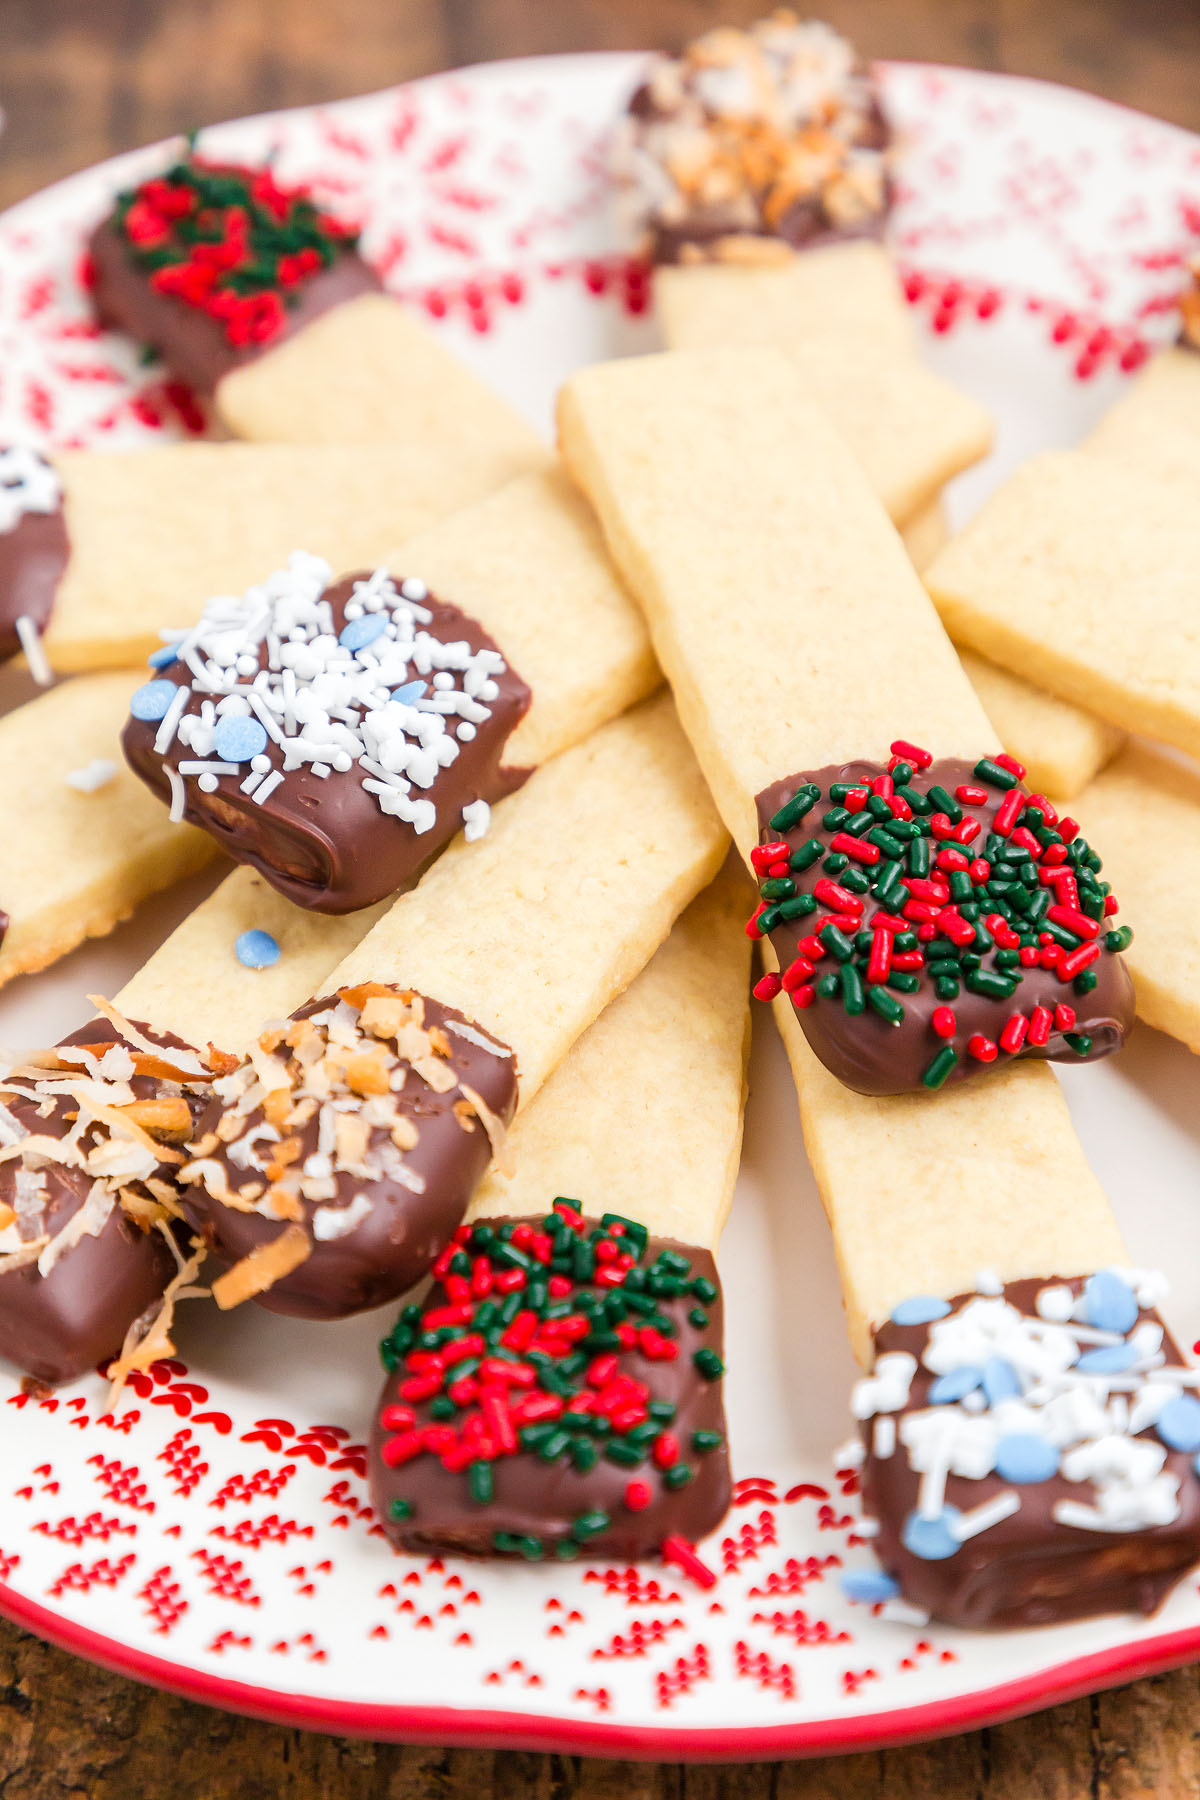
Toppings: Use sprinkles, toasted coconut flakes or chopped nuts for decoration.

How to Make Dipped Sugar Cookie Sticks
For more detailed instructions with weights and measurements, jump to the printable recipe card.
Make the dry mix: Whisk the flour, baking powder and salt.
Cream the butter and sugar: Beat until smooth and creamy.
Add egg and vanilla: Beat until fully combined.
Mix the dough: Add the dry ingredients to the wet and mix until a soft dough forms.
Roll out the dough: Divide and roll into ¼ inch thick rectangles.
Chill the dough: Stack, cover and refrigerate for at least 2 hours.
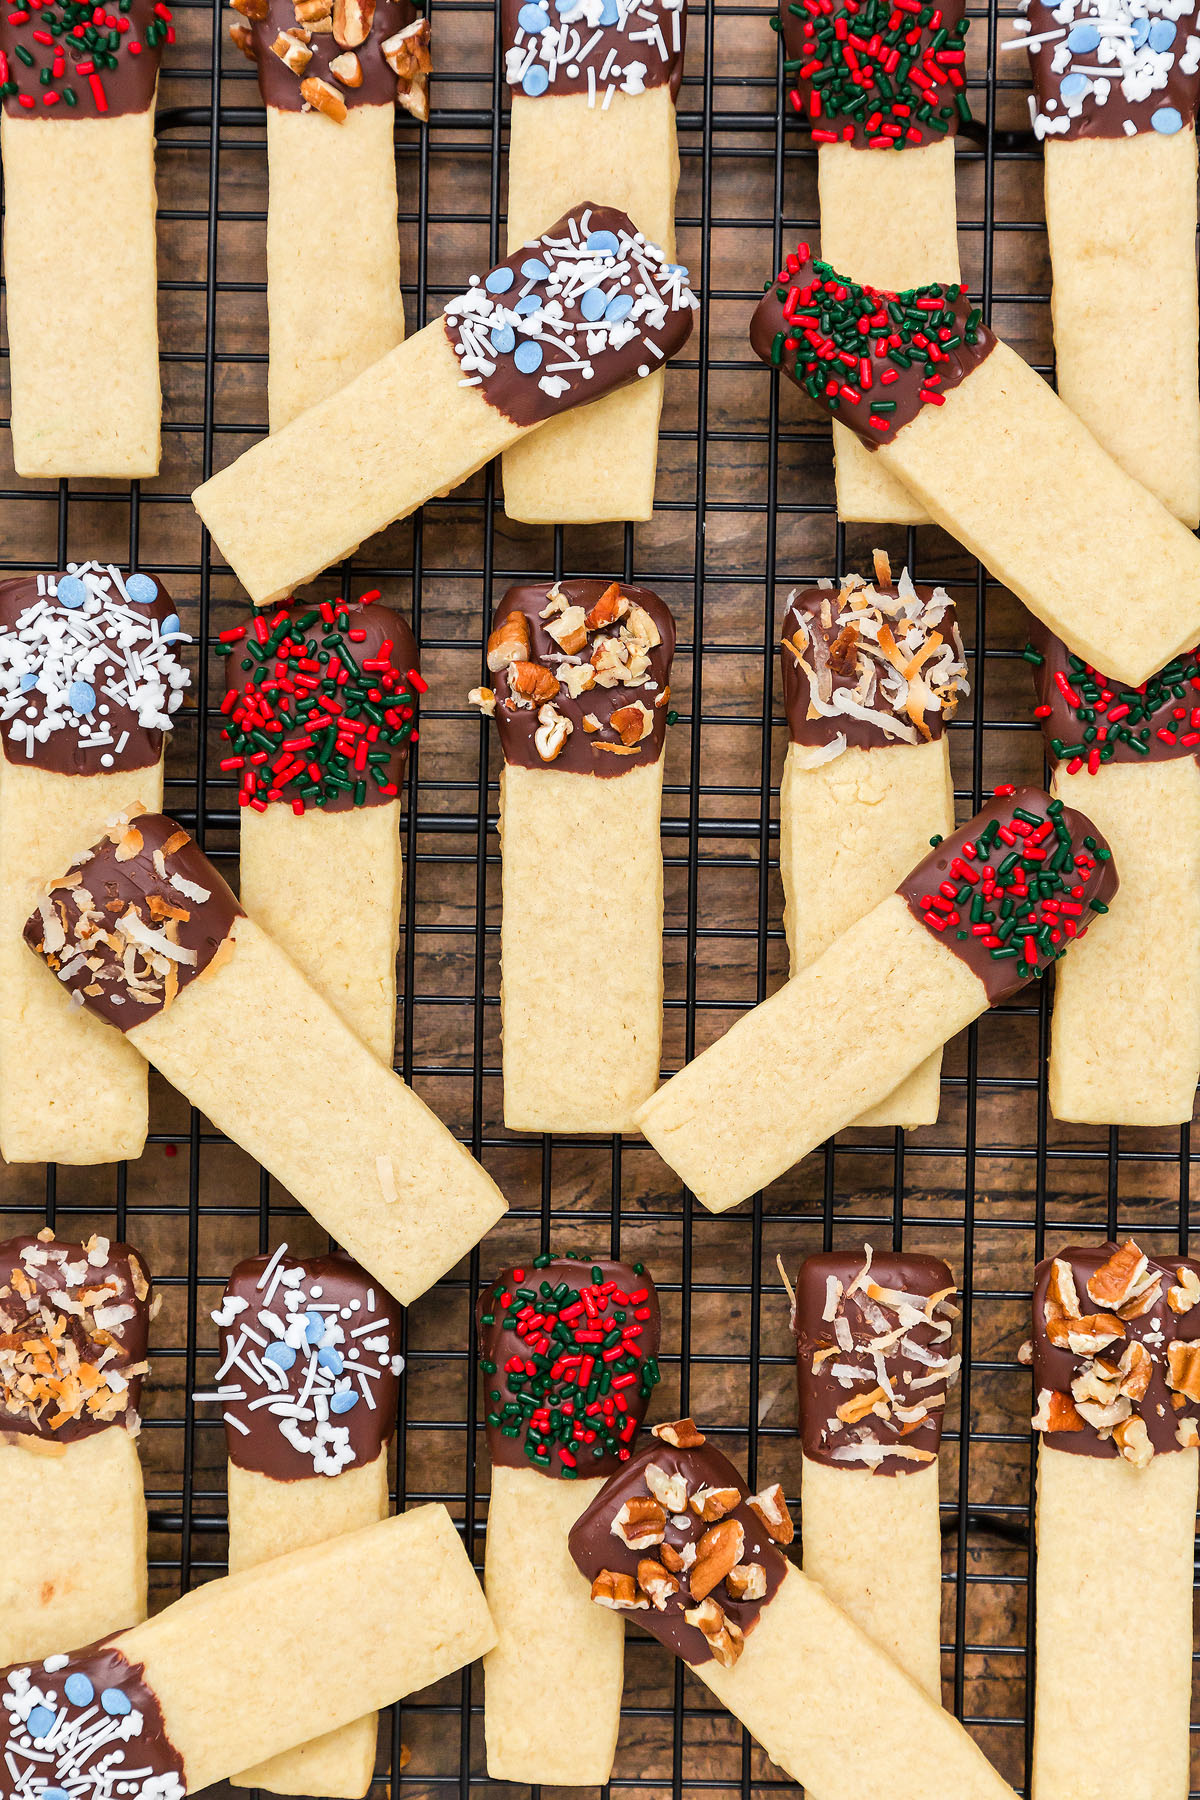
Cut into sticks: Slice into ½ inch x 4 inch strips.
Bake the cookies: Arrange on lined sheets and bake until golden.
Cool completely: Let them cool on racks before decorating.
Dip and decorate: Dip in melted chocolate and add toppings, then allow time to set.
Substitutions and Variations
Make it gluten free: Use a 1:1 gluten free flour blend in place of regular flour.
Change the chocolate: Use white or milk chocolate instead of semisweet.
Add spices: Cinnamon or nutmeg can be mixed into the dough for extra flavor.
Skip the toppings: Serve them plain or just dipped if preferred.
Different sprinkles: I like to use round sprinkles and long ones, and I chose to add red, white and green sprinkles to make them extra Christmassy. Feel free to get creative and use anything you prefer.
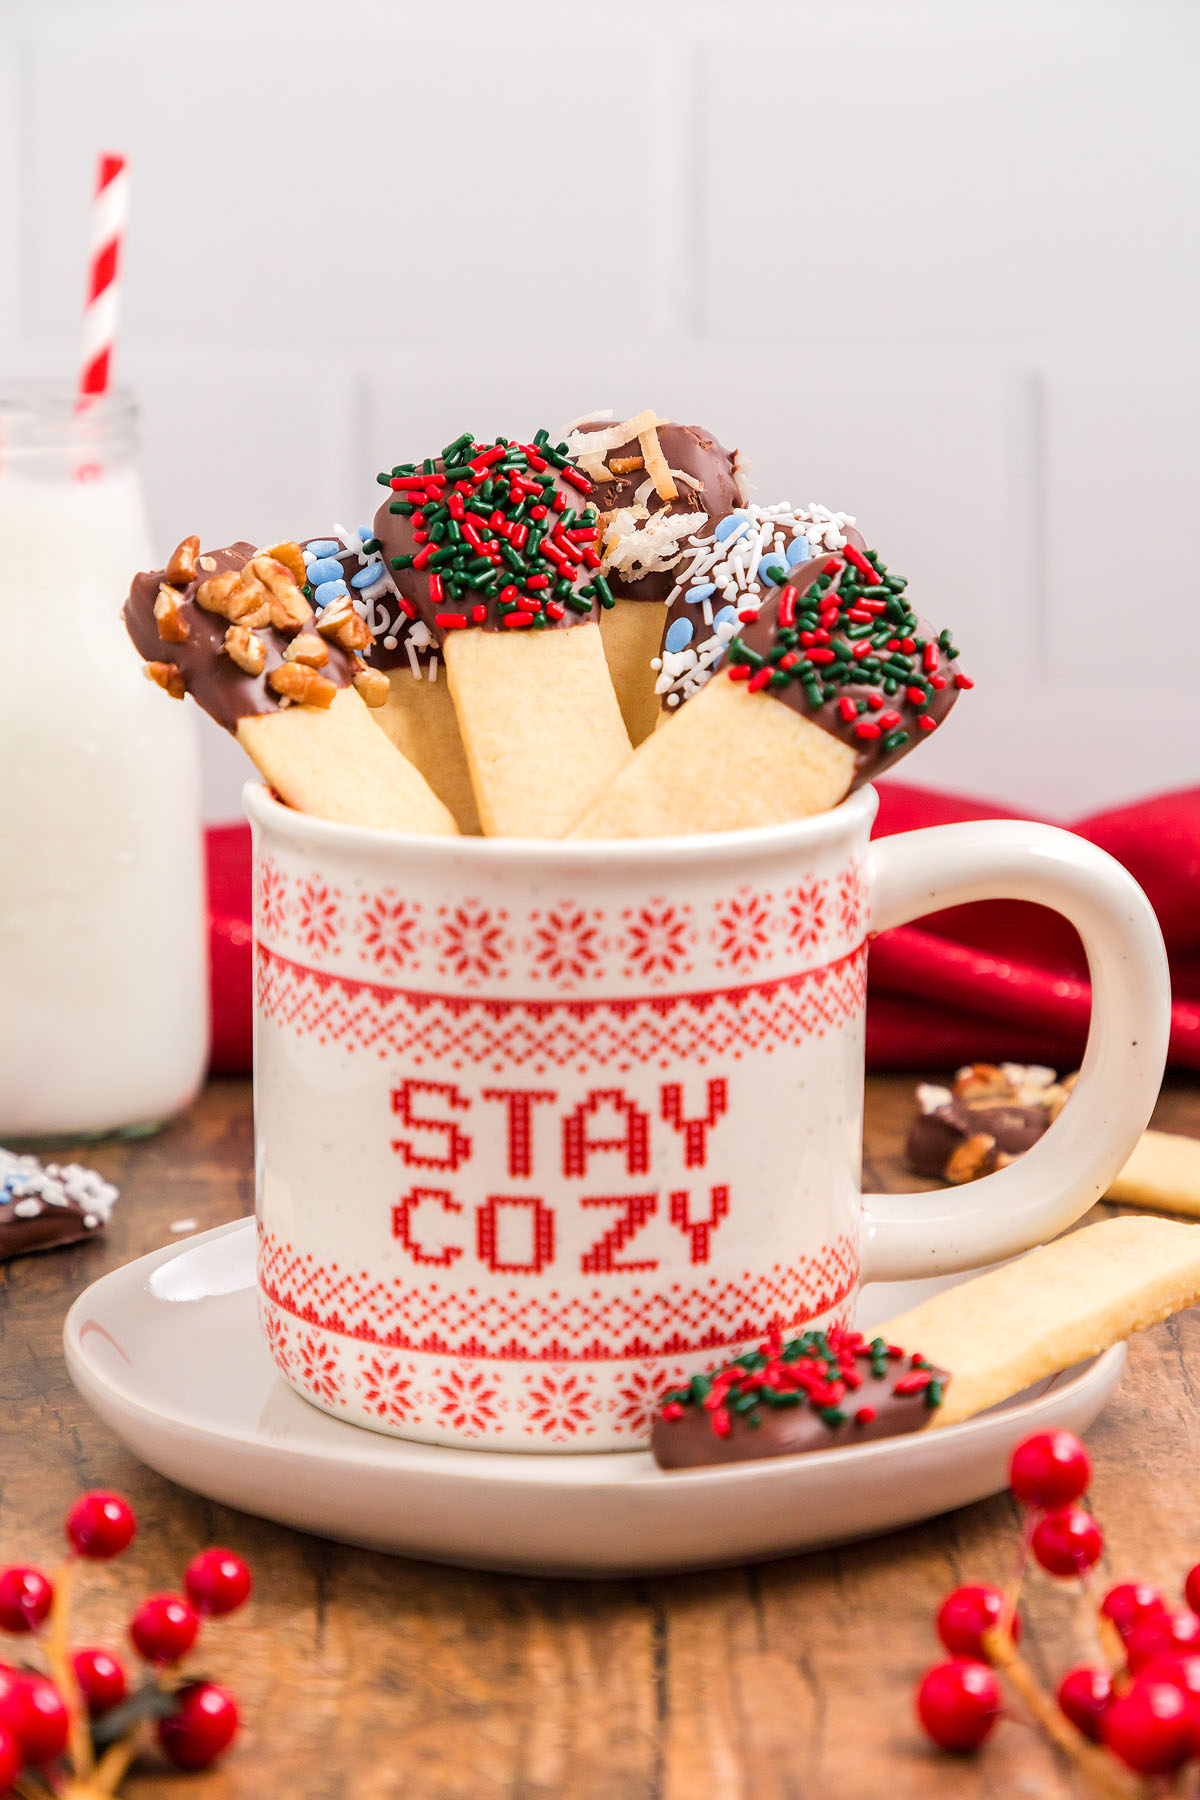
Serving Suggestions
With a hot drink: Treat yourself to a boozy salted peanut butter hot chocolate or cinnamon dolce coffee.
With savory bites: Pair them with contrasting snacks like a reindeer cheese ball with rosemary cheddar crackers or a Christmas tree charcuterie board.
With other sweet treats: Santa cupcakes and Christmas poke cake are just a couple of festive ideas.
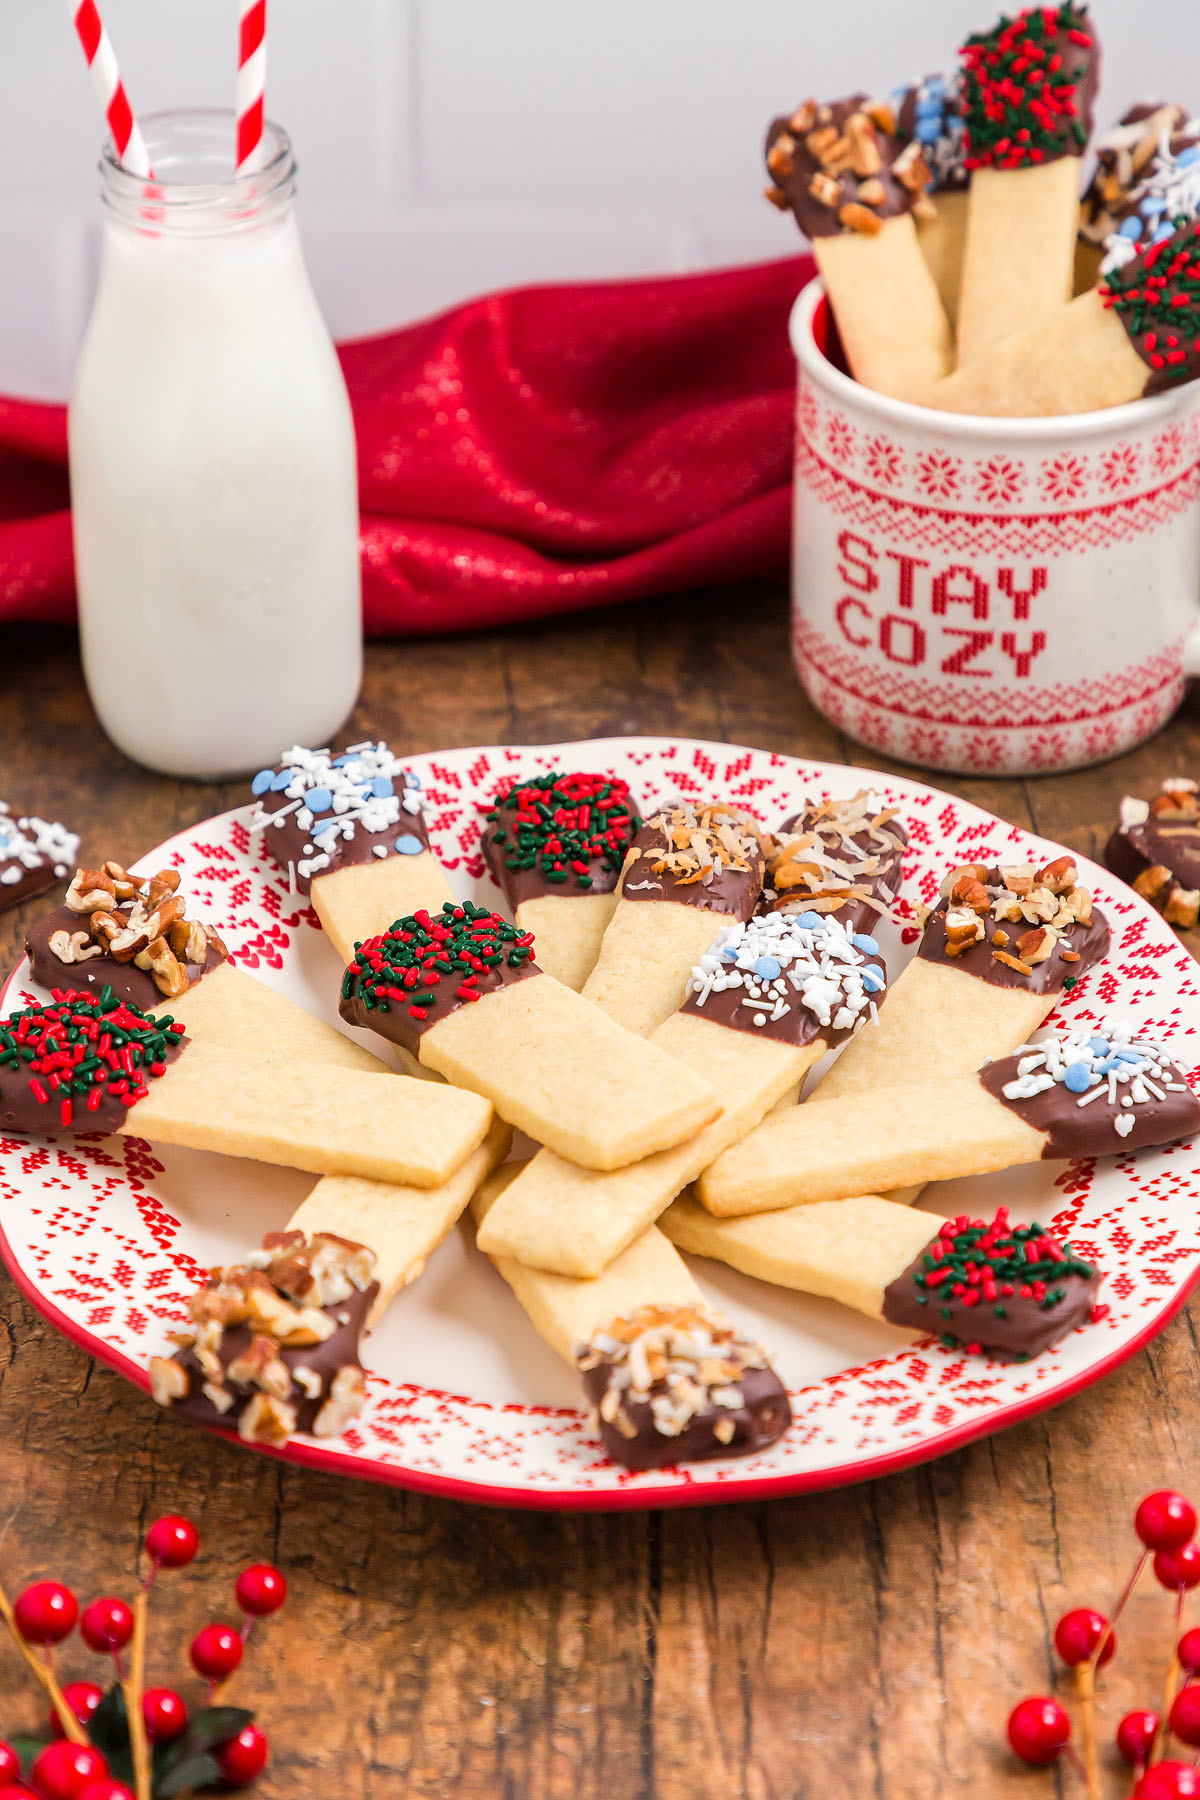
As a gift: They also make a great edible gift with festive packaging.
How to Store Dipped Sugar Cookie Sticks
Store: Keep them in an airtight container at room temperature for up to 5 days.
Freeze: You can freeze the finished cookies for up to 3 months. You could also freeze the baked and undipped cookie sticks for up to 2 months then thaw and finish.
Thaw: Defrost them at room temperature.
Top Tips
Use parchment paper: Make sure you’re using parchment paper on the baking sheets, so the Christmas cookie sticks don’t stick.
Slice evenly: Use a sharp knife or pizza cutter to slice the cookies into the stick shape. Make sure the cookie shape is made into equal sizes so they bake consistently.
Don’t skip the chilling time: Don’t omit the chilling in the refrigerator and later in the freezer. The chocolate dipped cookie sticks will only be cookie exchange worthy if they look good! Skip the chilling and they’ll spread out while baking in the oven and not look as neat.
Adding the decorations: Only add the melted chocolate to completely cooled cookies. Add the sprinkles while the melted chocolate is still wet so they stick.
Sugar Cookie Sticks FAQs
Yes, you can use melting wafers or candy melts. Just melt per the package instructions.
Sugar cookies date back to Persia in the 7th century when sugar was cultivated for the first time on a large scale. These days, sugar cookies are often found in bakeries during the festive season.
Yes, but the texture may be slightly different and softer.
Easy Dipped Sugar Cookie Sticks Recipe

Dipped Sugar Cookie Sticks
Equipment
- Electric Mixer or Stand Mixer with Paddle Attachment
- Silicone Mat
- Sharp Knife or Pizza Wheel
Ingredients
- 2 ¼ Cups all purpose flour
- ½ Teaspoon baking powder
- ¼ Teaspoon salt
- ¾ Cup unsalted butter, at room temperature
- ¾ Cup granulated sugar
- 1 egg
- 2 Teaspoons vanilla extract
- 1 Cup semisweet chocolate chips
Optional Decorations
- assorted sprinkles
- toasted coconut flakes
- chopped nuts
Instructions
- In a bowl, whisk the flour, baking powder, and salt together. Set aside.
- In another bowl using a hand mixer or a stand mixer fitted with a paddle attachment, beat the butter and sugar together on high speed until smooth and creamy.
- Add the egg, and vanilla and beat on high speed until combined.
- Add the dry ingredients to the wet ingredients and mix on low until combined. If the dough seems too soft for rolling, add a small amount of flour.
- Divide the dough into 2 parts. Place each part on a piece of floured parchment paper or a floured silicone mat. Flour your rolling pin and roll the dough out to a ¼ inch thick rectangle.
- Lightly dust one of the rolled dough pieces with flour. Place a piece of parchment on top. Place the 2nd rolled dough piece on top. Cover with plastic wrap and refrigerate for at least 2 hours or overnight.
- Once chilled, preheat oven to 350°F. Line baking sheets with parchment paper or silicone mats.
- Remove the top dough piece from the refrigerator.
- Using a sharp knife or pizza wheel, cut the dough into strips measuring ½ inch wide by 4 inches long. Repeat with other piece of dough.
- Arrange cookies on baking sheets. Bake for 8 to 10 minutes or until lightly golden around the edges. Rotate the baking sheet after 4 minutes.
- Allow cookies to cool on the baking sheet for 5 minutes and then transfer to a wire rack to cool completely.
- Once the cookies are completely cool, line a baking sheet with parchment paper. Melt the chocolate in the microwave or a double boiler, stirring until smooth.
- Dip the cookies in the chocolate and garnish with assorted sprinkles or toppings before the chocolate sets. Place the dipped cookie sticks on the baking sheet and allow the chocolate to set until it's fully hardened.
Notes
Slice evenly: Use a sharp knife or pizza cutter to slice the cookies into the stick shape. Make sure the cookie shape is made into equal sizes so they bake consistently.
Don’t skip the chilling time: Don’t omit the chilling in the refrigerator and later in the freezer. The chocolate dipped cookie sticks will only be cookie exchange worthy if they look good! Skip the chilling and they’ll spread out while baking in the oven and not look as neat.
Adding the decorations: Only add the melted chocolate to completely cooled cookies. Add the sprinkles while the melted chocolate is still wet so they stick.
Nutrition


These dipped sugar cookie sticks are simple to make and even more fun to decorate. With just a few pantry staples, you can create a crisp cookie base that pairs perfectly with melted chocolate and your favorite toppings. They store well, travel easily and bring a pop of color to dessert tables. Whether you bake them for a party or wrap them up for a friend, these cookie sticks are always a hit.
Other Recipes to Try
Bella Bucchiotti
Bella Bucchiotti is a Canadian-based syndicated food, travel, and lifestyle writer, photographer, and creator at xoxoBella. She founded xoxoBella in 2015, where she shares her love for food, dogs, sustainability, fitness, crafts, outdoor adventures, travel, and philanthropy to encourage others to run the extra mile, try new recipes, visit unfamiliar places, and stand for a cause. Bella creates stress-free and family-friendly recipes for weeknight dinners and festive feasts.