This post may contain affiliate links, please see the privacy policy for details.
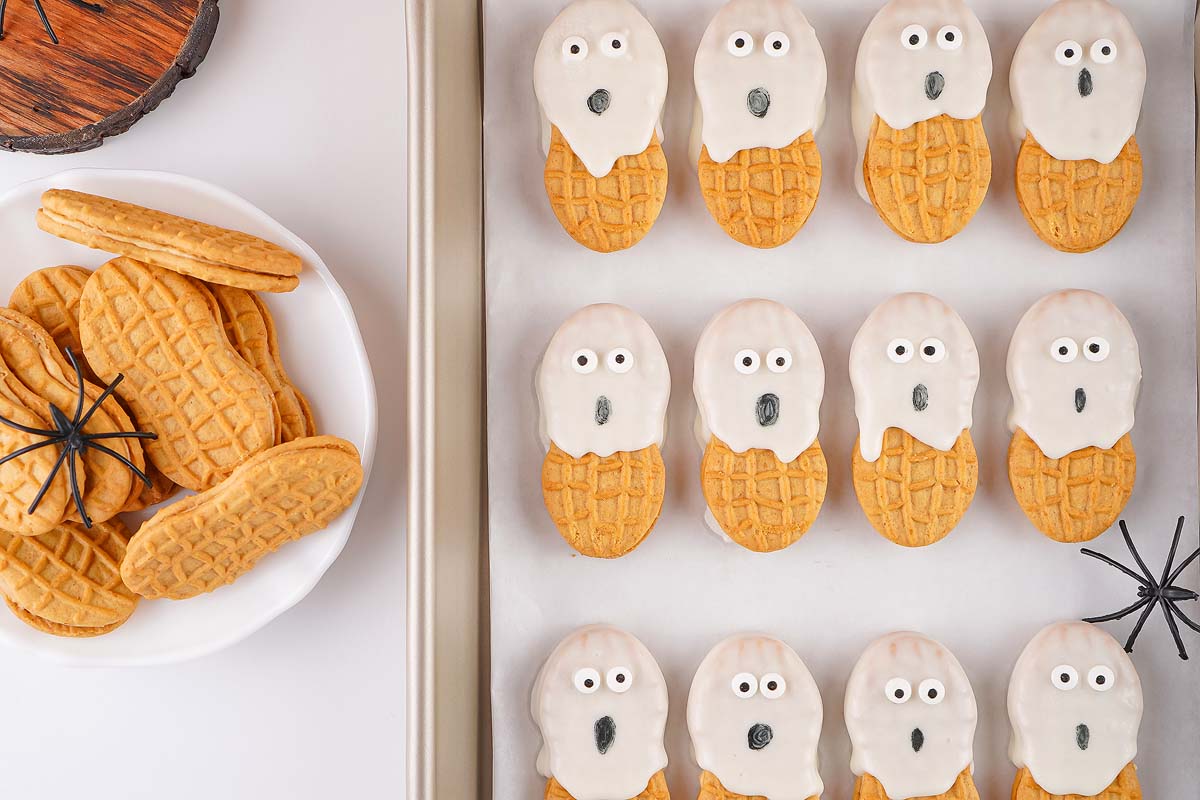
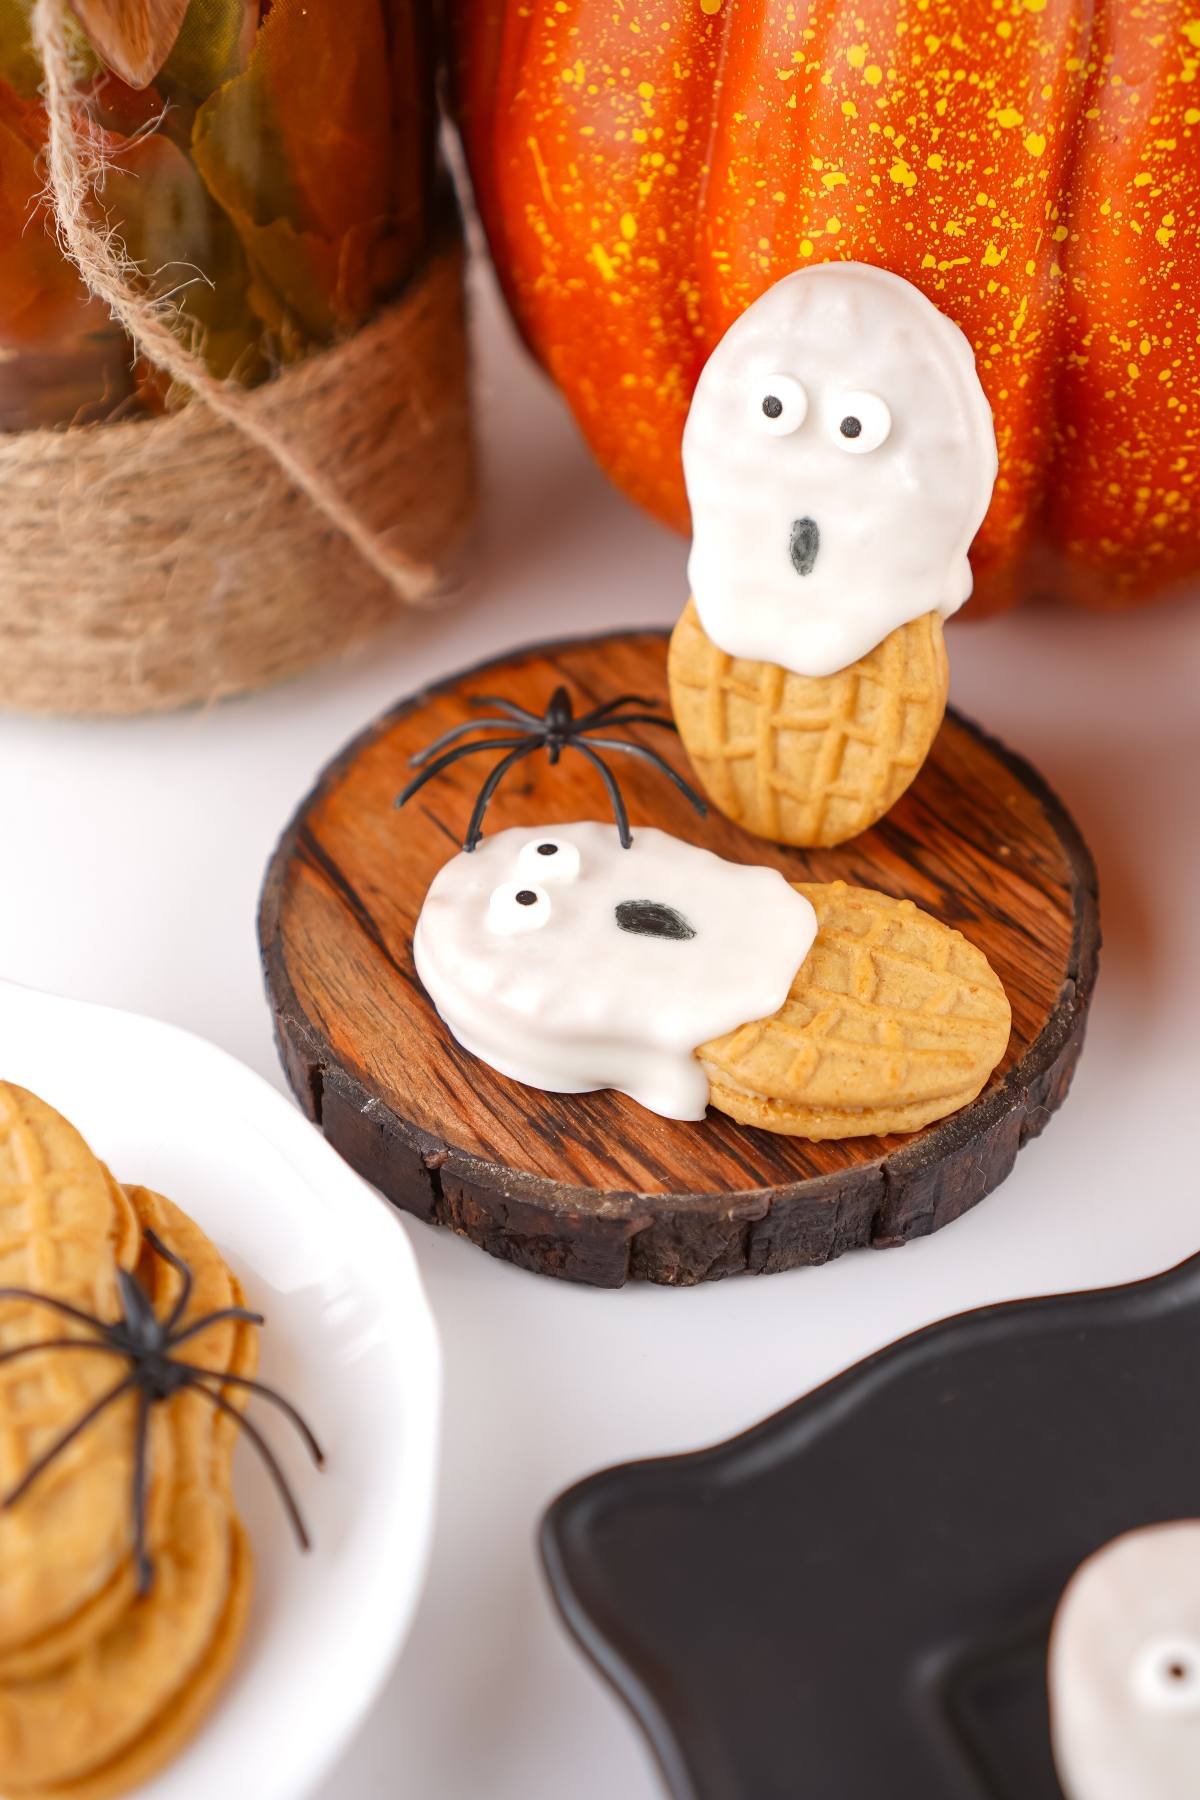
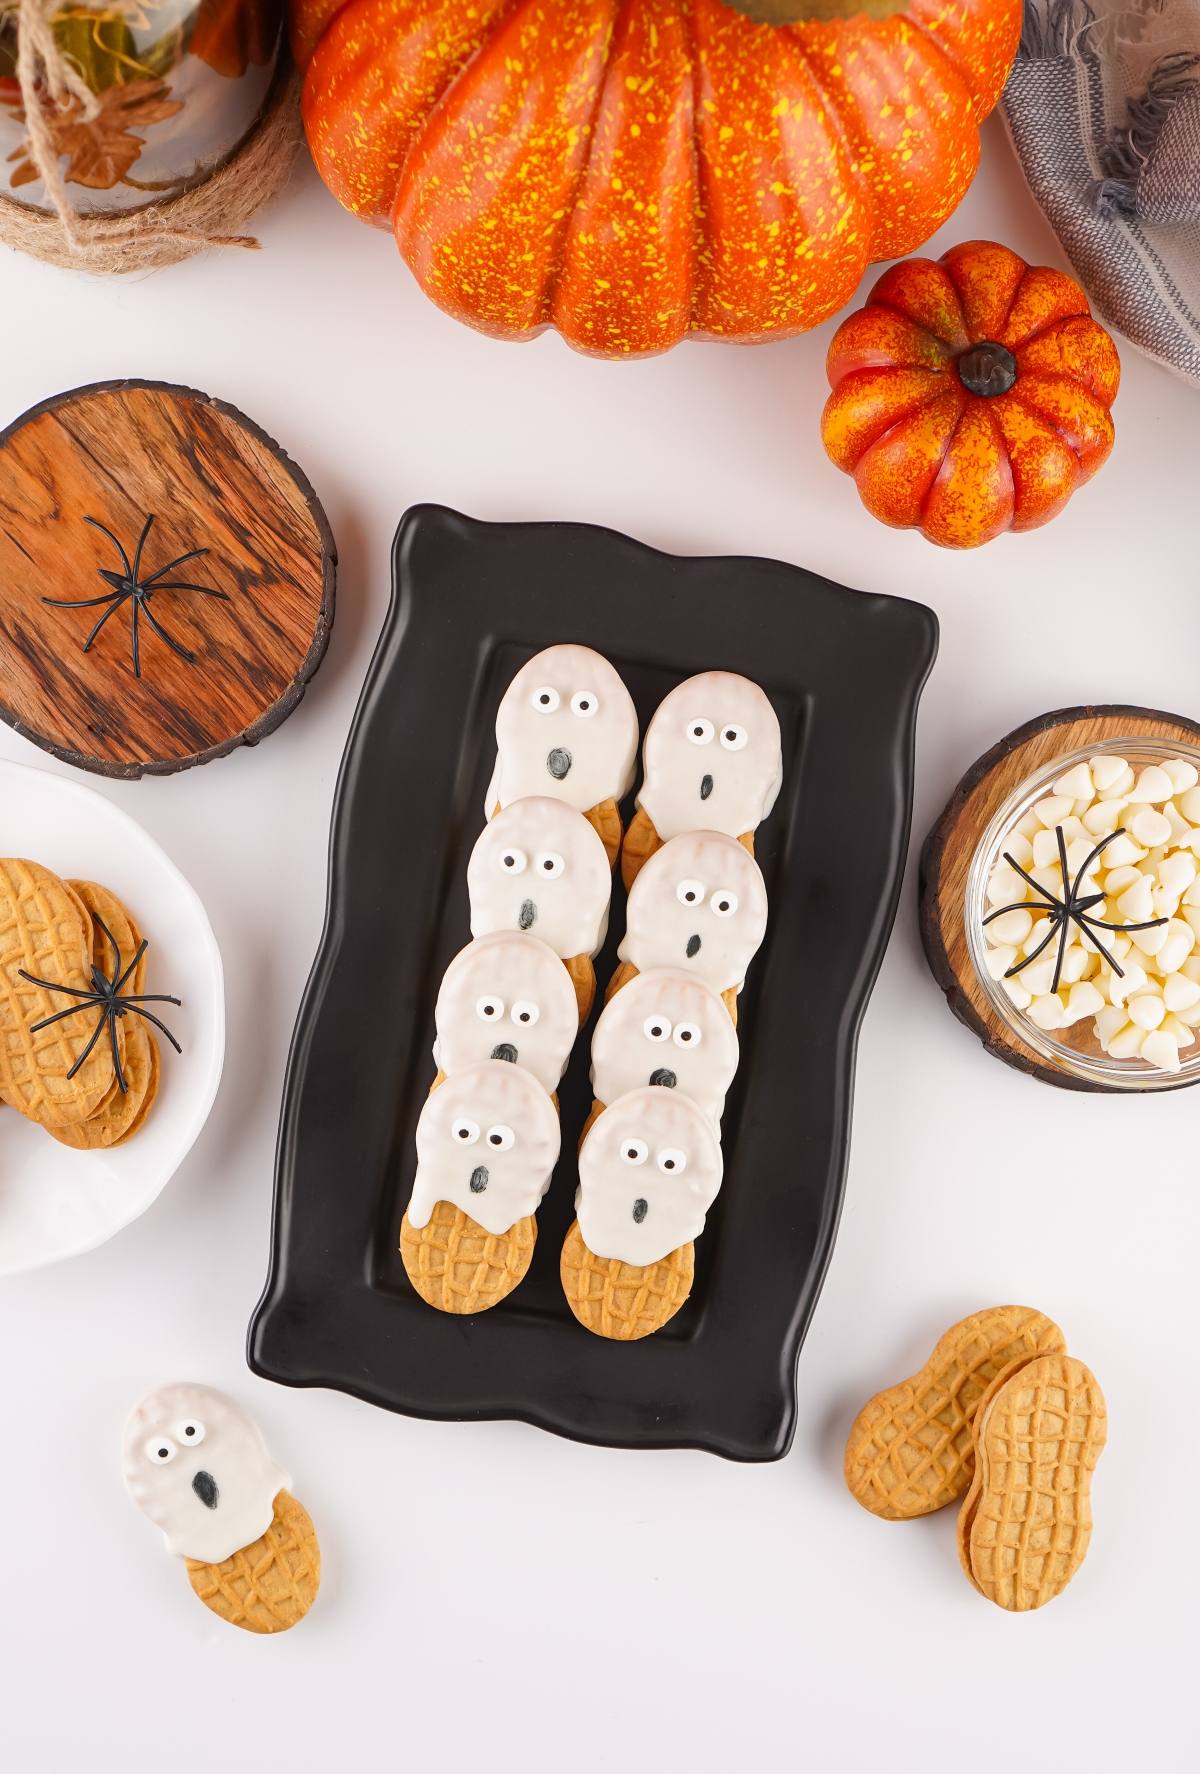
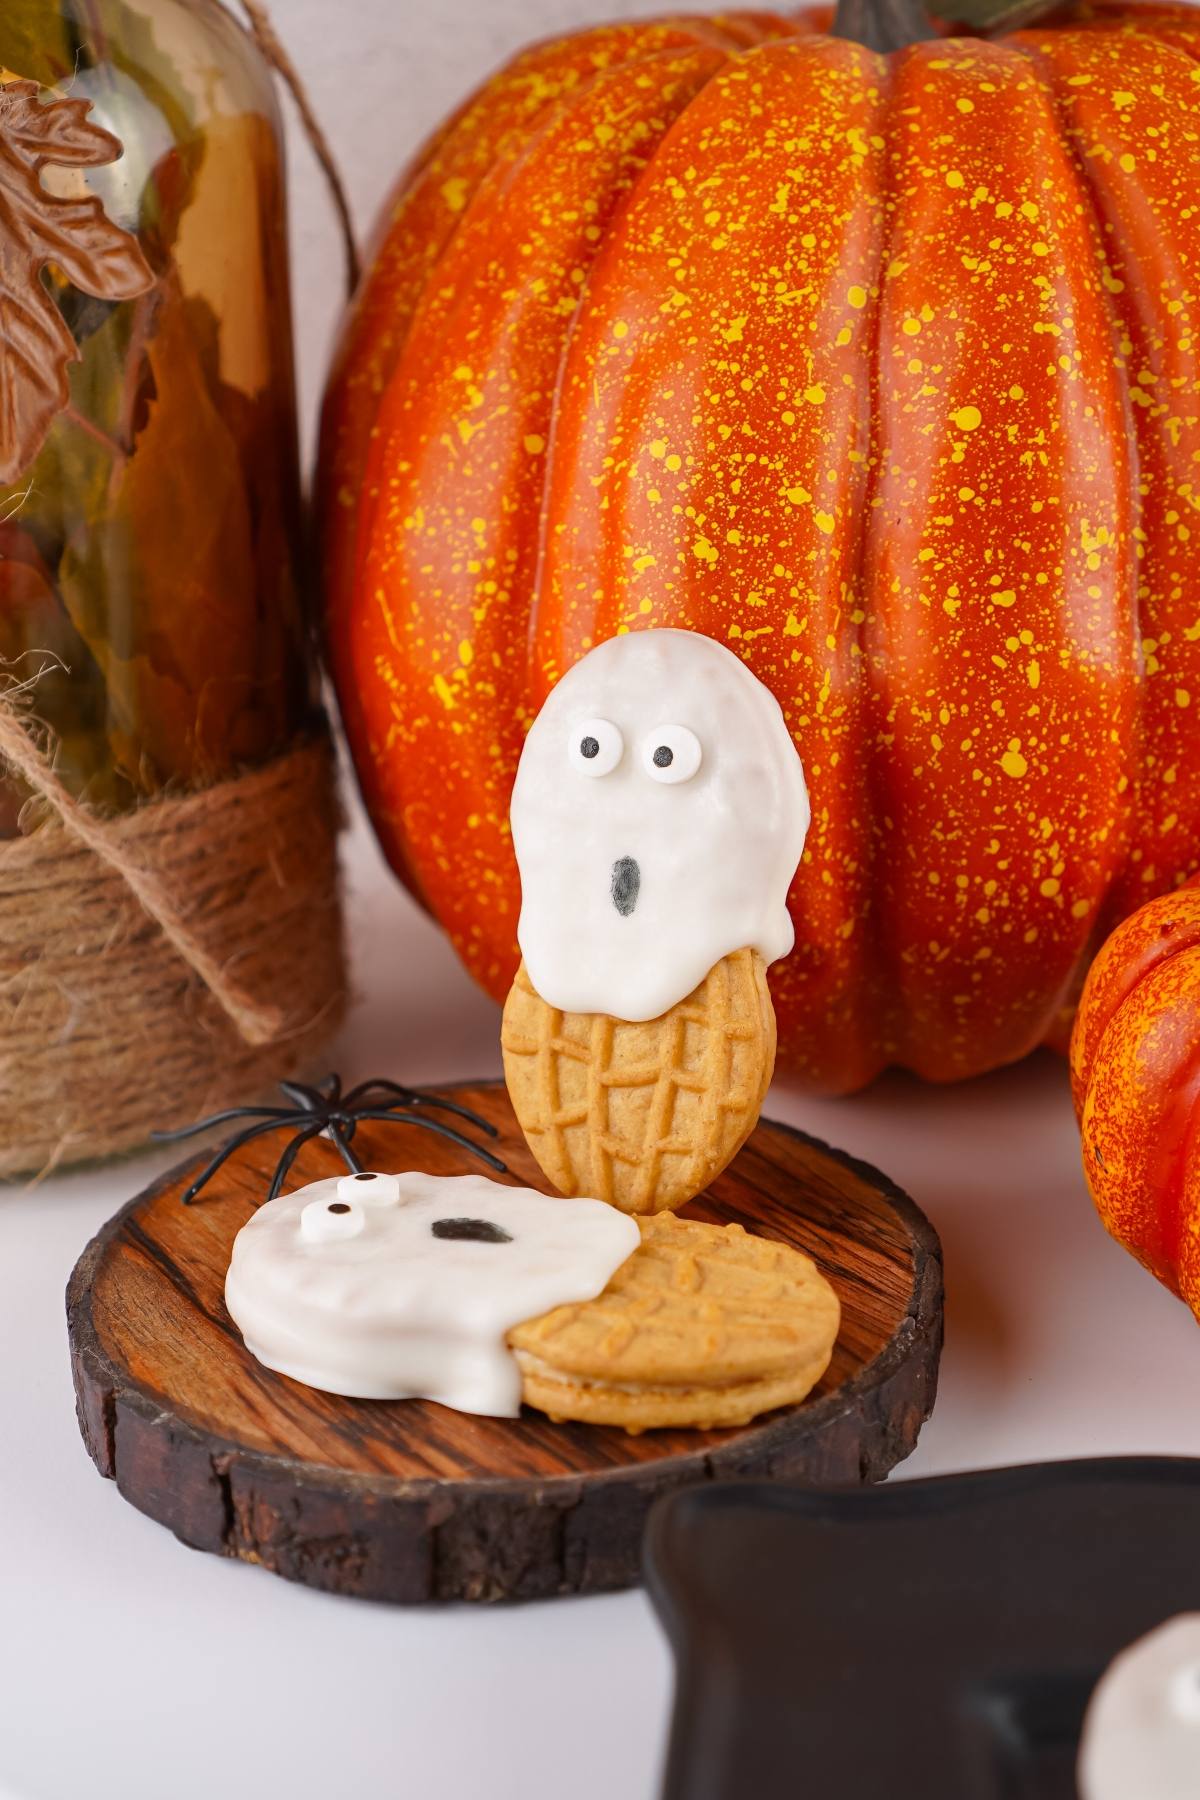
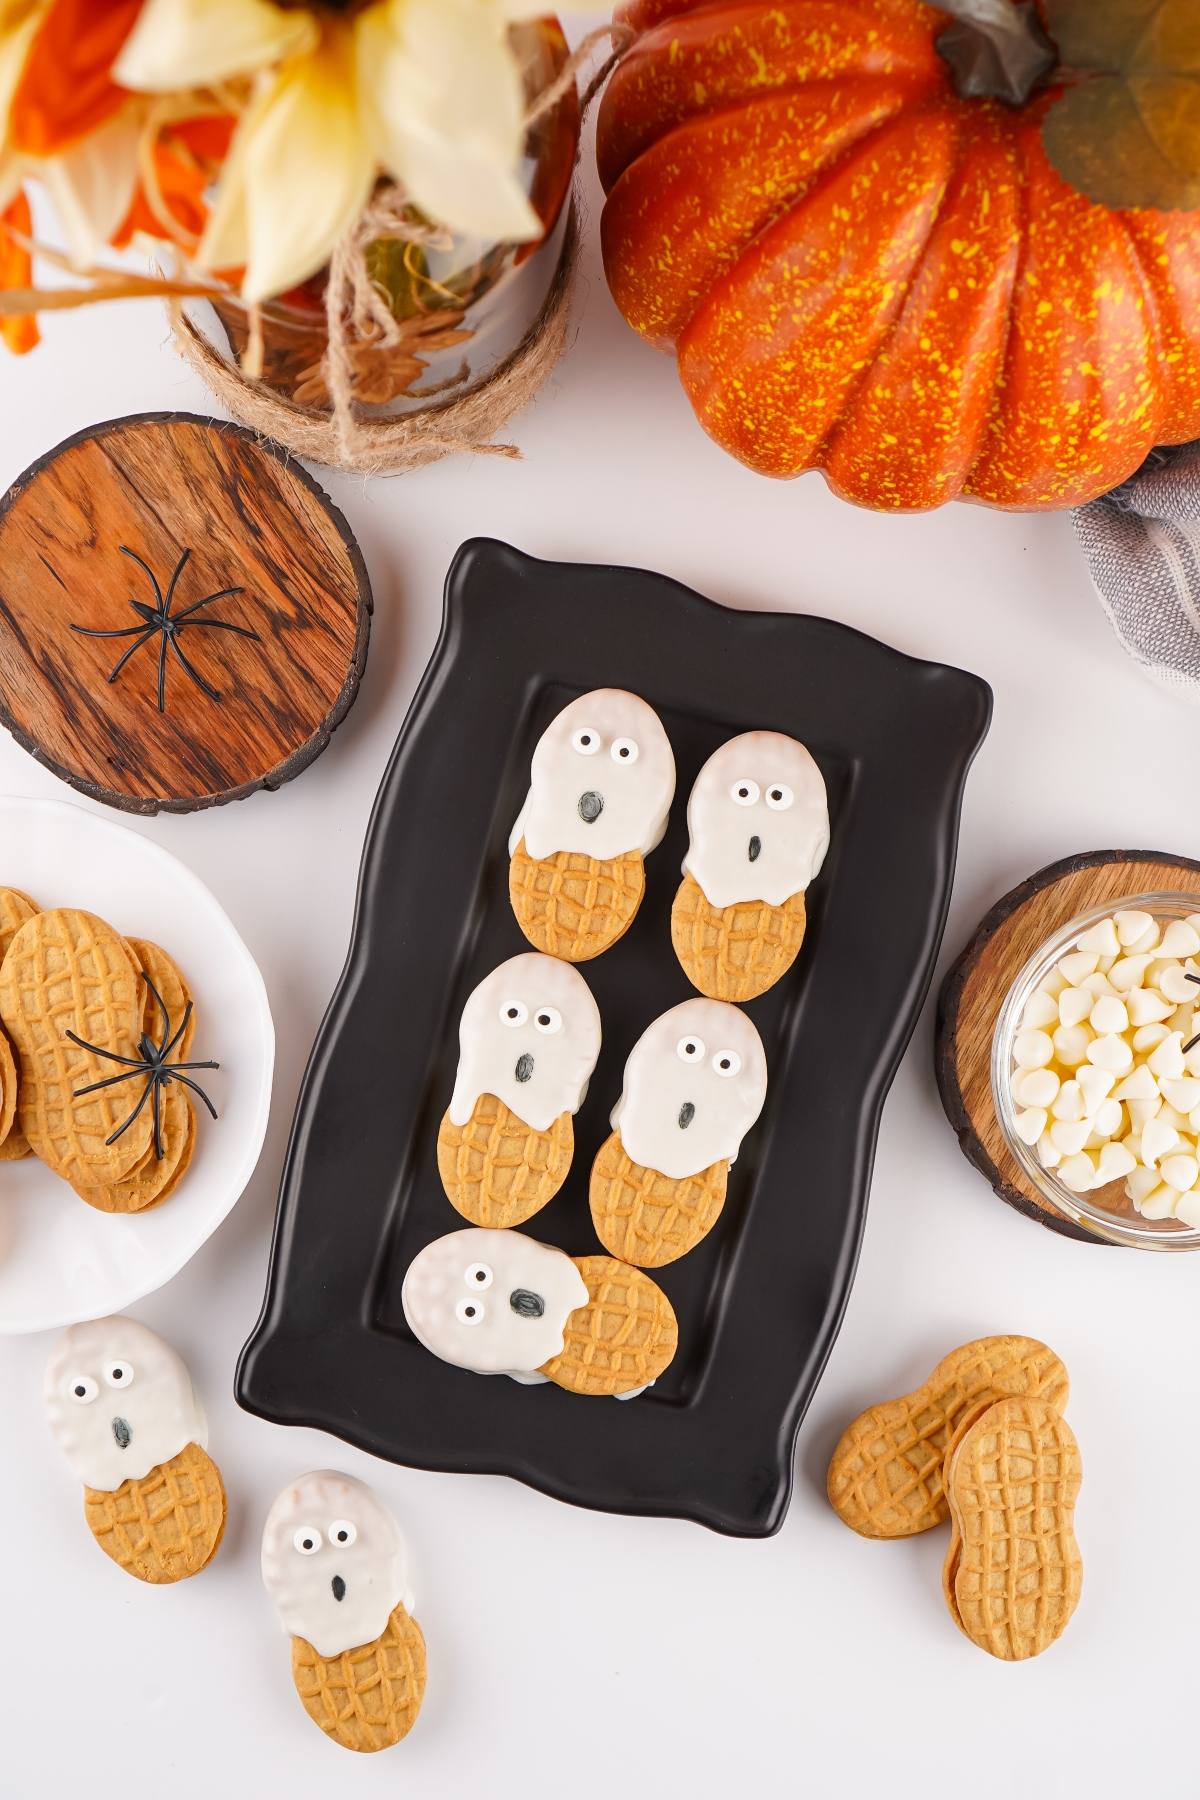
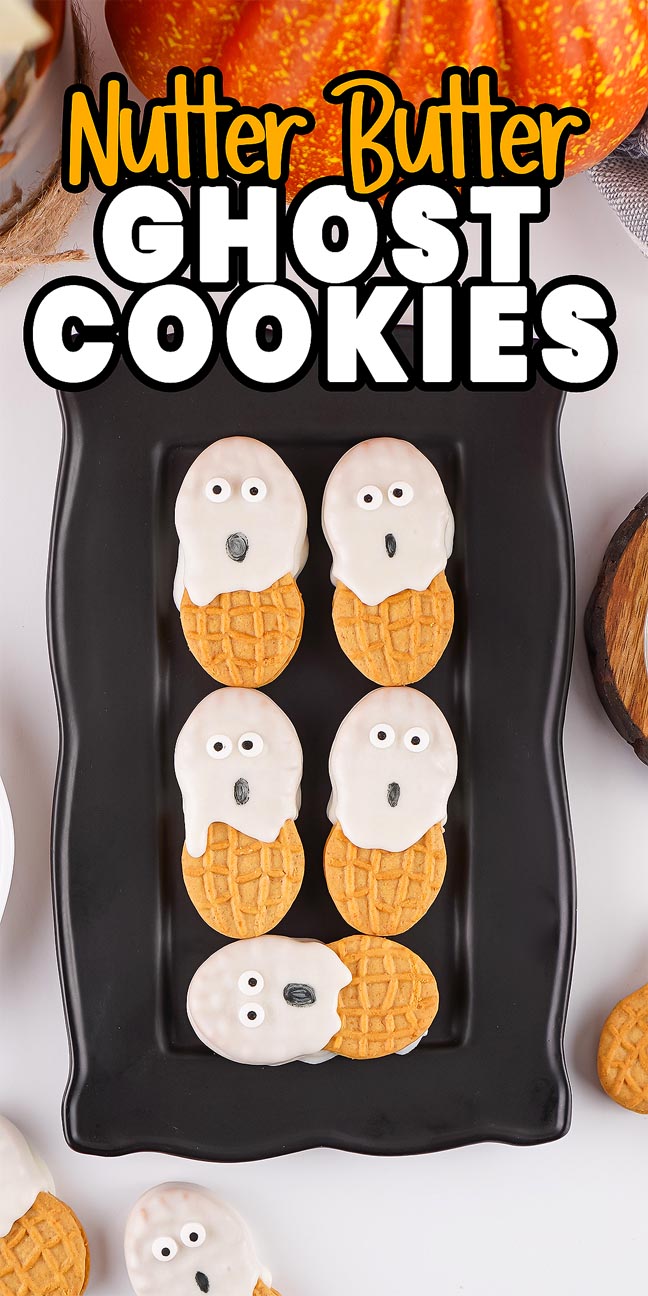
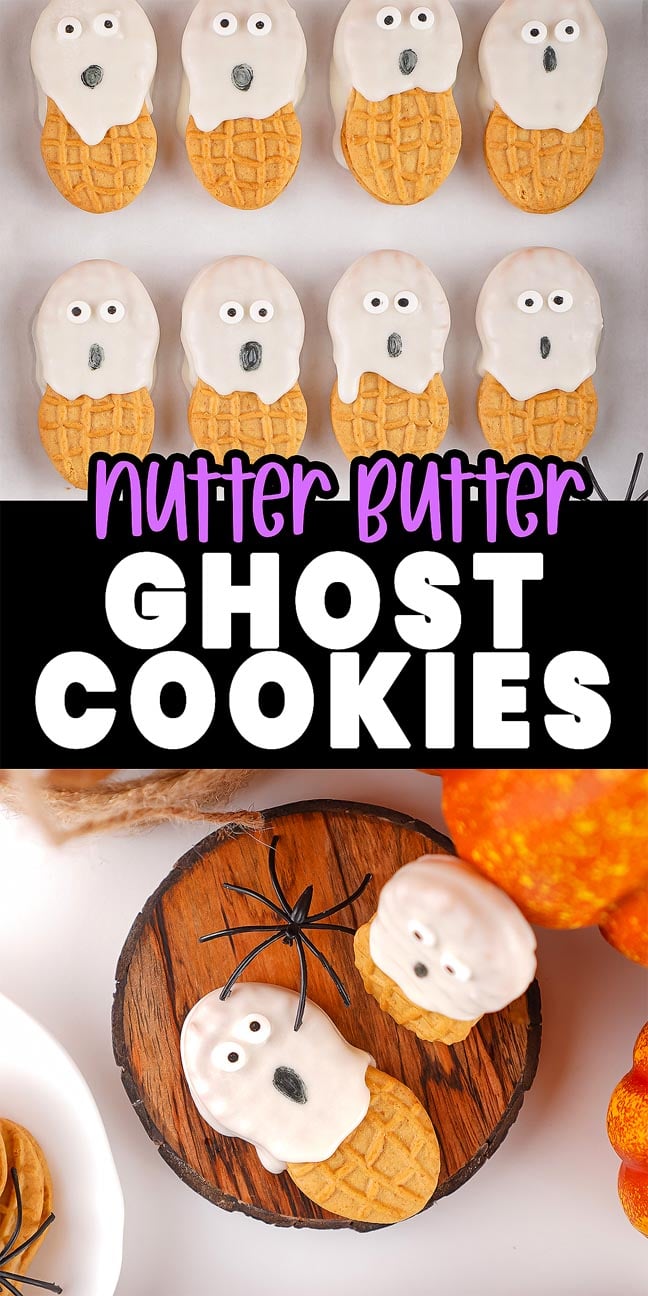
Bring spooky charm to your dessert table with these adorable Nutter Butter ghost cookies that look cute and a just a little bit eerie. Dip crisp peanut butter cookies in silky white chocolate, add tiny candy eyes and then dot on simple mouths. The drips form floaty shapes that look like sheets. Kids can help with decorating while you handle the melt. Simple tools and a fast setting time make these cute ghost cookies a go-to Halloween project that delivers big impact with minimal steps.
Why You’ll Love It

These Nutter Butter ghost cookies are dipped in white chocolate, dotted with candy eyes and finished with quick drawn mouths for an easy, spooky Halloween treat.
Fast to make: Simple melt, dip and decorate steps.
Budget smart: Uses a few affordable ingredients and basic tools.
Party cute: The ghost look lands every time and earns smiles.
Kid friendly: Little helpers can add eyes and draw tiny mouths on the Halloween cookies.
Also consider ghost jello shots, black magic rum cocktails, leftover candy brownies, antipasto eyeballs and skull potatoes.
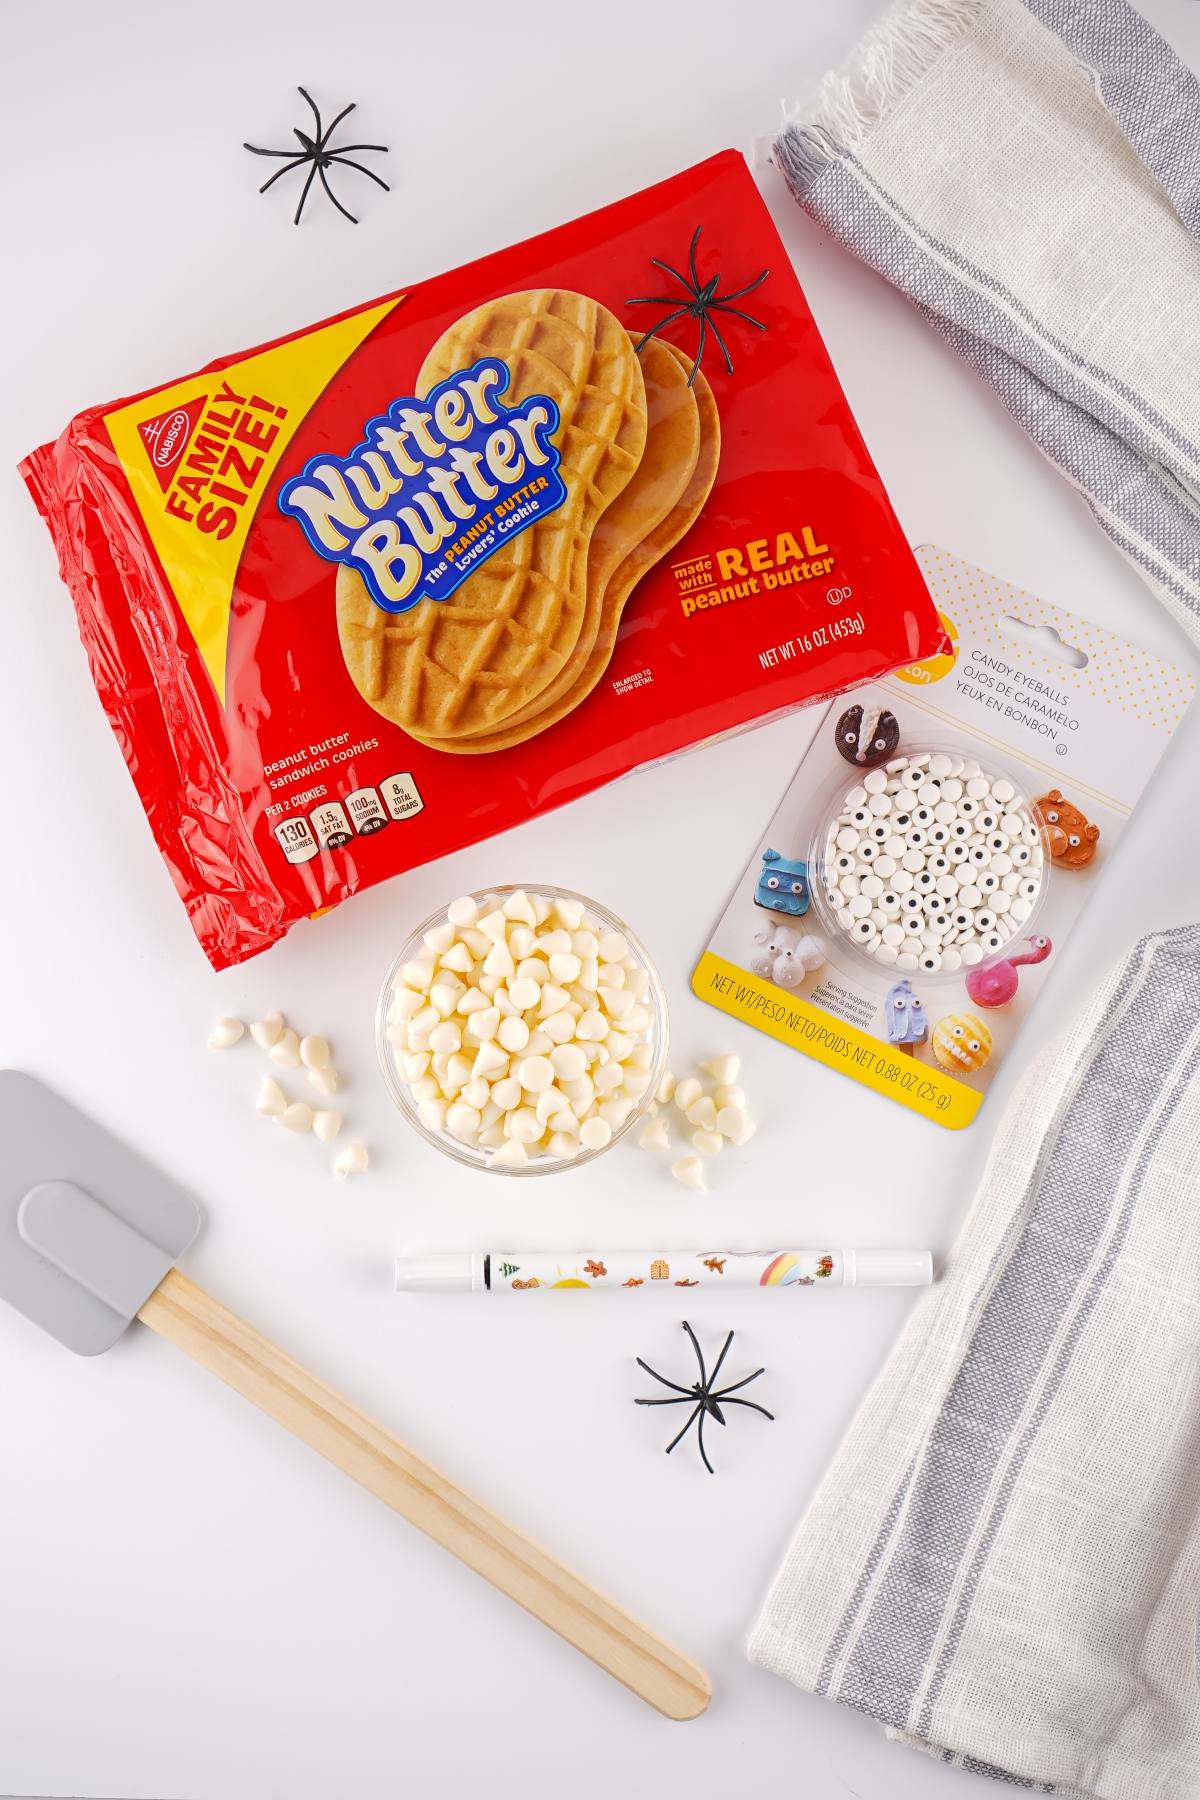
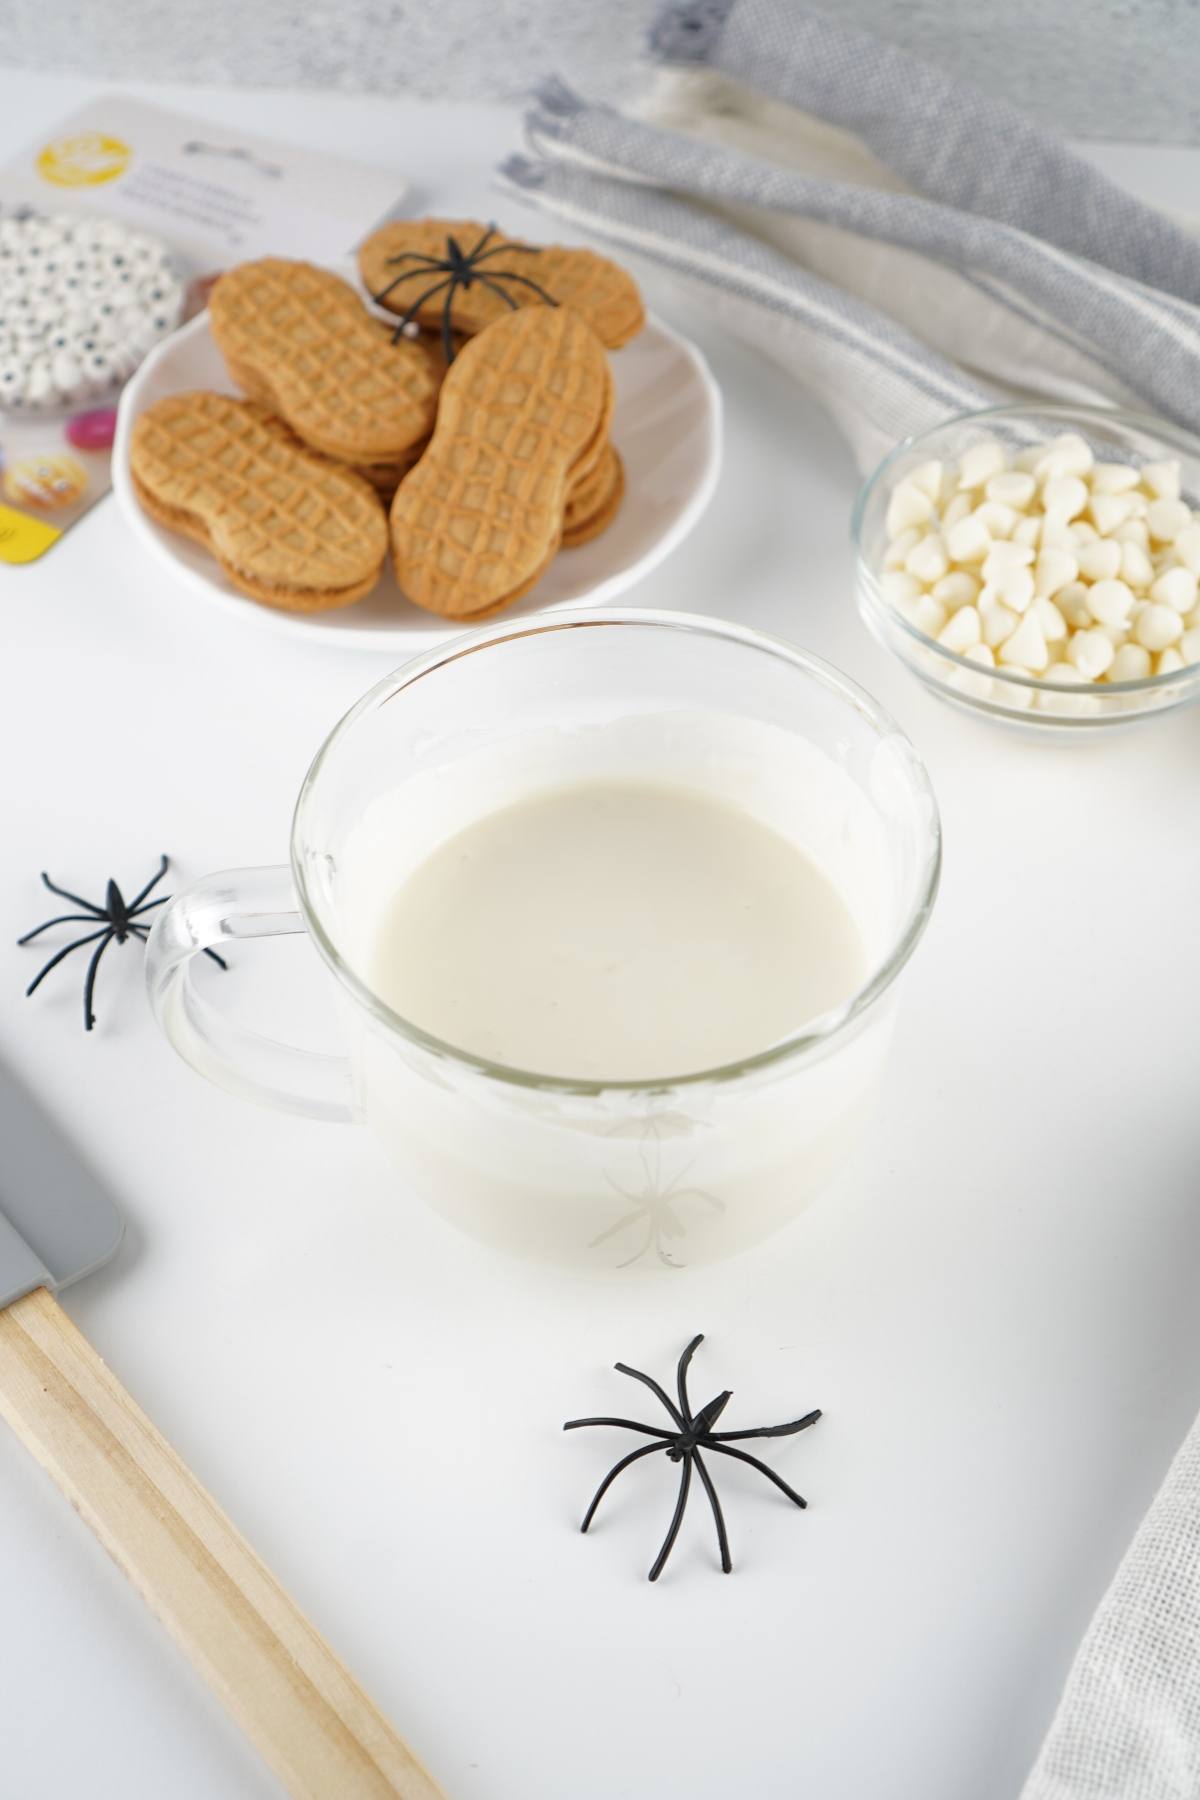
Nutter Butter Ghosts Ingredients
A complete list of ingredients and amounts can be found in the recipe card below.
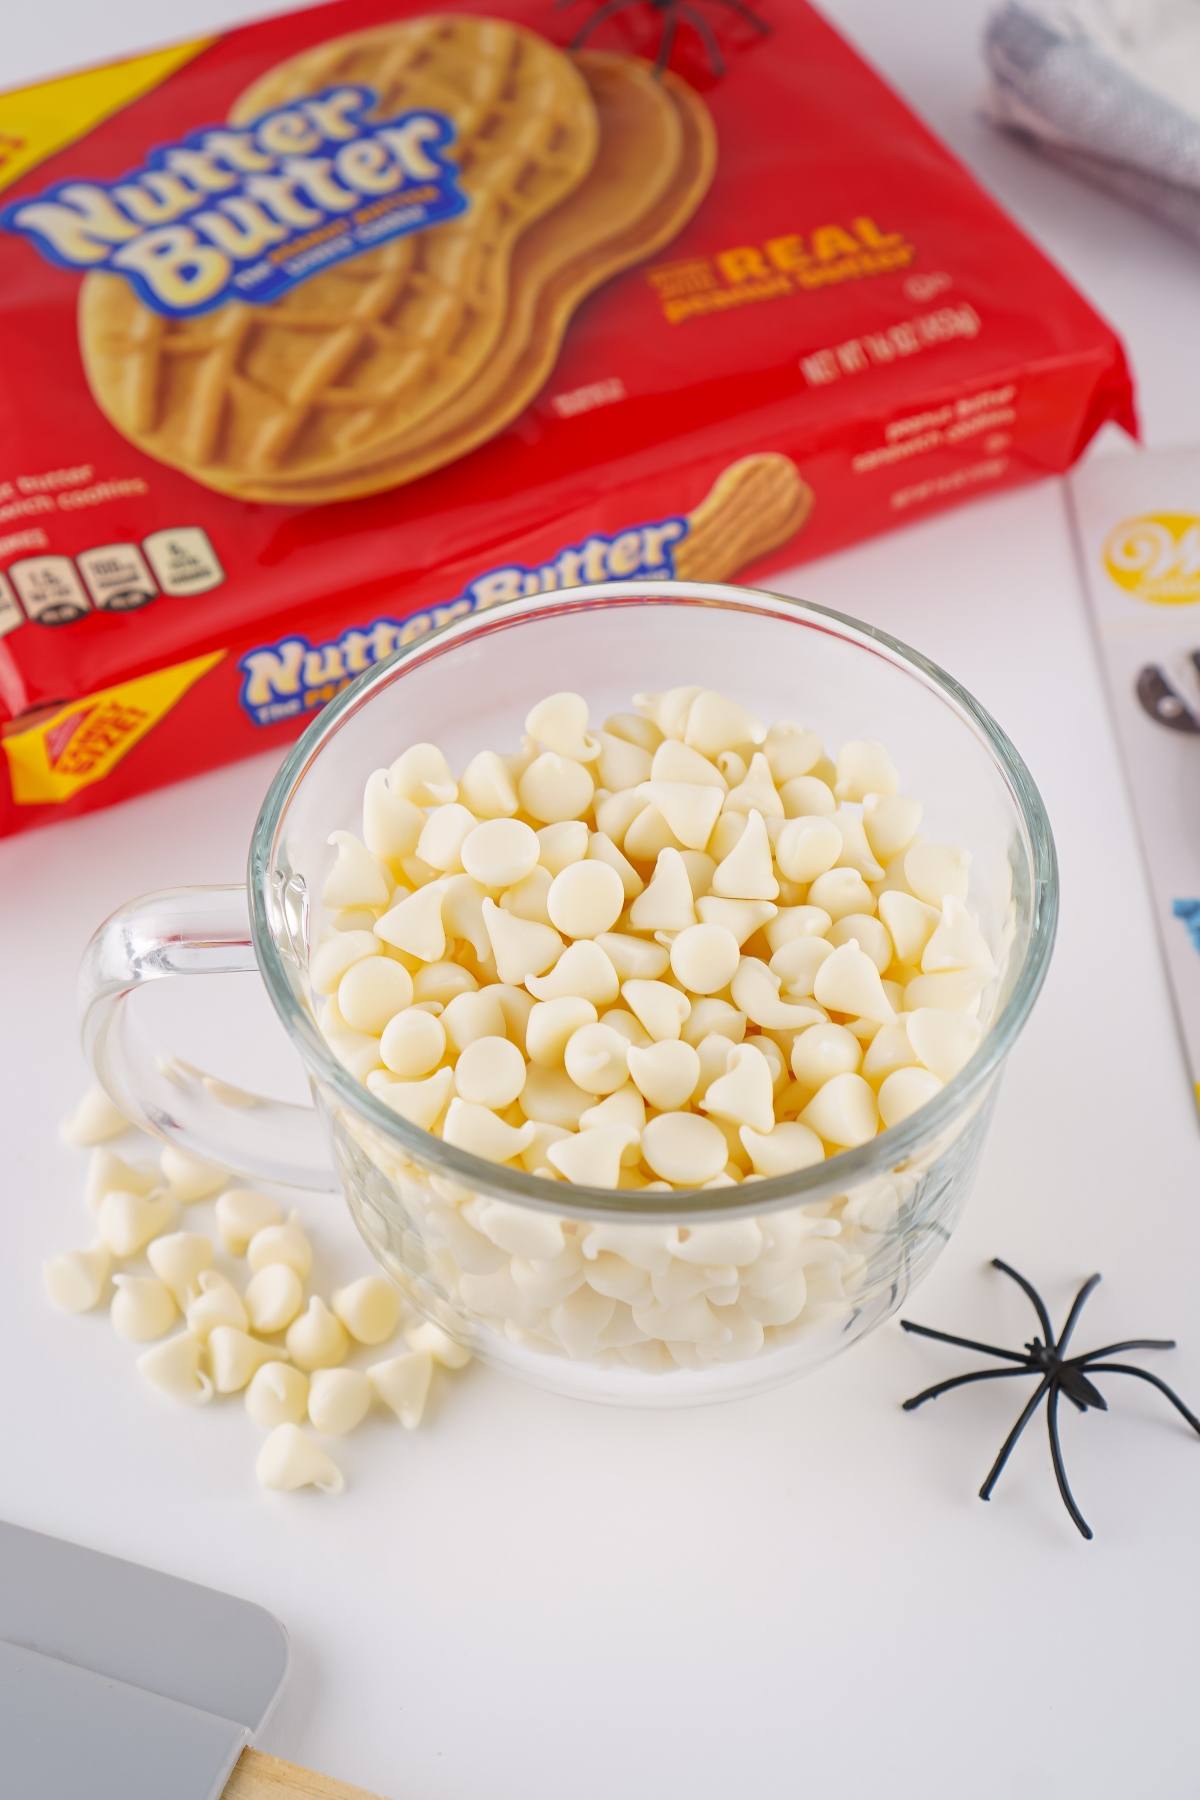
White chocolate chips: Smooth coating that sets fast and gives bright ghost color.
Nutter Butter cookies: Peanut butter base with a shape that reads like a ghost.
Candy eyes: Tiny eyes that stick while the coating is soft. (I used these!)
Edible black marker: Quick mouths on the easy Nutter Butter ghosts and expressions without piping (find edible markers here).
How to Make Nutter Butter Ghosts for Halloween
For more detailed instructions with weights and measurements, jump to the printable recipe card.
Melt the chocolate: Microwave chocolate chips in a microwave safe bowl in short bursts, stirring until smooth.
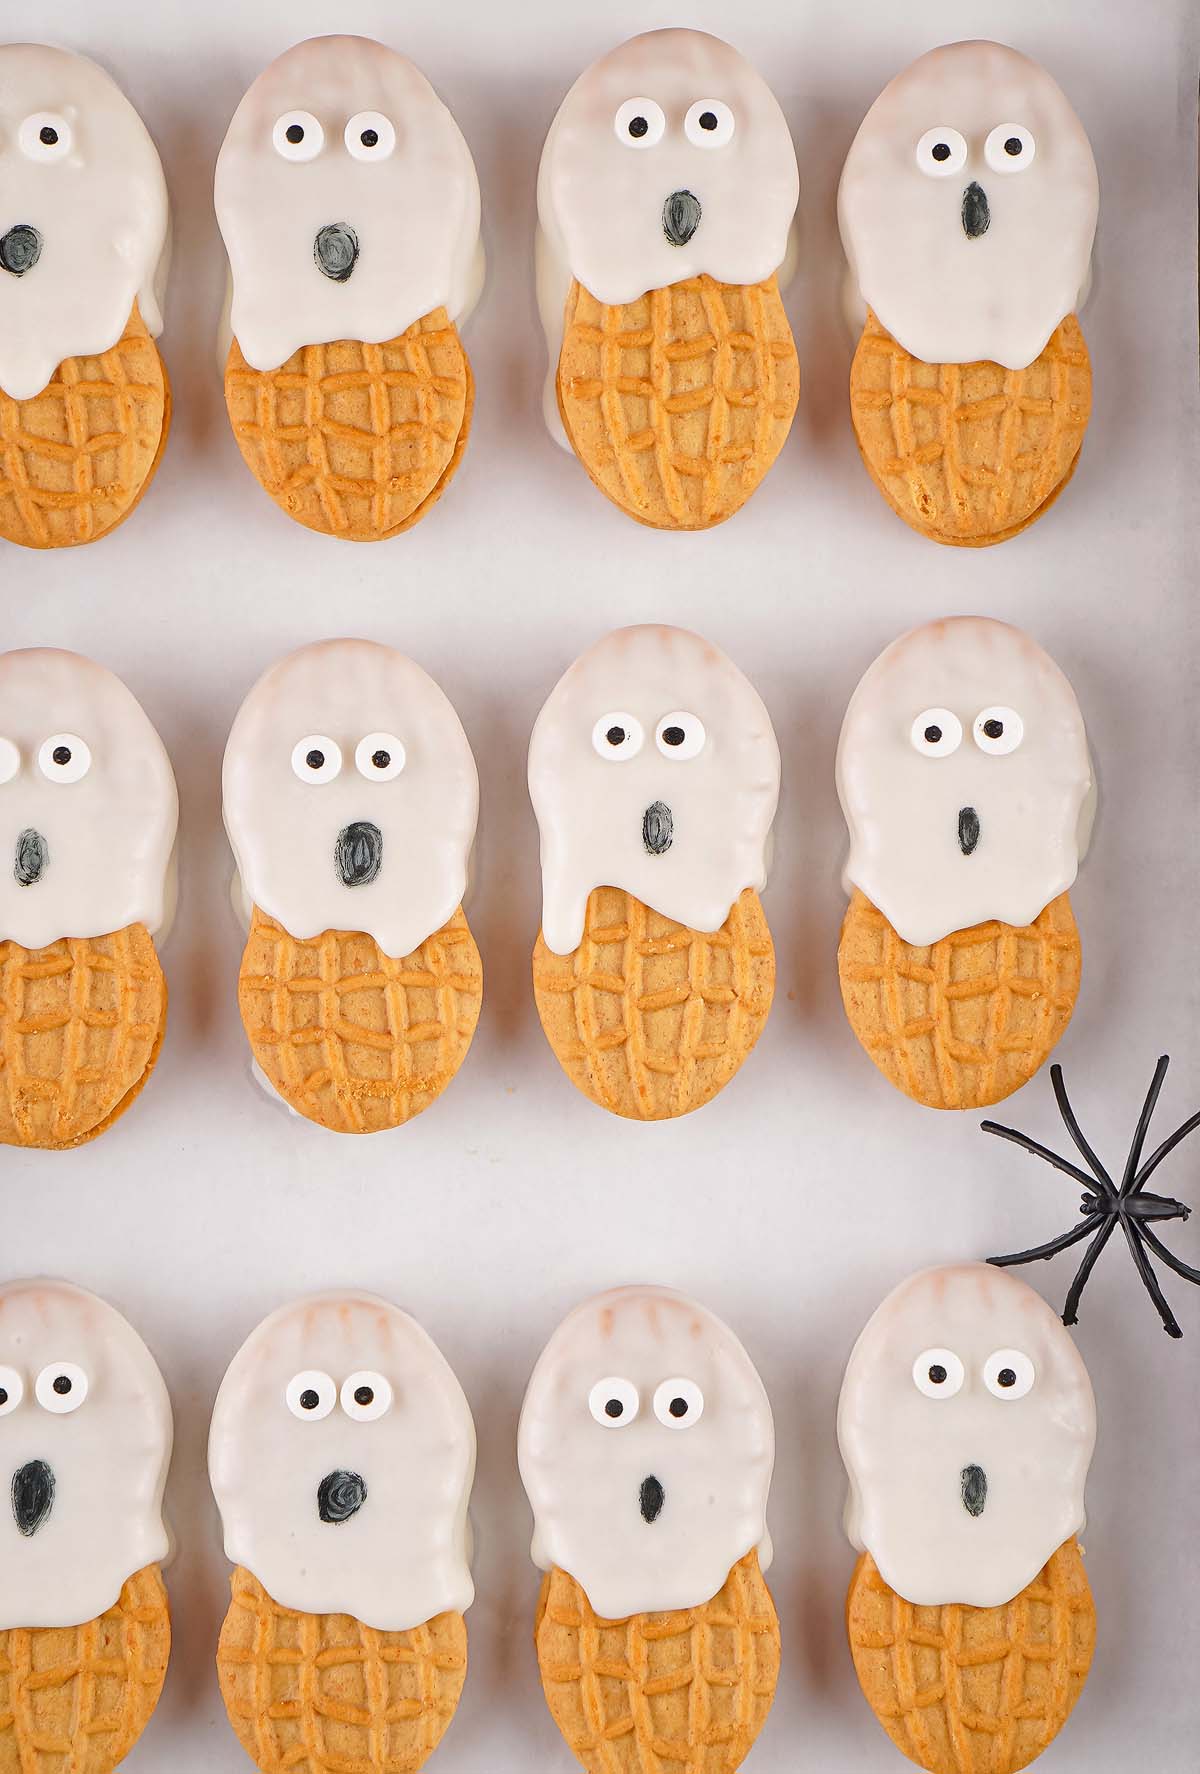
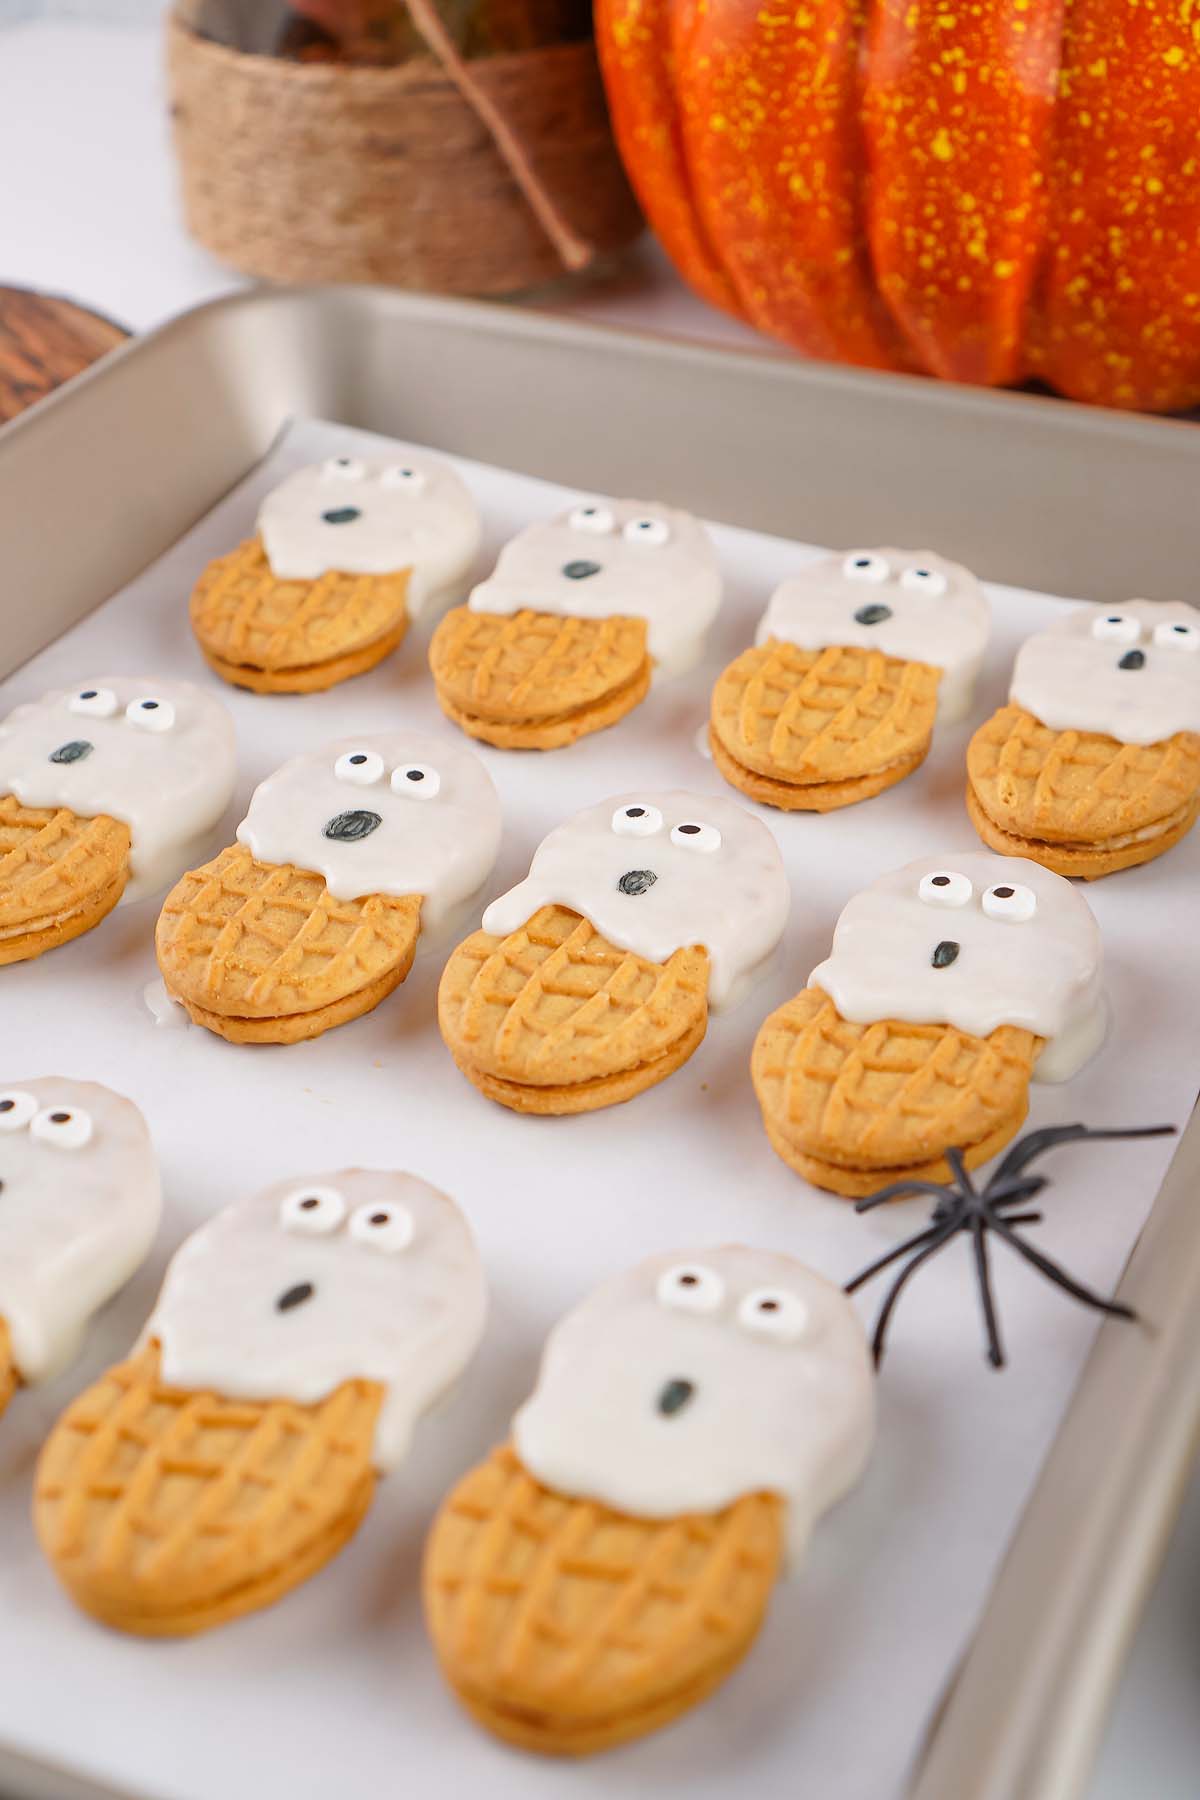
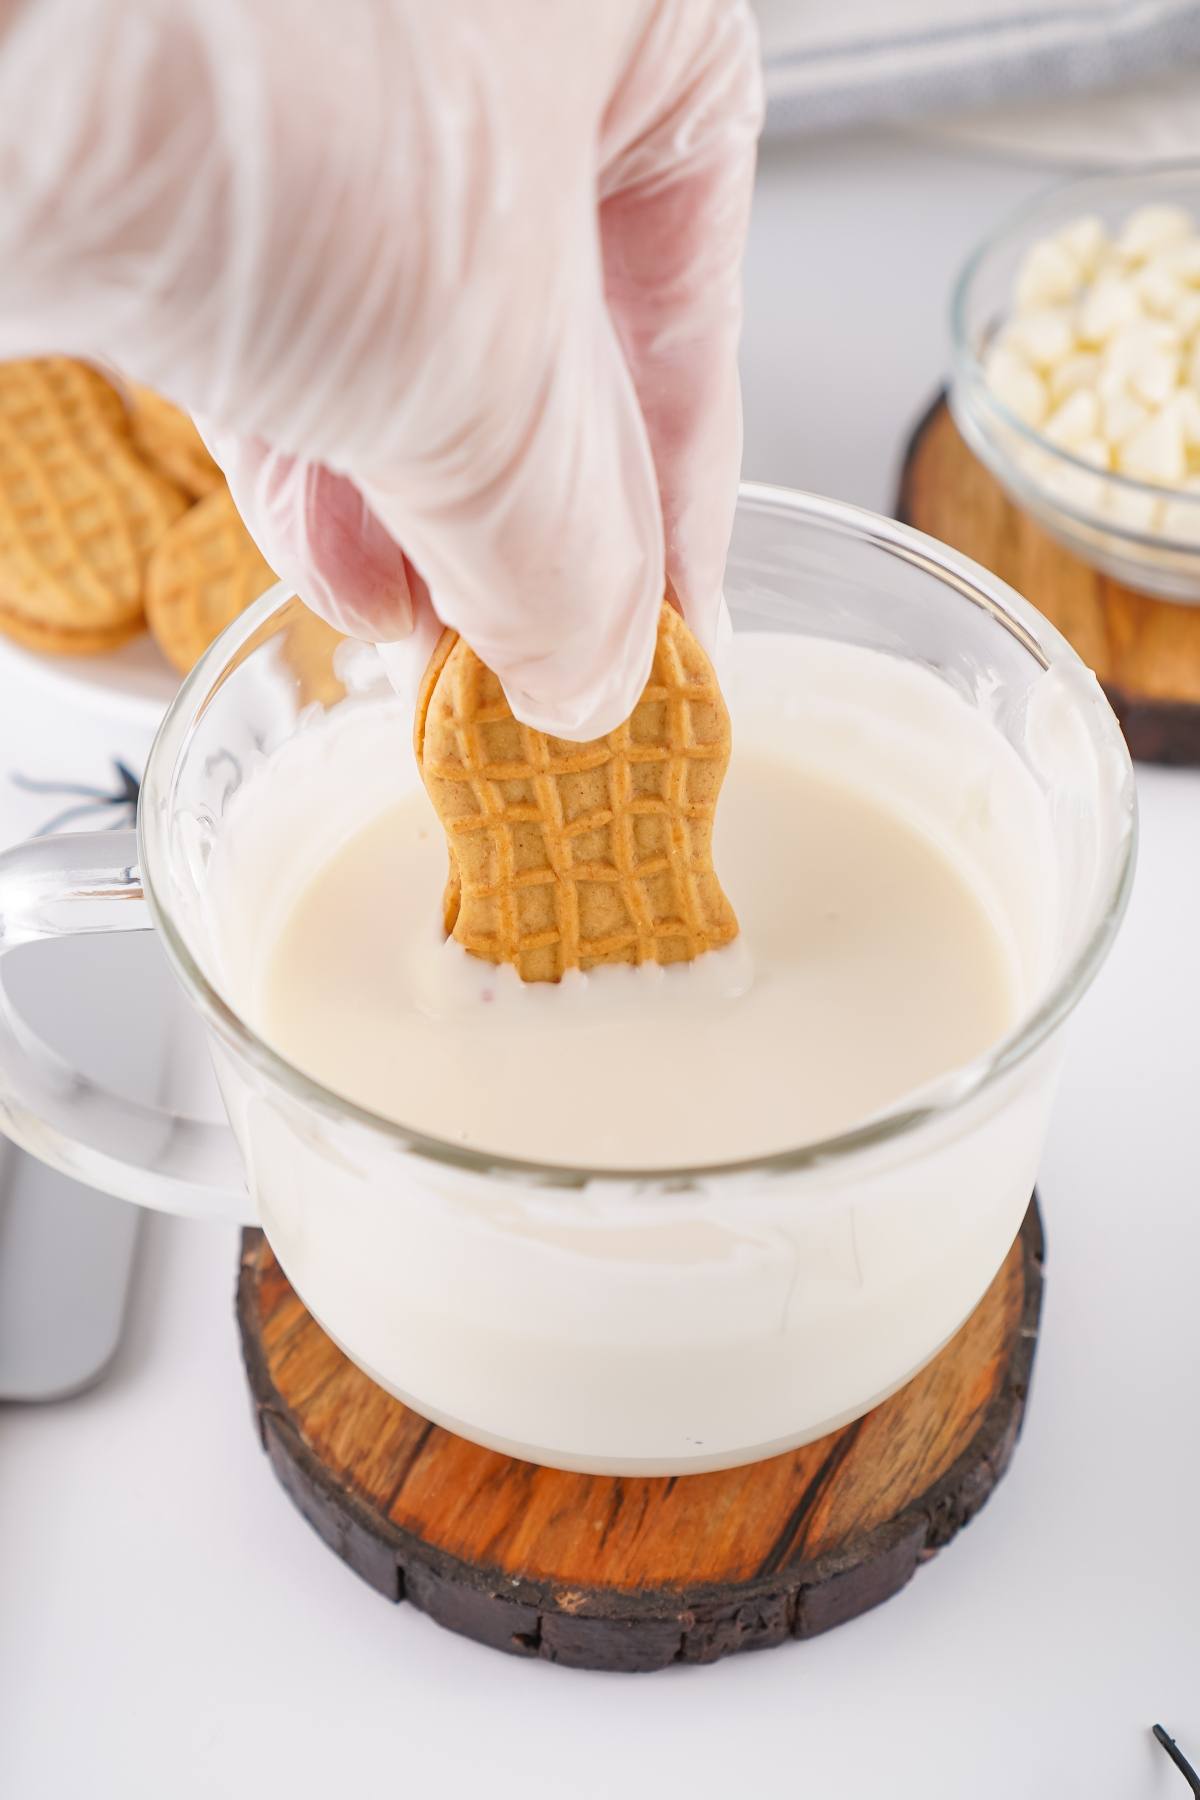
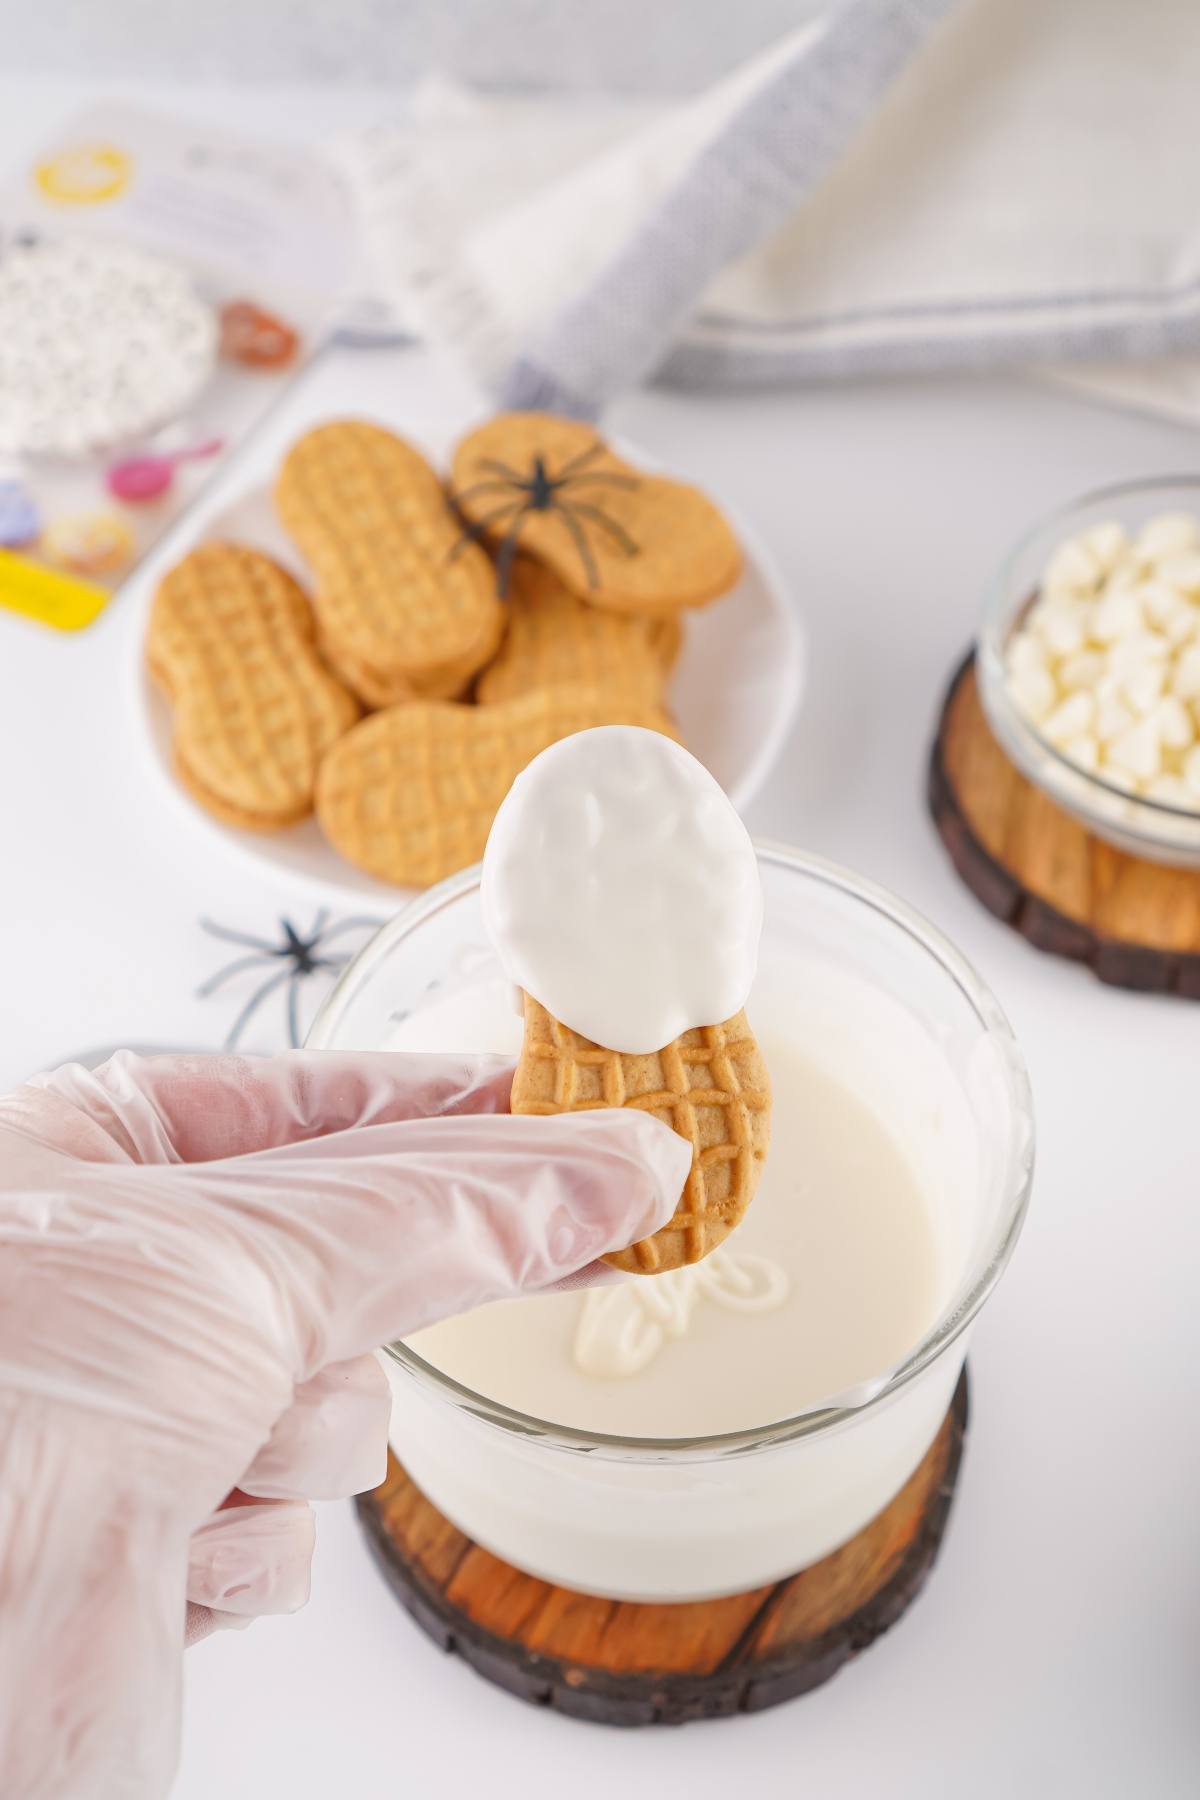
Dip and drip: Submerge each cookie halfway in melted chocolate, let excess run so drips make floaty shapes.
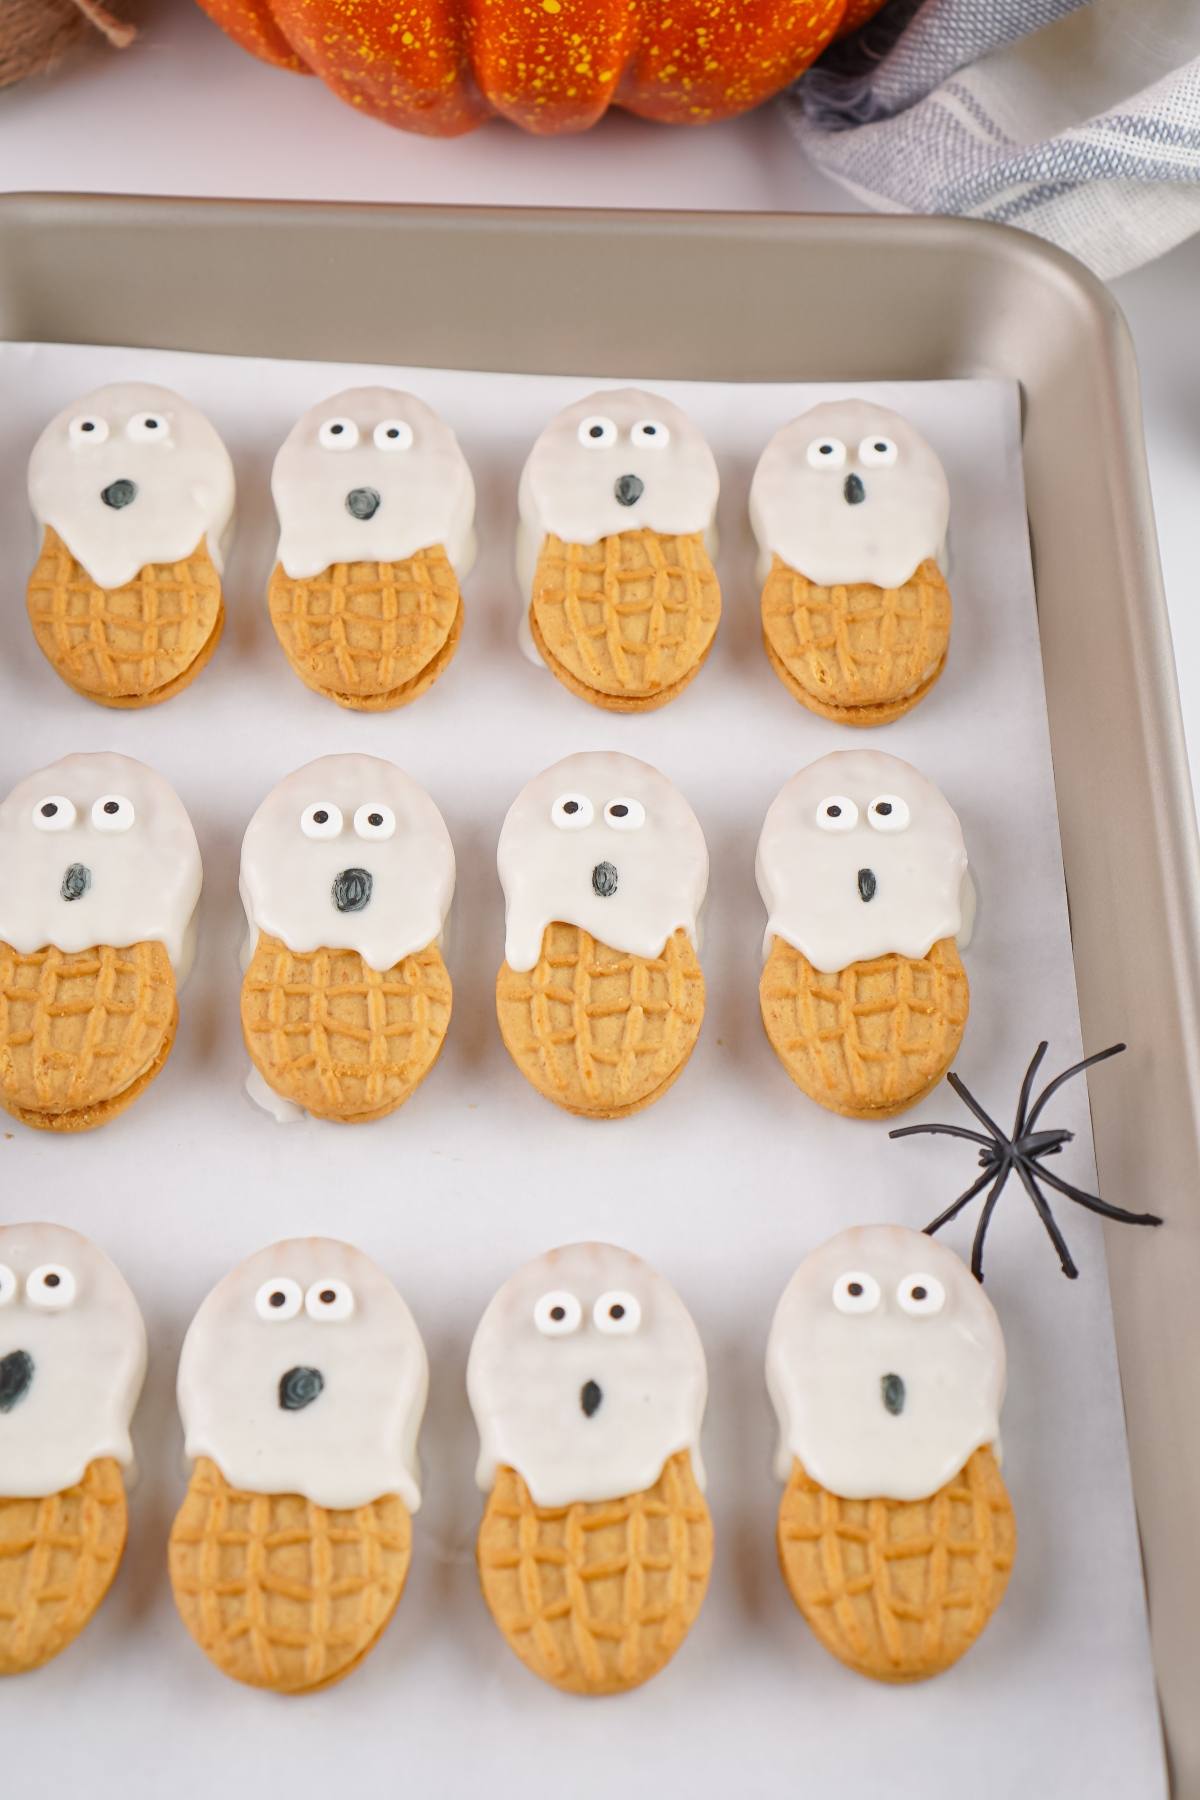
Add eyes: Press 2 small eyes onto each coated cookie (I used these baking tweezers) while the melted chocolate is still soft and sticky.
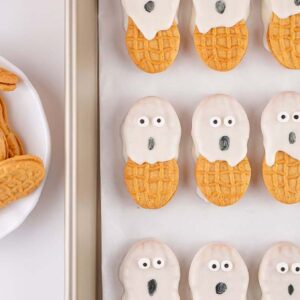
Set and draw: Arrange on a baking sheet lined with parchment paper or wax paper to cool completely and chill in the freezer to set. Draw a simple ghost mouth on your adorable ghost cookies with the edible marker.

Substitutions and Variations
Gluten-free option: Use gluten-free peanut butter sandwich cookies or similar ovals.
White candy melts swap: White candy wafers or melted almond bark work well and melt evenly.
Eye alternatives: Use two mini chocolate chips or pipe on dots of melted dark chocolate with a piping bag onto the white candy coating, instead of using candy eyeballs.
Flavor twist: Stir in a drop of vanilla or peppermint for a new vibe on your easy Halloween dessert.
Nut-free route: Choose vanilla sandwich cookies for these fun treats, to avoid peanuts.
Add color to the ghosts: Yes but use an oil-based candy color in the melted white chocolate, as water-based color can make the chocolate seize.
Serving Suggestions
Appetizers: Start your meal with Halloween bruschetta.
Main dishes: Enjoy black crust spider pizza or mummy stromboli.
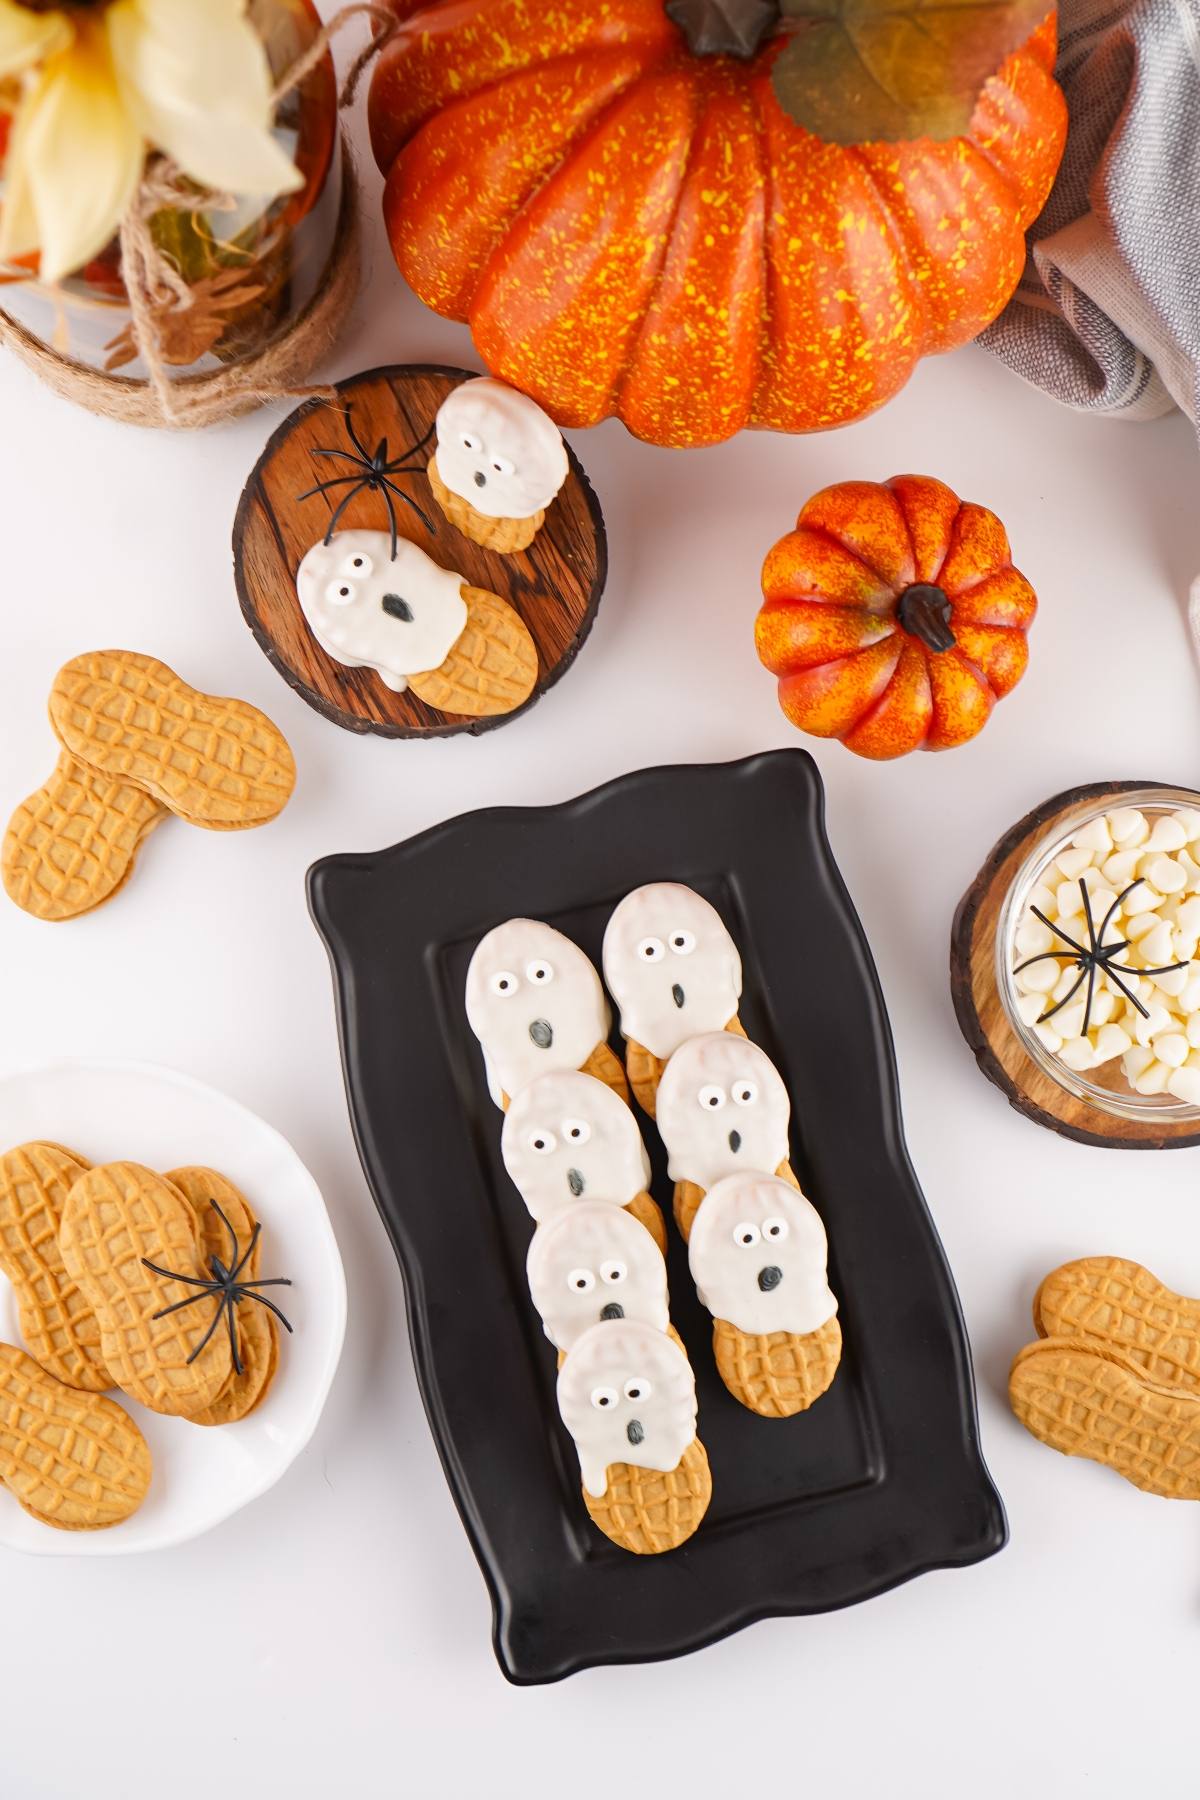
Desserts and drinks: Serve these Nutter Butter ghost cookies with panna cotta eyeballs and eyeball punch or ectoplasm syringe vodka jello shots.
How to Store
Store: Keep Nutter Butter Halloween ghost cookies an airtight container in the fridge for up to 4 days.
Freeze: Freeze in a single layer, then bag for up to 3 months.
Thaw: Thaw in the fridge until the coating softens to a biteable snap.
Top Tips
Keep it dry: Make sure bowls and tools are dry so the chocolate doesn’t seize.
Go gentle: Tap the wrist, not the cookie, to guide slow drips.
Clean edges: Scrape a thin line off the back so each cookie sits flat.
Work in batches: Dip a few, add eyes, then repeat so nothing sets too soon.
Test a face: Practice a mouth on parchment before drawing on cookies.
Nutter Butter Ghosts FAQs
Yes, they melt smoothly and coat well, though the flavor is a bit sweeter.
Not for this recipe. A gentle microwave melt gives a good set for casual treats. But feel free to add a little coconut oil to the chocolate if you want it glossier.
Stir often, use short microwave bursts and don’t let any water touch the chocolate.
Creepy Nutter Butter Ghost Cookies Recipe
Nutter Butter Ghost Cookies
Equipment
- Baking Tweezers Optional
Ingredients
- 2 Cups white chocolate chips
- 20 Nutter Butter cookies
- edible marker, black
- candy eyes, small
Instructions
- Put the chocolate chips in a cup or small bowl.
- Microwave for 2 minutes on high, stirring every 30 seconds, until the chocolate is smooth and lump-free.
- Dip a cookie halfway into the melted chocolate, letting the excess drip off.
- Turn it upright and shake or tap the uncovered part so the melted chocolate drips down to look more ghostly.
- Put the coated cookie on parchment paper.
- Add 2 candy eyes a little way down from the top of each cookie, using baking tweezers if you have some.
- Repeat with the remaining cookies, melted chocolate and candy eyes.
- Freeze for 5 minutes to speed up the chocolate setting.
- Draw mouths with an edible Sharpie near to where the white chocolate finishes on each cookie.
Notes
Go gentle: Tap the wrist, not the cookie, to guide slow drips.
Clean edges: Scrape a thin line off the back so each cookie sits flat.
Work in batches: Dip a few, add eyes, then repeat so nothing sets too soon.
Test a face: Practice a mouth on parchment before drawing on cookies.
Nutrition
For a treat that hits the sweet spot of easy and adorable, you can’t beat Nutter Butter ghost cookies. The smooth white coating, tiny eyes and quick marker mouths create instant character without fussy tools. Kids can help with safe, simple steps and the results look party ready in minutes. Play with flavors or eye options to suit your crew, then watch the cute little ghost cookies vanish as fast as you set them out. They are perfect Halloween party food.
Other Recipes to Try
Bella Bucchiotti
Bella Bucchiotti is a Canadian-based syndicated food, travel, and lifestyle writer, photographer, and creator at xoxoBella. She founded xoxoBella in 2015, where she shares her love for food, dogs, sustainability, fitness, crafts, outdoor adventures, travel, and philanthropy to encourage others to run the extra mile, try new recipes, visit unfamiliar places, and stand for a cause. Bella creates stress-free and family-friendly recipes for weeknight dinners and festive feasts.