This post may contain affiliate links, please see the privacy policy for details.
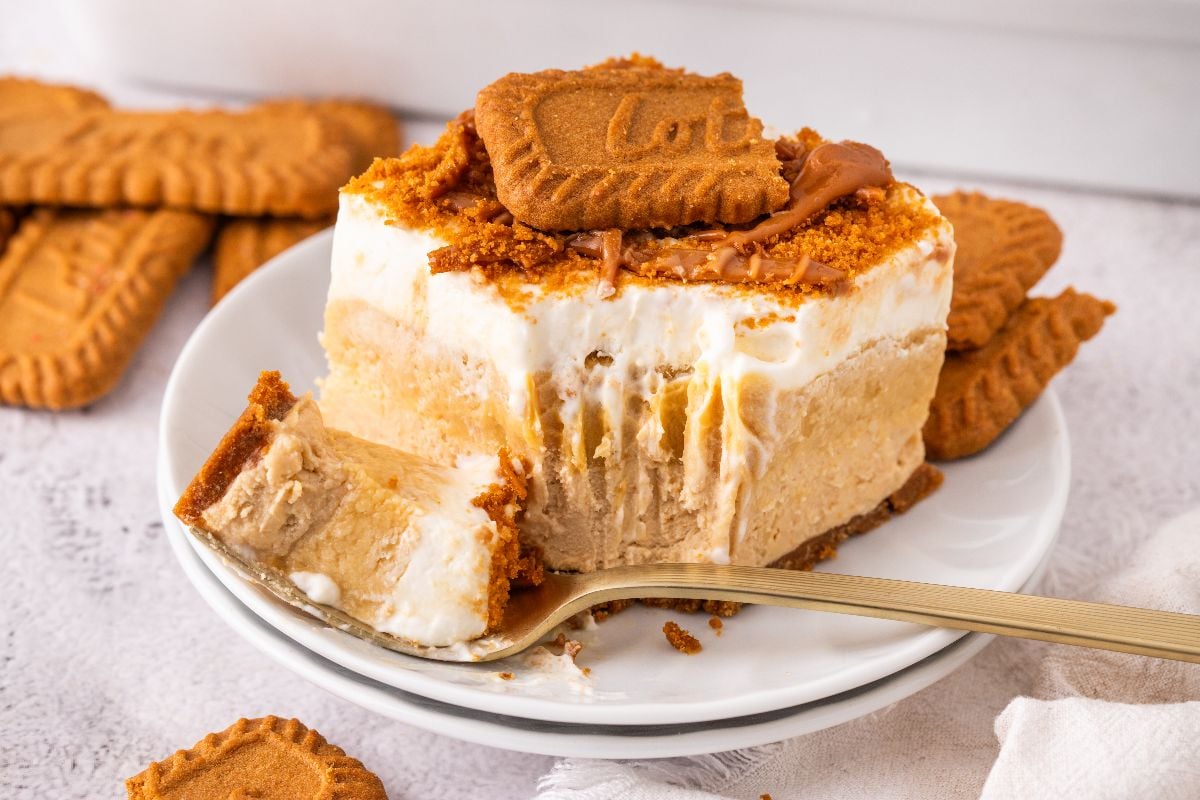
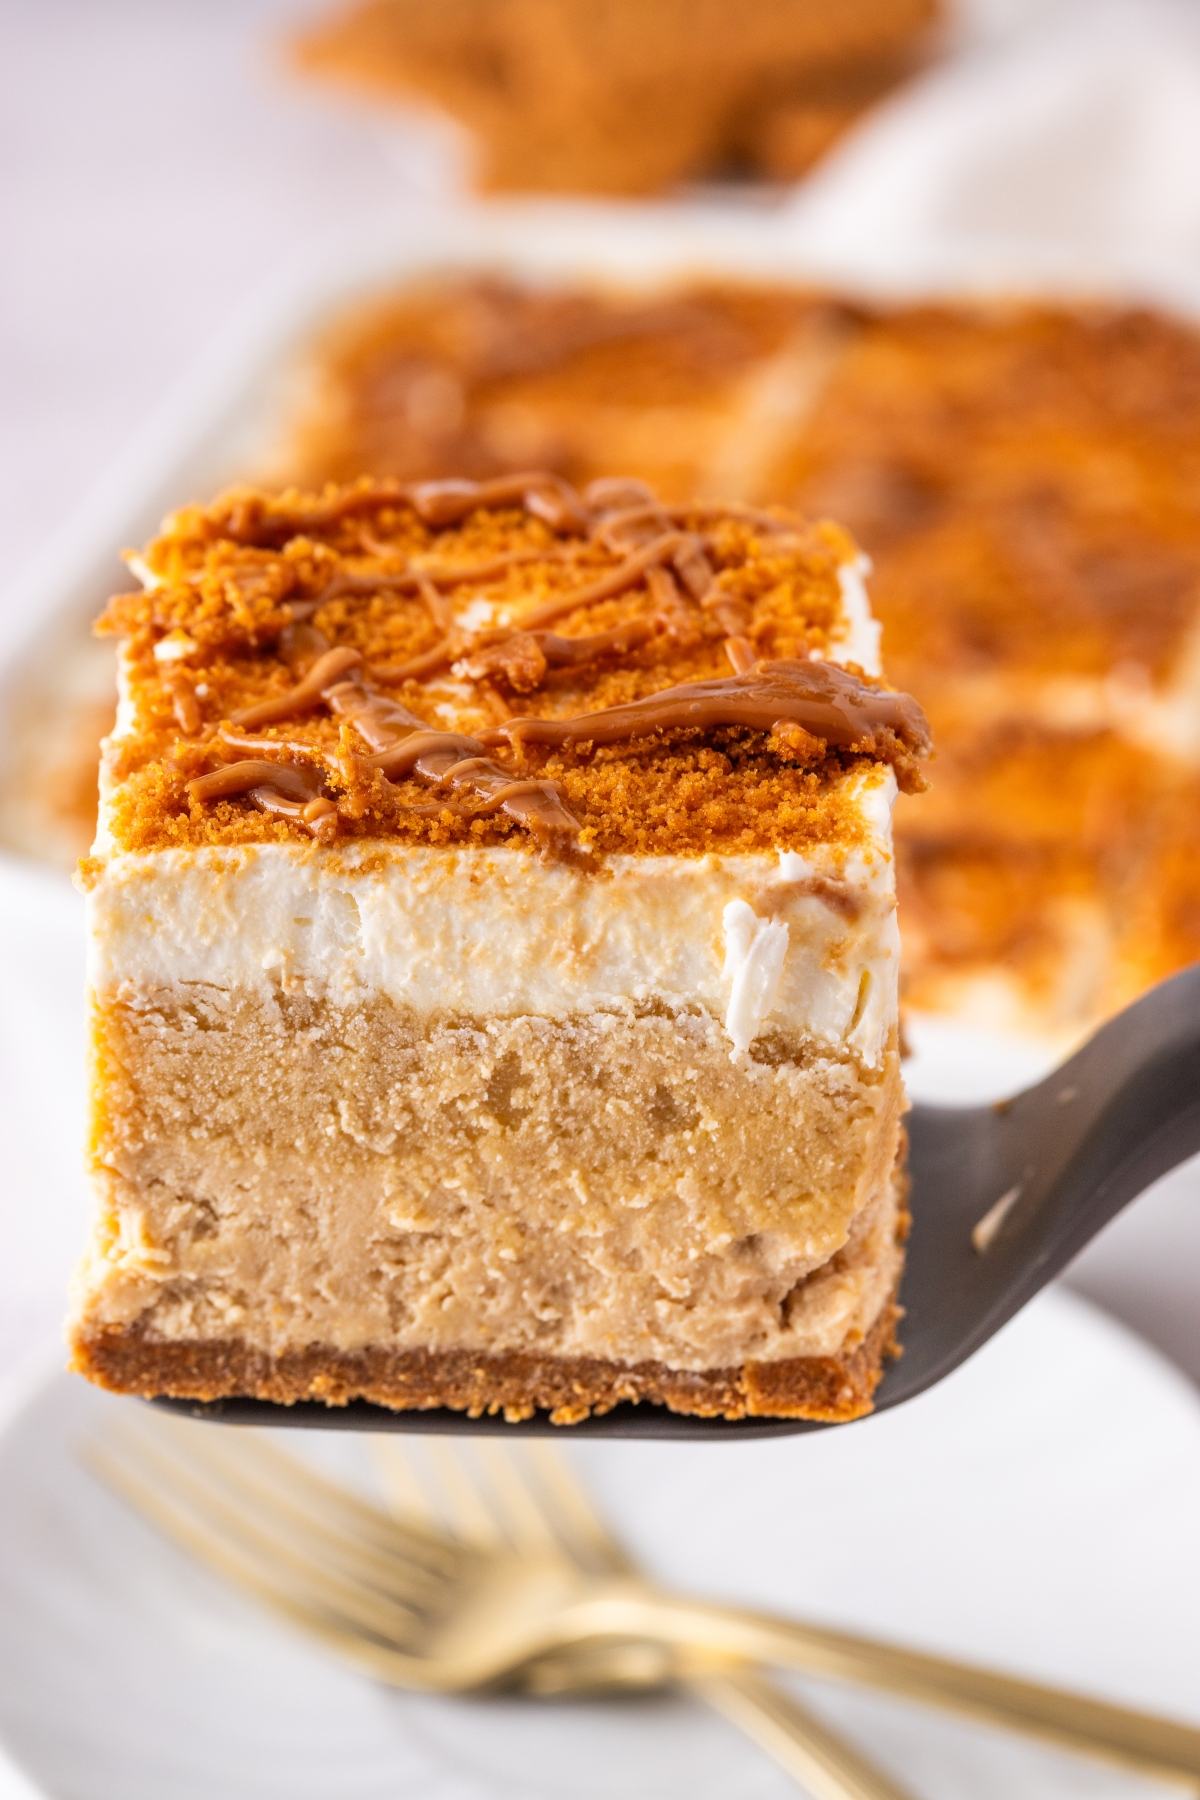
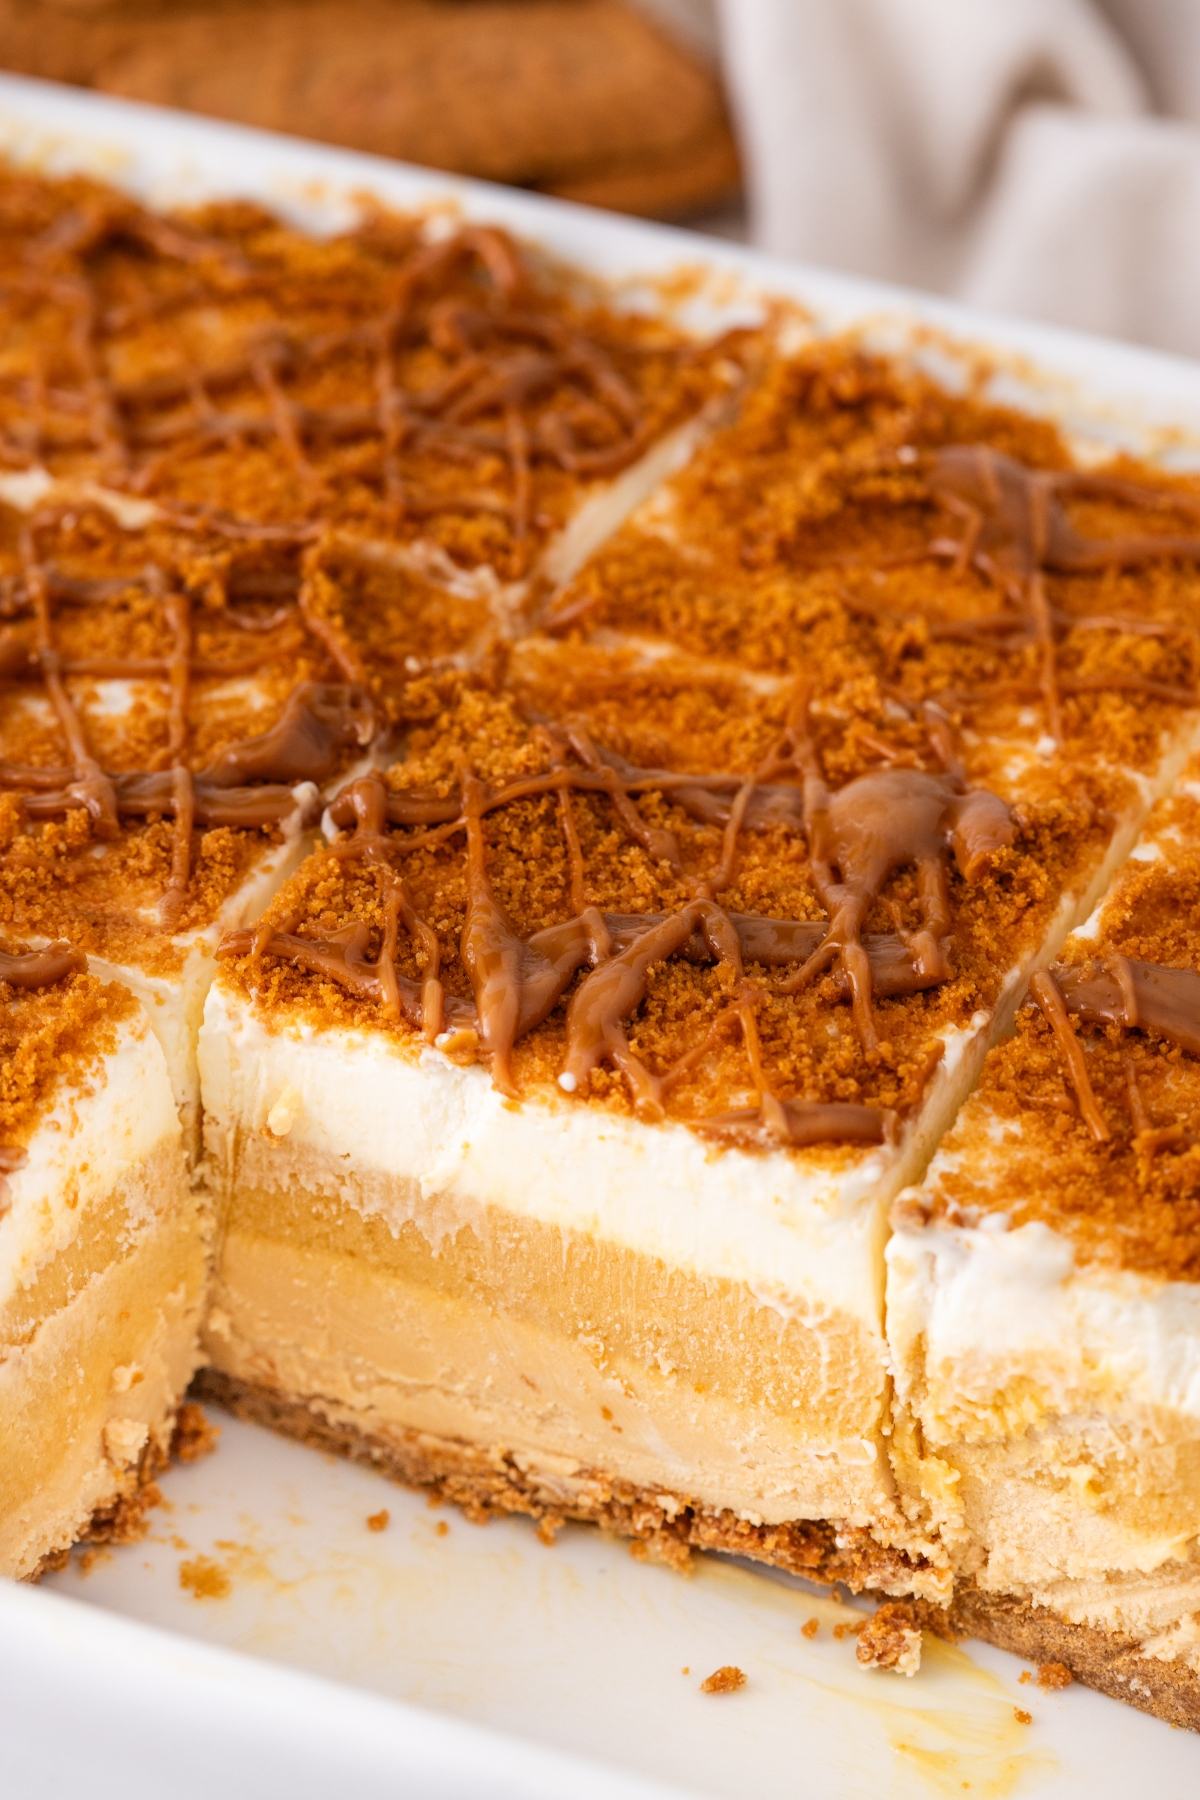
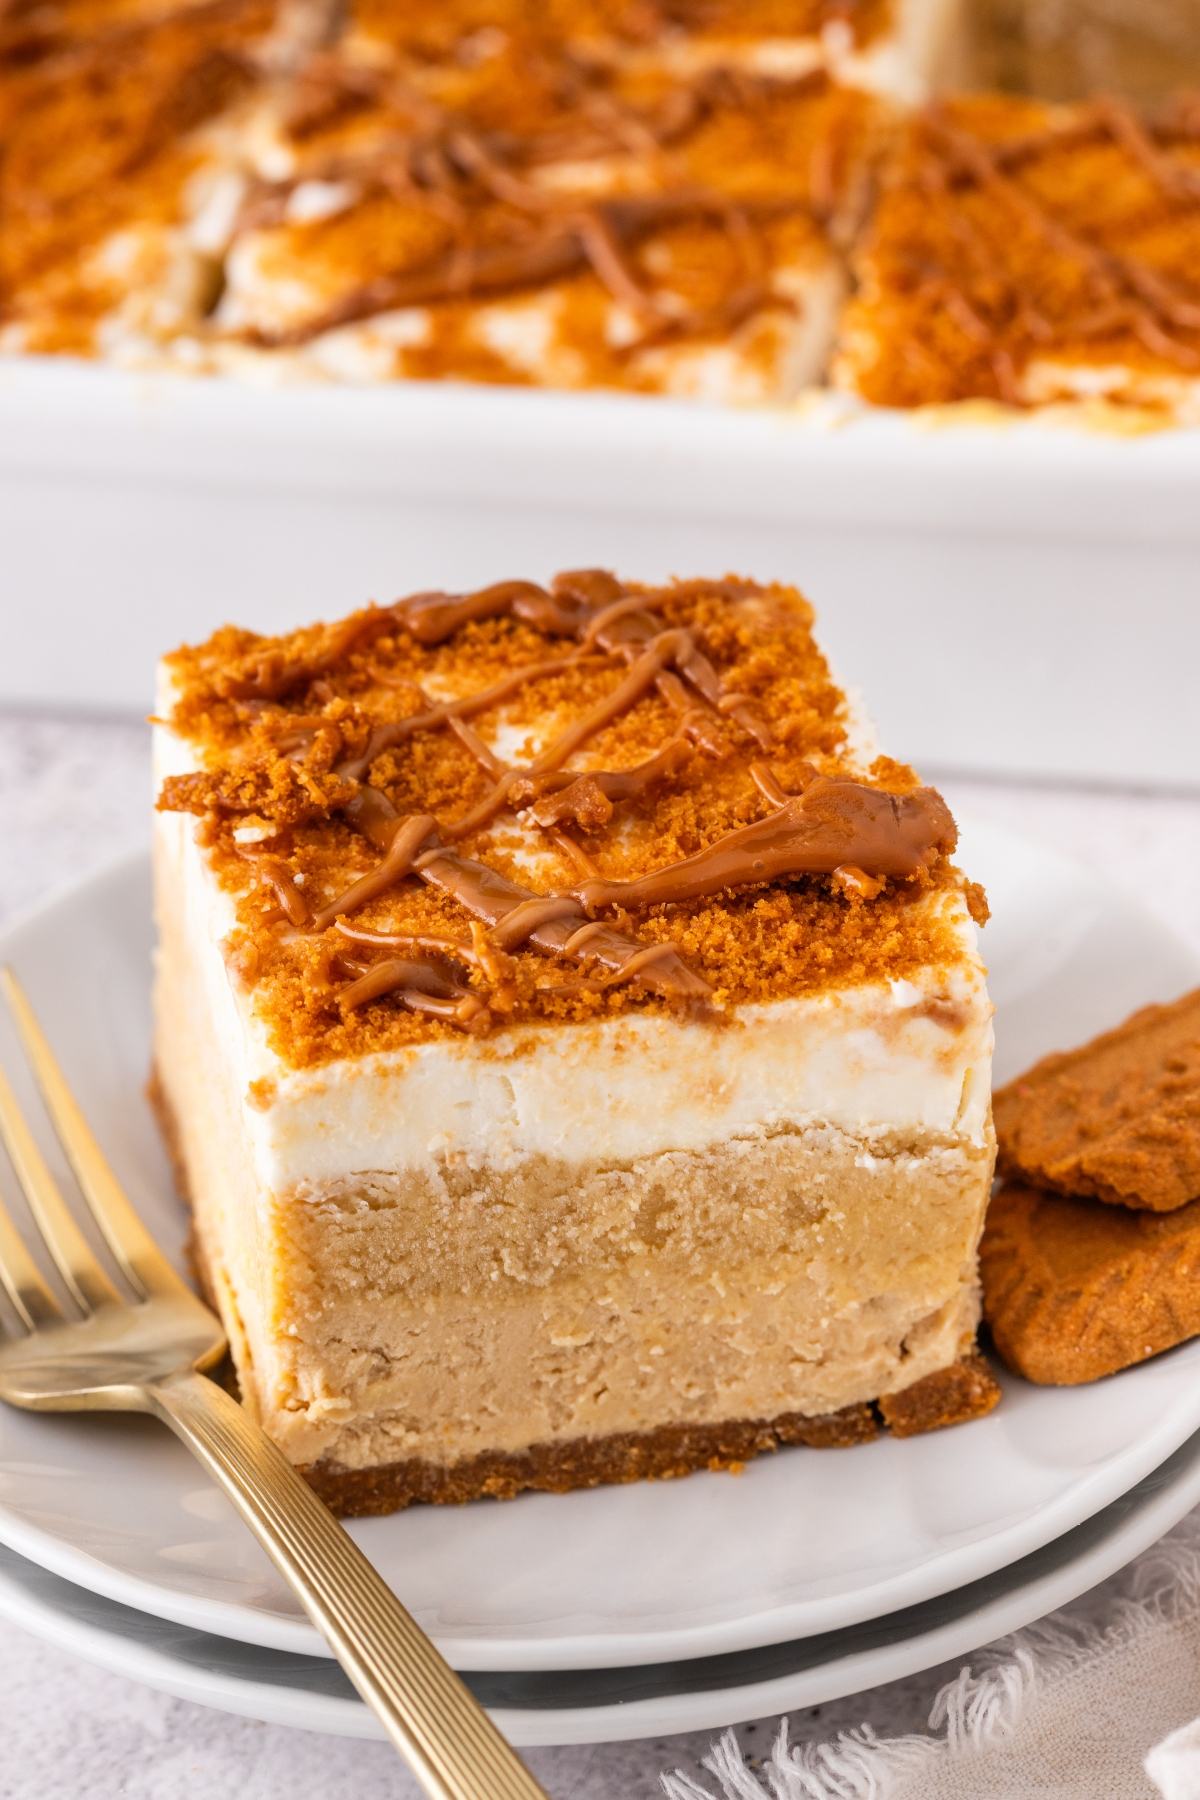
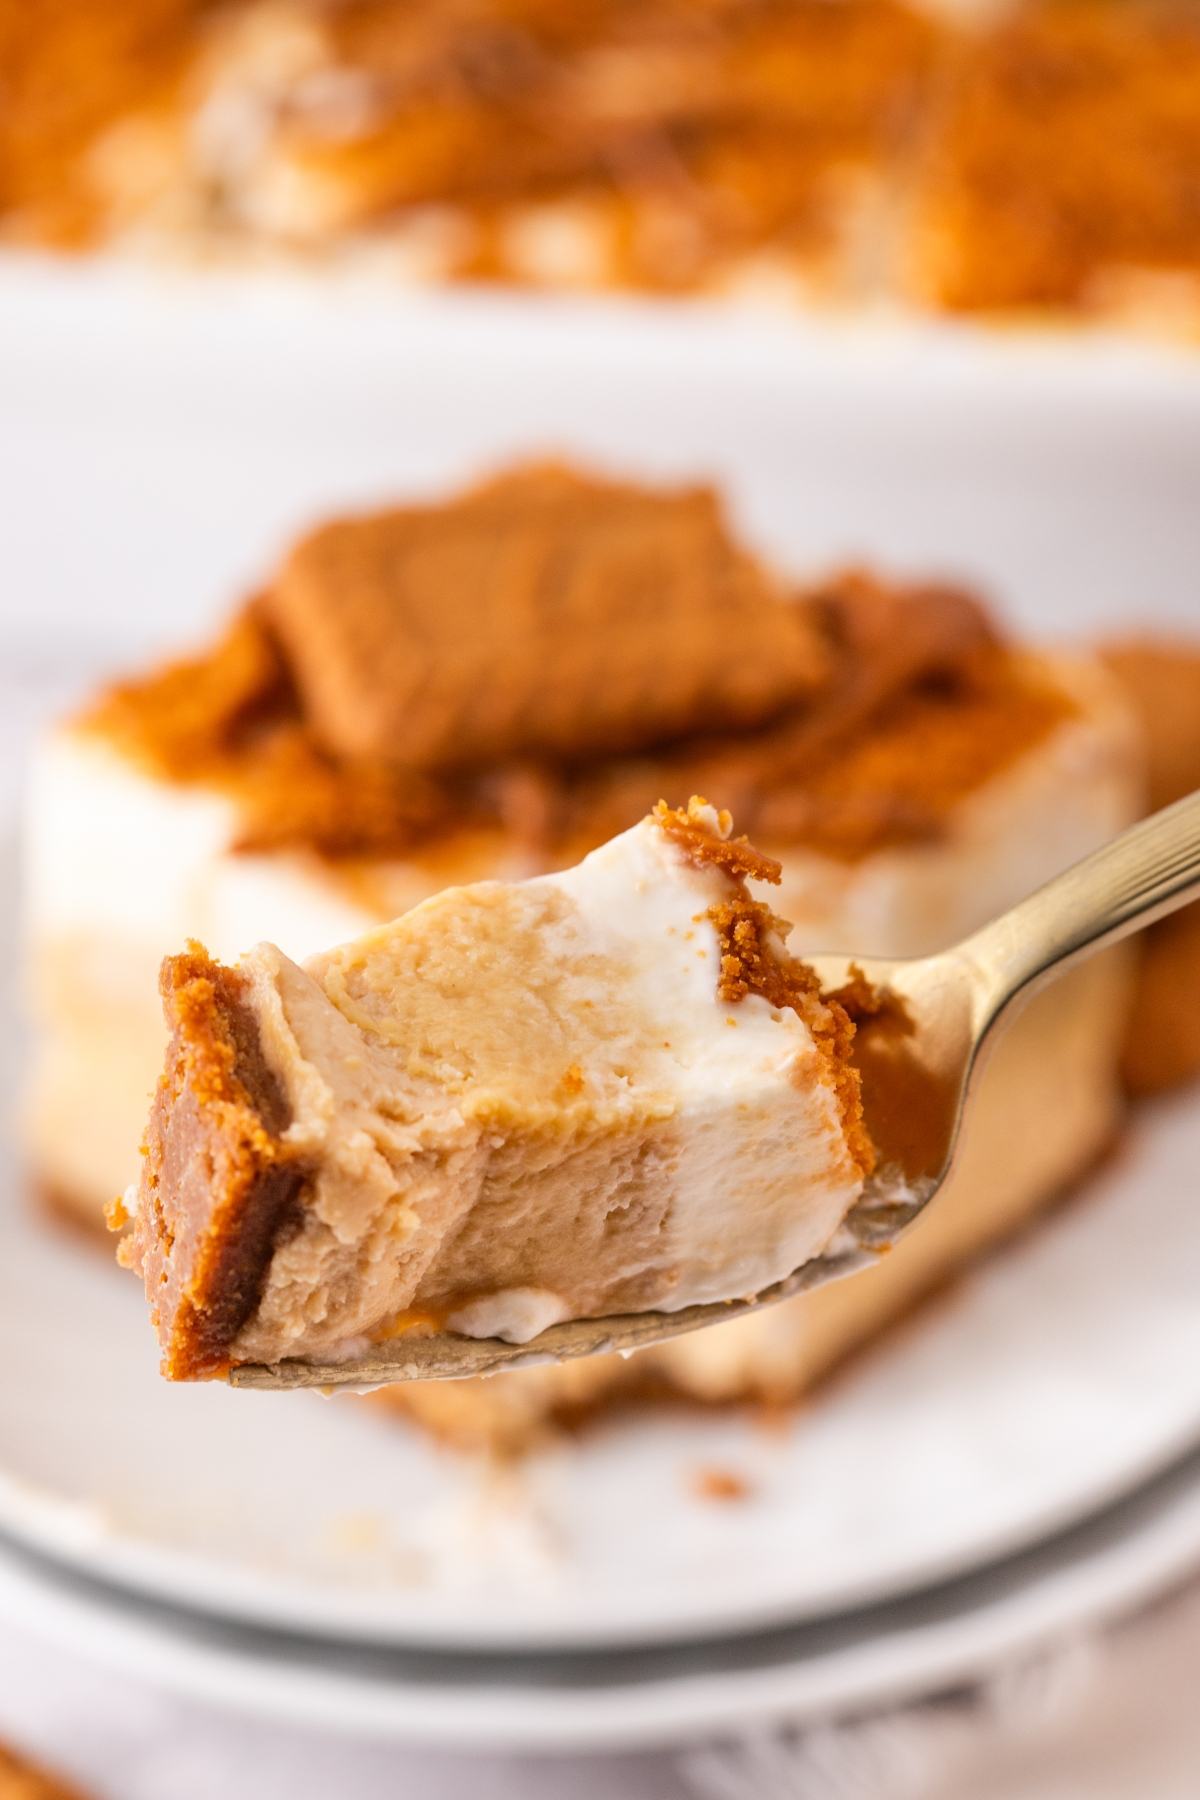
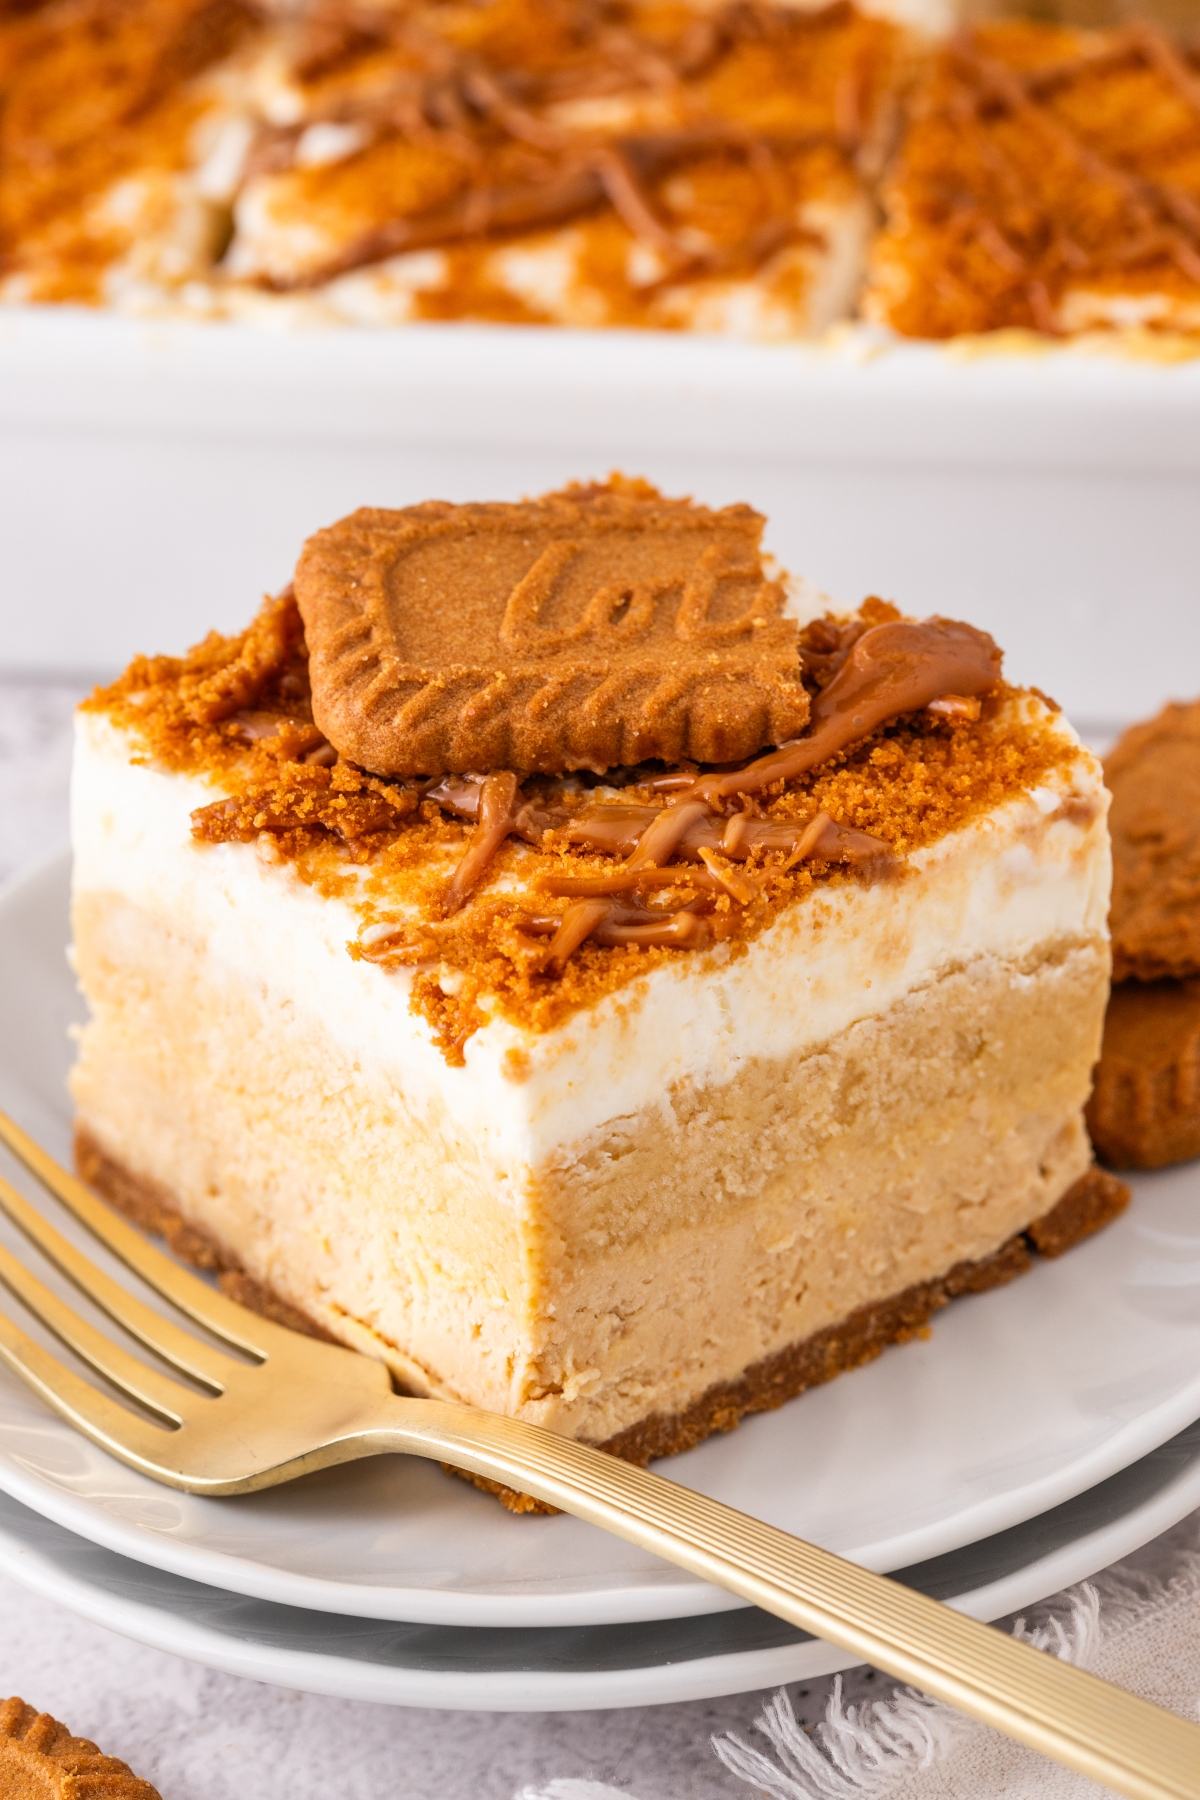
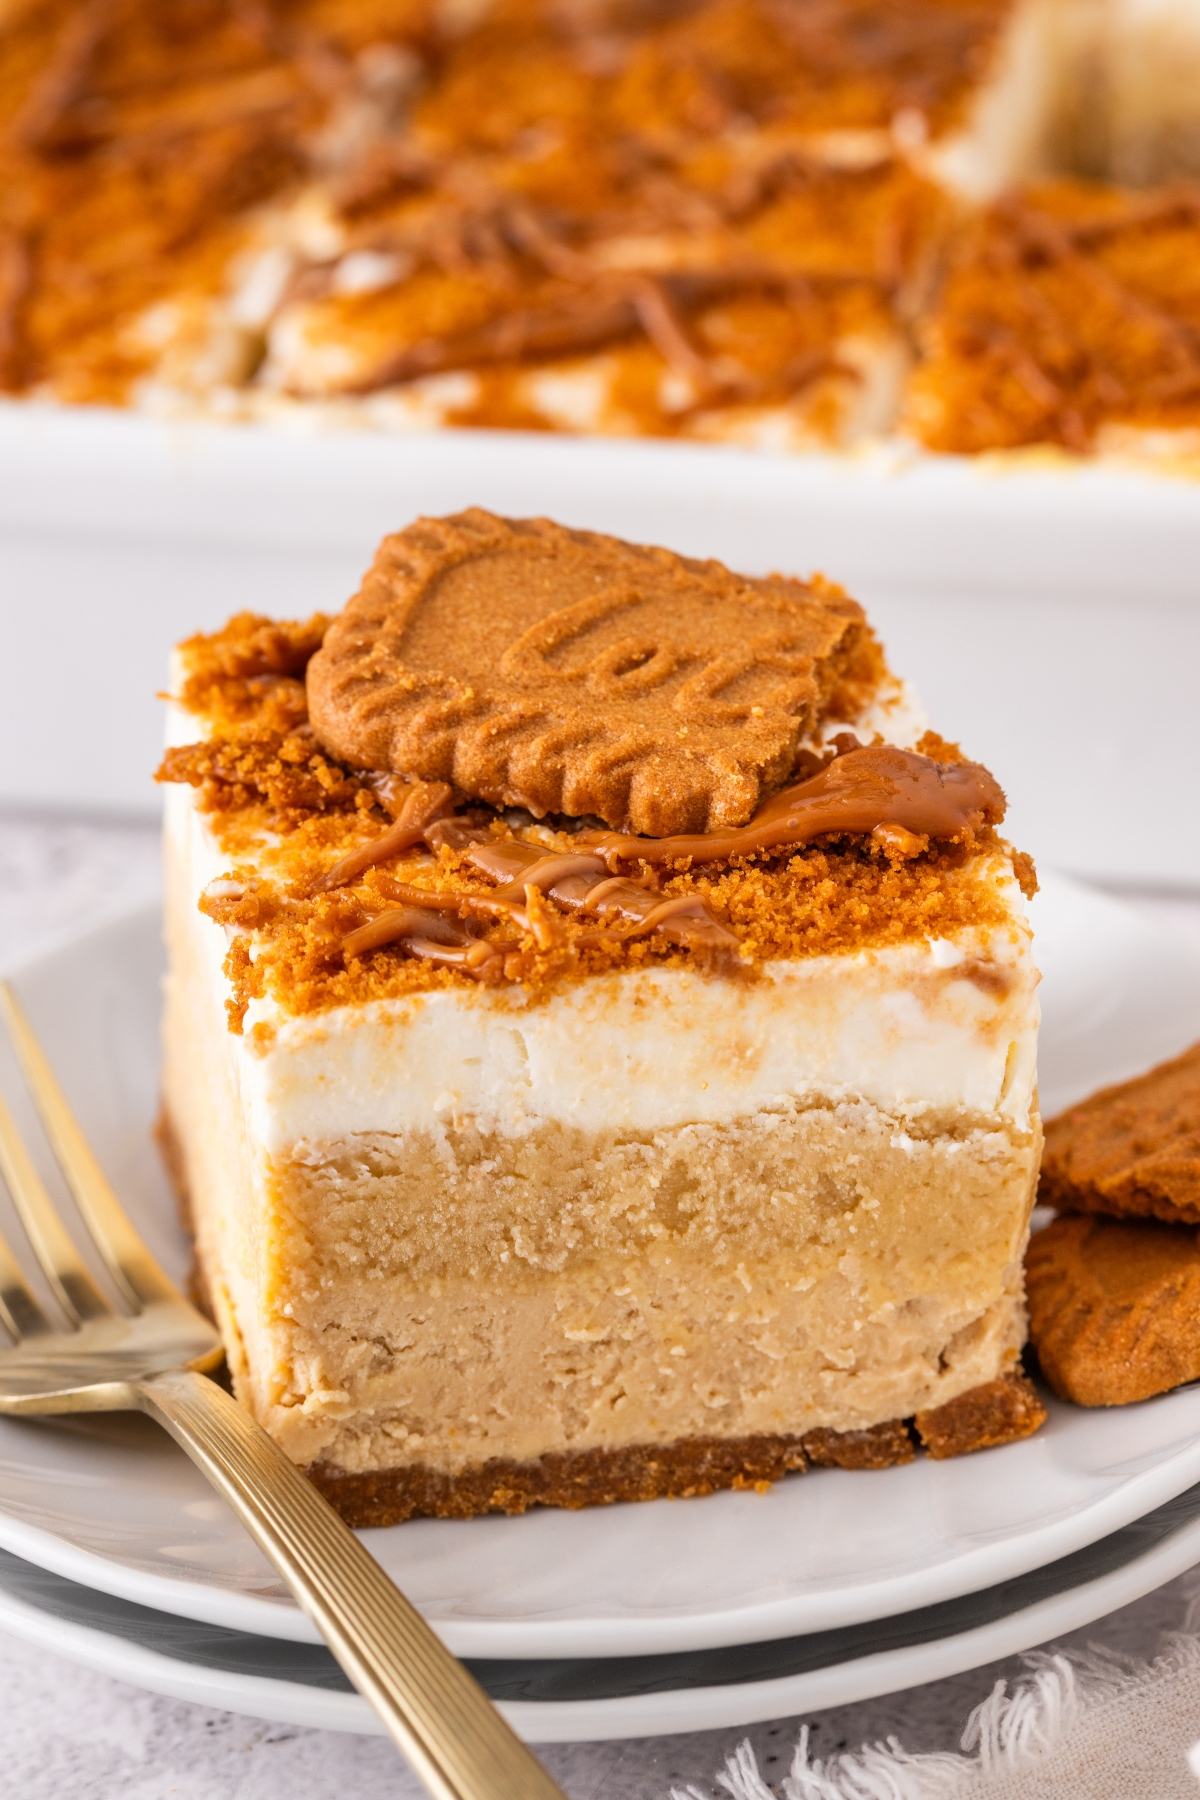
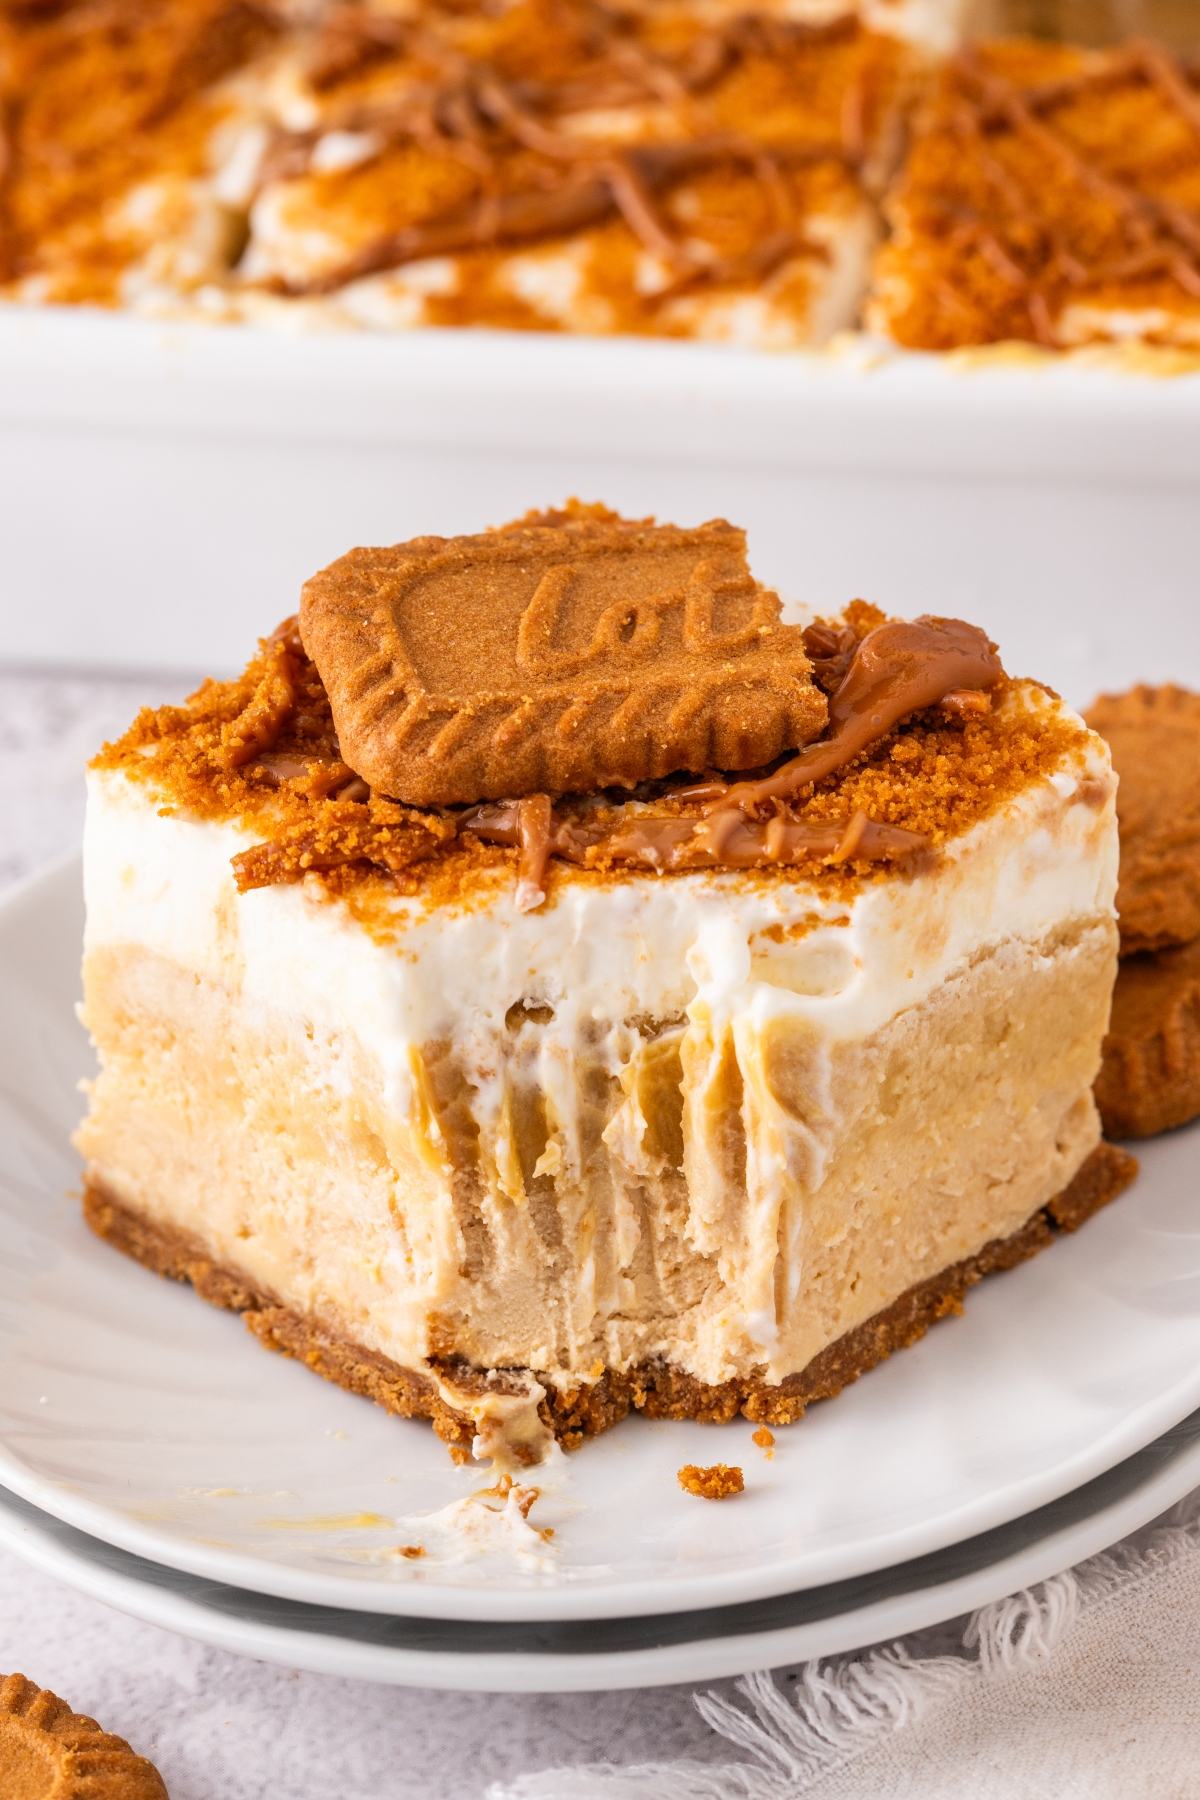
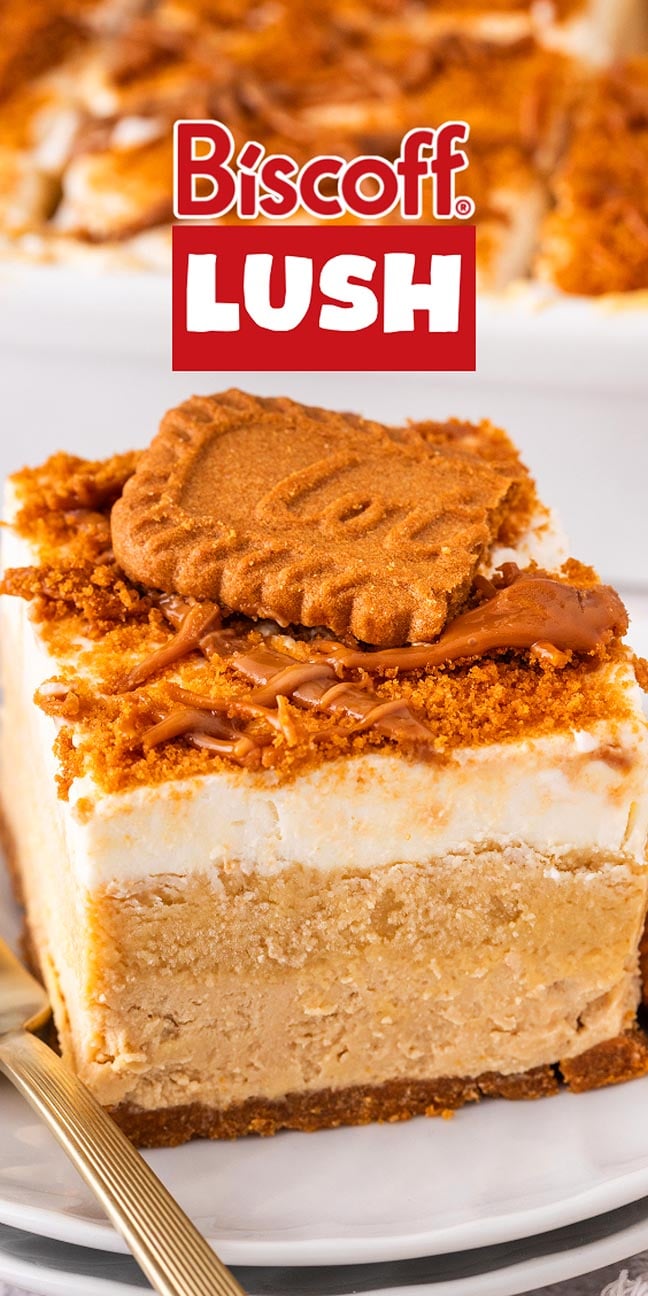
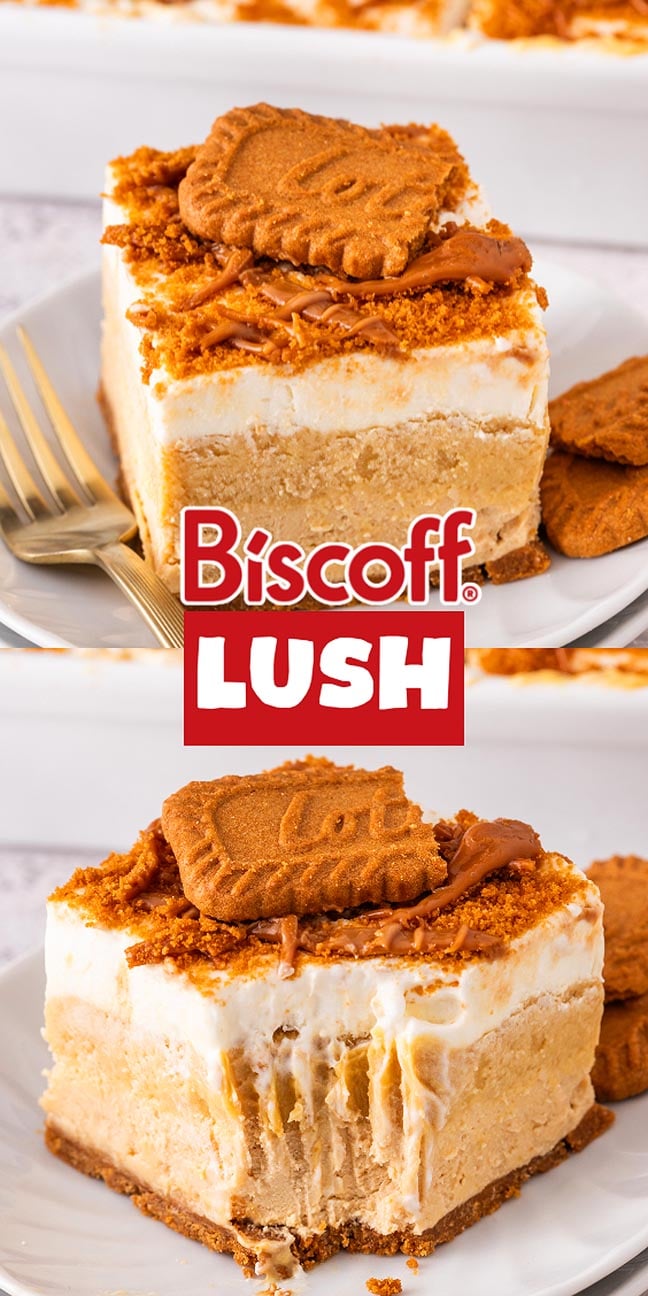
This Biscoff lush has layers of Biscoff cookie crust, creamy cookie butter cheesecake filling, vanilla pudding and whipped cream. I love how you get Biscoff in the crust, filling and topping, but the pudding and whipped cream keep the whole thing from feeling too heavy. It’s completely no-bake, although you’ll want to give it plenty of time to chill so those layers set properly. The cookie butter drizzle and crushed cookies on top are my favorite way to finish it.
Why You’ll Love It

Biscoff lush is a no-bake layered dessert with a cookie crust, cookie butter cheesecake layer, vanilla pudding mousse and whipped topping, finished with crushed cookies.
No oven needed: Everything is mixed, layered and chilled, so this is a good dessert when I don’t want to turn on the oven.
So much Biscoff: There’s Biscoff in the cookie crust, cheesecake layer, pudding layer and topping. I especially like adding that warm cookie butter drizzle at the end.
Creamy with some crunch: The cheesecake and pudding layers are really creamy, while the cookie crust and crushed Biscoff topping give you some crunch.
Make it ahead: This needs at least 4 hours to chill anyway, and I think it’s even better made the day before so the layers have plenty of time to set.
More no bake dessert ideas include Biscoff tiramisu, Biscoff cake, cannoli cheesecake, banana pudding pie, blueberry lush, key lime lush and rocky road bites.
No Bake Biscoff Dessert Ingredients
A complete list of ingredients and amounts can be found in the recipe card below.
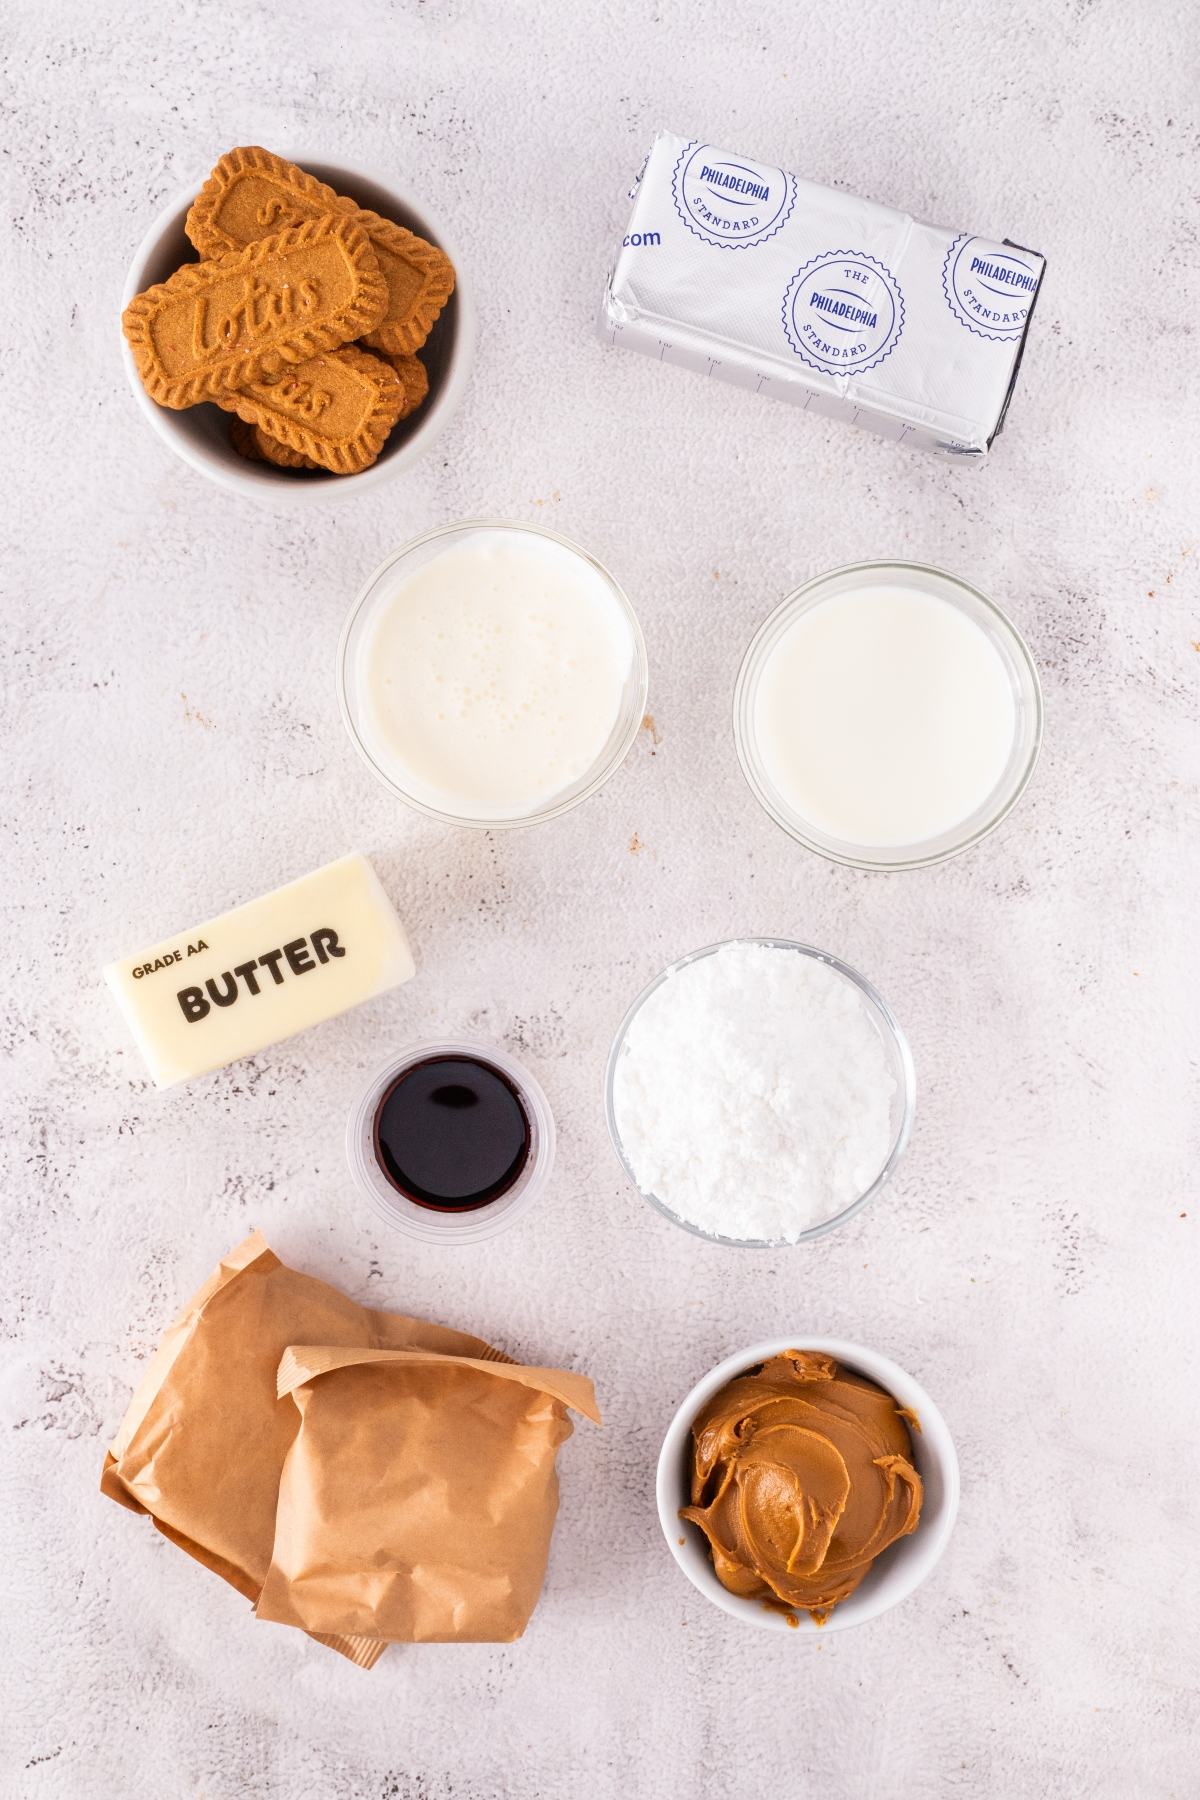
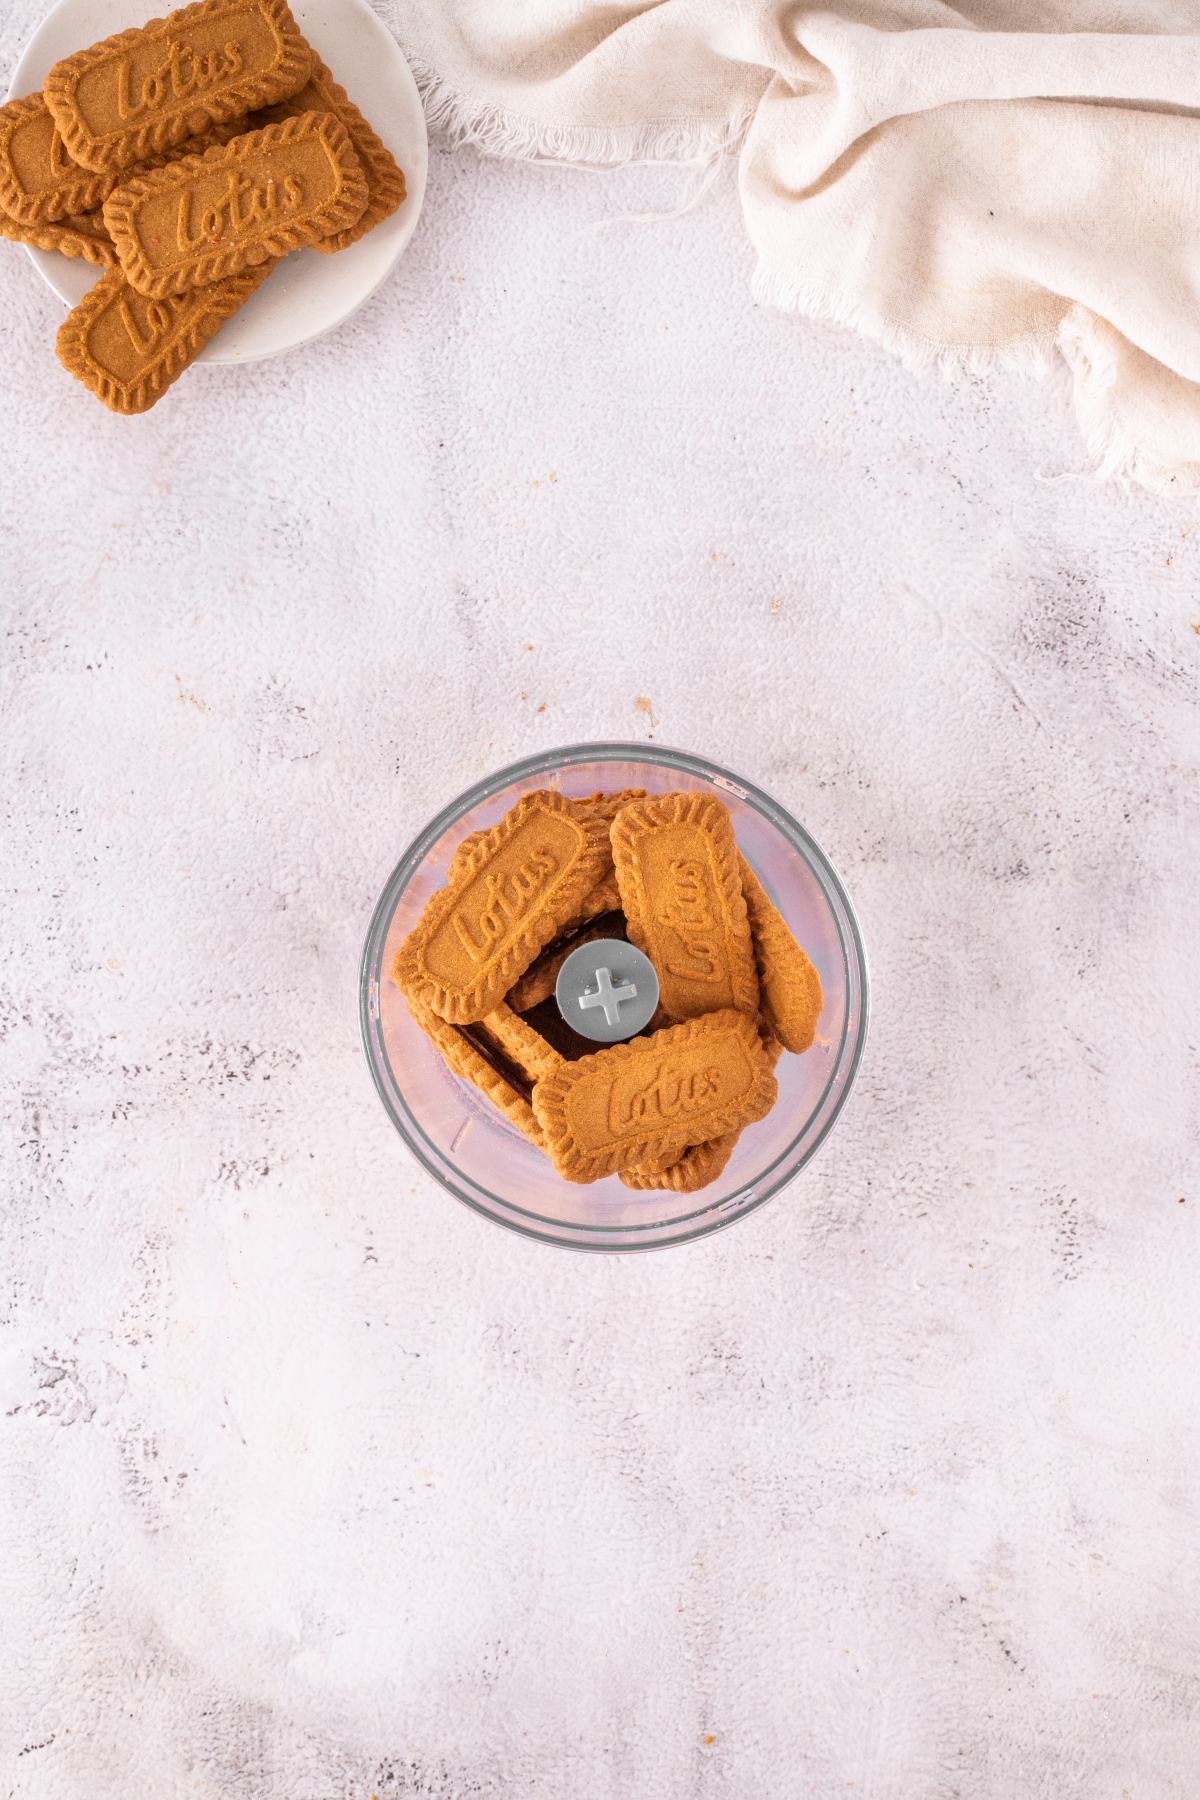
Biscoff cookies: You’ll crush these for the crust and use more on top. About 25 cookies will give you the 2 Cups of crumbs needed for the crust.
Unsalted butter: Melted butter binds the cookie crumbs together so the crust holds its shape when chilled.
Cream cheese: Let it soften before mixing so you get a smooth cheesecake layer without little lumps of cream cheese.
Biscoff cookie butter: This goes into both creamy layers and gets warmed for the drizzle on top, so there’s Biscoff flavor throughout the dessert.
Powdered sugar: Sweetens the cream cheese layer and mixes in smoothly.
Instant vanilla pudding mix: Make sure you use instant pudding rather than cook-and-serve so the pudding layer sets properly.
Cold milk: Cold milk helps the instant pudding thicken.
Vanilla extract: A little goes into the pudding layer.
Whipped cream or whipped topping: You’ll use this in the cheesecake layer and again for the topping.
How to Make Biscoff Cookie Butter Lush
For more detailed instructions with weights and measurements, jump to the printable recipe card.
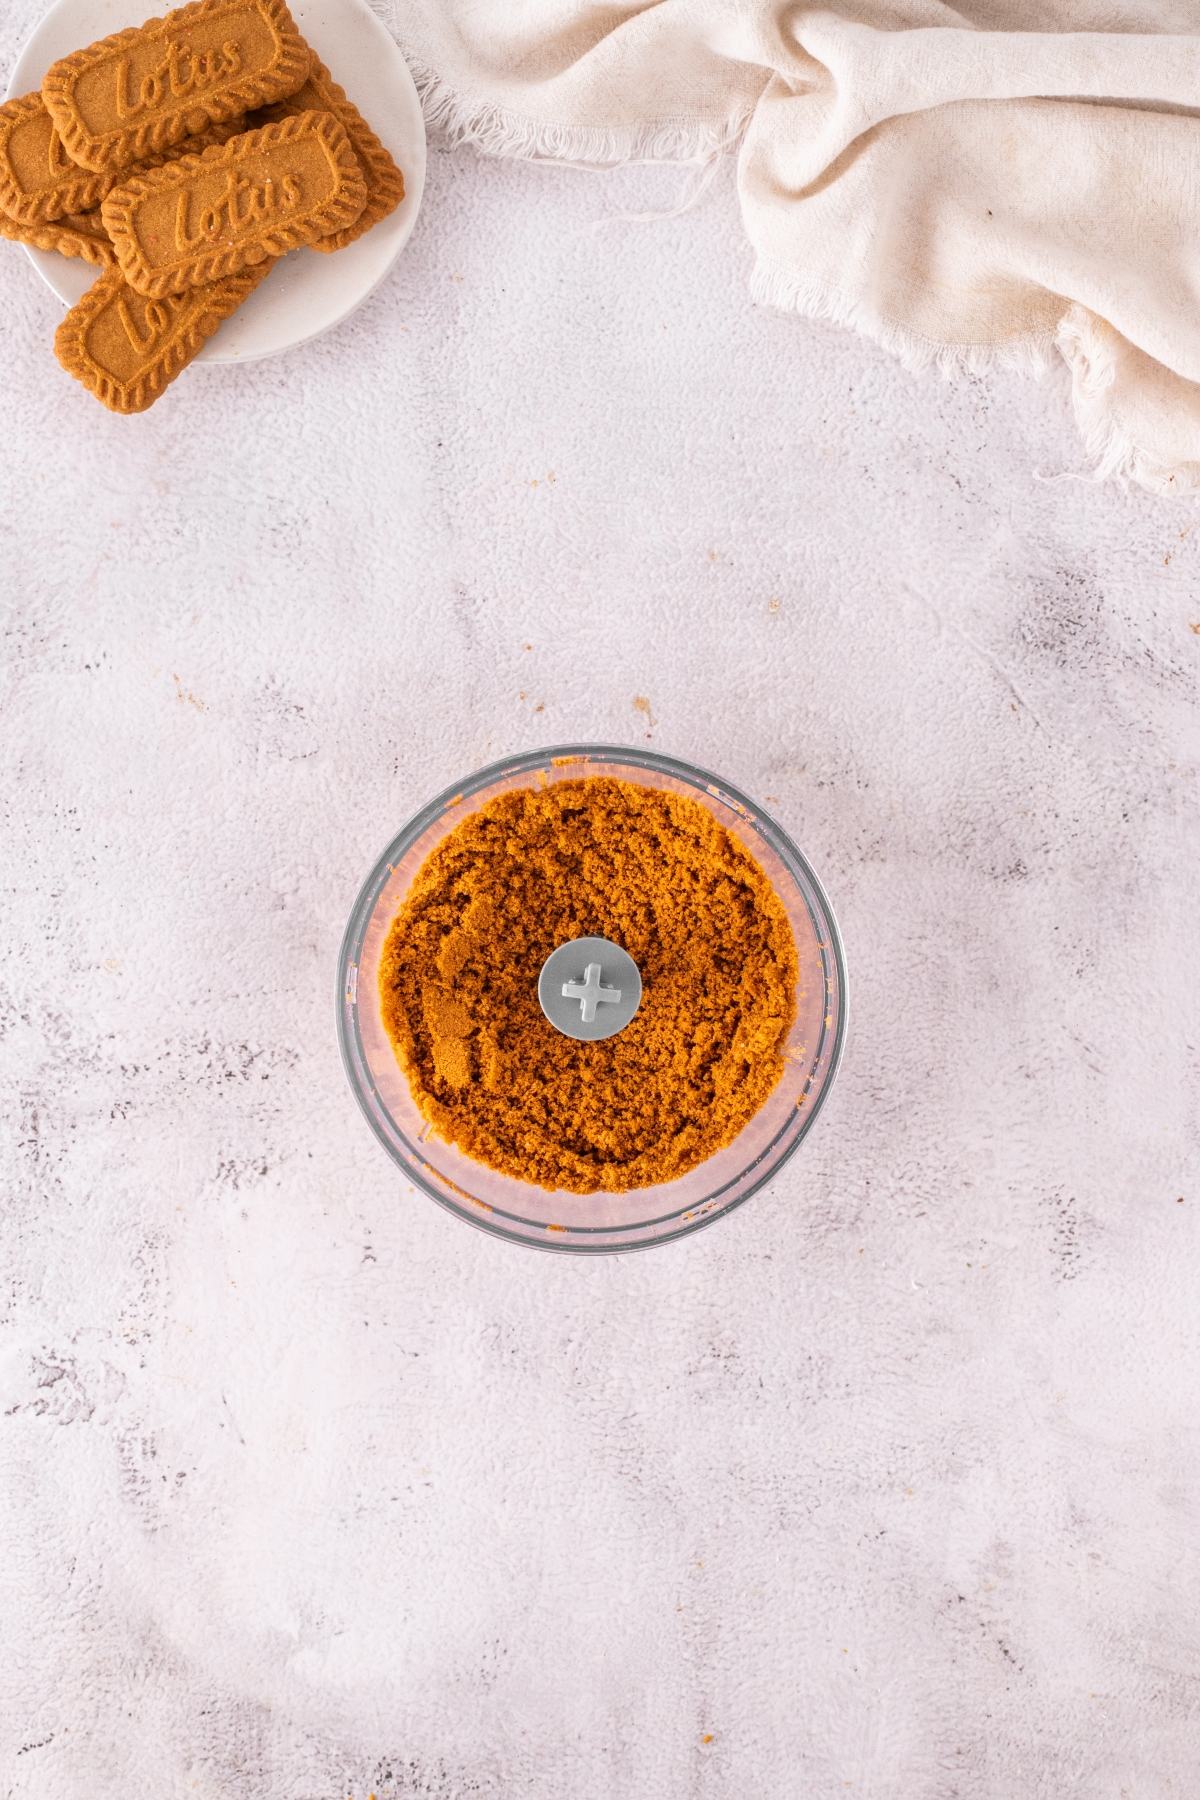
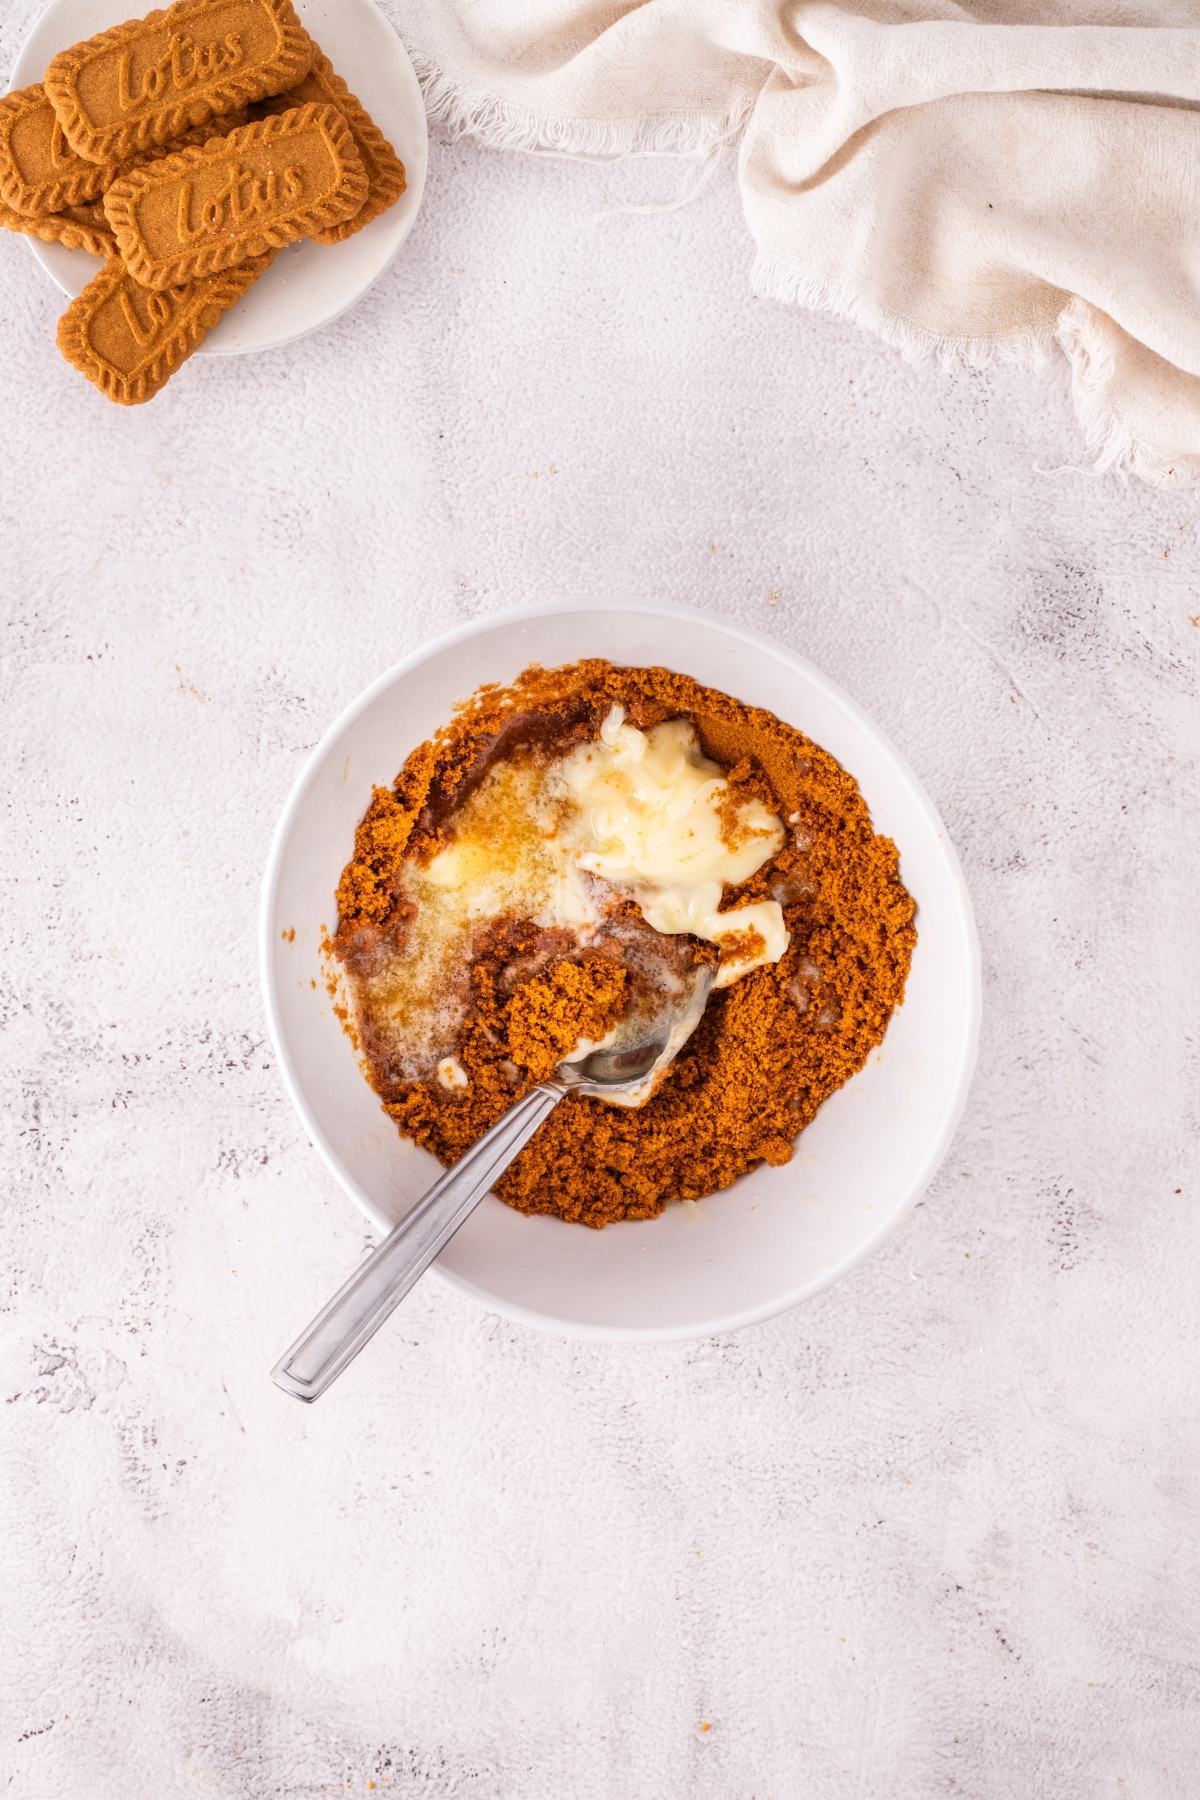
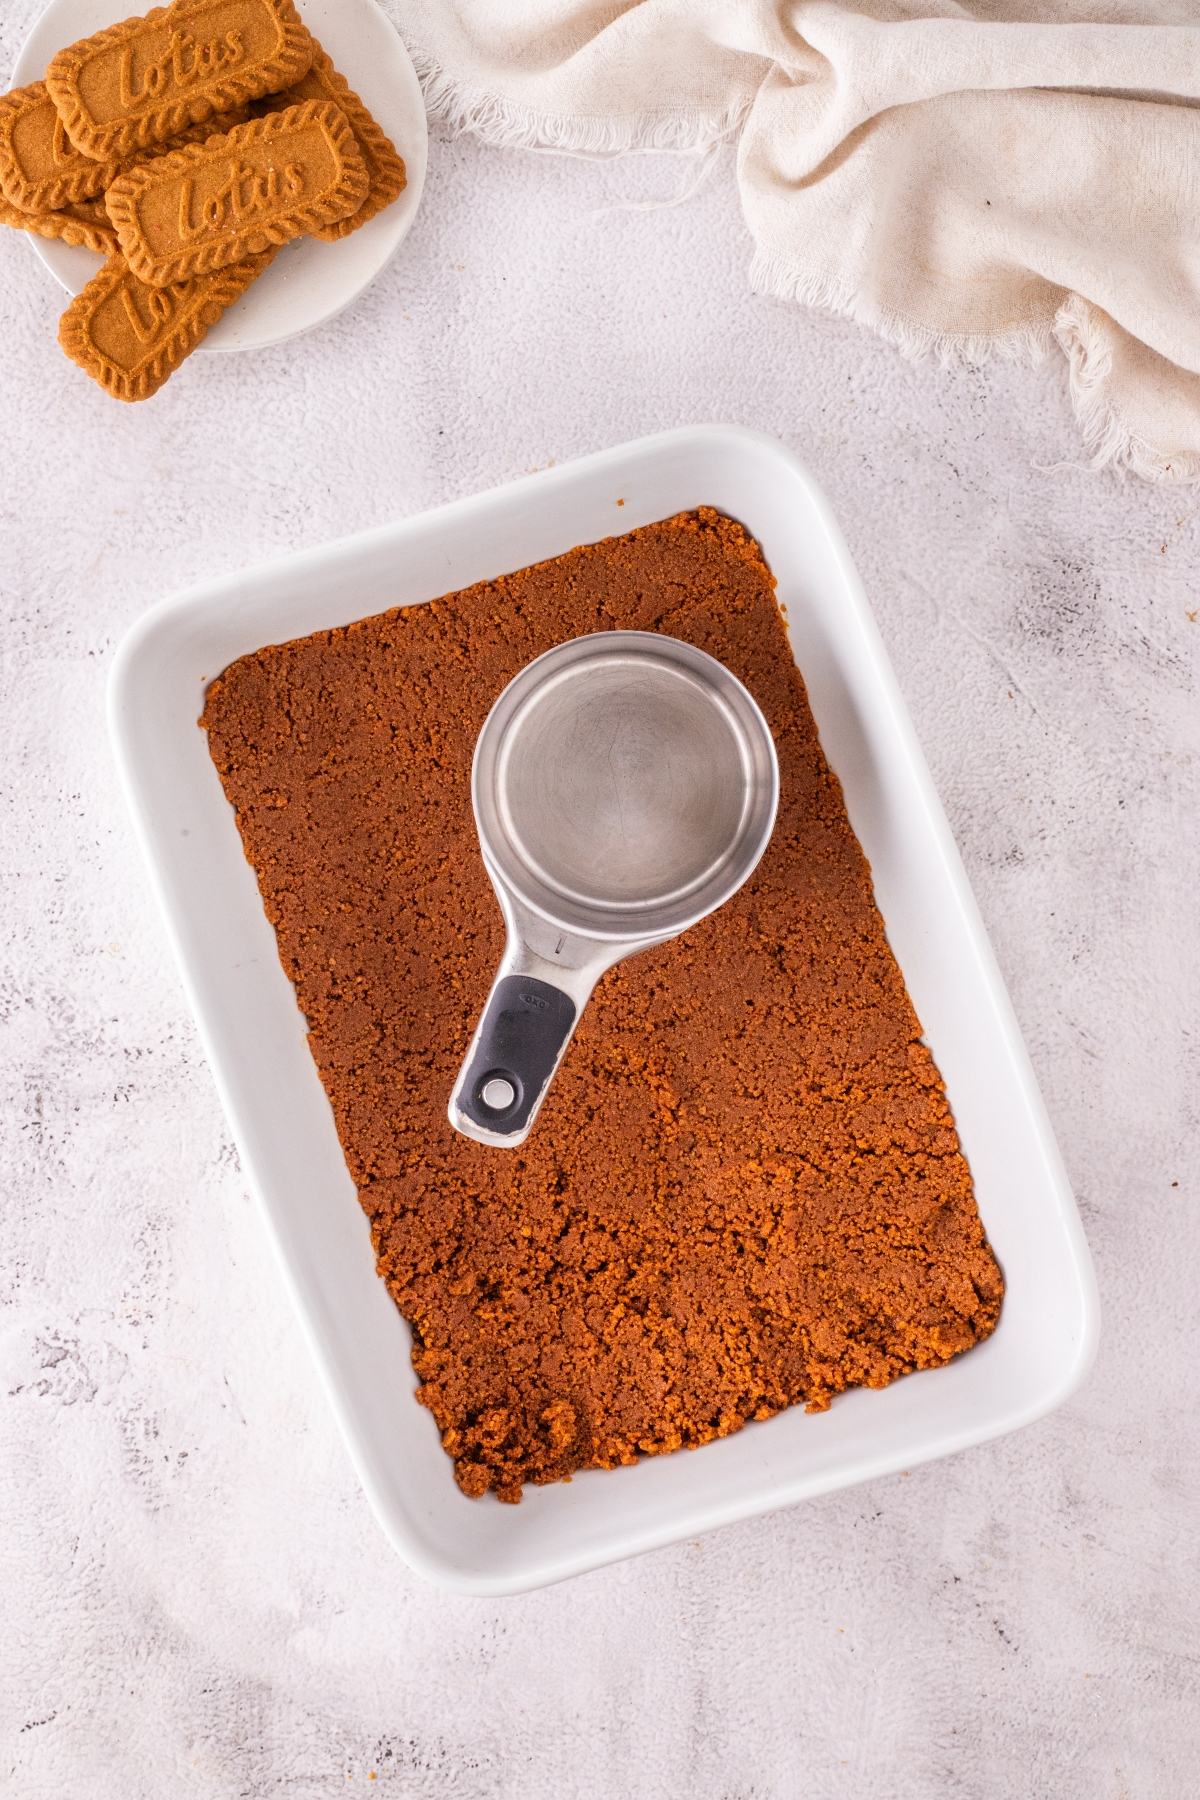
Make the crust: Combine the Biscoff cookie crumbs with melted butter, press them firmly into a 9 x 13-inch dish and chill while you make the next layer.
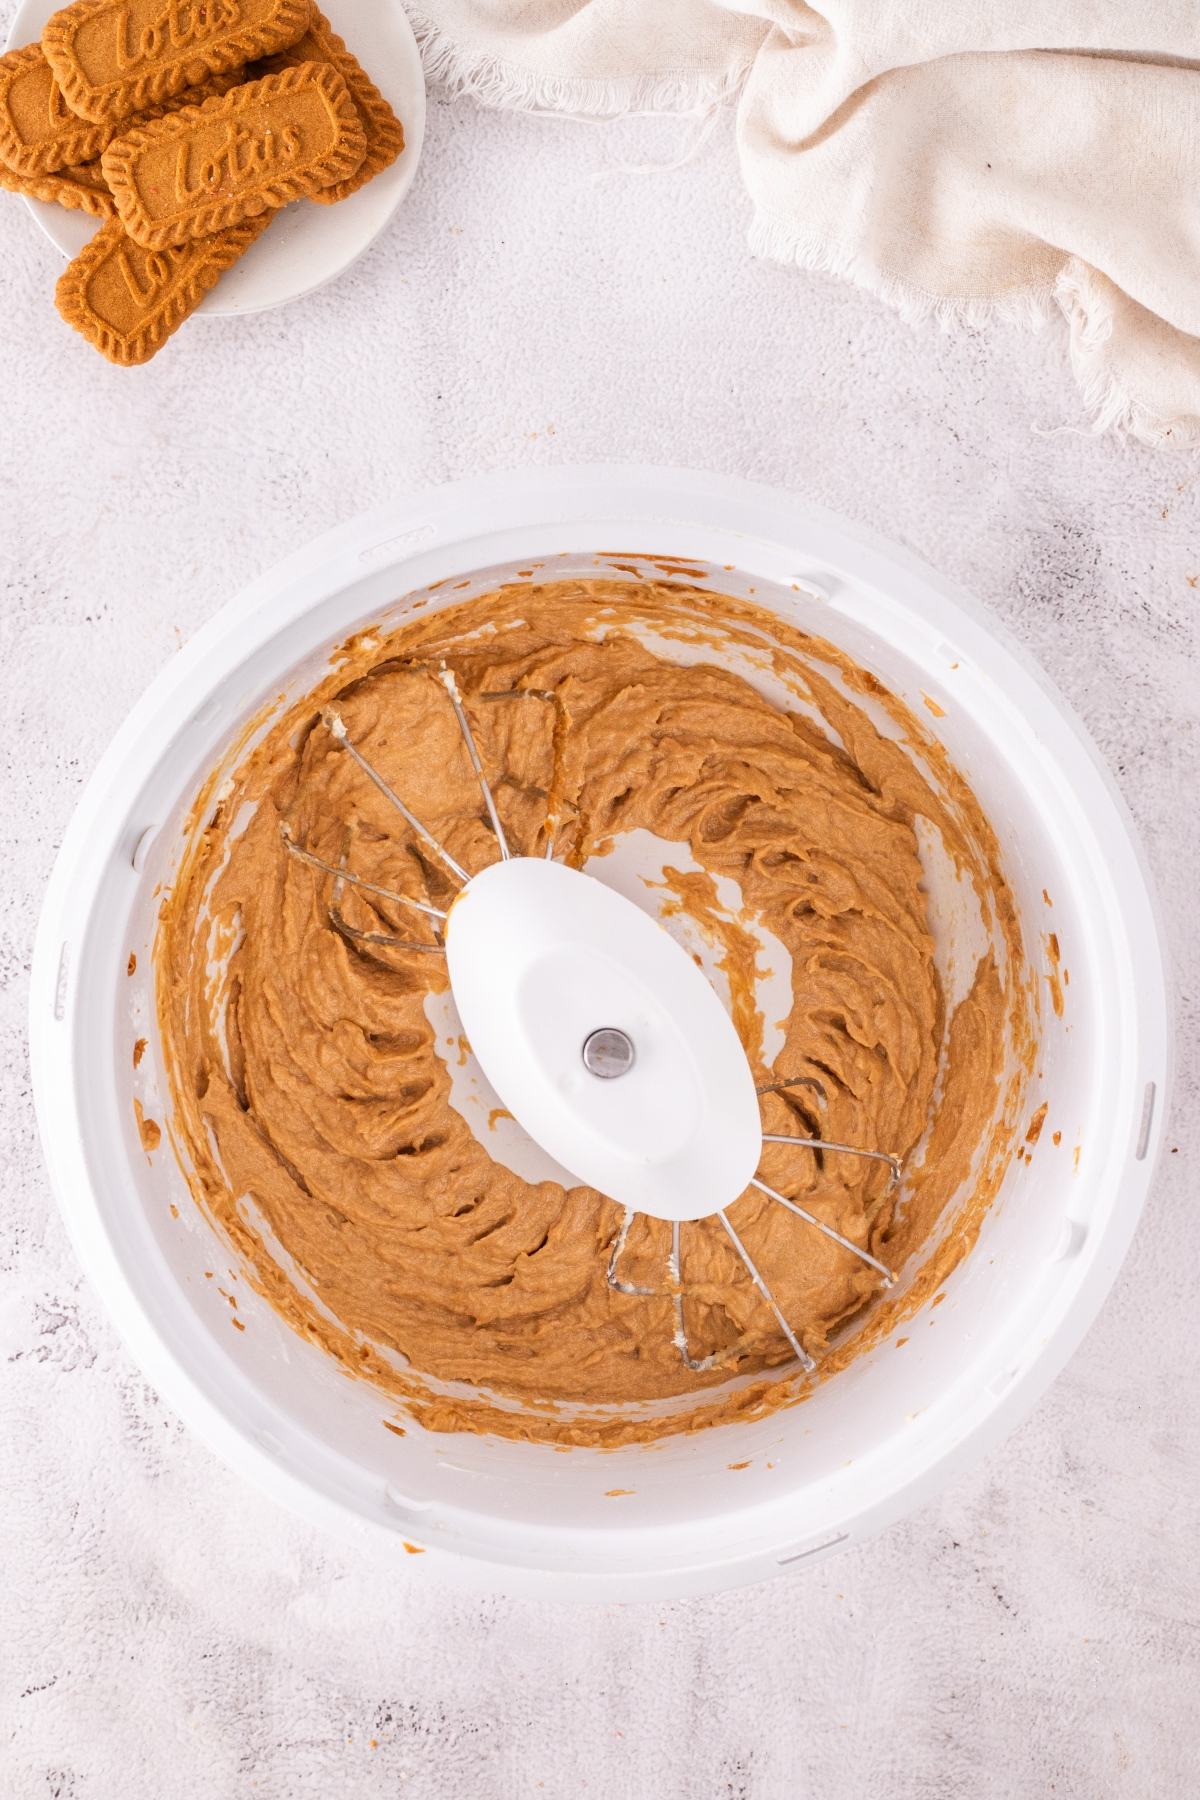
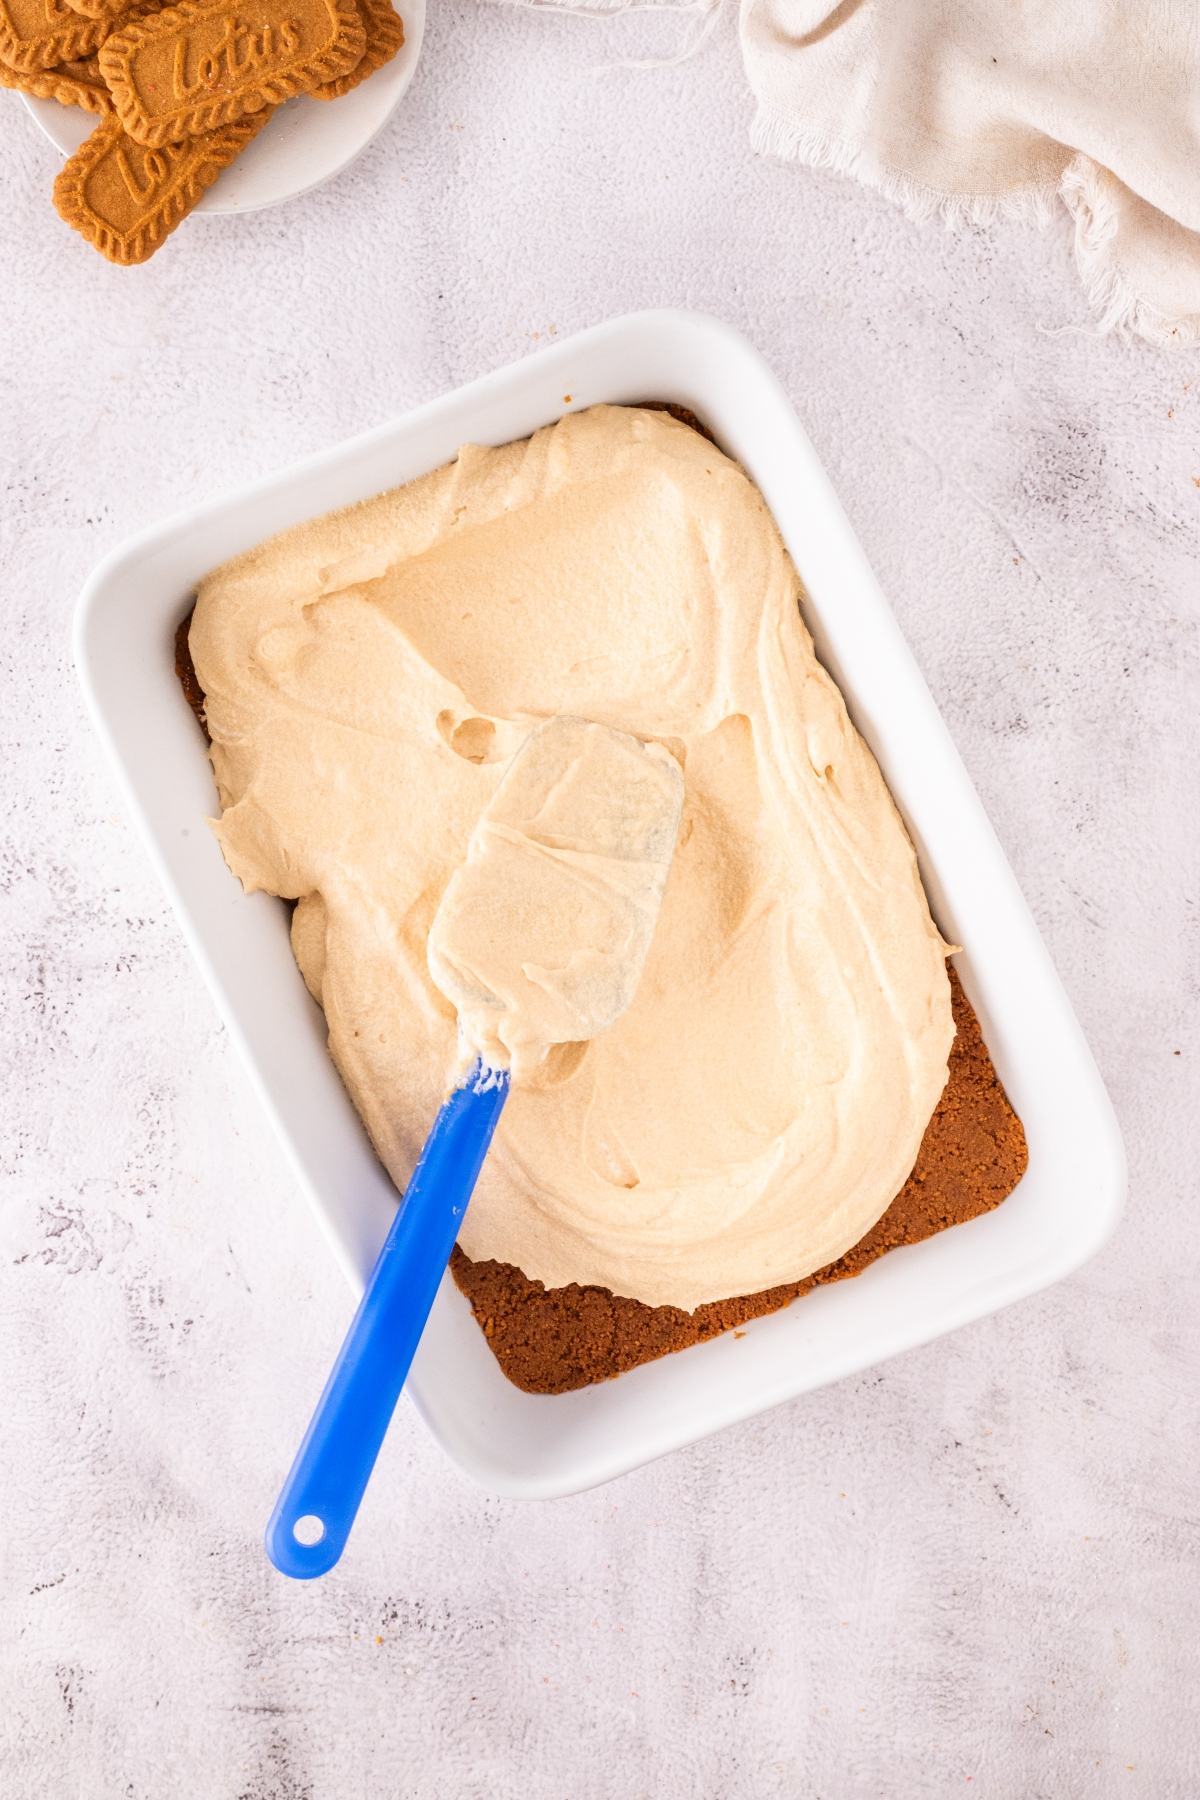
Make the cheesecake layer: Beat the cream cheese, cookie butter and powdered sugar until smooth, then fold in the whipped cream and spread it over the chilled crust.
Make the pudding layer: Whisk the instant pudding with cold milk until it starts to thicken, then add the cookie butter and vanilla. Gently spread it over the cheesecake layer.
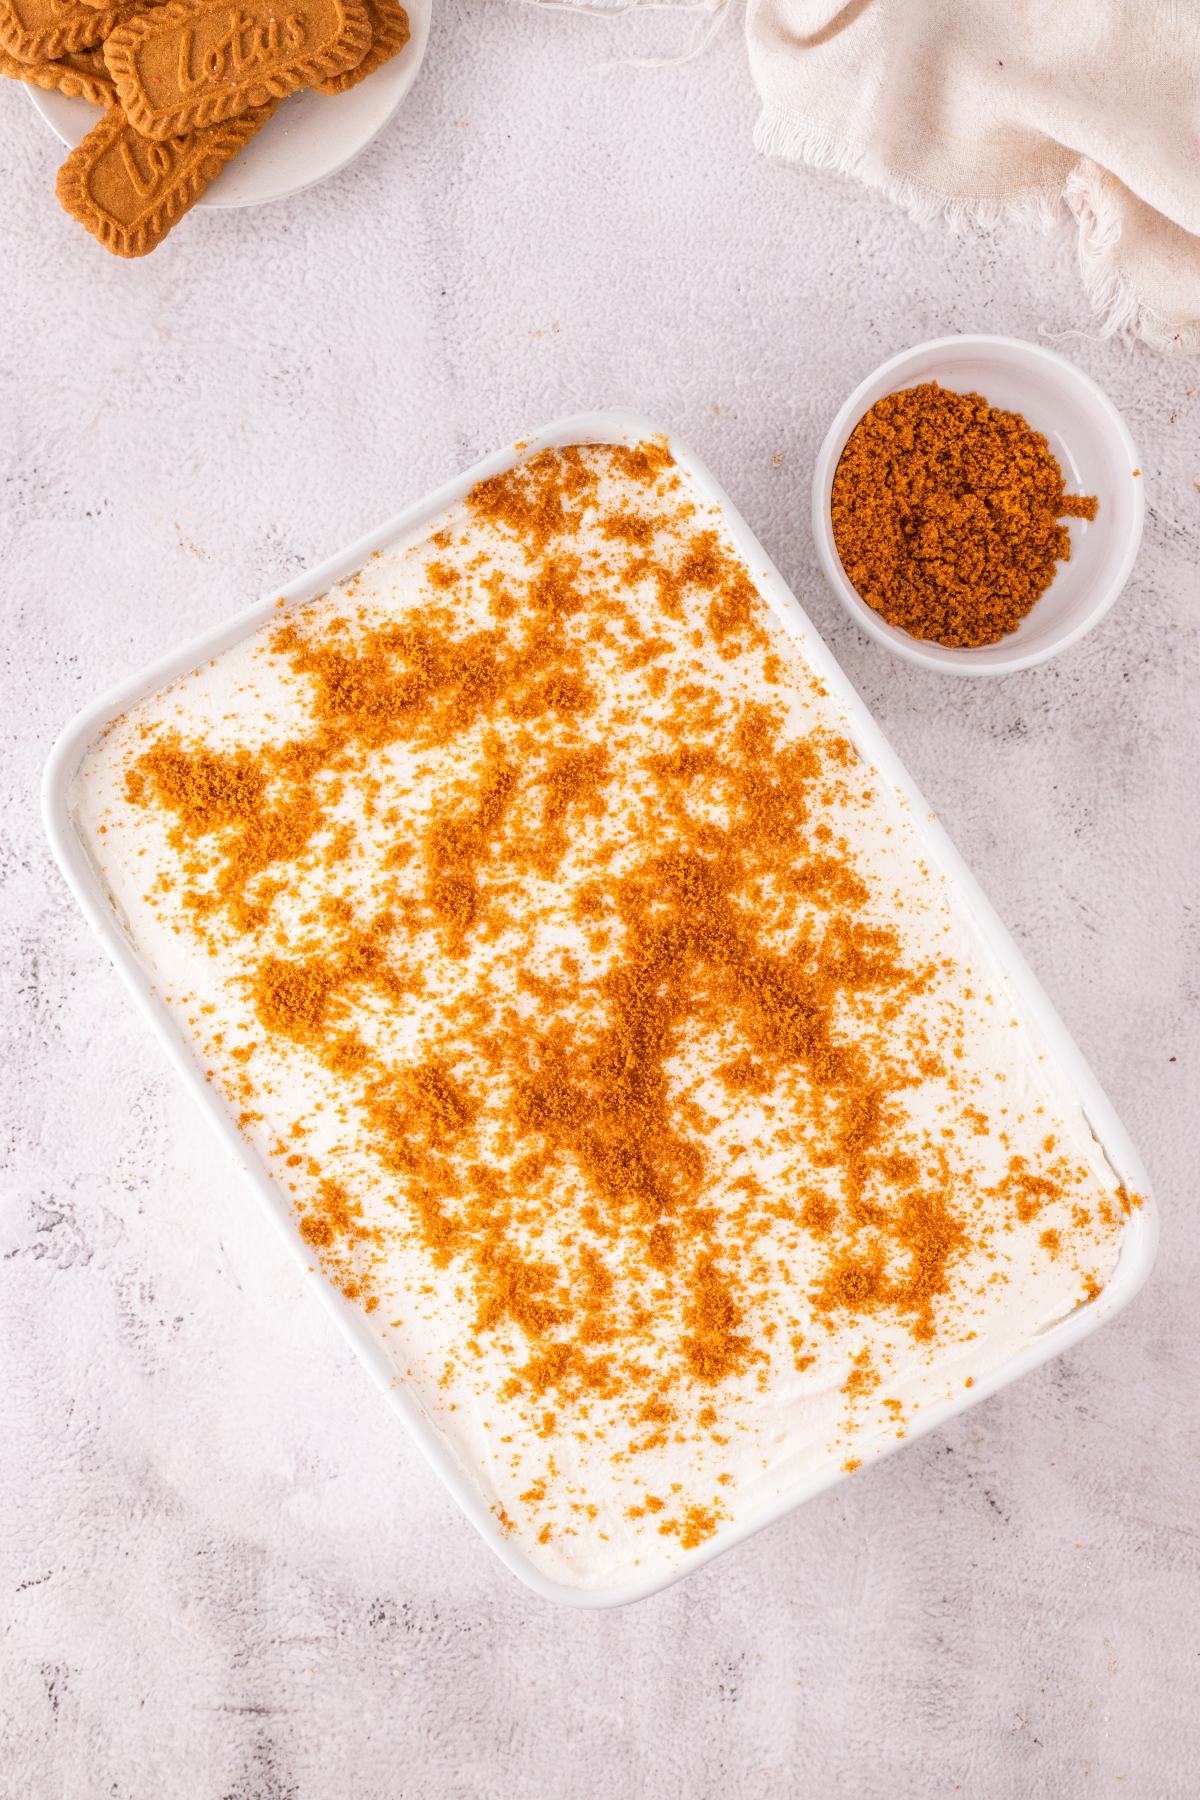
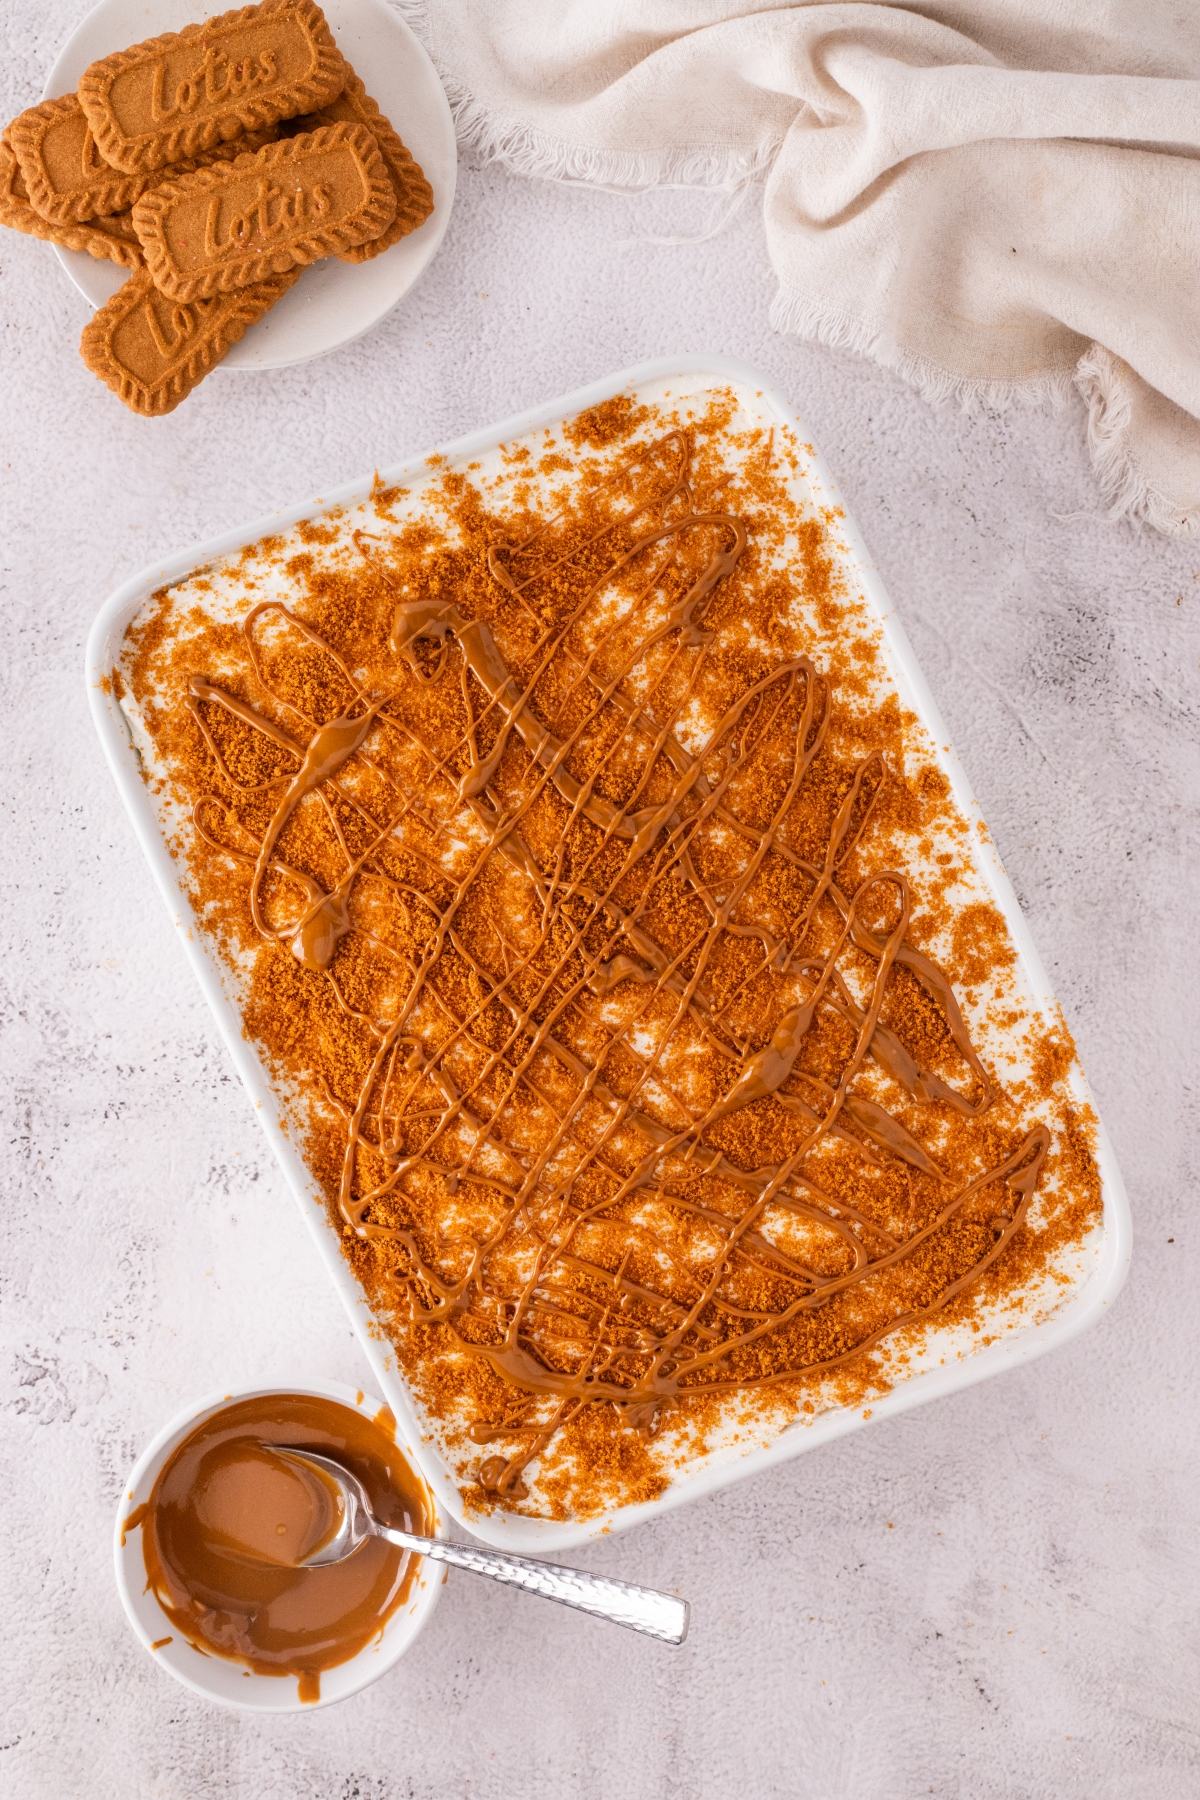
Add the topping: Spread whipped cream over the pudding, then add crushed Biscoff cookies and a drizzle of warmed cookie butter.
Chill: Cover and refrigerate for at least 4 hours. I prefer leaving it overnight when I have time because the layers set up really nicely.
Substitutions and Variations
Gluten-free: Use gluten-free speculoos-style cookies for the crust and topping, along with a gluten-free instant pudding mix. You’ll also need to replace the Biscoff cookie butter with a gluten-free cookie butter since Lotus Biscoff products aren’t gluten-free. These gluten-free speculoos cookies are a good option.
Homemade whipped cream: You can use freshly whipped cream instead of whipped topping. Keep the dessert well chilled so the layers stay firm.
Chocolate pudding: Swap the vanilla pudding for chocolate if you like chocolate and Biscoff together.
Extra cookie crunch: Add a thin layer of crushed Biscoff cookies between the cheesecake and pudding layers.
Serving Suggestions
With a hot drink: Pair this no bake treat with a pistachio latte or peanut butter boozy hot chocolate.
With a cold drink: Anything goes, from an iced lavender matcha latte to a pineapple mango smoothie.
With homemade cookies: Enjoy chocolate pudding cookies or pistachio pudding cookies on the side.
How to Store
Store: Cover the Biscoff lush tightly or transfer leftovers to an airtight container and refrigerate for up to 4 days.
Freeze: Freeze tightly covered for up to 2 months. Keep in mind that the creamy layers may be slightly softer after thawing.
Thaw: Thaw overnight in the refrigerator before serving.
Top Tips
Soften the cream cheese: Let it come to room temperature before mixing so the cheesecake layer is smooth without little lumps.
Chill between layers: Give each layer some time to firm up before adding the next. This makes it much easier to spread without dragging the layer underneath into it.
Press the crust firmly: I use the bottom of a measuring cup to really compact the crumbs. A firmly packed crust makes the finished squares much easier to lift from the dish.
Give it enough chill time: Four hours is the minimum, but I prefer making this the day before when I can. The layers are noticeably easier to slice after an overnight chill.
For tidy slices: Use a sharp knife and wipe it clean between cuts. You can warm the knife under hot water first, but dry it before slicing.
No Bake Cookie Butter Dessert FAQs
Yes. I actually prefer making it the day before because the extra chilling time helps all the layers set and makes it easier to cut into clean squares. Keep it covered in the refrigerator and add any extra cookie crumbs just before serving if you want them especially crunchy.
Chill between layers and spread gently with light pressure.
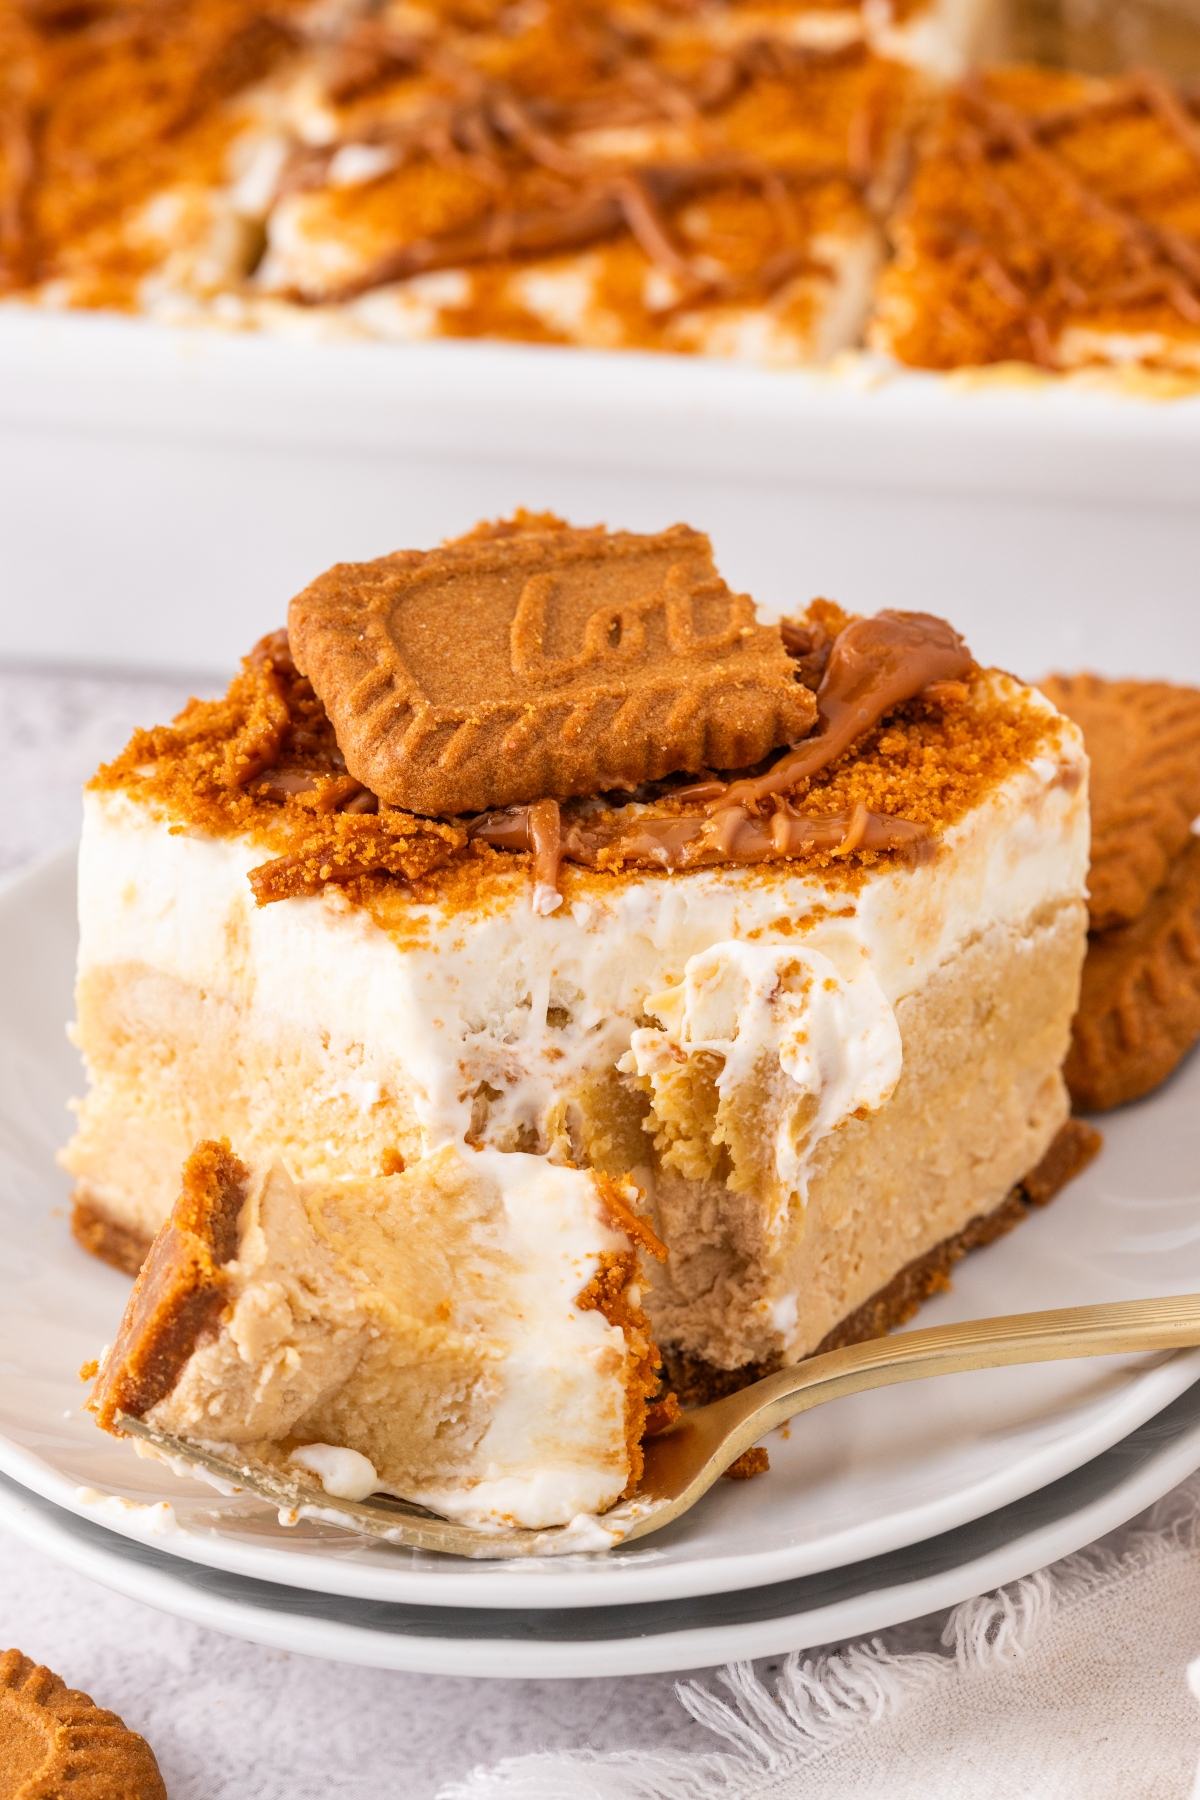
Biscoff Lush Recipe
Biscoff Lush
Equipment
- Food Processor or Plastic Bag
- Baking Dish 9 x 13-Inch
Ingredients
For the Crust
- 2 Cups Biscoff cookie crumbs, about 25 cookies
- ½ Cup unsalted butter, melted
For the Cream Cheese Layer
- 8 Ounces cream cheese, softened
- ½ Cup Biscoff cookie butter
- ½ Cup powdered sugar
- 1 Cup whipping cream, or whipped topping
For the Biscoff Pudding Layer
- 2 Boxes instant vanilla pudding mix, 3.4-Ounce
- 2 ½ Cups milk, cold
- ½ Cup Biscoff cookie butter
- 1 Teaspoon vanilla extract
For the Topping
- 2 Cups whipped cream, or whipped topping
- 5 or 6 Biscoff cookies, crushed
- Biscoff cookie butter, warmed for drizzling
Instructions
Make the Crust
- Crush the cookies in a food processor or sealed plastic bag.
- In a medium bowl, mix the Biscoff crumbs with melted butter until evenly moistened.
- Press firmly into the bottom of a 9×13-inch dish. Chill in the refrigerator while you prepare the next layers.
Prepare the Cream Cheese Layer
- In a large bowl, beat cream cheese, cookie butter and powdered sugar until smooth and fluffy.
- Whip cream with 2 Tablespoons of powdered sugar until stiff peaks form, or use 1 Cup prepared whipped topping instead.
- Fold into the cream cheese mixture until fully combined.
- Spread evenly over the crust and freeze the dessert for 15 to 30 minutes.
Make the Biscoff Pudding Layer
- In another bowl, whisk together pudding mix and milk until slightly thickened (about 2 minutes).
- Whisk in cookie butter and vanilla extract until smooth and uniform in color.
- Spread this layer gently over the cream cheese layer.
- Place in freezer for half an hour.
Top and Chill
- Spread the remaining whipped topping over the pudding layer.
- Sprinkle with crushed Biscoff cookies and drizzle warmed cookie butter over the top.
- Cover and refrigerate for at least 4 hours, or overnight for best texture.
Notes
Chill between layers: Give each layer some time to firm up before adding the next. This makes it much easier to spread without dragging the layer underneath into it.
Press the crust firmly: I use the bottom of a measuring cup to really compact the crumbs. A firmly packed crust makes the finished squares much easier to lift from the dish.
Give it enough chill time: Four hours is the minimum, but I prefer making this the day before when I can. The layers are noticeably easier to slice after an overnight chill.
For tidy slices: Use a sharp knife and wipe it clean between cuts. You can warm the knife under hot water first, but dry it before slicing.
Nutrition
This Biscoff lush is definitely for the cookie butter fans. I like how every layer has something a little different going on, from the firm cookie crust to the creamy cheesecake and pudding layers and crunchy cookies on top. Give it plenty of time to chill before you cut into it, then add that final cookie butter drizzle just before serving.
Other Recipes to Try
Bella Bucchiotti
Bella Bucchiotti is a Canadian-based syndicated food, travel, and lifestyle writer, photographer, and creator at xoxoBella. She founded xoxoBella in 2015, where she shares her love for food, dogs, sustainability, fitness, crafts, outdoor adventures, travel, and philanthropy to encourage others to run the extra mile, try new recipes, visit unfamiliar places, and stand for a cause. Bella creates stress-free and family-friendly recipes for weeknight dinners and festive feasts.